
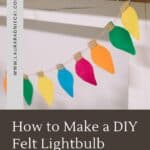


Learn how to make a fun, easy DIY felt lightbulb garland for Christmas using felt, burlap, twine, and hot glue!
Garlands are one of my all-time favorite types of crafts. They are usually fast, and easy, and make a big difference in the decor of your home.
We have made all kinds of garlands, such as:
- Felt Ball Garland
- Fabric Strip Garland
- Embroidery Floss Tassel Garland
- Ice Cream Cone Garland
- Yarn and Sock Gnome Garland
- and so many more!
Today, we are going to make a DIY felt lightbulb garland for Christmas, using felt, twine, and burlap!
Inspired by the vintage Christmas light bulbs my grandparents used to use, this garland mixes old and new into a festive, colorful garland for your mantel this holiday season!
Jump to:
Why You'll Love This Craft
- Felt is easy and fun to use - it's cheap to buy, comes in a ton of different colors, and is easy to cut. It's perfect for using with templates to cut specific shapes like we will in this tutorial with the shape of Christmas lightbulbs!
- Easy garlands are a fantastic way to update your home decor for the holidays or different seasons because they're quick to make and are usually affordable too.
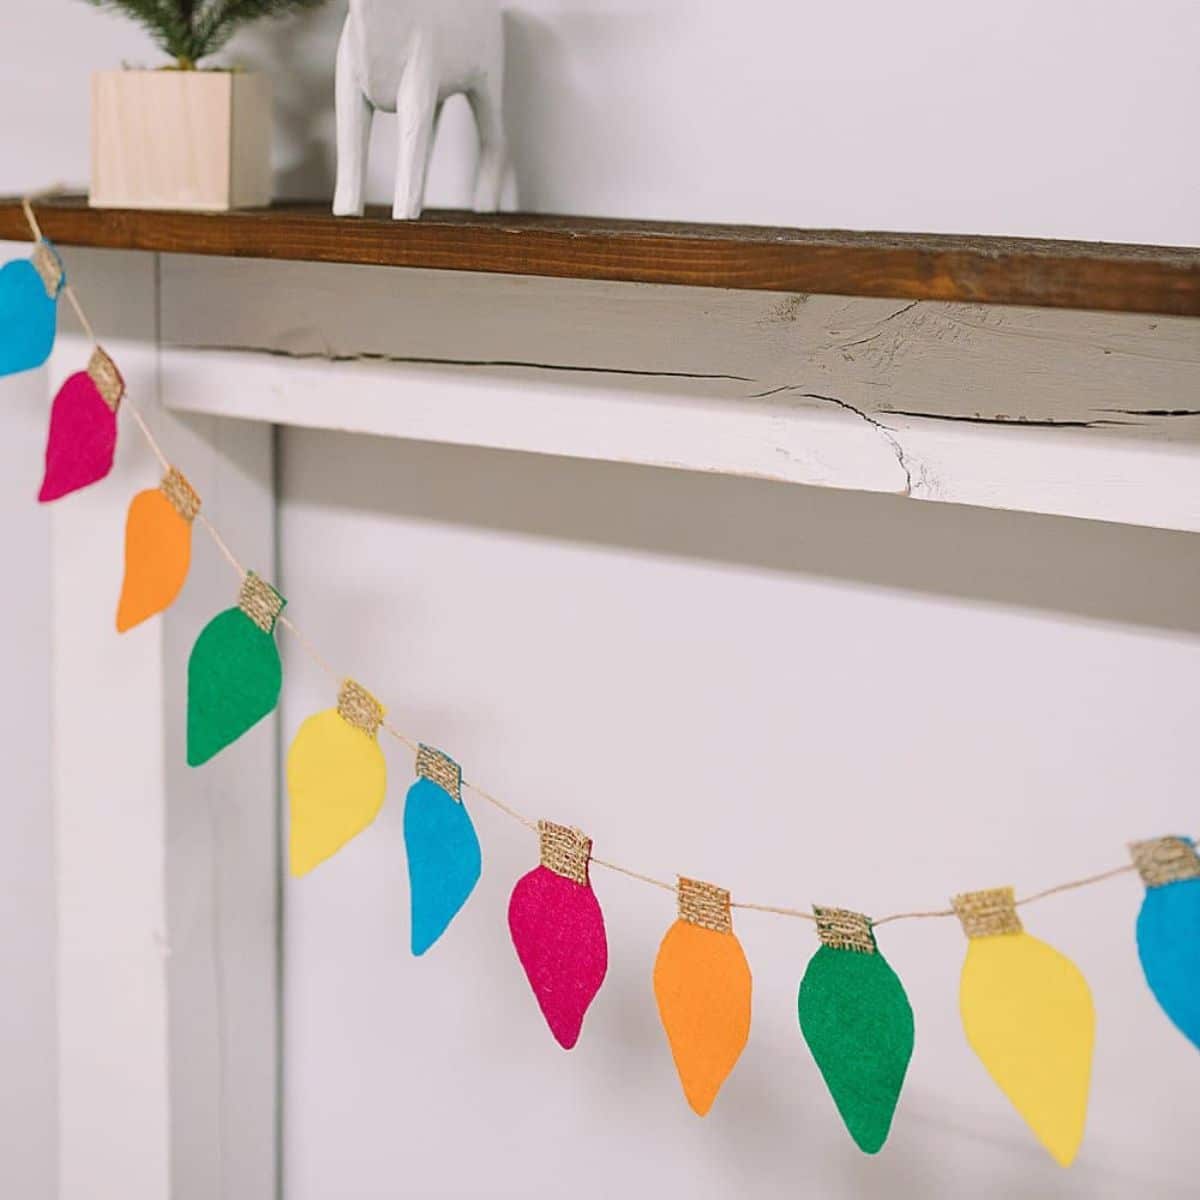
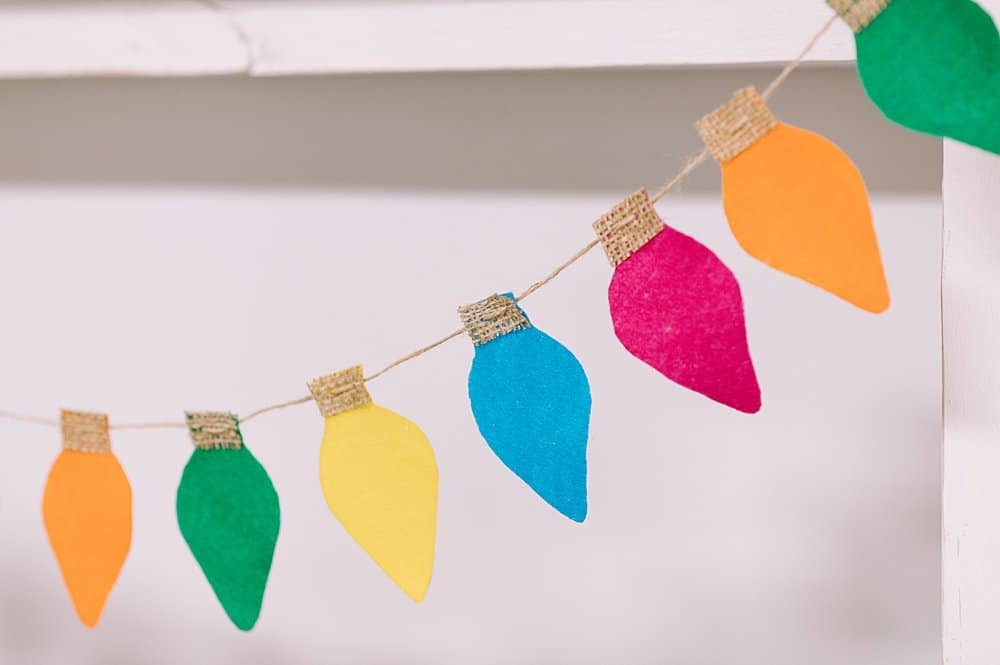
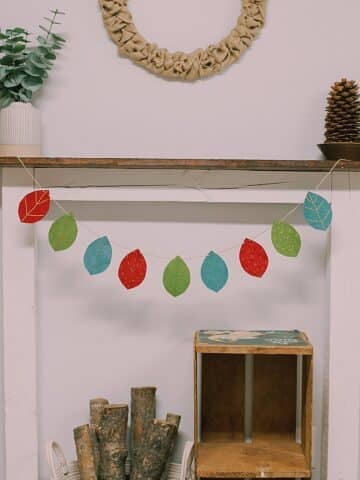
- You can customize this garland by picking your favorite felt colors. You can stick with traditional Christmas colors, try a classic white lightbulb with white felt, or go the multi-colored like we did here!
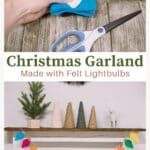
Craft Supplies Needed
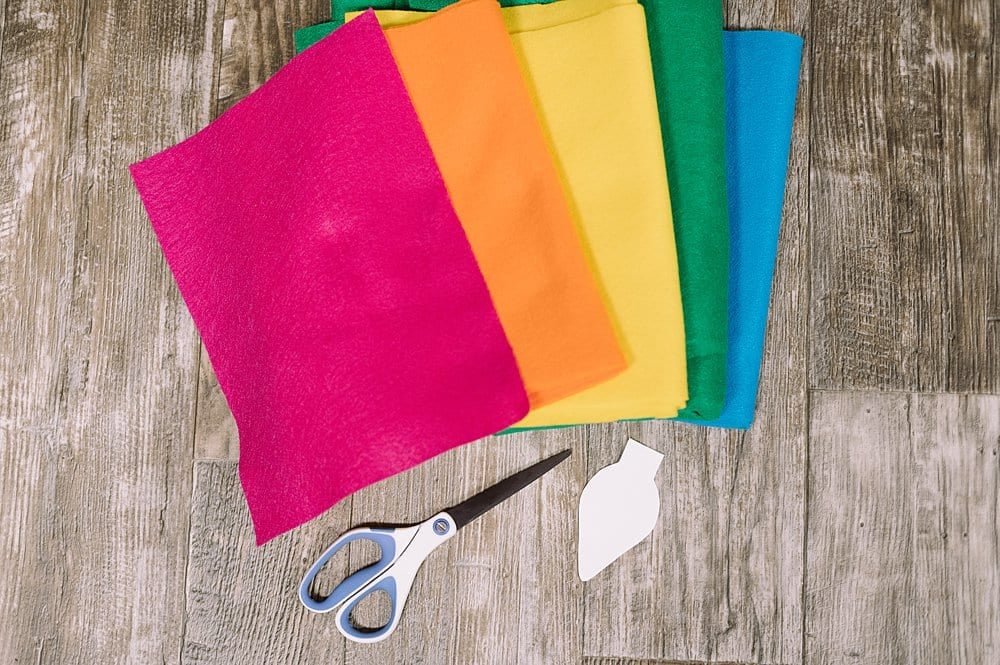
- Felt - You can buy small felt sheets in the kids craft section, or look in the fabric section for different colors of felt on the bolt.
- Lightbulb Template - available FREE in our Resource Library
- Scissors - Sharp scissors make cutting around templates easy.
- Burlap - You just need a small scrap of burlap fabric. A 1/16 of a yard would be plenty.
- Hot Glue Gun and Glue - A craft room staple!
- Twine - I love combining rustic twine with the rainbow colors in this garland. It's such a fun combination. Make sure it is thin twine, otherwise it could be too thick to pull through the felt fabric.
DIY Felt Lightbulb Garland for Christmas
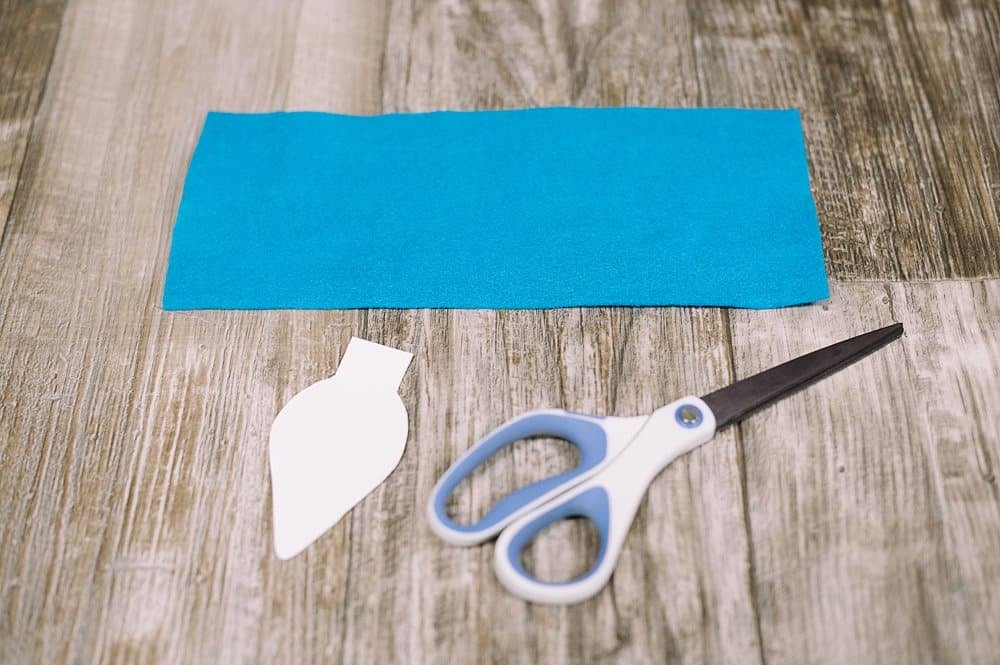
Step 1: Print out the lightbulb template from our free resource library, and cut it out.
Cut a strip of felt that is slightly taller than the bulb template.
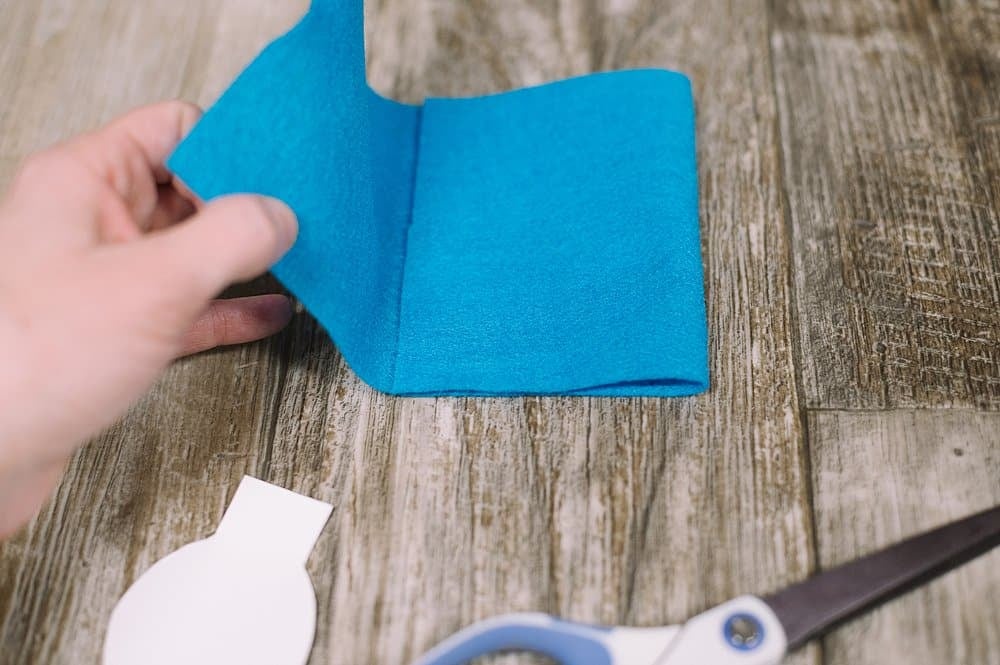
Step 2. Fold the felt strip in equal thirds.
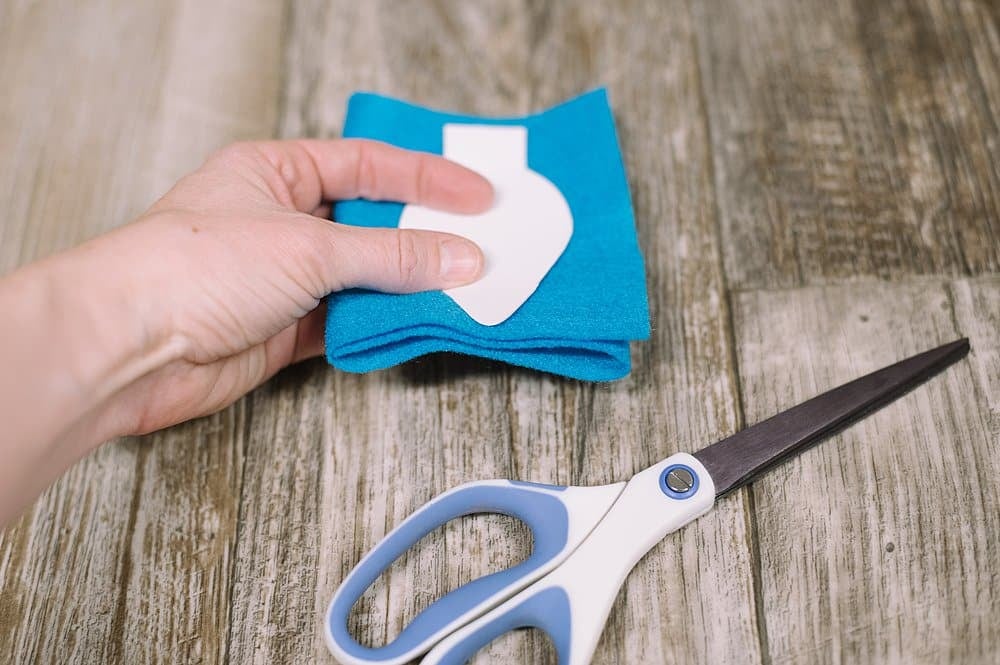
Step 3. Place the bulb template in the center of the folded felt stack.
You can trace the template and then cut around your outline, or you can hold the template in place as you cut around it.
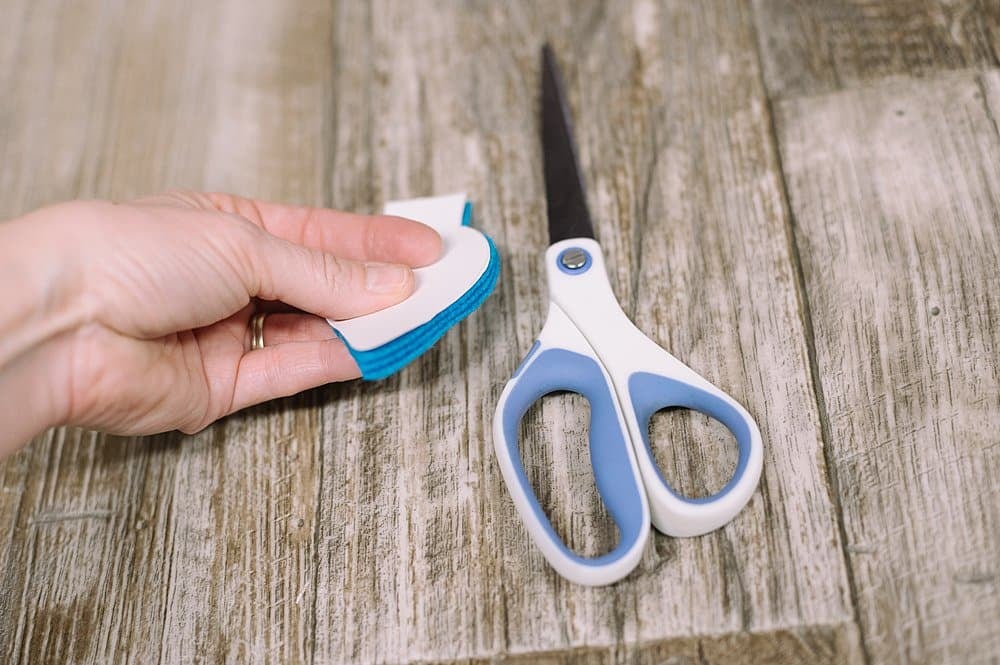
Step 4. I decided to hold the template on the felt stack and cut carefully around the perimeter of it.
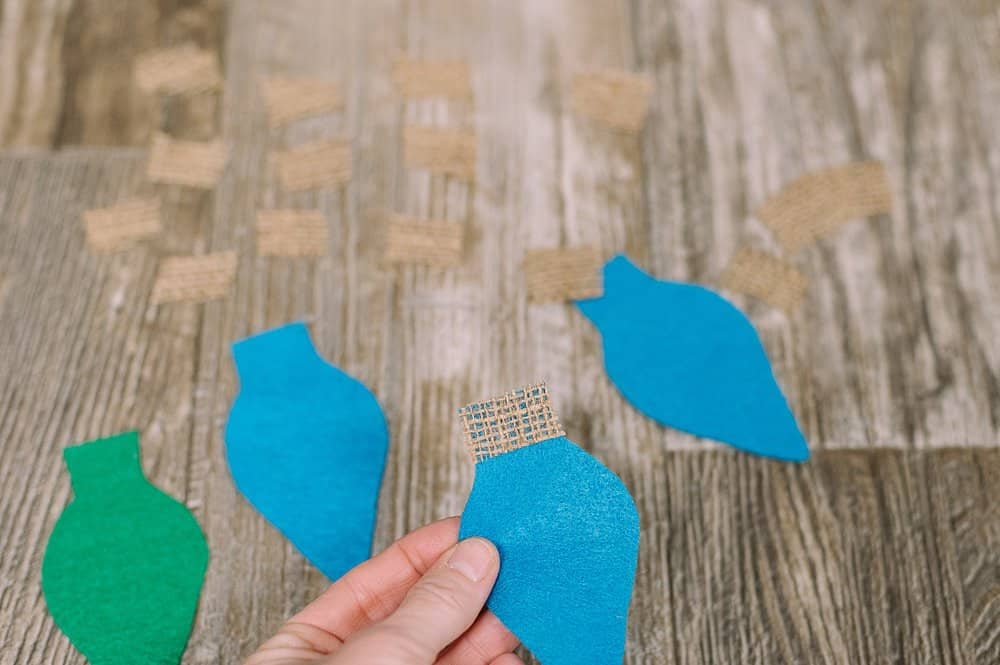
Step 5: Cut small burlap pieces to fit the neck of the lightbulbs.
The burlap pieces should be the same height as the neck of the bulb.
Hot glue the burlap to the neck of the felt lightbulb.

Step 6. Turn the lightbulbs over and trim the burlap from the backside of the neck to remove any excess.
This lets you easily see the edges of the felt, and remove any extra burlap.
A note about burlap: it wants to fray when it is handled. Make sure you use a decent amount of hot glue when you are securing the burlap to the neck of the lightbulbs.

Step 7. Continue gluing on burlap and trimming off any excess, for all of your garland's lightbulbs.

Step 8: Thread thin twine through the eye of a large embroidery needle.

Step 9. Start on the back of one lightbulb, and push the needle and twine through to the front on one side of the neck of the lightbulb.
Then, push the needle through to the back again, on the other side of the top of the bulb.

Step 10. Pull gently, and slide the lightbulb onto the twine.
Repeat for all the felt lightbulbs, in the color order you want.
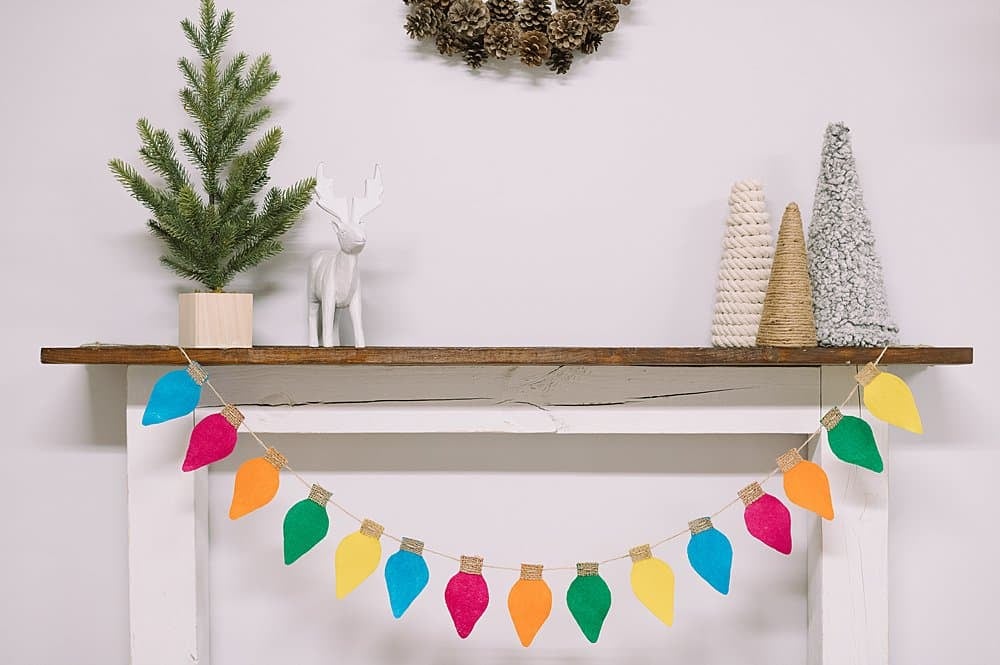
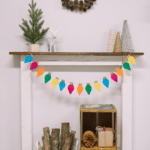
Step 11: Once all of the felt bulbs have been strung onto the twine, tie knots in both ends and hang your garland up!
Step 12. You can adjust the spacing of the bulbs by carefully sliding them along the twine once it's hanging up.

Common Questions
You can find this printable lightbulb template (as well as many other templates for our crafts) in our free Resource Library. You get access to the resource library immediately when you join our email list.
The choice is yours! You can make a colorful lightbulb garland like we did in this tutorial, with bright rainbow colors! Or you can choose muted colors by picking felt that is more earth-toned or jewel-toned. You could also try making a classic all-white lightbulb garland by using white or cream felt. Have fun with it!
First, start with sharp scissors. This is the best way to make the cutting process easy. You can either trace the template onto your fabric and cut around that, or hold it in place and cut around the template. This shape is simple enough that I was able to hold it in place. I find that quicker and easier than tracing it, but either way works!

Felt, burlap, and twine come together in a fantastic way with this DIY felt lightbulb garland for Christmas.
It's very easy to make and can be done by kids as a fun craft for Christmas.
Pick the colors of your choice, and soon you'll have a beautiful garland ready to take your mantel up a notch this holiday season!
More Felt Crafts You'll Love

---
⭐️🧶 Did you enjoy this craft and want to see more like it? ✂️ Join our FREE email community and get inspiring craft ideas sent right to your inbox! 🧵 ⭐️
---

DIY Felt Lightbulb Garland for Christmas
Materials
- Felt
- Lightbulb Template Found in our free Resource Library!
- Scissors
- Burlap
- Hot Glue Gun and Glue
- Twine
Instructions
- Print out the lightbulb template from our free resource library, and cut it out.Cut a strip of felt that is slightly taller than the bulb template.
- Fold the felt strip in equal thirds.
- Place the bulb template in the center of the folded felt stack.You can trace the template and then cut around your outline, or you can hold the template in place as you cut around it.
- I decided to hold the template on the felt stack and cut carefully around the perimeter of it.
- Cut small burlap pieces to fit the neck of the lightbulbs.The burlap pieces should be the same height as the neck of the bulb. Hot glue the burlap to the neck of the felt lightbulb.
- Turn the lightbulbs over and trim the burlap from the backside of the neck to remove any excess. This lets you easily see the edges of the felt, and remove any extra burlap.A note about burlap: it wants to fray when it is handled. Make sure you use a decent amount of hot glue when you are securing the burlap to the neck of the lightbulbs.
- Continue gluing on burlap and trimming off any excess, for all of your garland's lightbulbs.
- Thread thin twine through the eye of a large embroidery needle.
- Start on the back of one lightbulb, and push the needle and twine through to the front on one side of the neck of the lightbulb.Then, push the needle through to the back again, on the other side of the top of the bulb.
- Pull gently, and slide the lightbulb onto the twine.Repeat for all the felt lightbulbs, in the color order you want.
- Once all of the felt bulbs have been strung onto the twine, tie knots in both ends and hang your garland up!
- You can adjust the spacing of the bulbs by carefully sliding them along the twine once it's hanging up.
Notes
- You can buy felt in small sheets or from big rolls of felt fabric at your local craft store or online.
- Make sure you use enough glue when attaching the burlap to the neck of the felt lightbulbs so the burlap will stay in place even if it tries to fray.
- Play around with the spacing of the light bulbs depending on what you like best - you can try moving the lightbulbs closer together or further apart, along the twine hanging string to achieve your preferred look.

Leave a Reply