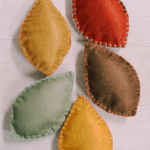
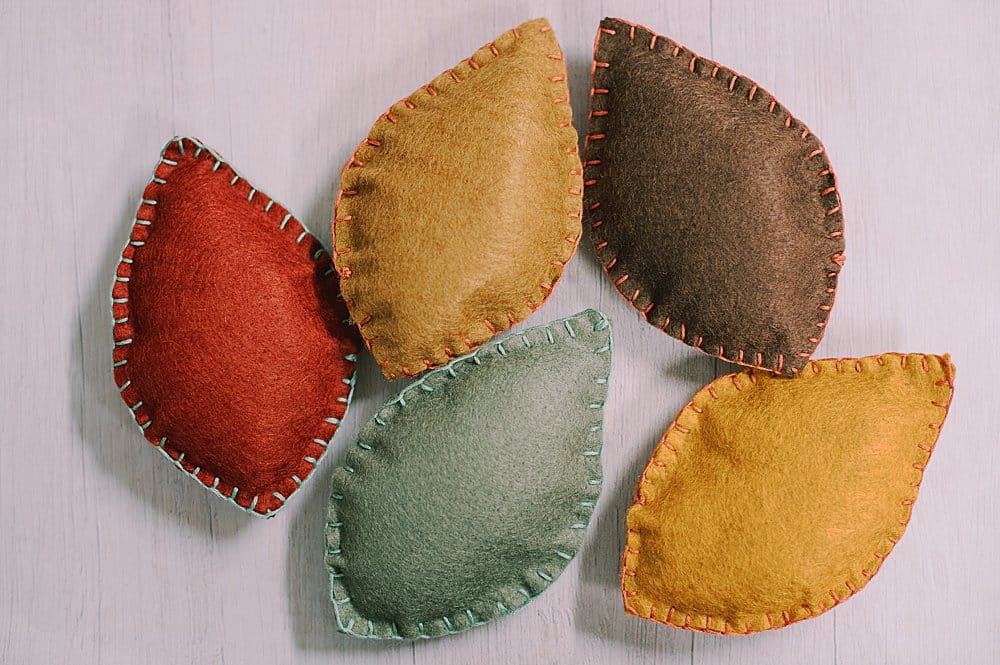
Learn how to make felt leaves using felt leaf shapes cut out of felt, embroidery floss to blanket stitch the leaves together, and fiber fill inside to make them 3D!
In today's tutorial, we are going to make felt leaves, using the same general idea we used for making felt easter eggs.
Using felt, embroidery thread, and fiberfill, we can make super cute 3D felt leaves that make you think of fall.
Here's how to make them!

How to Make Felt Leaves
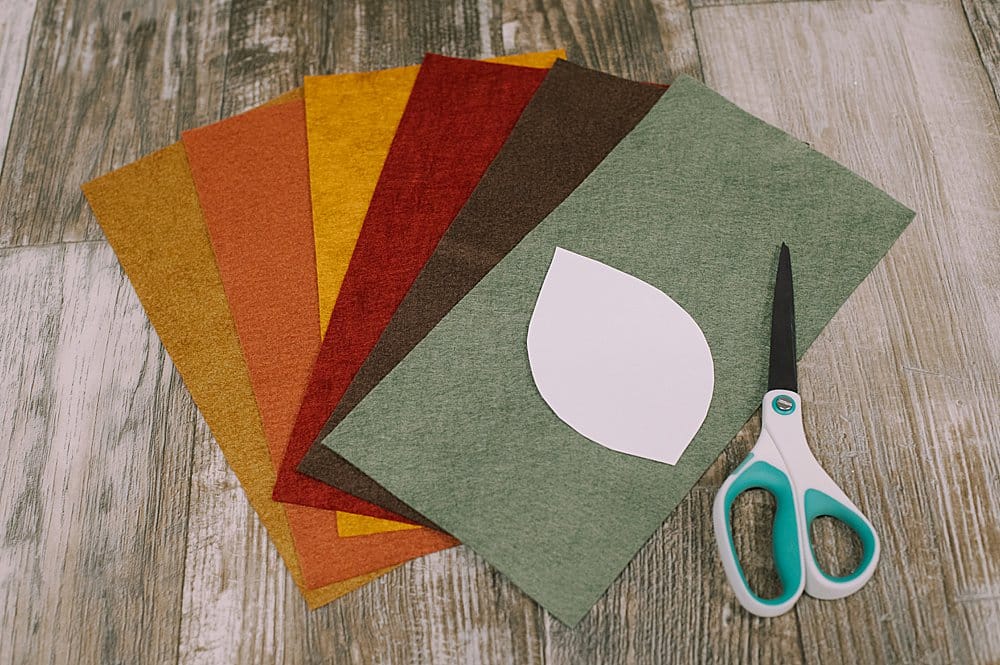
Step 1. Gather Supplies
Supplies Needed:
- Felt
- Leaf Template (found in our FREE resource library)
- Scissors
- Embroidery Floss
- Embroidery Needle
- Fiberfill
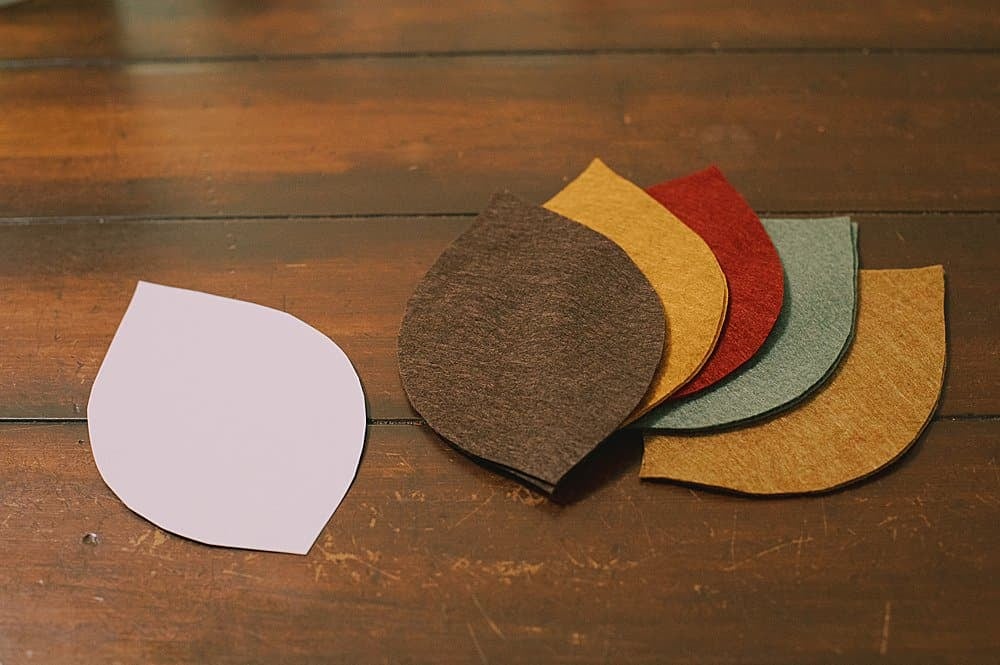
Step 2. Using the leaf template, cut out two leaf shapes from each color of felt.
The leaves will be 3D so you need two layers to sew together and add the filling inside.
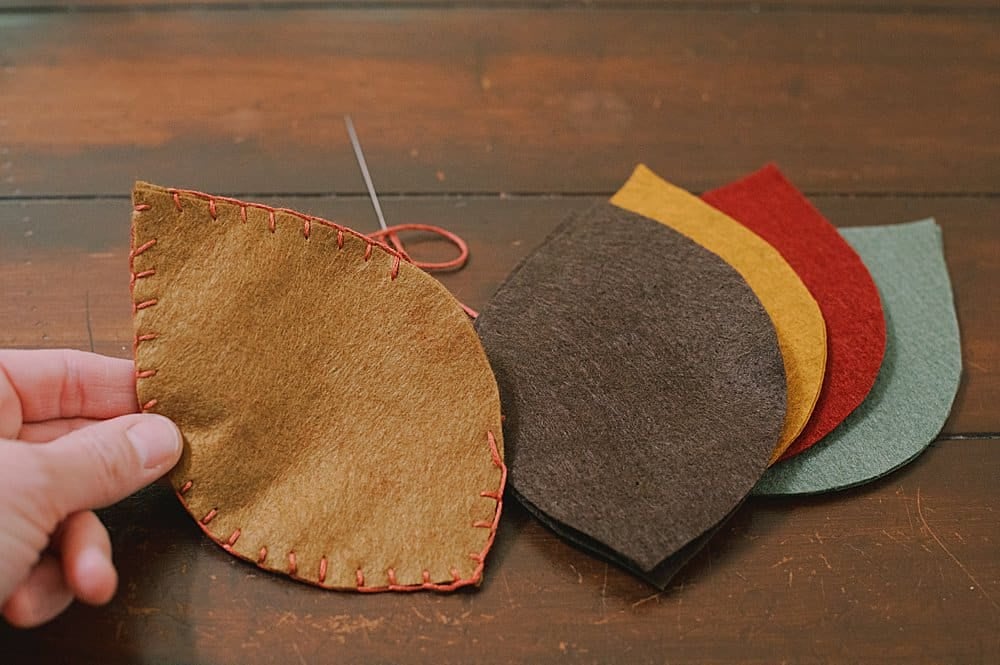
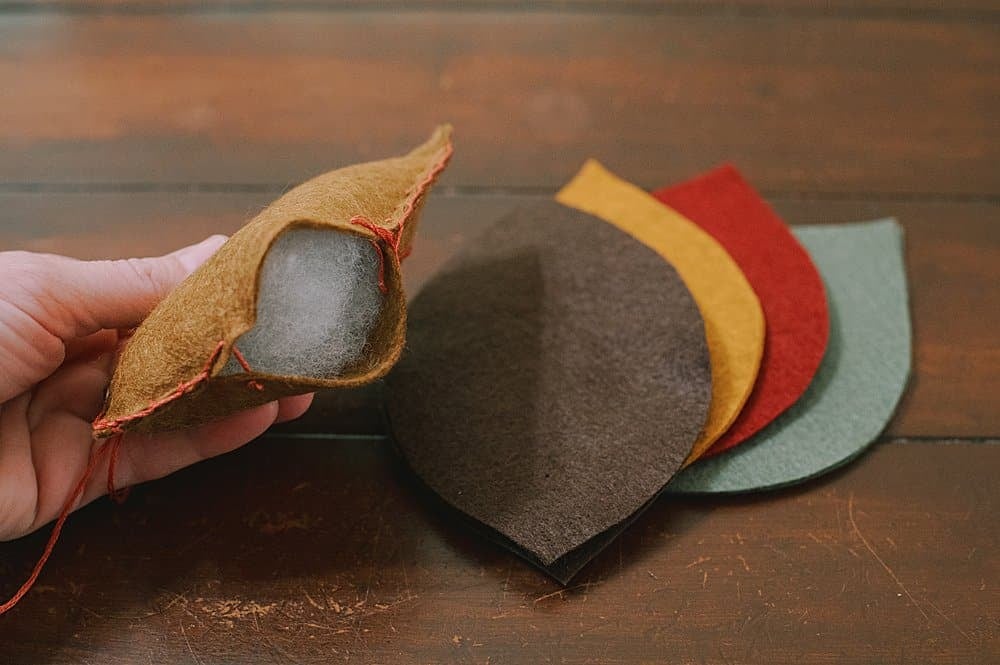
Step 3. Use a blanket stitch to sew the two leaf layers together.
Leave a section open so you can add the fiberfill inside.
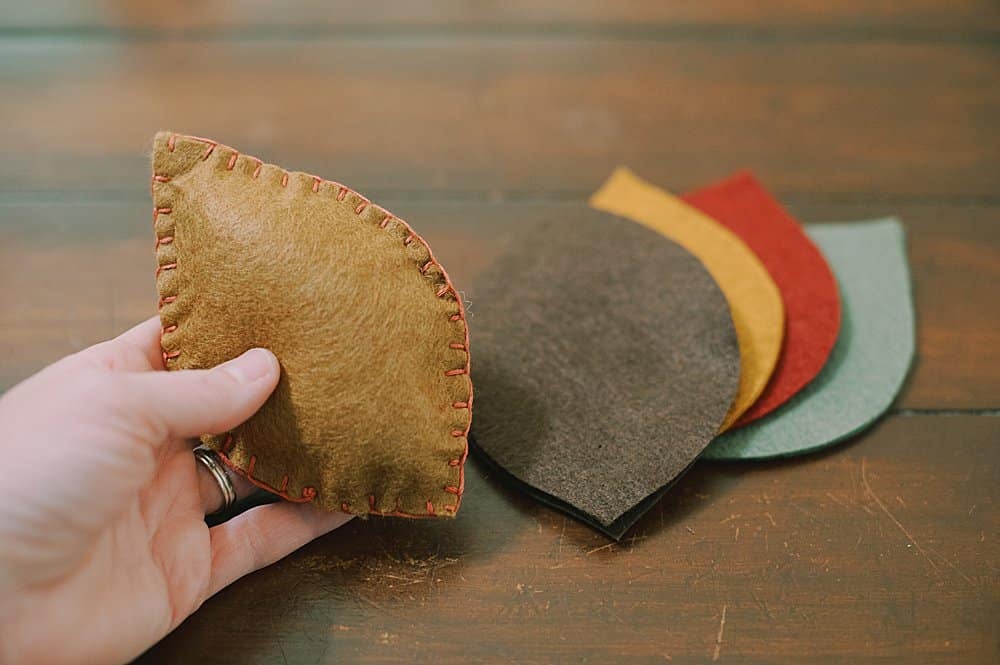
Step 4. Stuff the felt leaf with fiberfill until it's as thick as you want it to be.
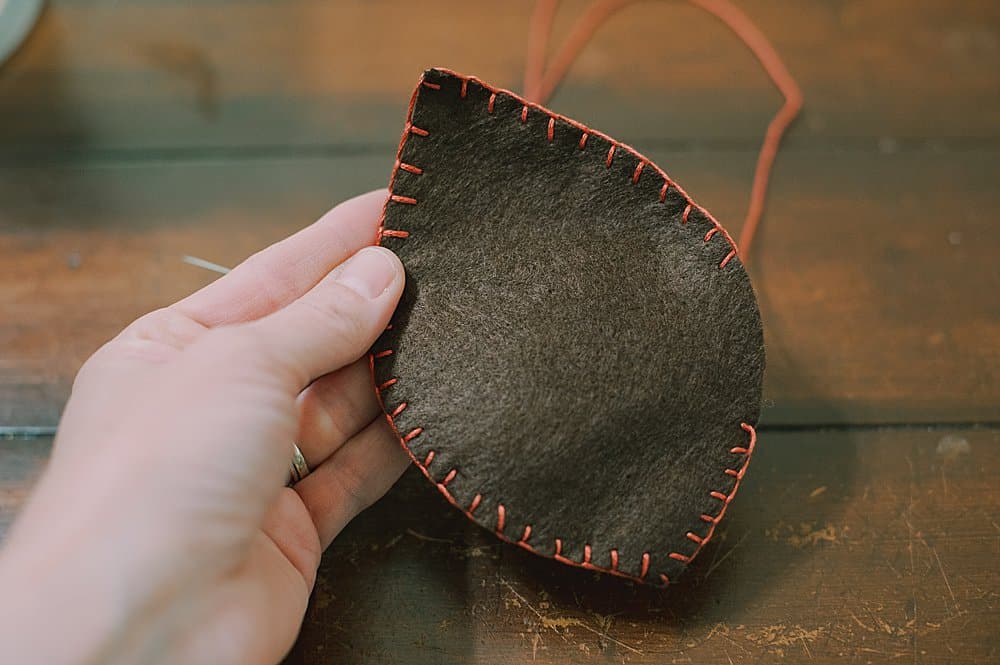
Step 5. Continue to use a blanket stitch around the edges of the leaf to close the hole up.
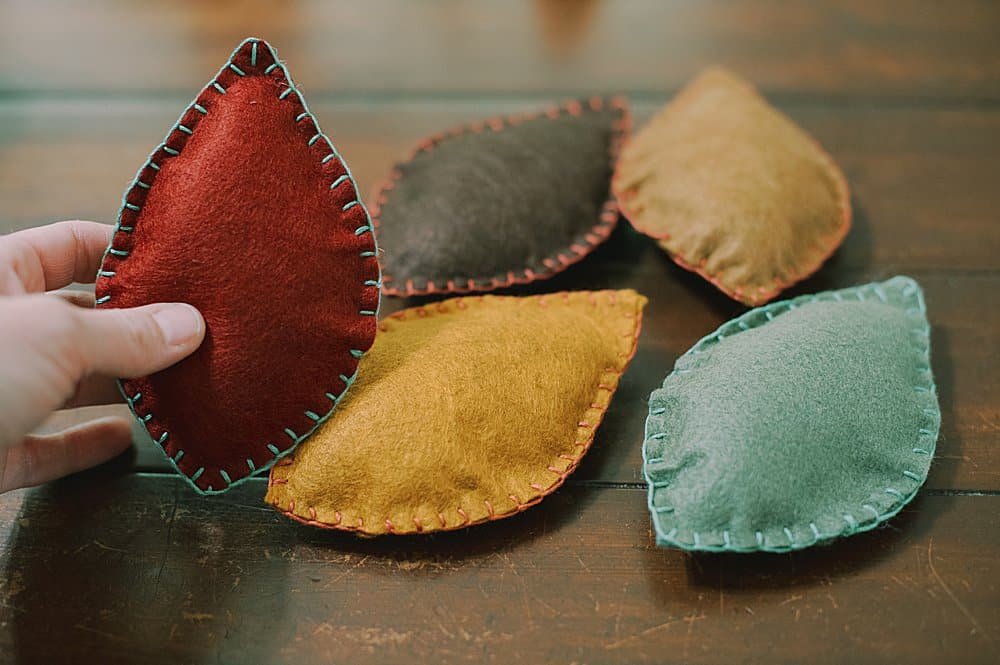
Secure and you have a 3D felt leaf!
You can use different colors of embroidery floss to close up the felt leaves - you can use matching thread if you want it to blend in, or contrasting colors if you want it to stand out.
This felt is a higher-end, soft wool-based felt and the colors are just beautiful!
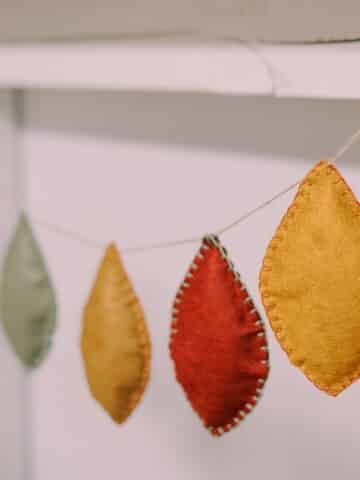
They scream "Fall" and are the perfect decor pieces for your home, and kids can enjoy them too!
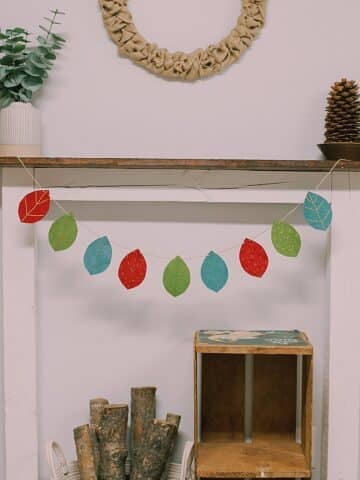
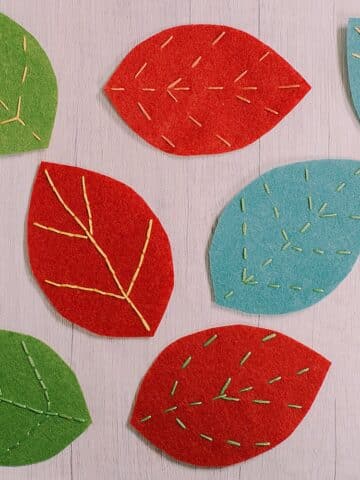
You can also make embroidered felt leaves and make a pretty embroidered felt leaf garland, as well as a pretty felt lightbulb garland.



Leave a Reply