Learn how to make a felt leaf garland using felt leaves, stuffed with fiber fill and embroidered with a blanket stitch, and strung with twine!
Recently, we did a tutorial on how to make felt leaves out of felt, embroidery thread, and polyfill stuffing. They turned out beautiful and are the cutest 3D felt leaves.
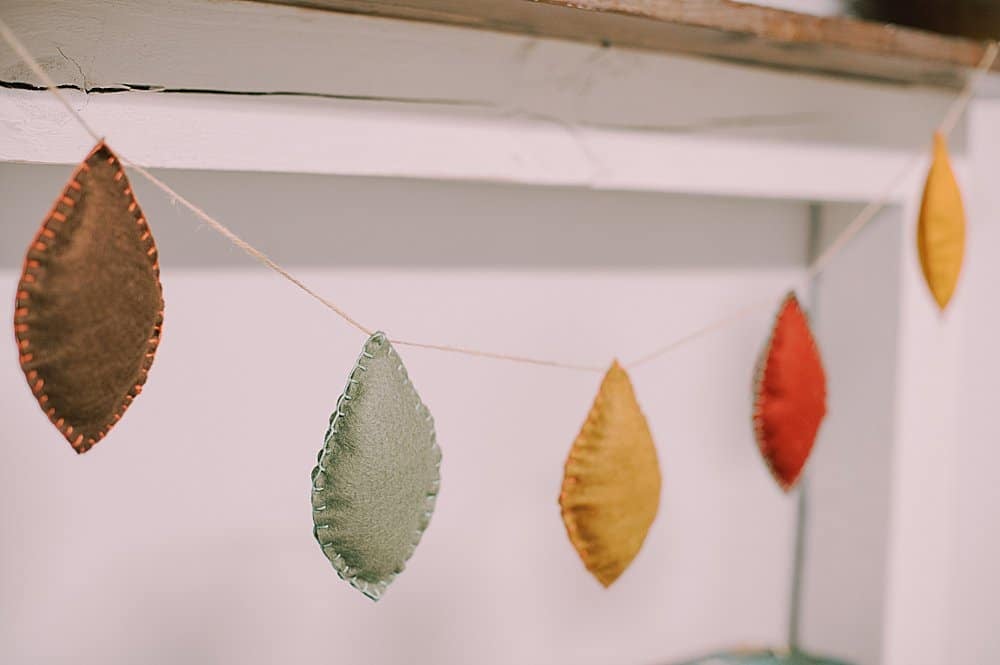
Today, we are going to bring them together and turn them into a gorgeous felt leaf garland that is perfect for your mantel this fall!

How to Make a Felt Leaf Garland
Step 1. Gather Supplies
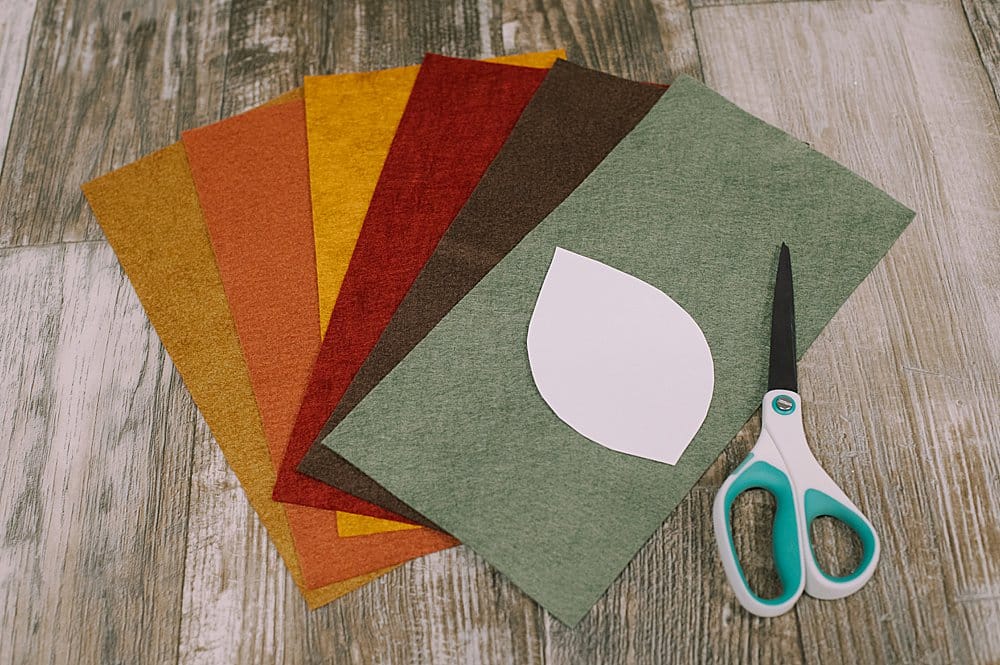
Supplies Needed:
- Felt
- Leaf Template (found in our FREE resource library)
- Scissors
- Embroidery Floss
- Embroidery Needle
- Polyfill or Fiberfill stuffing
- Twine
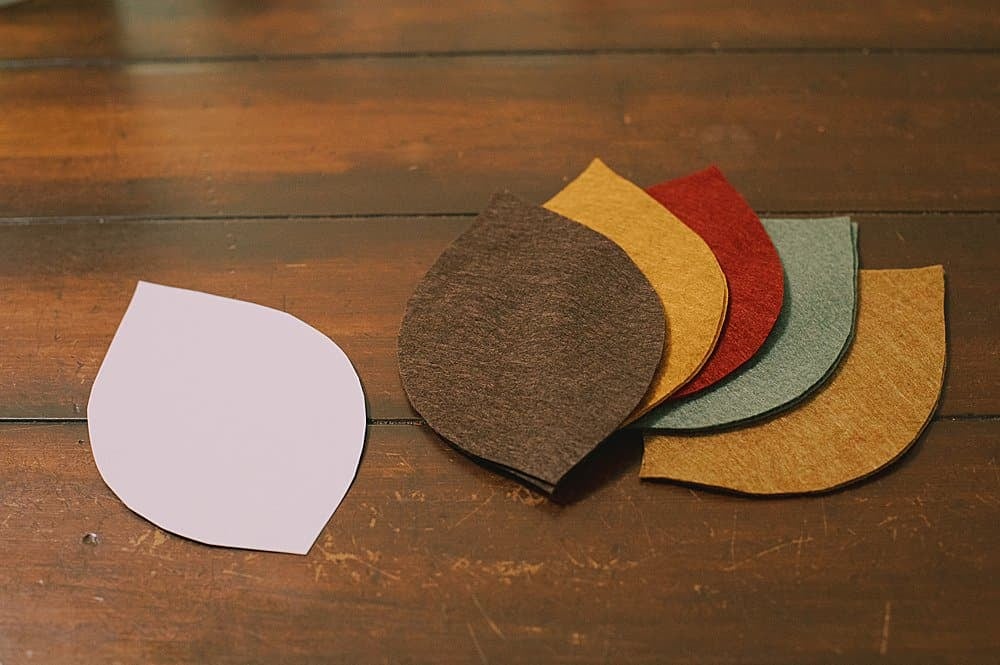
Step 2. Cut felt leaves out using the leaf template.
You need two leaf shapes in order to make one 3D leaf.
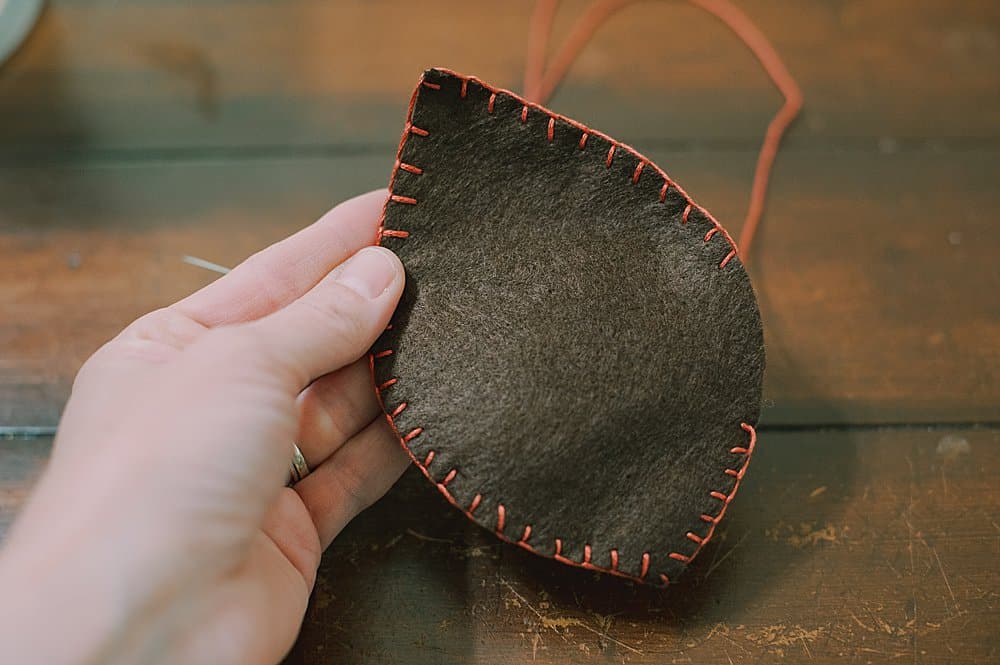
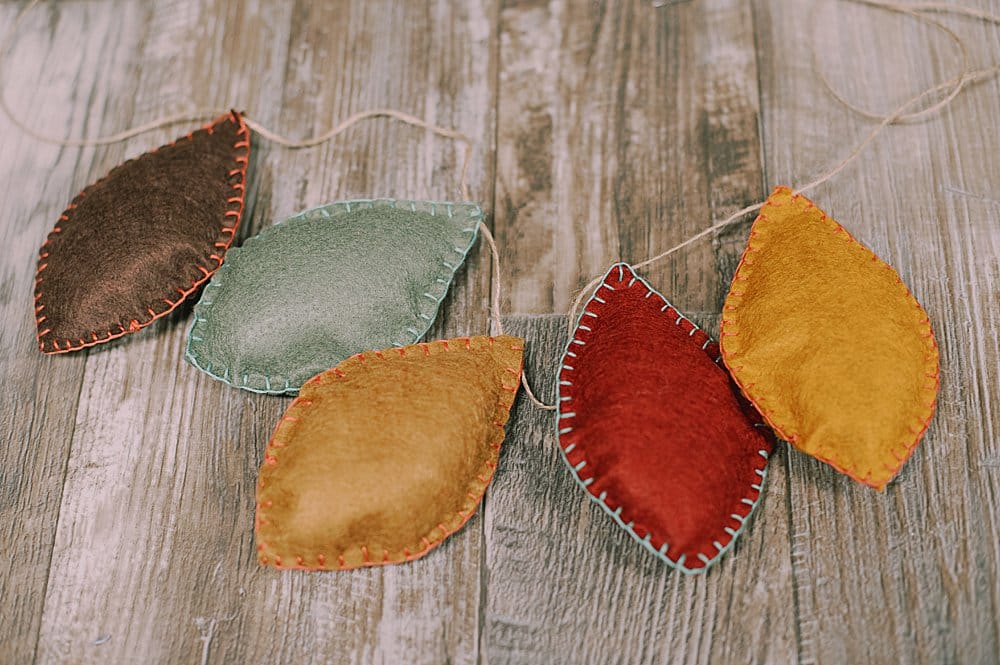
Step 3. Use a blanket stitch to sew around the outside of the felt leaf shape.
Leave an opening to add stuffing to the inside of the leaf.
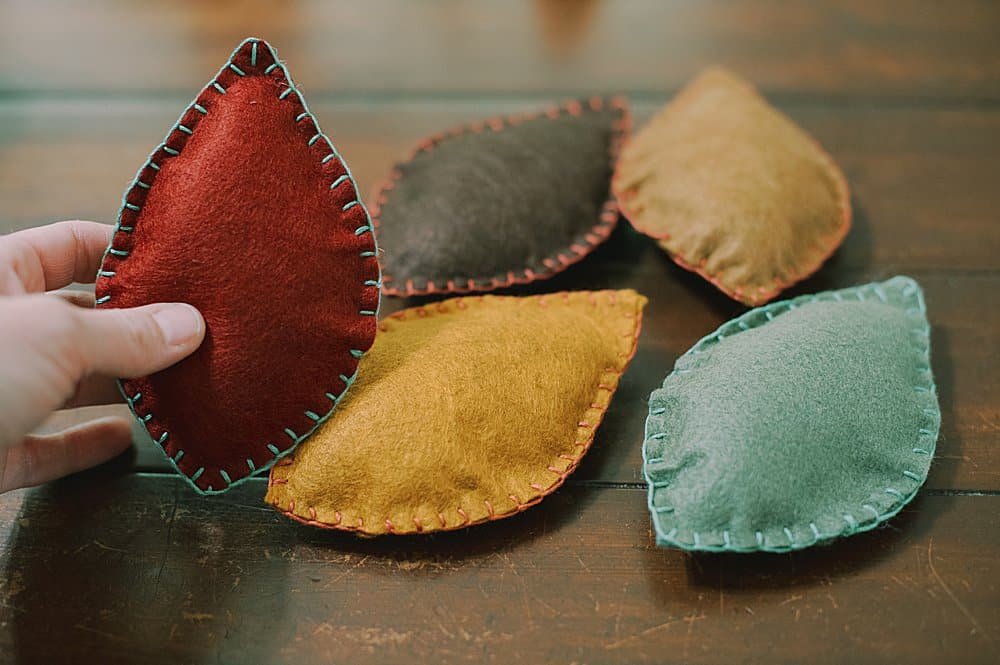
Add stuffing to the leaves and continue to stitch up the rest of the edges with the blanket stitch.
Continue to make 3D leaves for all the colors of felt you are using.
Step 4. Cut a long piece of twine.
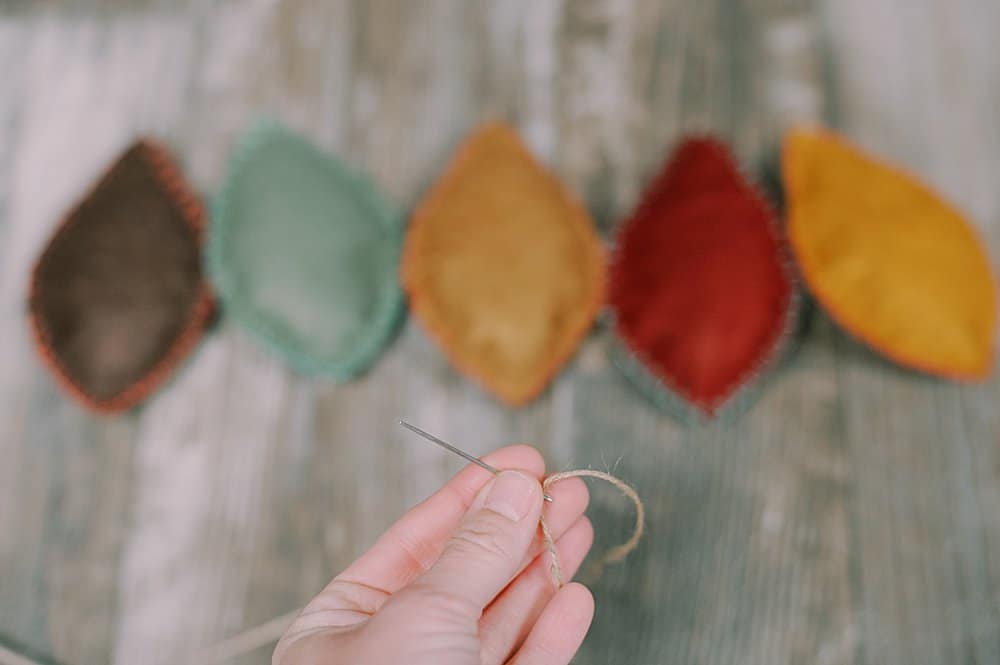
Thread it onto an embroidery needle.
Step 5. Thread the 3D felt leaves onto the twine through the top of each leaf, in whatever color order you choose.
Step 6. Tie loops on the two ends of the twine, and your garland is ready to hang!
You can customize this felt leaf garland by changing the colors of the felt, the colors of the embroidery floss, or by adding more leaves, and having the leaves spaced closer together.
You could also add embroidered veins onto these 3D leaves to make them even more realistic and visually interesting.
If you enjoy felt crafts, you can also try an embroidered felt leaf garland made out of these embroidered felt leaves, as well as a fun felt lightbulb garland.








Leave a Reply