Learn how to make embroidered felt leaves using leaf shapes cut out of felt, and then hand embroidering veins into the leaves!
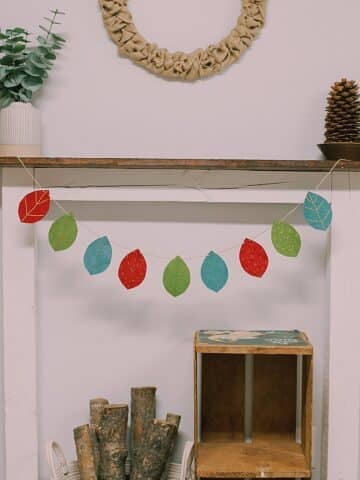
Felt is a fun craft material to make things with - it's easy to find, affordable to buy, and enjoyable to work with. You can make felt leaves, a felt leaf garland, or even a felt lightbulb garland.
Today, we are going to use felt to make embroidery leaves. This felt is the most basic, cheap type - there's nothing fancy or expensive about the felt we used in this tutorial!
Here's how to make them!
How to Make Embroidered Felt Leaves
Step 1. Gather Supplies
Supplies Needed:
- Felt
- Leaf Template (get it in our FREE resource library)
- Scissors
- Embroidery Floss
- Embroidery Needle
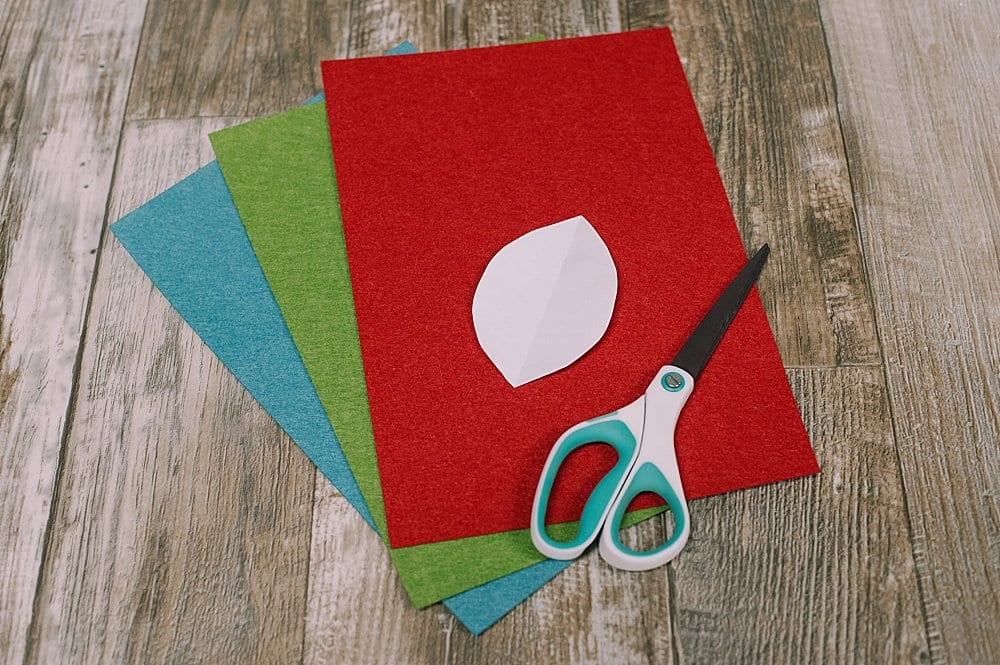
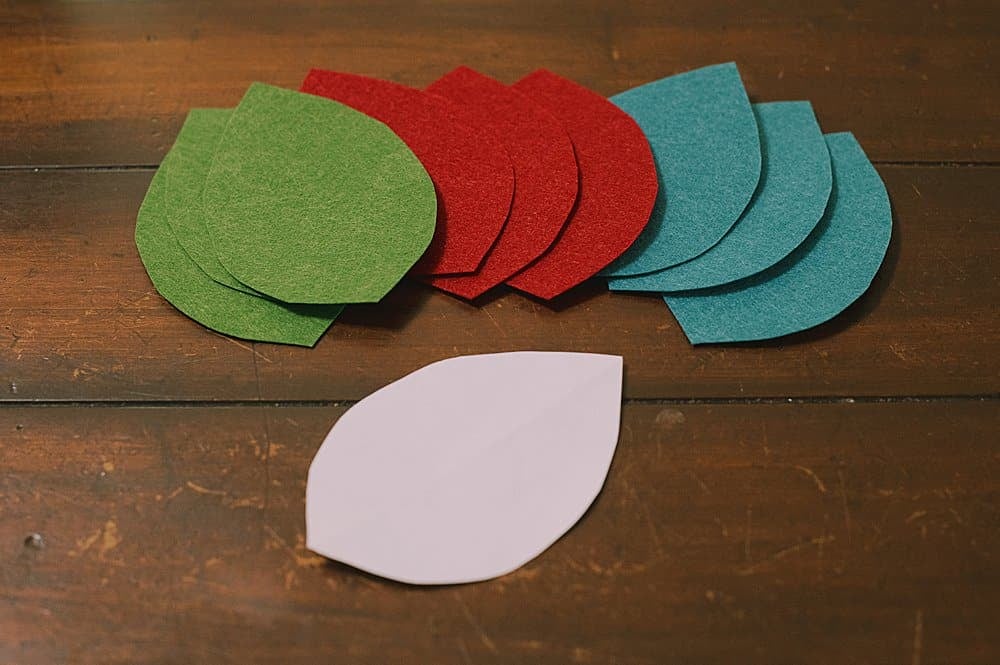
Step 2. Use the leaf template and cut out leaf shapes from the sheets of felt.
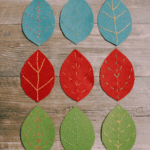
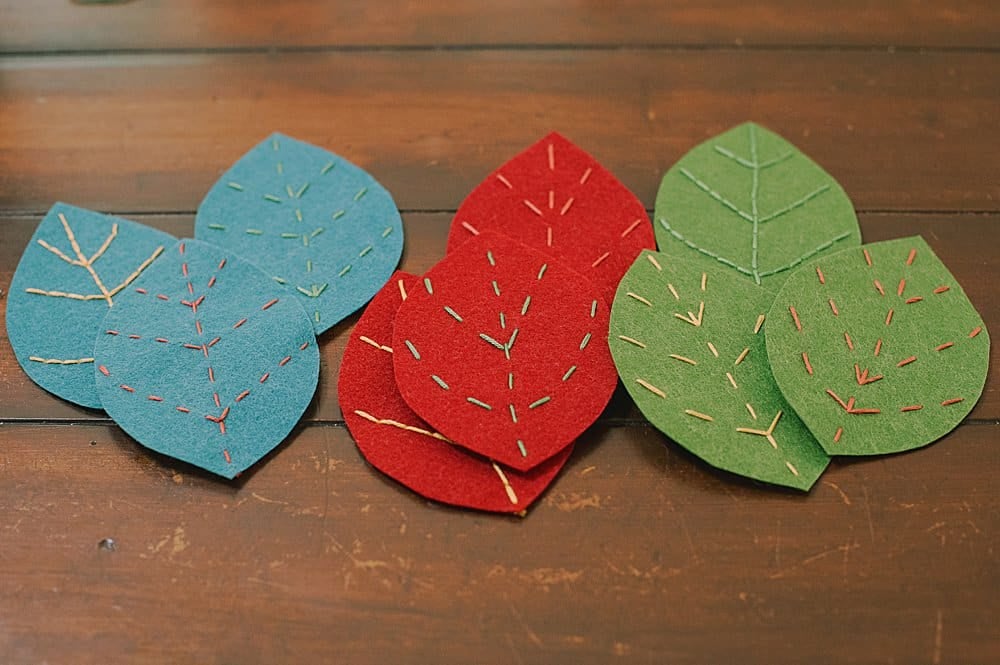
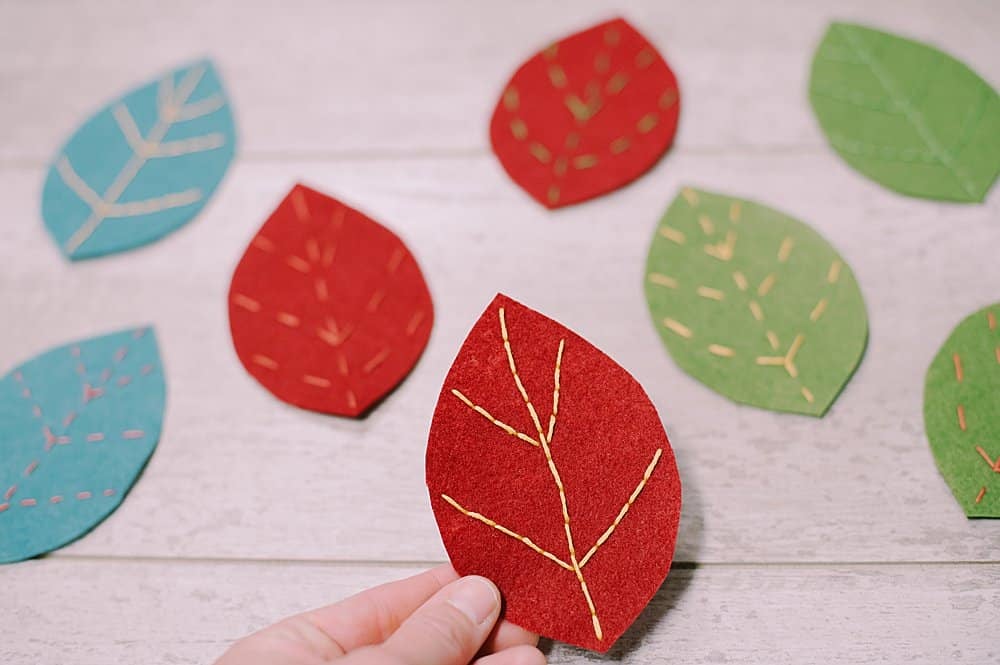
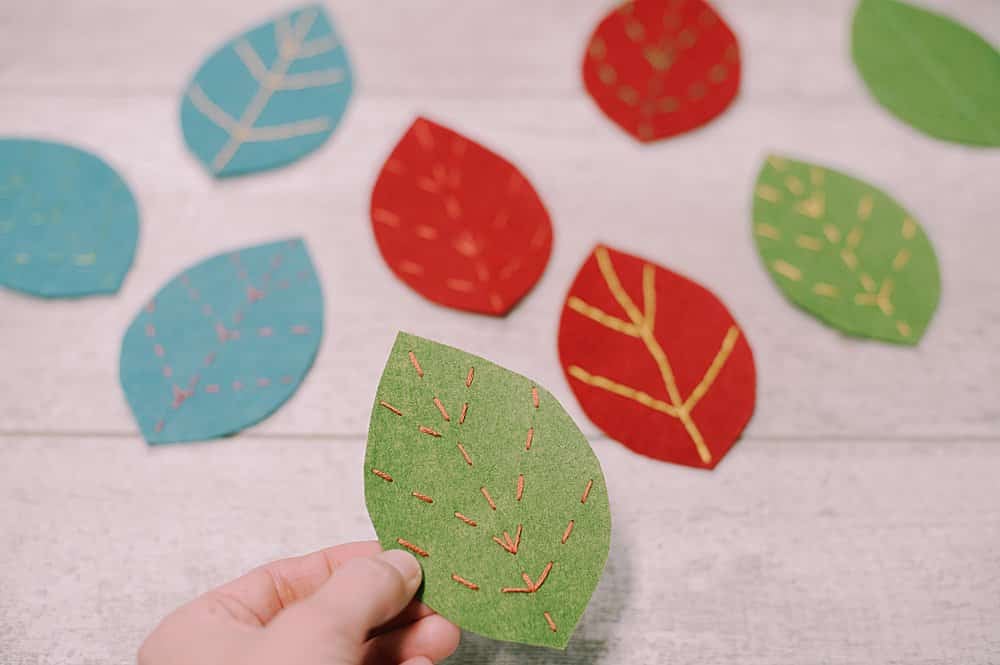
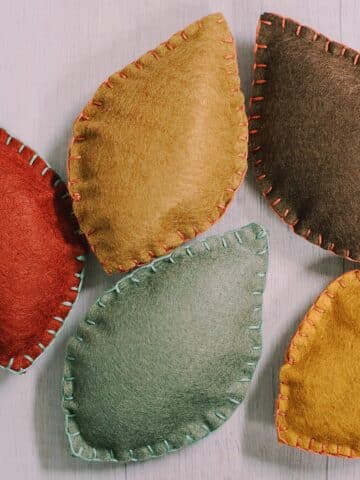
Step 3. Embroider veins onto the felt leaves using a simple backstitch or running stitch.
Use whatever color embroidery thread you like - contrasting colors make the veins stand out.
This leaf below has embroidered yellow veins using a backstitch.

Some of the leaves below have running stitch veins.
You can use whatever embroidery stitches you want for the veins - the backstitch and the running stitch are just two of the easiest and fastest, so that's what I did.
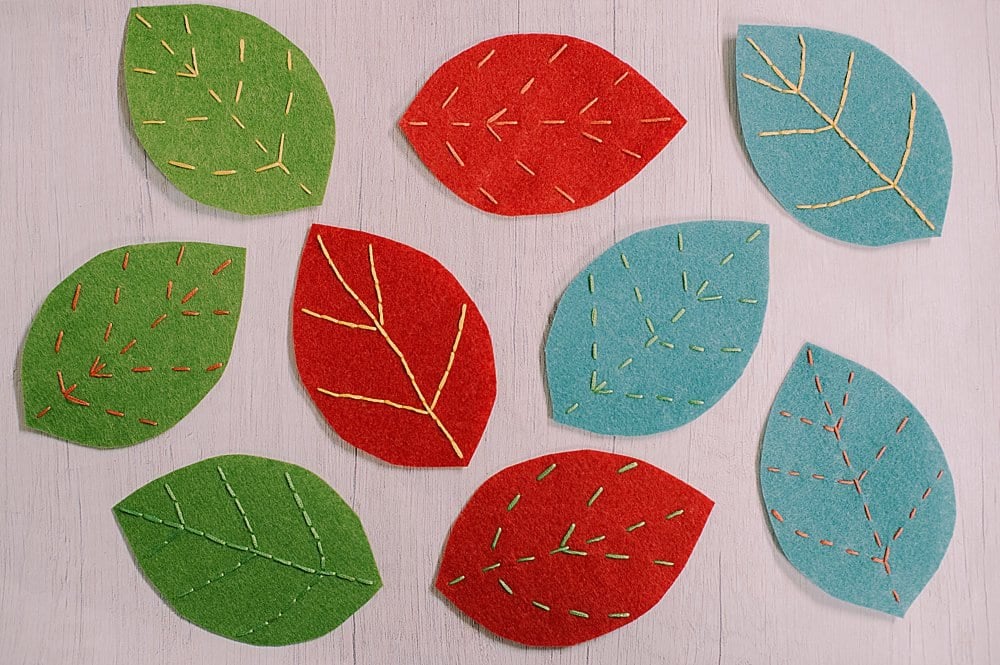
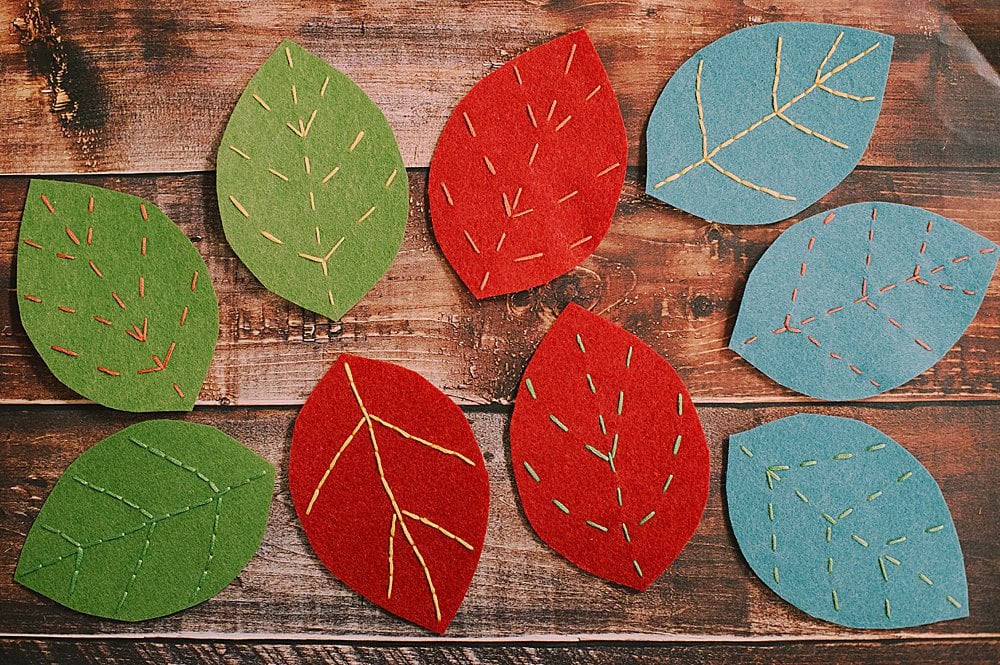
Backstitched veins below.
Running stitched veins below.
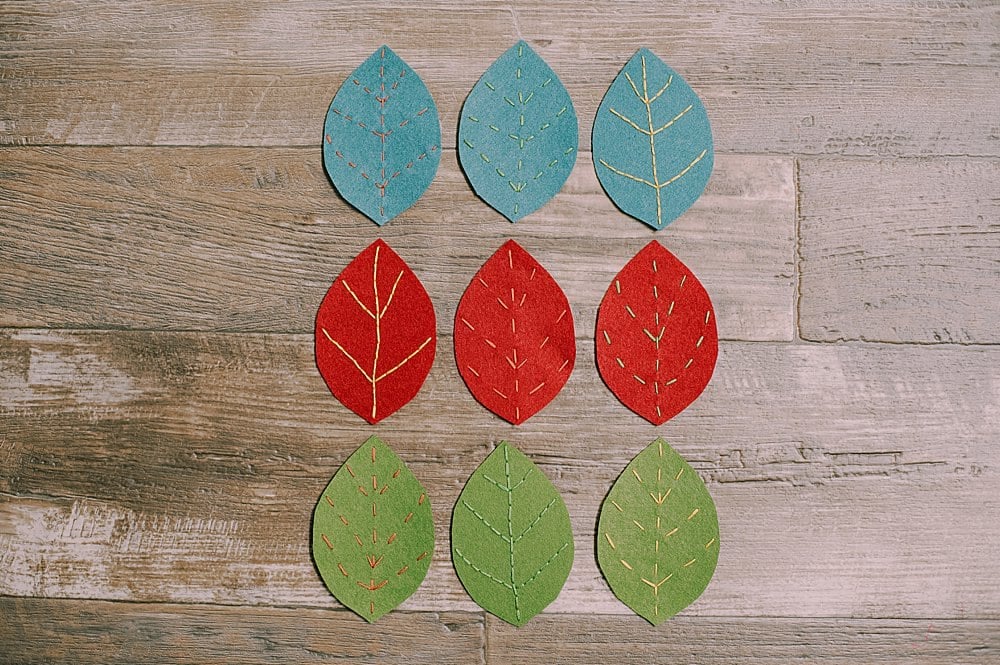
These hand-embroidered felt leaves are so cute!
They look uniquely lifelike, and they're fun and fast to make.
You don't need advanced embroidery skills at all - it's a great beginner embroidery project because you only need to do one or two of the most basic embroidery stitches; the running stitch or the backstitch.
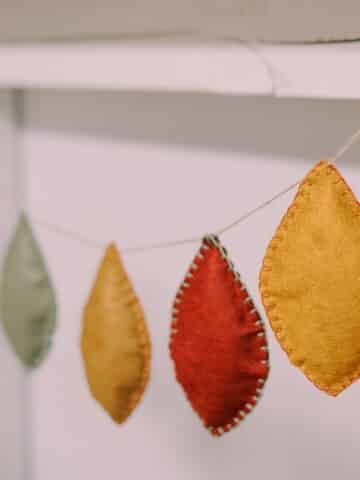
You can easily turn them into an embroidered felt leaf garland as well.

Leave a Reply