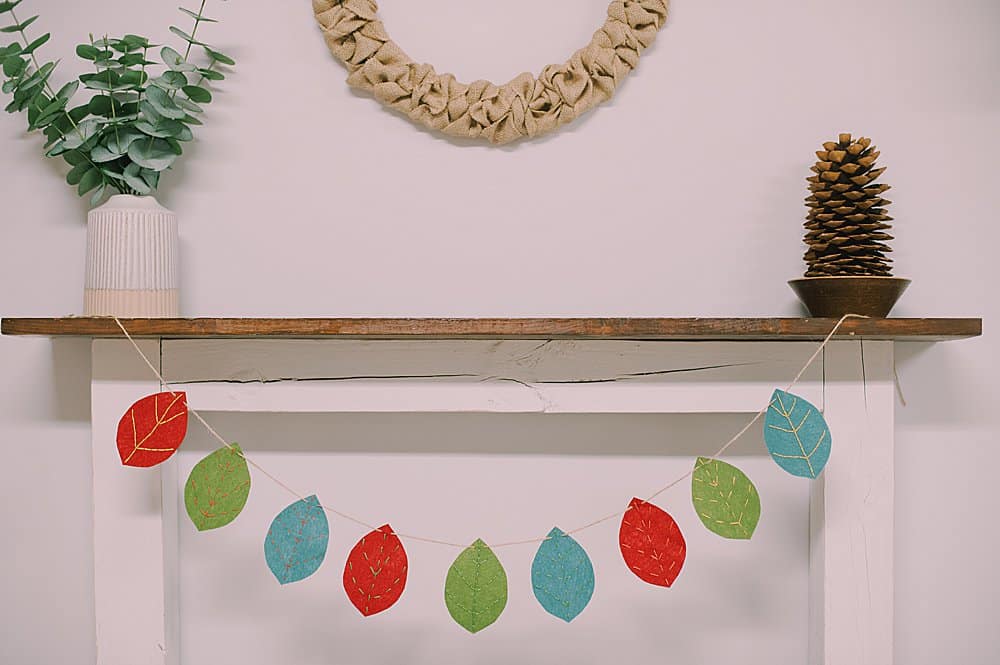
Learn how to make an embroidered felt leaf garland using felt leaves with embroidery floss veins, strung into a garland using twine!
We recently made embroidered felt leaves using felt and embroidery floss to add veins to the leaf cutouts.
Today, we are going to use those embroidered felt leaves and string them together to make a cute embroidered felt leaf garland that's perfect for fall!
Here's how to make it.

How to Make an Embroidered Felt Leaf Garland
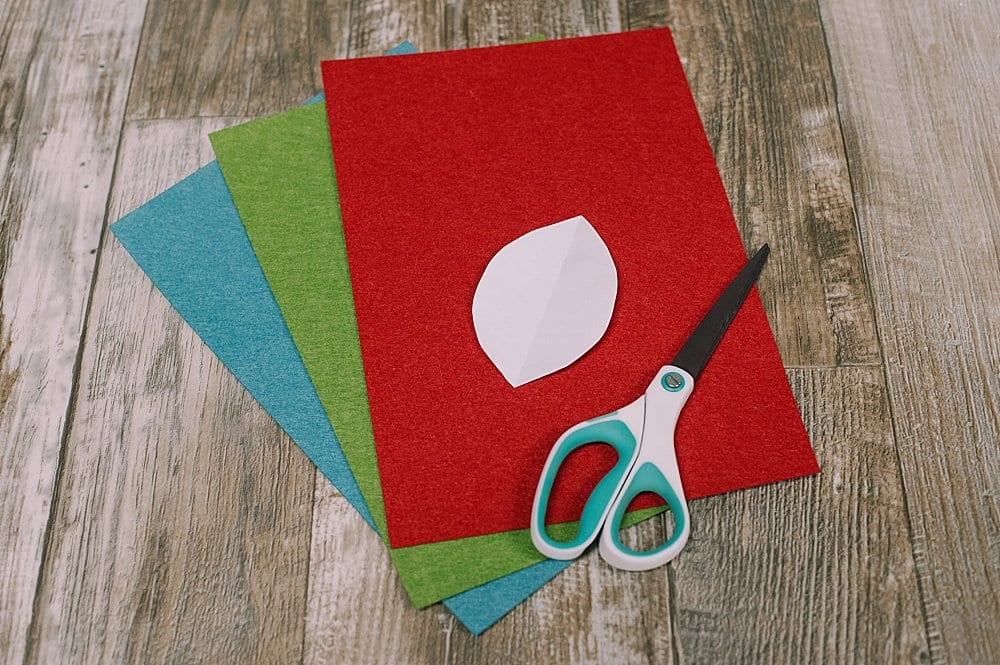
Step 1. Gather Supplies
Supplies Needed:
- Felt
- Leaf Template (found in our FREE resource library.)
- Scissors
- Embroidery Floss
- Embroidery Needle
- Twine
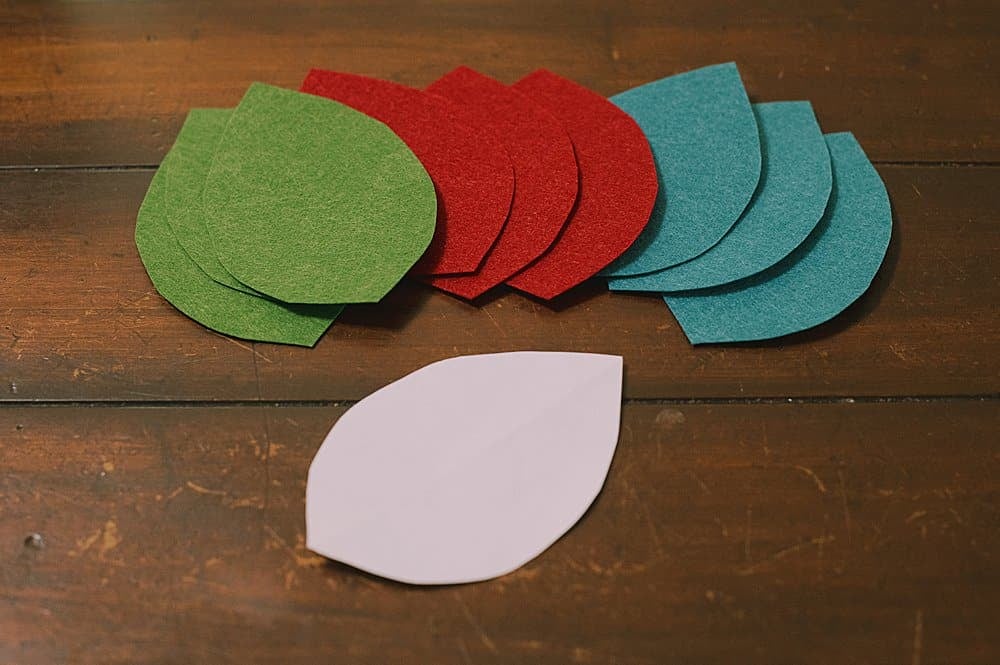
Step 2. Cut out leaves from felt using the felt leaf template.
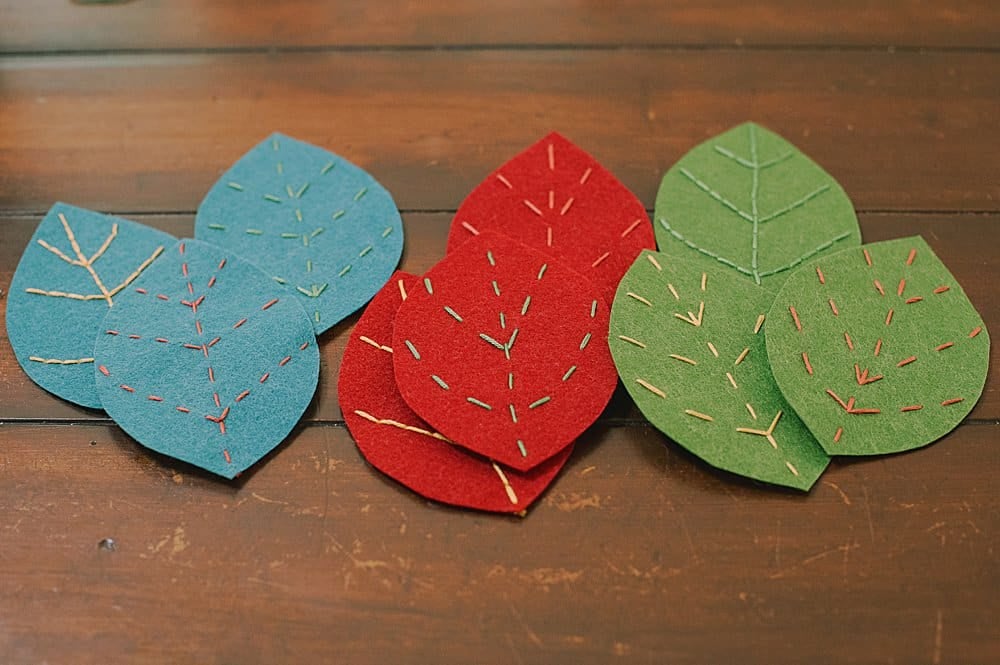
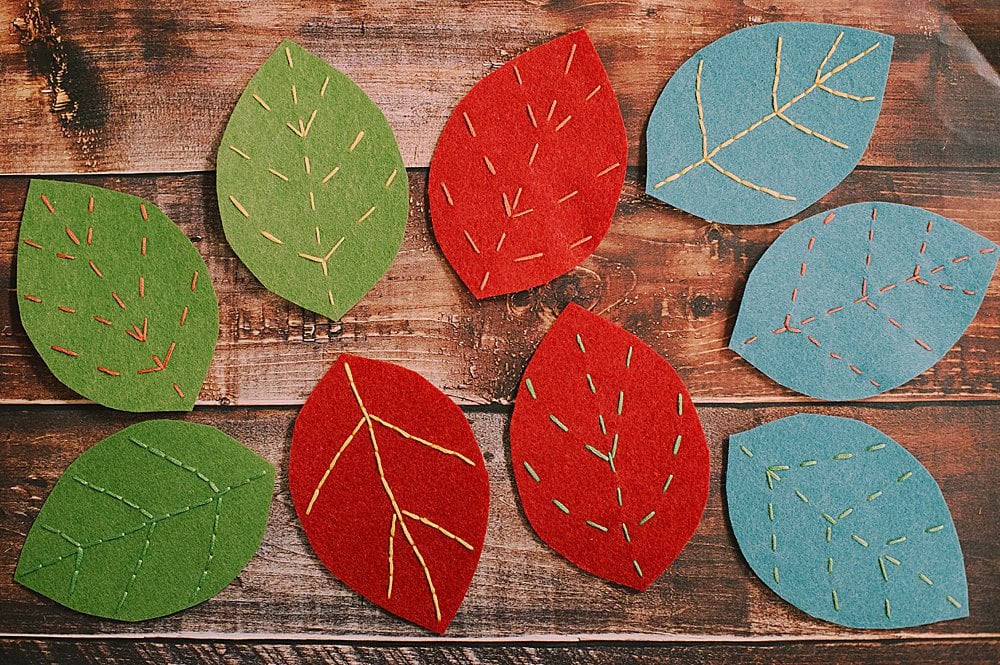
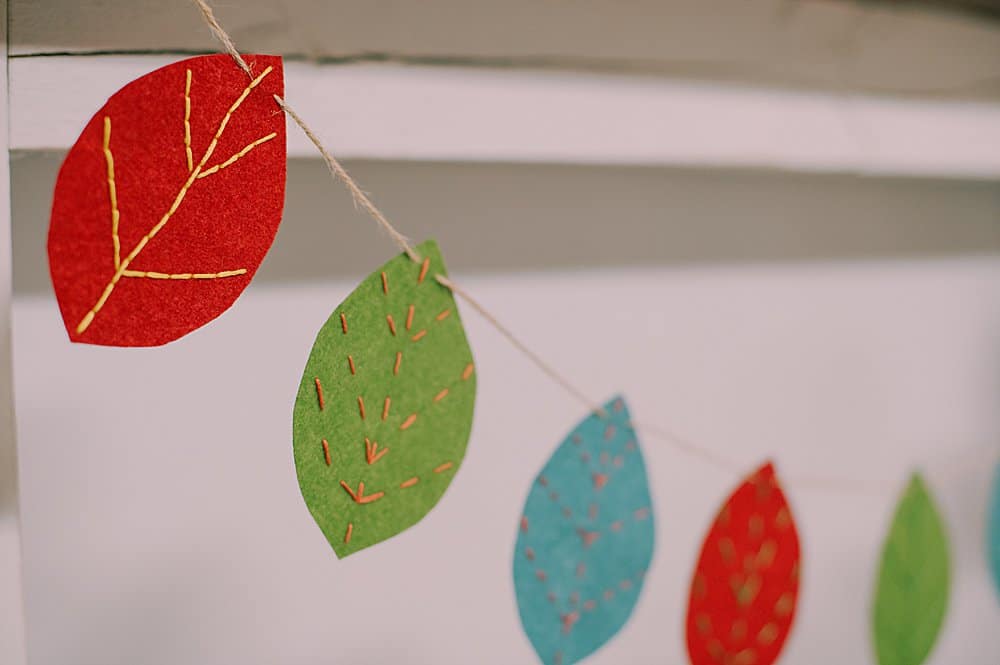
Step 3. Embroidery veins on the felt leaves using the backstitch or running stitch.
Step 4. Cut a long section of twine.
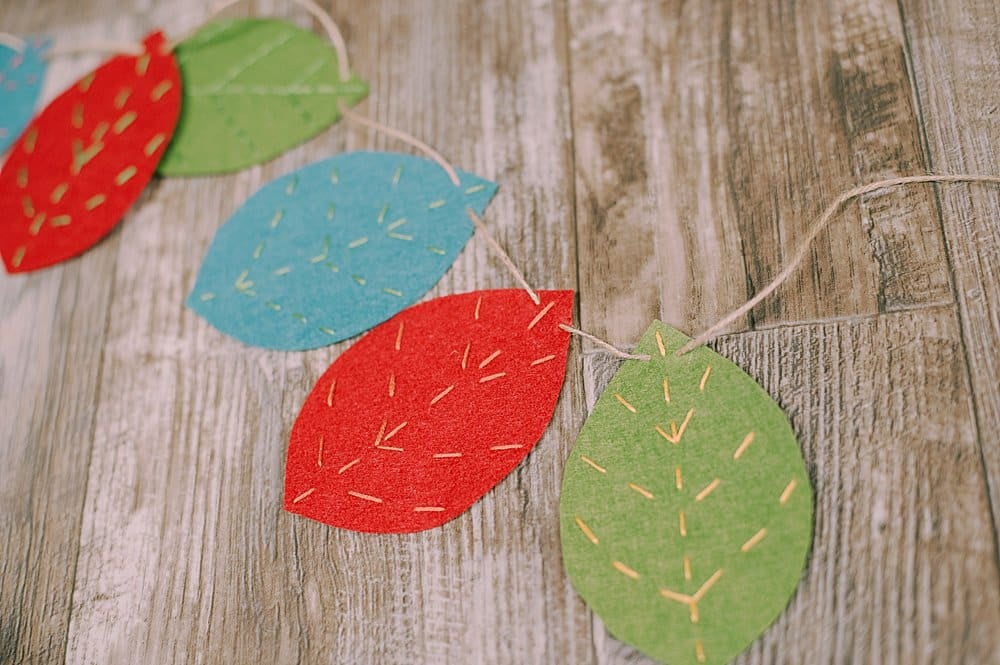
Using an embroidery needle, string the leaves onto the twine in the color order or pattern you want your garland to have.
I added the leaves by threading the twine in and out of the top of each leaf (as pictured below) so that the leaves would all hang flat.
Step 5. Tie loops in the ends of the twine and your garland is ready to hang!
This is a fun fall garland that can be customized in a ton of different ways.
You can use different colors of felt, different colors of embroidery thread, or even varying leaf shapes to make your leaf garland.
You can also take things up a notch and use more advanced embroidery stitches if you'd like.
It's a fun variation of our simple felt leaf garland, and is similar to the DIY felt lightbulb garland we made for the holiday season.





Leave a Reply