


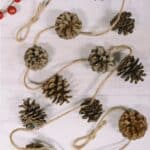


Learn how to make a pinecone garland using hot glue, pine cones, and twine in this rustic garland idea for your mantel!
Pinecones are God's gift to crafters!
Seriously - they can be made into so many awesome craft projects like:
- A Pinecone Person Ornament
- A Pinecone Pearl Ornament
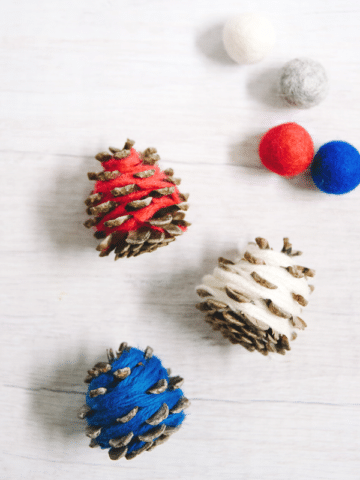
- Yarn-wrapped Pinecones
- Pinecone Pumpkins
- A Pinecone Wreath
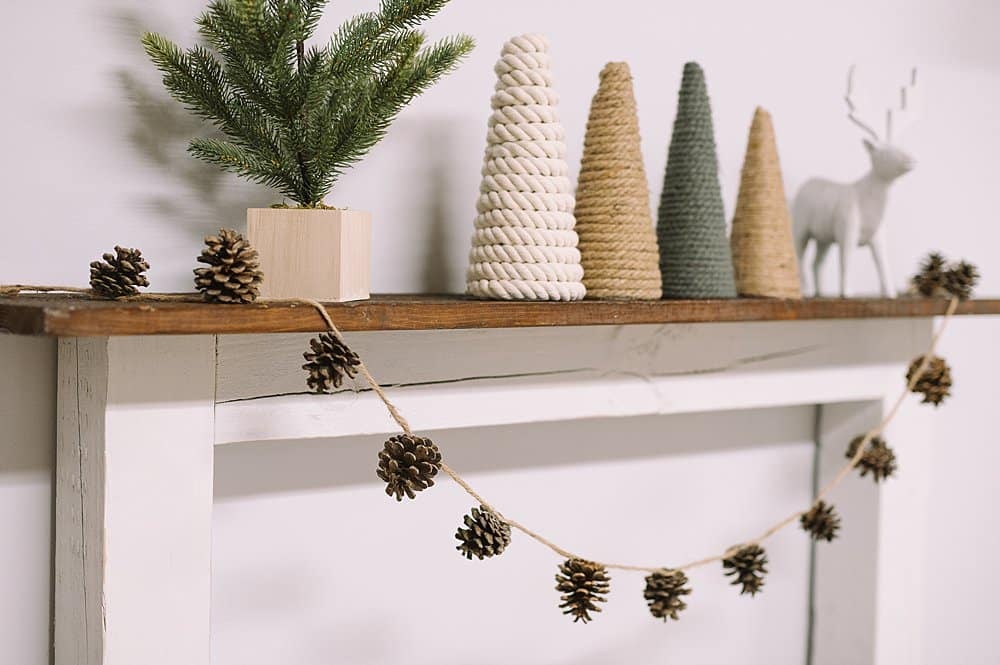
Today, we are going to make a simple, elegant yet rustic pinecone garland that will look right at home on your mantel!
Jump to:
Why You'll Love This Craft
- Pinecones are AMAZING! Their rustic details, the variety of shapes and sizes they come in... they are just perfect. I love all crafts involving pinecones so this is yet another fun way to use them!
- It's a super fast craft - it's probably the quickest and easiest garland I've ever made! All you need are two supplies; pinecones and twine, and some hot glue to attach them together!
- If you don't live in a place where you can find pinecones outside in nature, there are many places you can buy pinecones. Craft stores, online sellers like Ebay and Etsy, and of course, Amazon!
Craft Supplies Needed
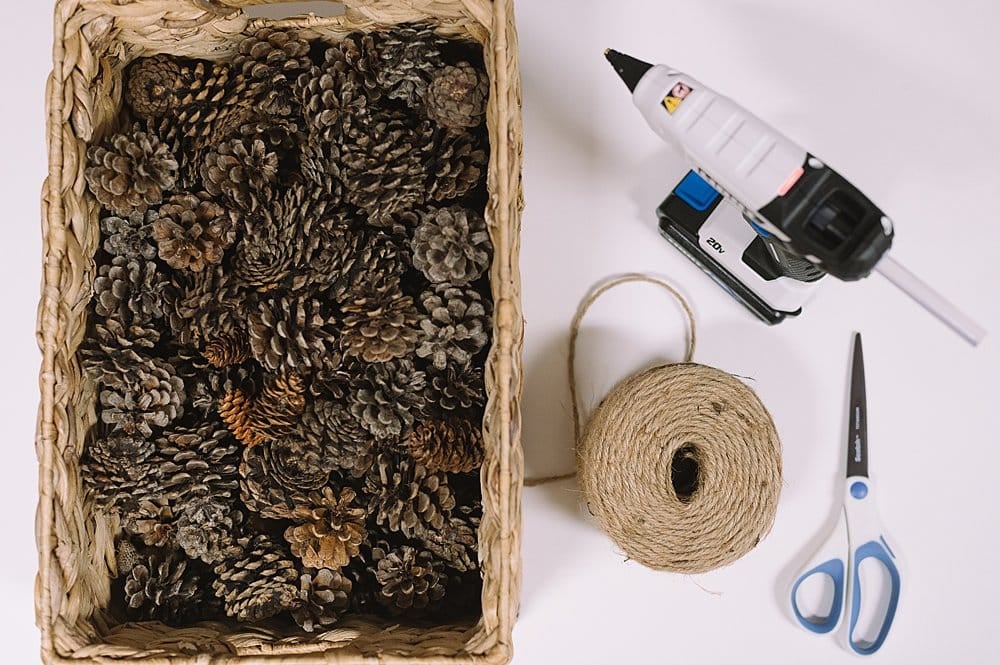
- Pinecones - You can buy pinecones or find them outside and clean them with this method.
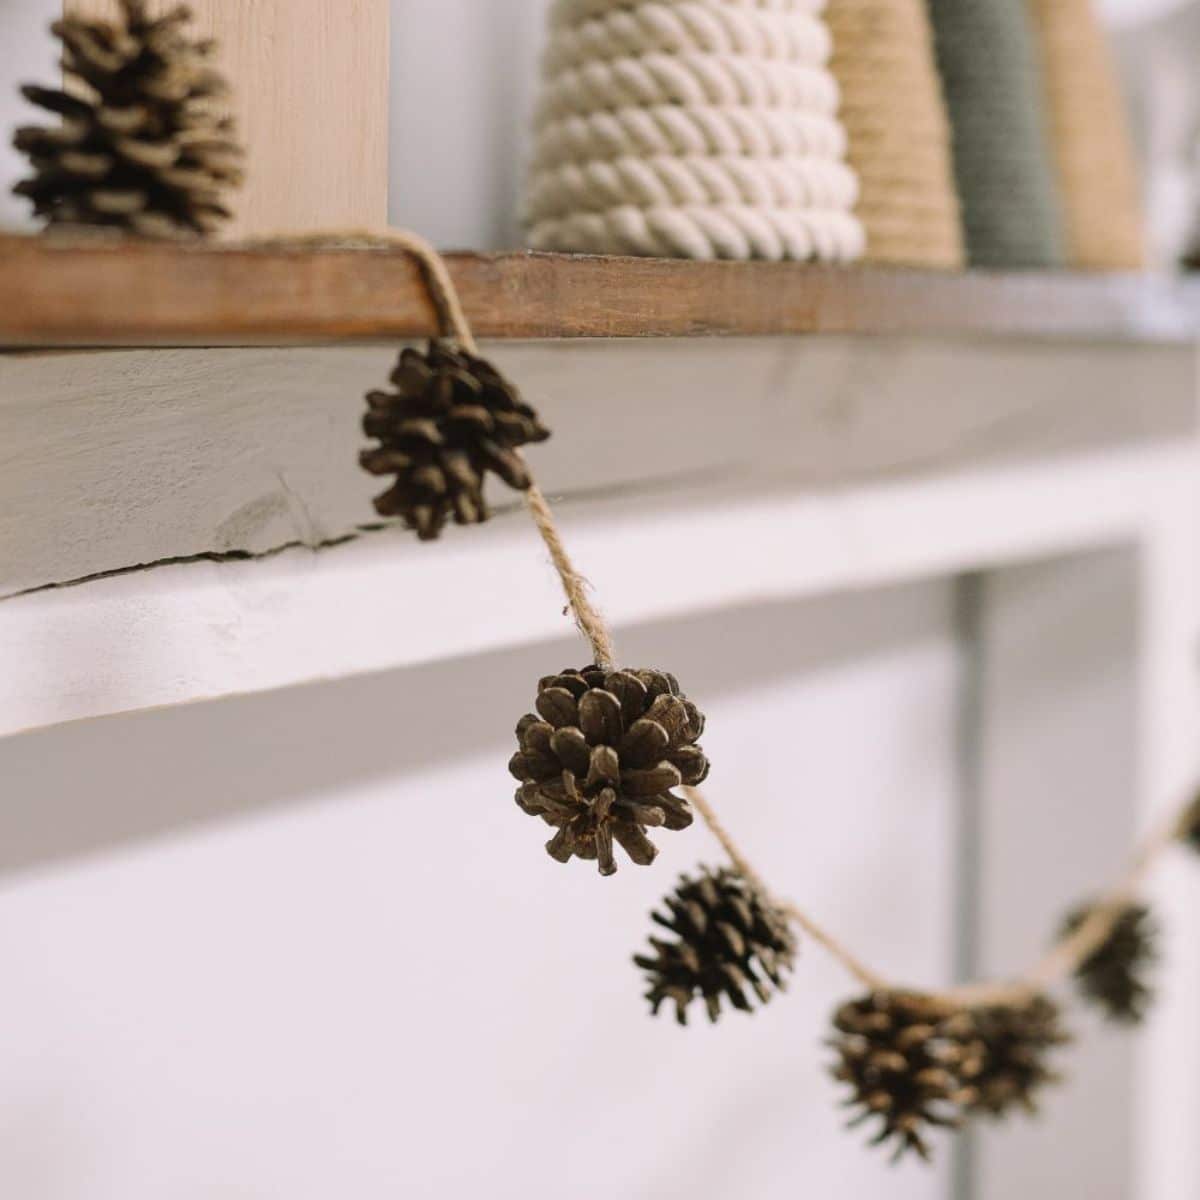
- Twine - Any thickness of twine will work for this garland. I used a thicker twine so it would balance the look of the pinecones and add some extra strength and durability when it is hanging up.
- Scissors, Hot Glue Gun and Glue - The cornerstone supplies of many crafts!
How to Make a Pinecone Garland
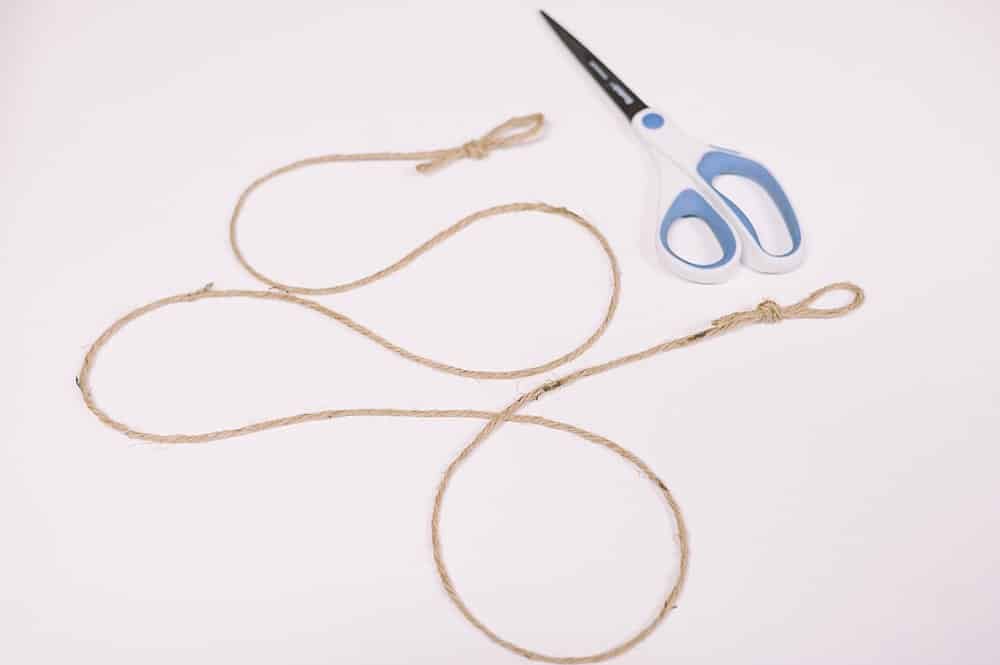
Step 1: Cut a piece of twine slightly longer than you want your finished garland to be.
(The extra length lets you tie two hanging loops.)
Tie hanging loops at each end.
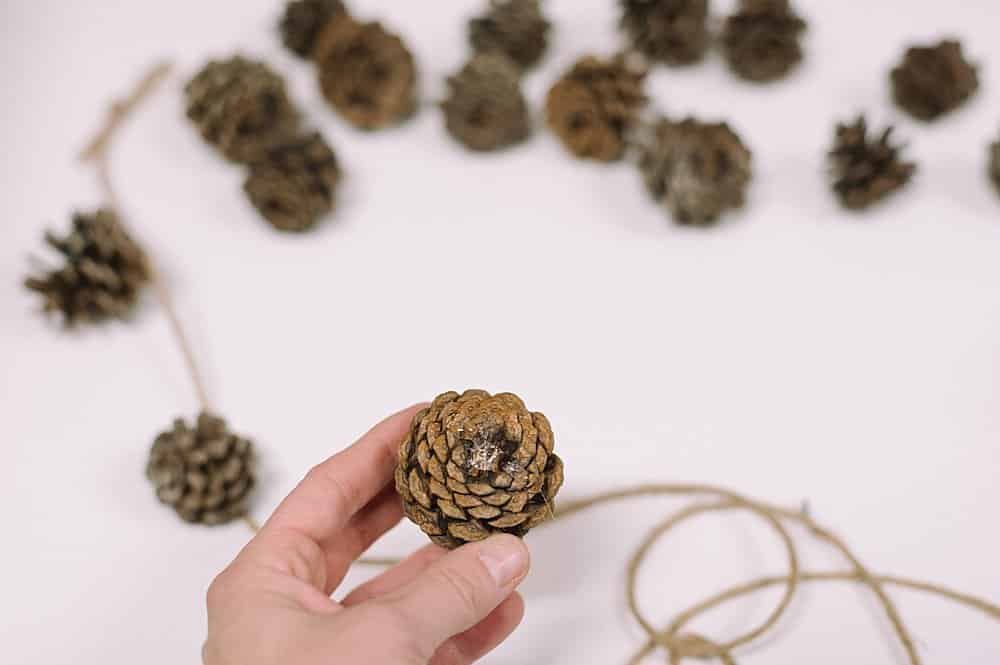
Step 2: Draw a line of hot glue across the flat part of the pinecone.
This is technically the bottom of the pinecone, but we will be attaching the pinecones to the twine upside down for this garland.
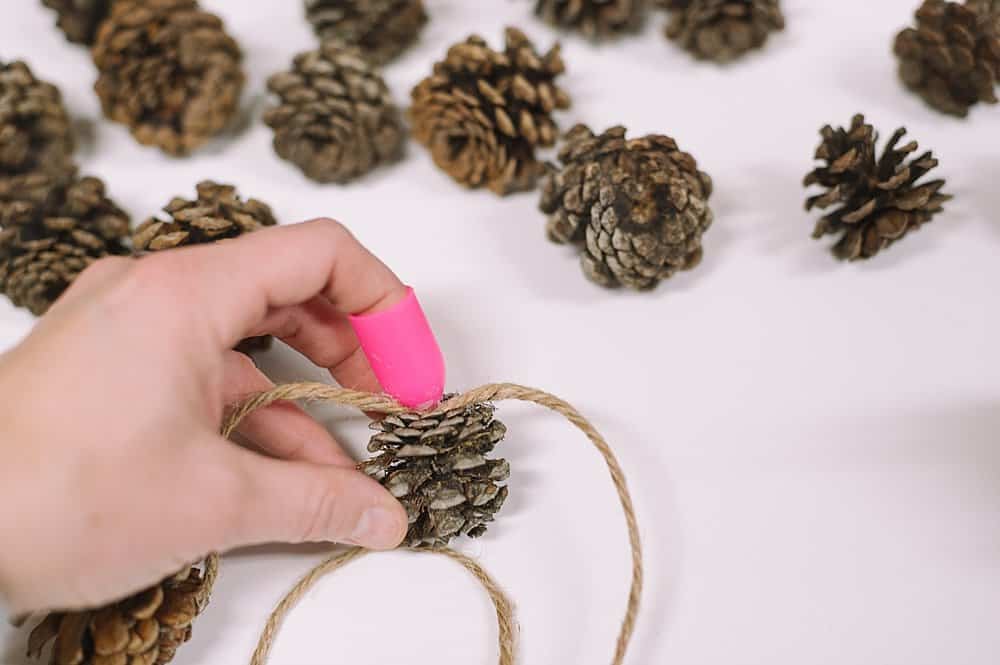
Step 3: Lay the twine onto the hot glue.
Use a silicone finger protector if you have one so you don't burn yourself.
Otherwise, use a popsicle stick or other tool to help you push the twine down into the glue without burning yourself.
Hold the twine into the glue until the glue cools and hardens.
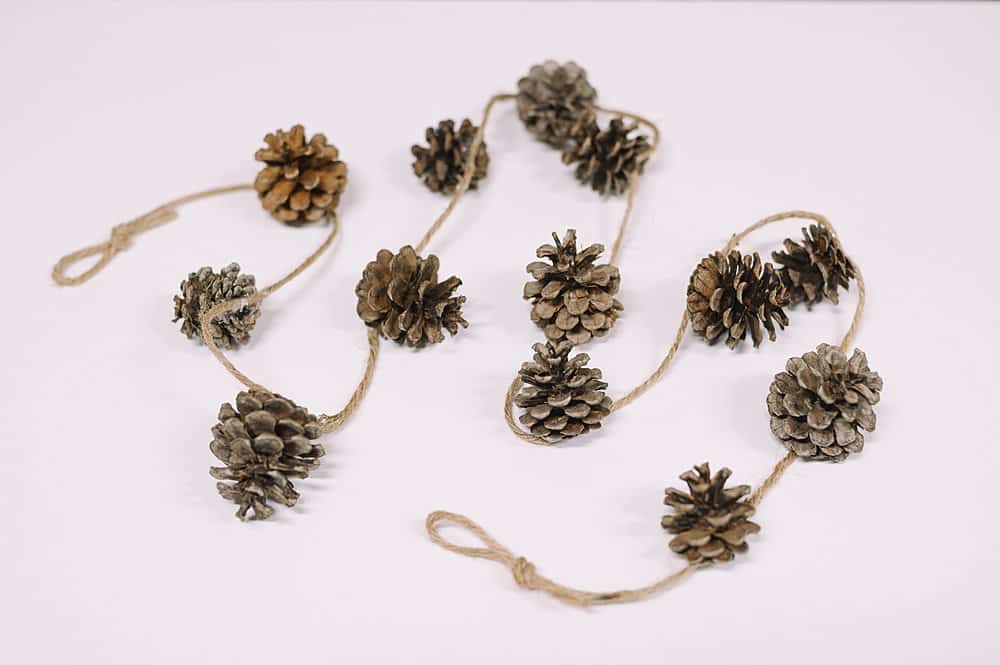
Step 4: Lay the twine out and set pinecones along the twine at even intervals to get an idea about your preferred spacing before you glue the second pinecone to the twine.
For this garland, I glued them 3-4 inches apart.
Glue the second pinecone onto the twine the same way you did for the first one.
Repeat until the whole garland is complete; then it's ready to hang!
Common Questions
These pinecones came from my yard, outside my house! (Perks of living in Minnesota!)
If you don't have pine trees in your yard or near where you live, you can buy clean pinecones on Amazon, Ebay, Etsy, and of course, at your local craft store!
I used small round pinecones for this project because that's what I have in my yard!
You could use any type of pinecone as long as it's not too big and heavy. Oblong or oval-shaped pinecones would work just fine, and so would pinecones that are even smaller than mine!
Yes! I love twine because it's rustic and simple. Plus, it's cheap and lasts a long time. But you can use any type of string to hot glue the pinecones onto! Yarn, string, rope, even strips of fabric or ribbon!
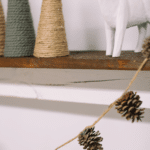
This pinecone garland works beautifully as part of holiday decor, but it also looks great for fall and all throughout the winter months.
That makes it an even better craft to try - you get to enjoy it for months on your mantel!
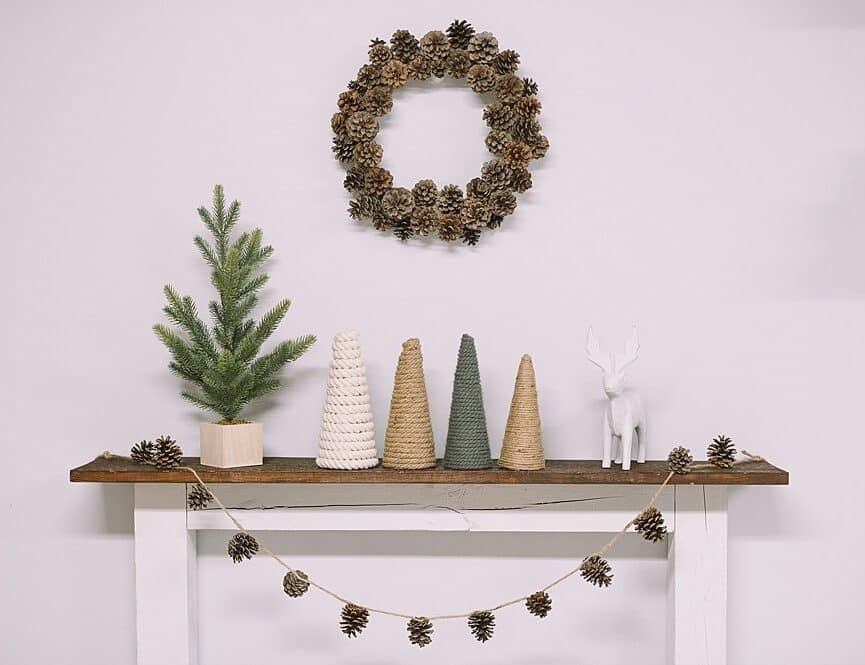
It pairs perfectly with a pinecone wreath, too!
More Pine Cone Crafts You'll Love
---
⭐️🧶 Did you enjoy this craft and want to see more like it? ✂️ Join our FREE email community and get inspiring craft ideas sent right to your inbox! 🧵 ⭐️
---
How to Make a Pinecone Garland
Materials
- Pinecones Clean and dry!
- Twine
- Scissors, Hot Glue Gun and Glue
Instructions
- Step 1: Cut a piece of twine slightly longer than you want your finished garland to be.(The extra length lets you tie two hanging loops.)Tie hanging loops at each end.
- Step 2: Draw a line of hot glue across the flat part of the pinecone.This is technically the bottom of the pinecone, but we will be attaching the pinecones to the twine upside down for this garland.
- Step 3: Lay the twine onto the hot glue.Use a silicone finger protector if you have one so you don't burn yourself.Otherwise, use a popsicle stick or other tool to help you push the twine down into the glue without burning yourself.Hold the twine into the glue until the glue cools and hardens.
- Step 4: Lay the twine out and set pinecones along the twine at even intervals to get an idea about your preferred spacing before you glue the second pinecone to the twine.For this garland, I glued them 3-4 inches apart. Glue the second pinecone onto the twine the same way you did for the first one.Repeat until the whole garland is complete; then it's ready to hang!
Notes
- If you can't find pinecones outdoors where you live, check craft stores, Amazon, Ebay, or Etsy to buy them.
- Any shape of pinecone will work as long as they aren't too big and heavy to stay adhered to the twine.
- If you don't have twine, you can use yarn, string, rope, ribbon, or a strip of fabric to hot glue the pinecones onto!


Audrey
Great instructions. Thank you!
Laura
I'm happy you liked the tutorial, Audrey! Merry Christmas!