Learn how to make a rice heating pad in this easy step-by-step tutorial with photos. An easy DIY rice heating pad sewing project you'll love.
Hot water bottles, electronic heating pads, and medicinal hot/cold gels are some of the popular ways people try to soothe life’s aches and pains.
Another popular method? Rice heating pads!
You can buy rice heating pads, or you can make your own diy rice heating pad, with this simple step-by-step tutorial.
It's very similar to our diy cornhole bag tutorial.
Here’s how to sew a rice heating pad!

How to Make a Rice Heating Pad
Step 1. Gather Supplies
Supplies Needed
- Fabric
- Scissors
- Rice
- Sewing Machine
- Rotary Cutter, Ruler, Mat
- Needle
- Thread
- Scoop and Funnel
Step 2. Cut fabric for your rice heating pad.
You can make a rice bag heating pad as big or as small as you want.
It’s determined first by how much rice you have (that’s the reason my diy rice heating pad ended up being half the size I originally planned) and how much fabric you have.
I initially cut two rectangles that were 8” by 24+” but did not have enough rice for barely half of that. Something like 8”x15” is what mine ended up being.
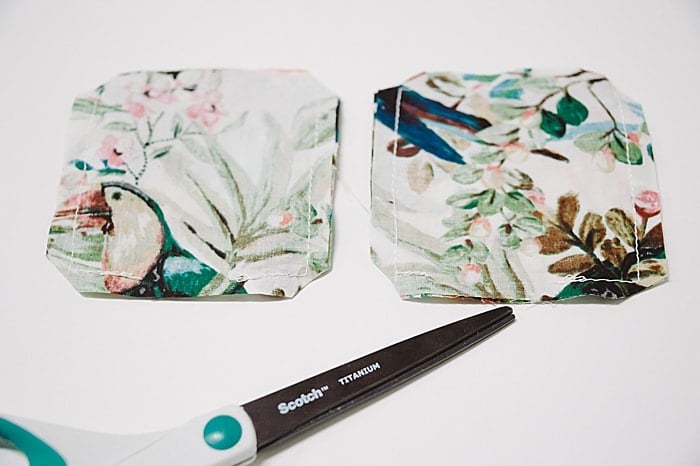
You can also use small 4”x4” squares to make diy rice hand warmers!
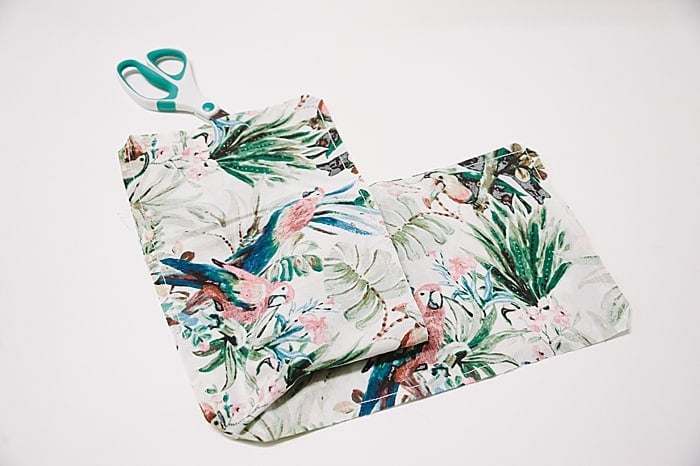
Step 3. Lay the two pieces of fabric on top of each other, with the RIGHT sides together.
Step 4. Just like we did in the cornhole bag tutorial, we are going to sew around the perimeter, leaving a turning hole along one side.
Make sure you backstitch at the beginning and end.
The turn hole should be on one of the short ends of the big rice bag (like where the scissors are sticking into.)
Step 5. Clip the corners to help them turn easily.
Step 6. Turn them right side out, through the turn hole, and make sure the corners are poked out.
You can use your finger, a blunt pencil, or a large, blunt knitting needle to help.
Step 7. Fill your diy rice heating pad with rice.
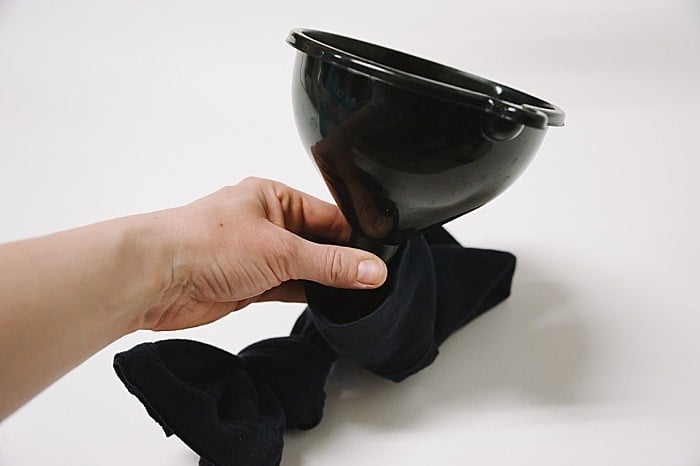
You can use a scoop and a funnel to help make the process less messy.
You want your heating pads and hand warmers to be plump but not bulging.
Step 8. You can close the rice bag and hand warmers two different ways, depending on your preference.
You can topstitch the end with the fill hole closed like I did in these photos.
This is the faster method, but it’s messier, visible from the outside, and is tricky if your bags are filled too full.
The other option is to do a blind, invisible ladder stitch to close up the fill holes.
This method takes longer, but it gives you a clean, smooth seam when you’re done because the stitches are hidden inside the seam.
No-Sew Rice Heating Pad
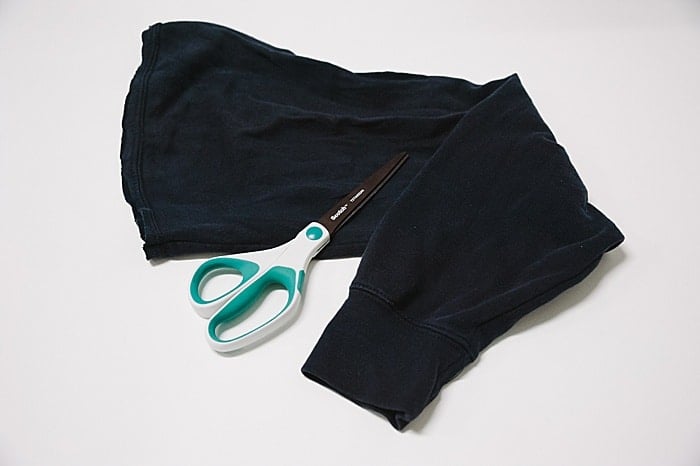
If you’re looking for a No-Sew option, you can use the sleeve of a long-sleeved shirt or sweatshirt, or even better, a big, tall sock.
A knee-high sock would be the best, as you would have a lot of space for rice, and plenty to tie off the top of the sock once it’s full.
But if you don’t have a tall sock, you can also use the sleeve of a shirt.
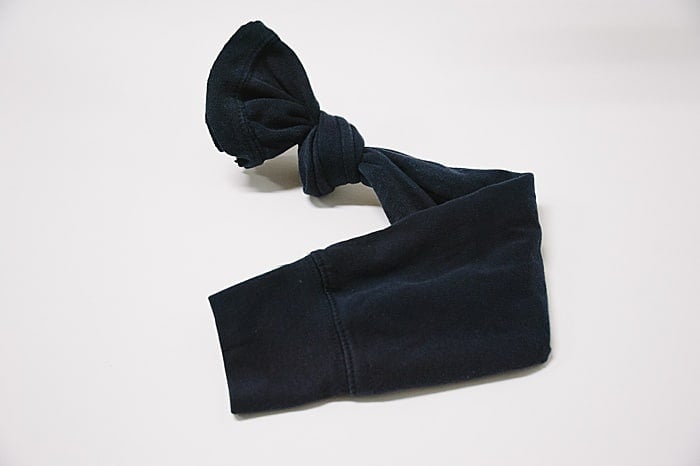
Step 1. Tie one end of the sleeve closed.
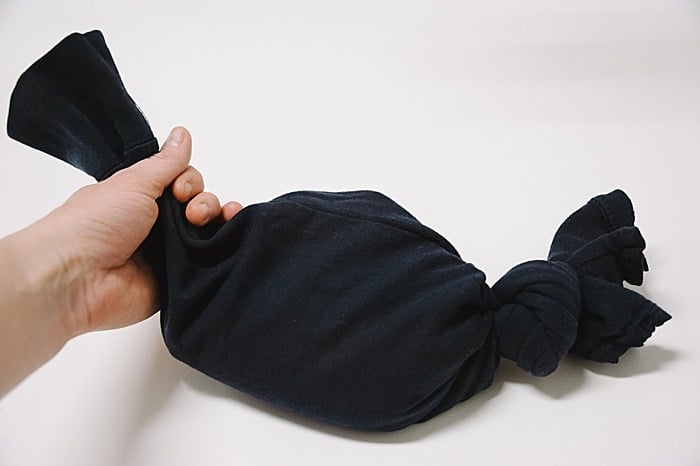
Step 2. Fill with rice.
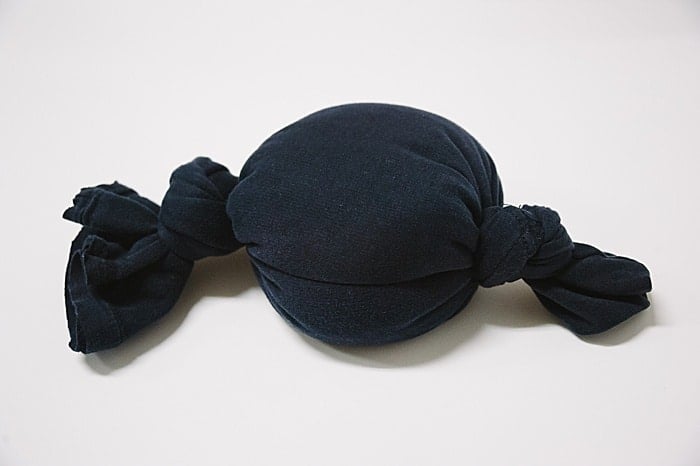
Step 3. Tie off the other end of the sleeve.
Admittedly, this was hard to do and gave me more of a round rice ball instead of a traditional rice bag haha.
But something is better than nothing!
If you’re looking for a no-sew version of a diy rice heating pad, your best bet would be to find a tall sock and use that.
- - -
Maybe your aches and pains are related to spring yard work, summer gardening, fall raking, or winter shoveling.
Or perhaps you’re just sore from life and need a little relaxation and relief for your sore muscles.
A diy rice heating pad is the perfect way to soothe your muscles, and it’s even better when you can make it yourself.
They make nice handmade gifts too (tuck it into a fun DIY tote bag or flat-bottomed tote) and can be customized with your fabric choices, or even adding a few drops of essential oil to the rice before filling.
The sky’s the limit, and your aching muscles will thank you.






Leave a Reply