Tassels are a crafting win because they're so versatile; they can be turned into a tassel garland, jewelry, embellishments on backpacks, or used in just about any type of home decor.
Mini tassel garlands are one of my very favorite types of garlands, and I've made several different versions of them like a 4th of July garland, a rainbow tassel banner, and a tassel garland for Christmas.
If you're looking to make a bigger tassel, the same general steps from the mini tassel tutorial can be used to make big tassels out of embroidery floss, with just a few small tweaks.
Here's a simple and fast way to learn how to make a tassel using two skeins (or bundles) of embroidery floss. There's even a free checklist you can download to help you make them faster and easier!
Let's do this!
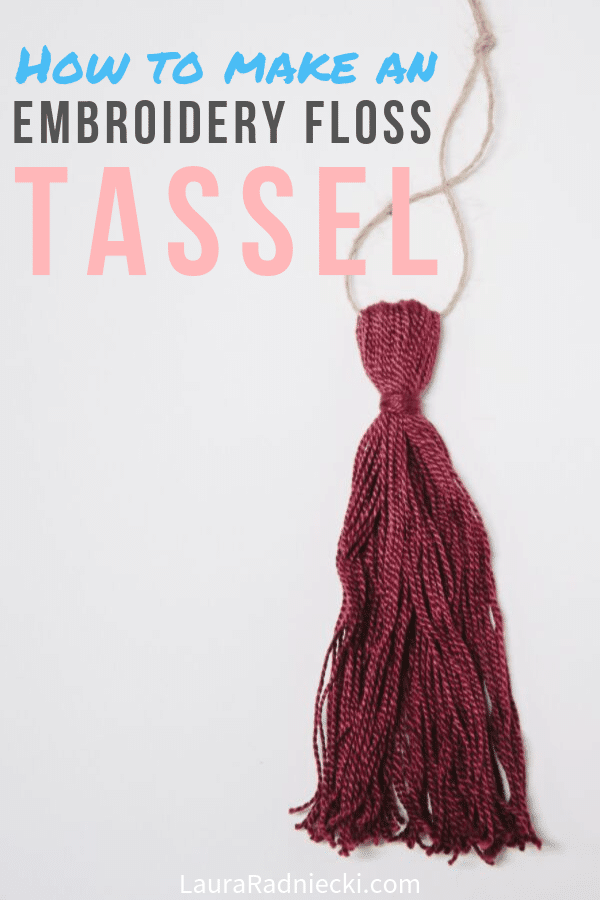
How to Make a Tassel with Embroidery Floss
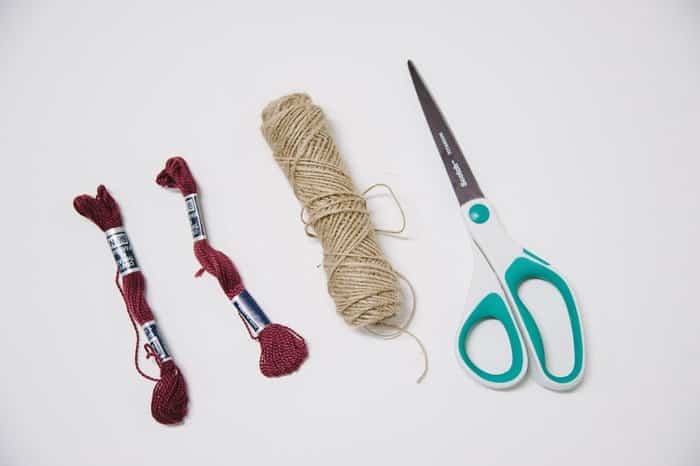
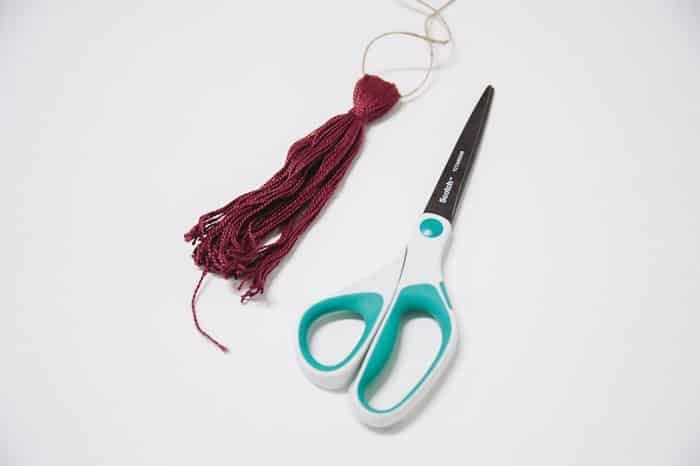
Step 1. Gather supplies.
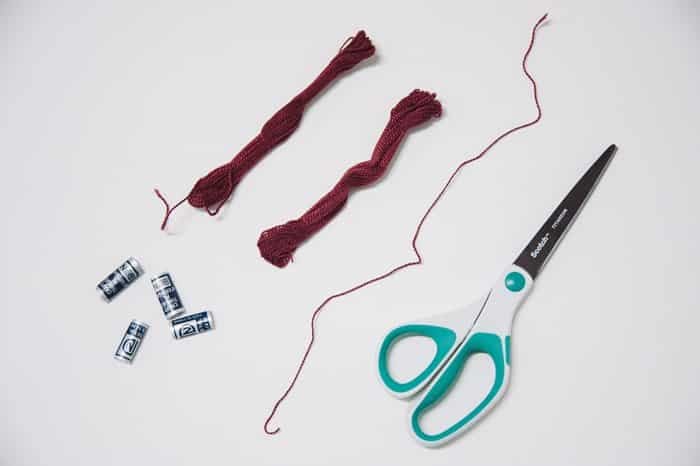
Supplies needed:
- 2 bundles of embroidery floss
- Scissors
- Twine (optional)
- Tassel Checklist (it's FREE in the Resource Library!)
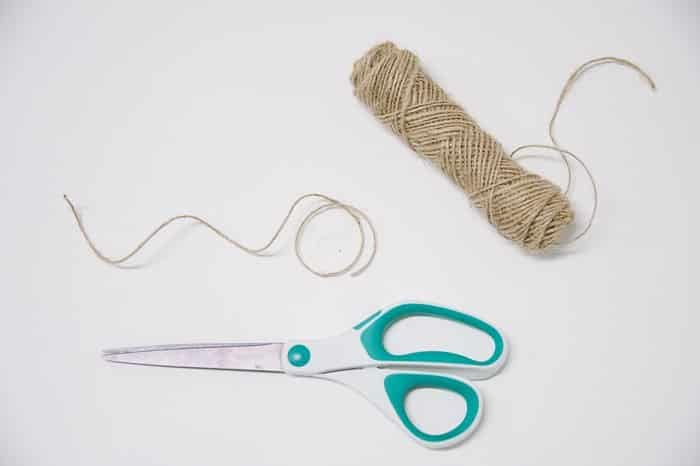
Step 2. Cut 8" section of twine or embroidery floss for anchor.
Take your scissors and cut an approximately 8" piece of twine, or embroidery floss.
This piece is going to act as the anchor piece and will allow you to tie the finished tassel onto something.
PRO TIP: If you are making these tassels as part of a garland, instead of cutting an 8" piece of twine here, you will want to cut a piece that is the desired length of your finished garland. Try something like 5 feet long; it's better to have too long of a garland piece and trim it later, than too short. It depends where you want to hang your finished garland.
Step 3. Cut 12" section of embroidery floss from one of the bundles.
Take the paper pieces off of your embroidery thread skeins, and cut off an approximately 12" section from one of them.
This is going to be the piece that wraps around the floss to make a tassel.
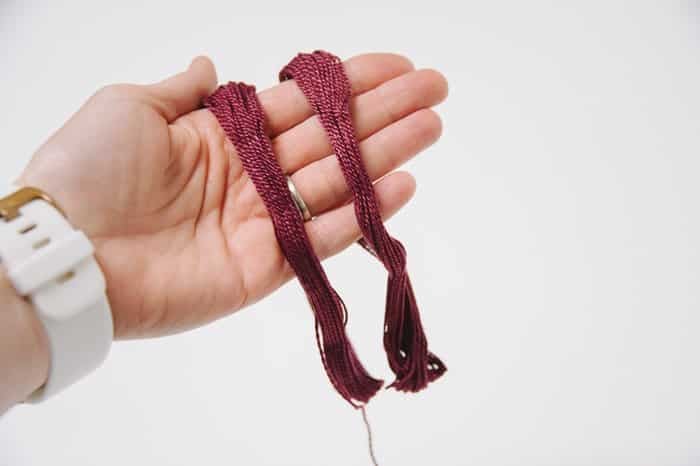
Step 4. Slip your hand into the two embroidery floss bundles.
Take your embroidery floss skeins and carefully open them up a bit so you can slip them onto your hand.
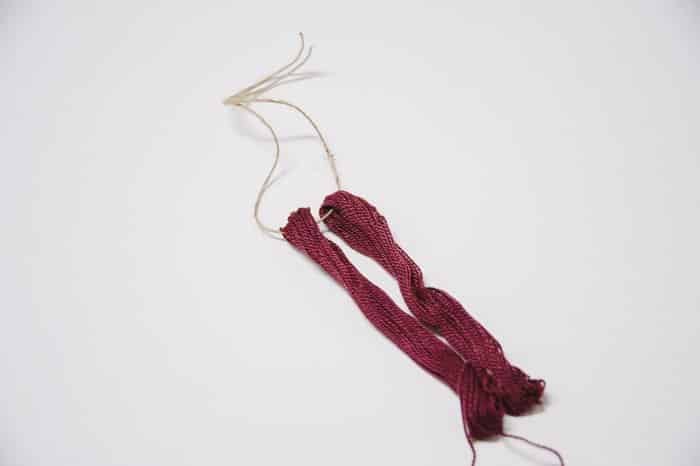
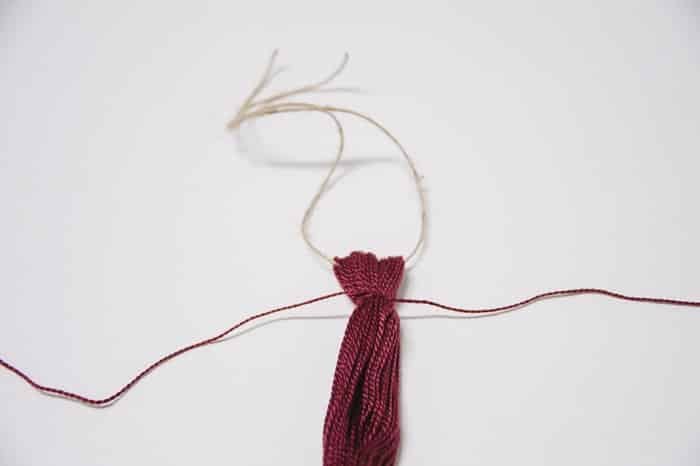
Step 5. Take twine or embroidery floss section and slip through top of open skeins.
Take your piece of twine or embroidery floss from step 2 and slip it into the bundles, along where your hand is.
Take your hand out, once the anchor piece of string is in place. It should look like the photo below.
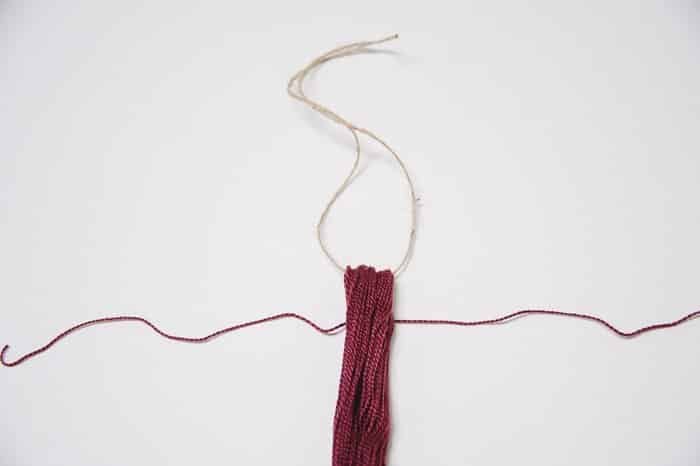
Step 6. Lay 12" section from step 3 down with tassel bundle on top.
Take the piece of embroidery floss from step 3 and lay it down flat on your work surface.
Next, lay the 2-embroidery-floss-bundle on top of it as shown below.
You want the 12" piece of floss to be about ½" from the top of the tassel.
Step 7. Tie a half-knot.
Taking the 12" section of embroidery floss, tie a half-knot like you do when you start to tie your shoes.
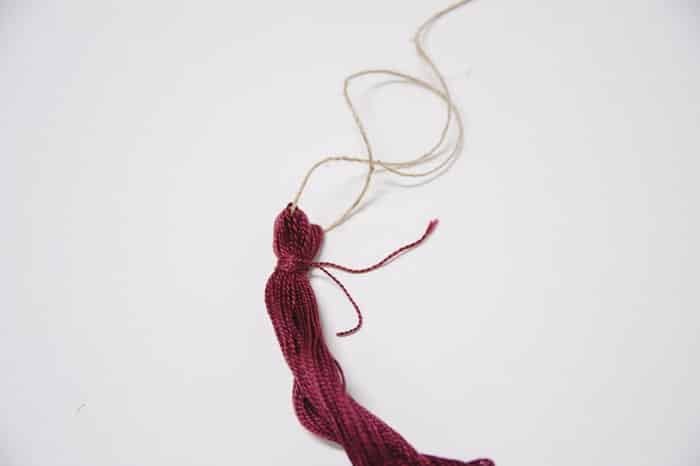
Step 8. Wrap left and right sections around the tassel neck. Knot the ends together.
First, take one end of the embroidery floss section and wrap it tightly around the neck of the tassel. Stop when there is about 2" left.
Next, take the other one and wrap it around the neck. Stop when there is 2" left.
When you're done, knot the two 2" ends together. This secures the wrapped floss at the neck of the tassel, and becomes the back.
 Trim off the ends close to the knot.
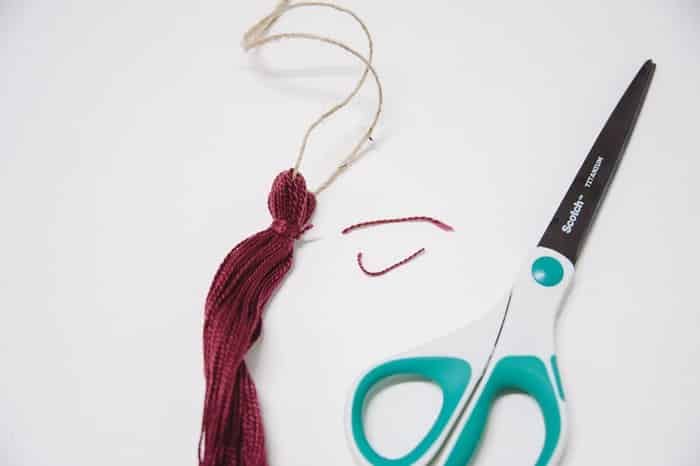
Step 9. Cut open embroidery floss bundles at bottom of tassel.
With the scissors, cut the loops of embroidery floss at the bottom of the tassel.
You want to make sure each loop is free and hanging down to make the tassel fringe.
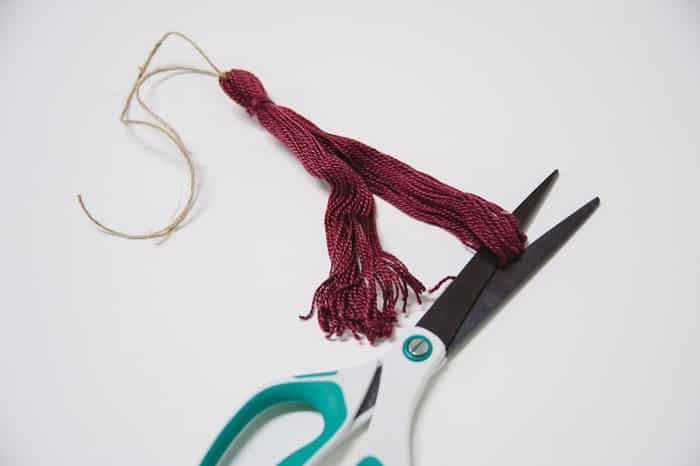
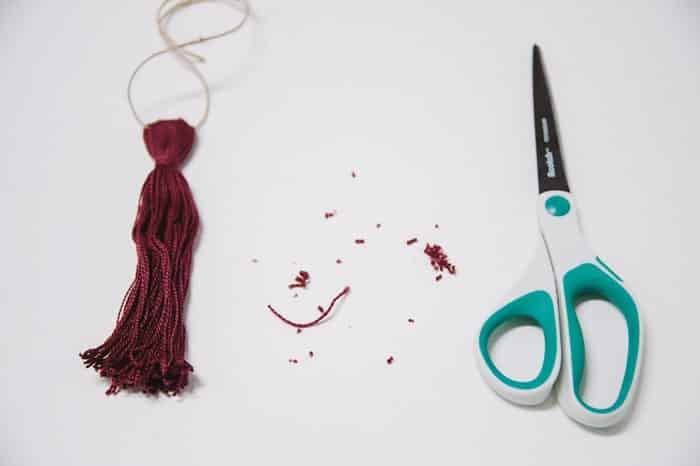
Step 10. Trim up tassel bottom.
The bottom of the embroidery floss will likely be uneven, so trim any pieces up that need it.
You want your tassel to have a nice, clean edge to it.
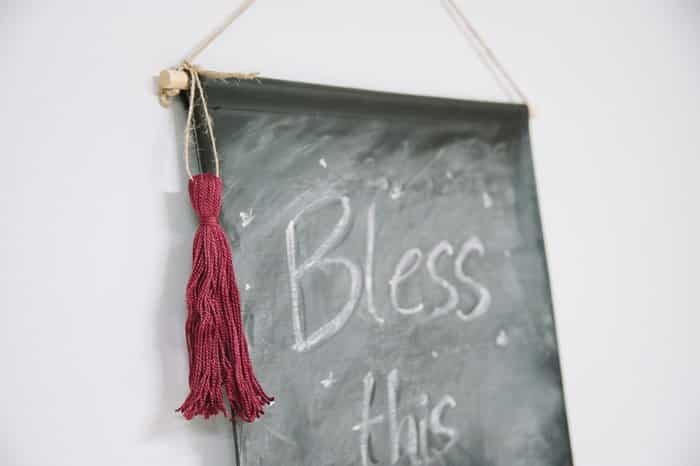
Step 11. Knot the twine and you're done!
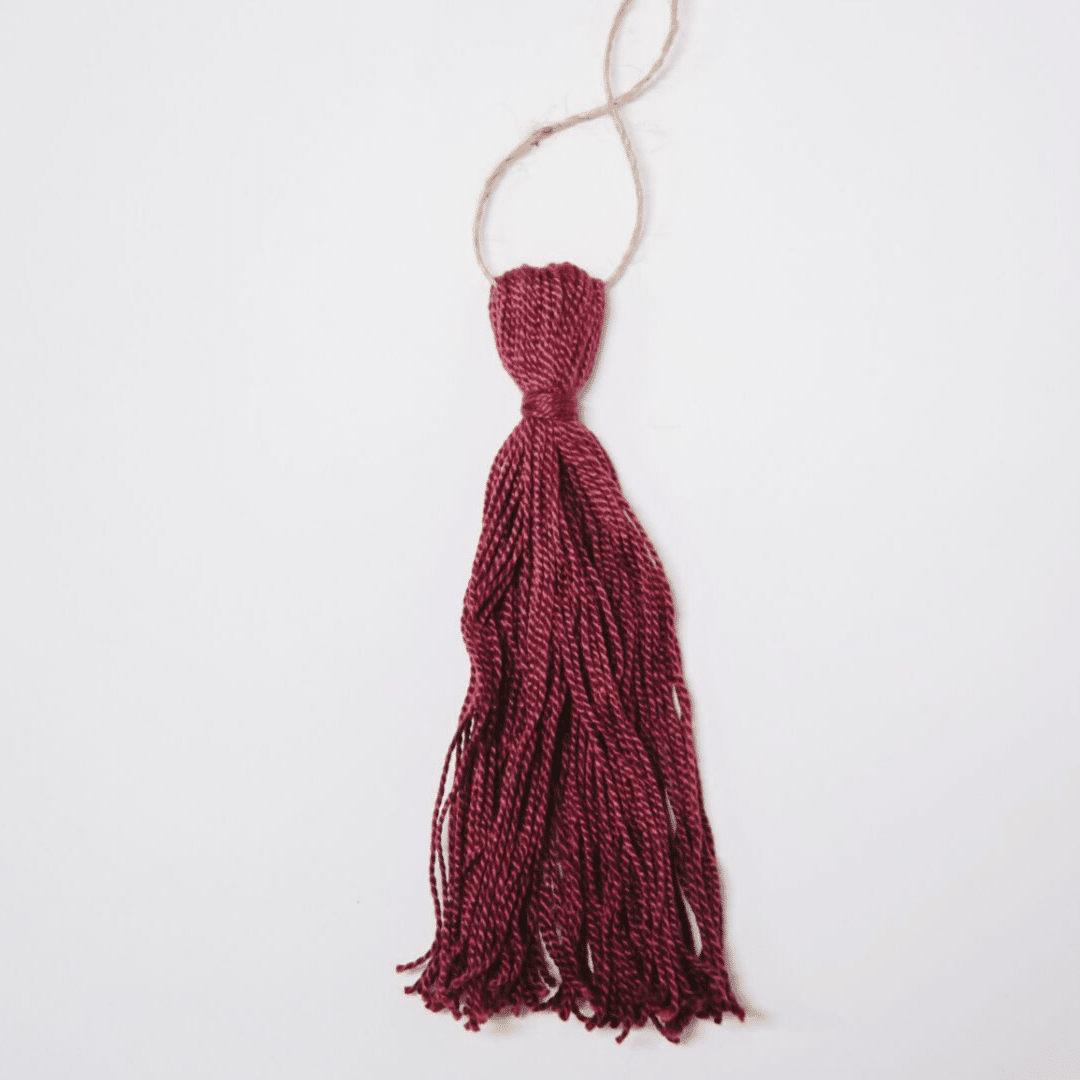
Once you've trimmed up the bottom and given it a shake to make sure it looks great, you can knot the twine and you're done!
It's ready to hang, or be used in another project.
Here's the full sized tassel we're making here compared to the mini embroidery floss tassel.
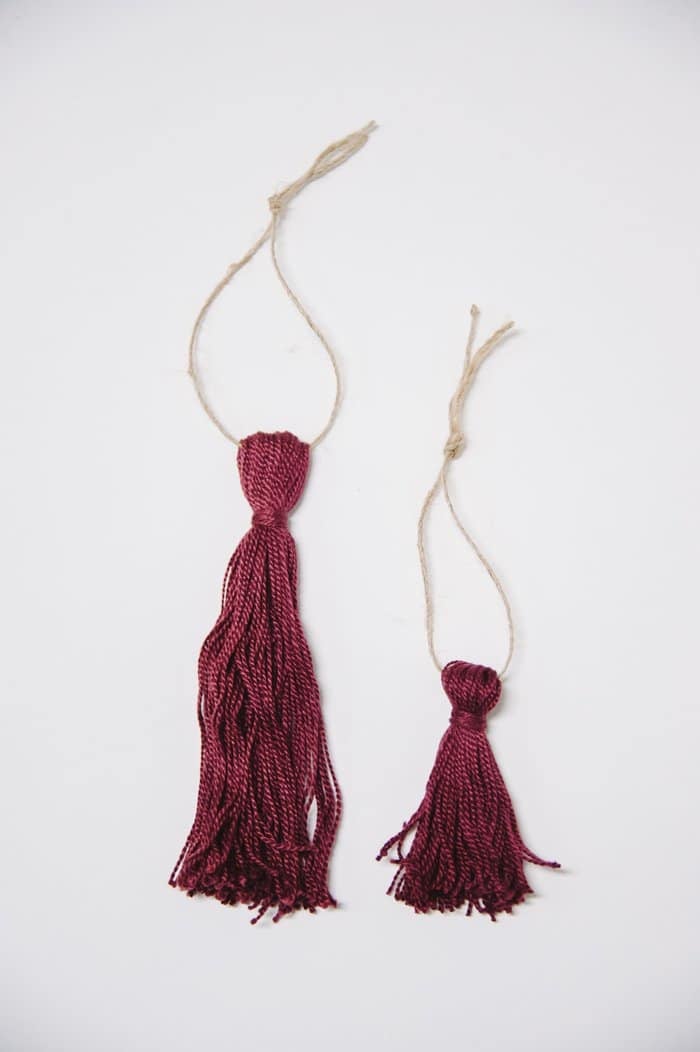
Once you get the hang of the steps that go into making one of these tassels (or the mini ones too!), you will be able to make them fast.
They are so easy, versatile, and literally require only two supplies (three if you want to use twine)... you can't beat that!
Perfect for fitting in a craft when you only have a few precious minutes to do it!
– – – – –
Save the idea for later by pinning the photo below to Pinterest!
Leave a Reply