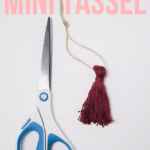
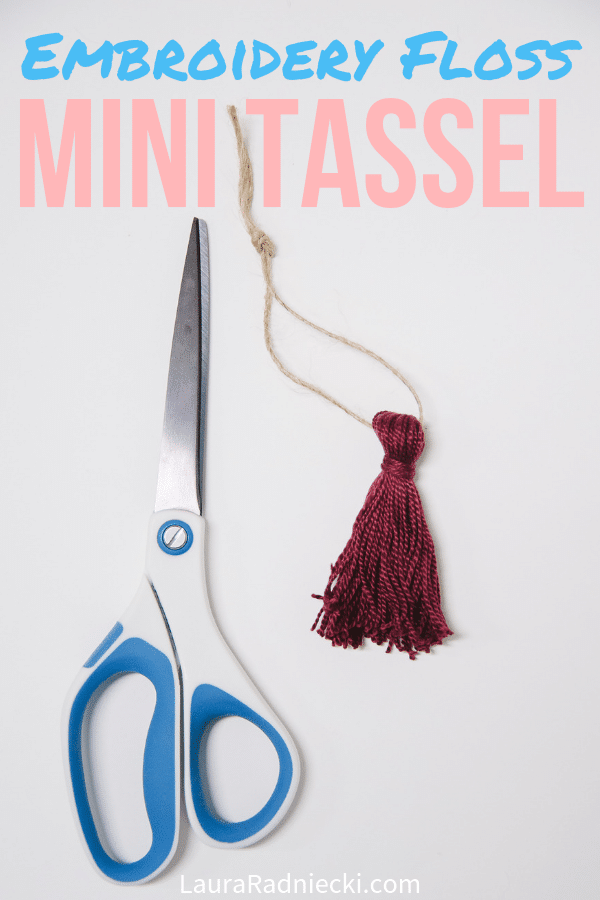
Tassels have become a staple in everything from jewelry and fashion to home and party decor, and these mini tassels with embroidery floss fit right in!
They are super fast to make, literally taking mere minutes. (Perfect for a nap time craft for us mama makers!)
And they can be used to dress up a backpack, turned into statement earrings, or my personal favorite - made into the cutest garlands you've ever seen.
If you're like me, you'll be hooked once you've made one, so get ready.
Here's how to make them.
How to Make a Mini Tassel with Embroidery Floss
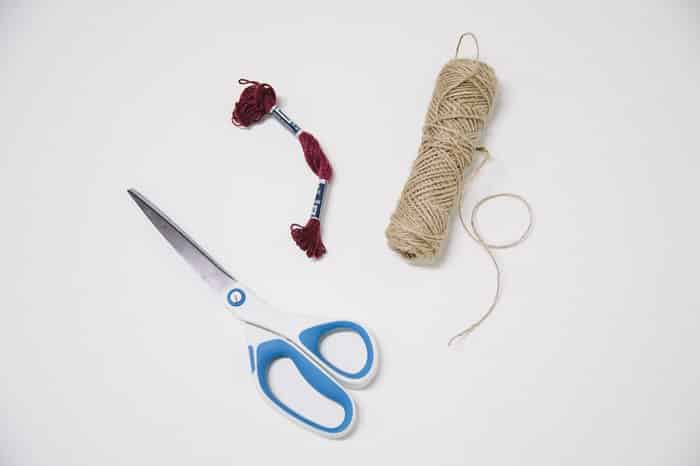
Step 1. Gather supplies.
- Embroidery floss
- Scissors
- Twine
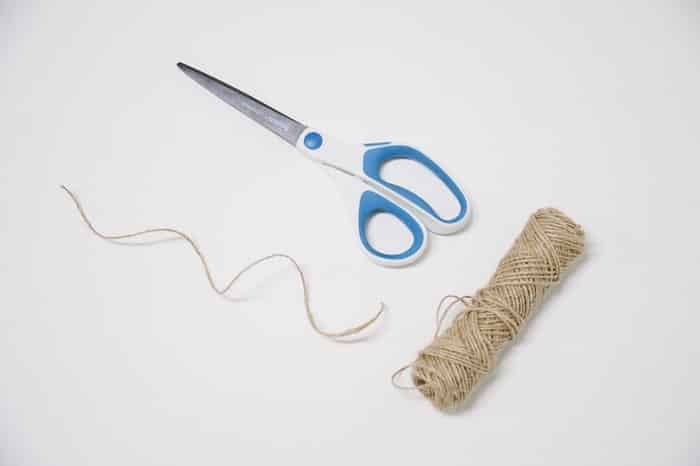
Step 2: Cut a piece of twine.
Cut a piece of twine about 8" long. Set it aside.
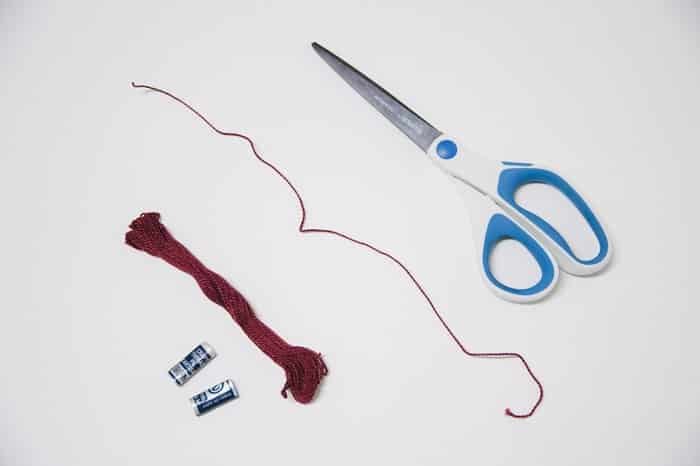
Step 3. Cut a piece of embroidery floss.
Take the wrappers off of the embroidery thread bundle.
Unravel a section of embroidery floss about 12", and cut.
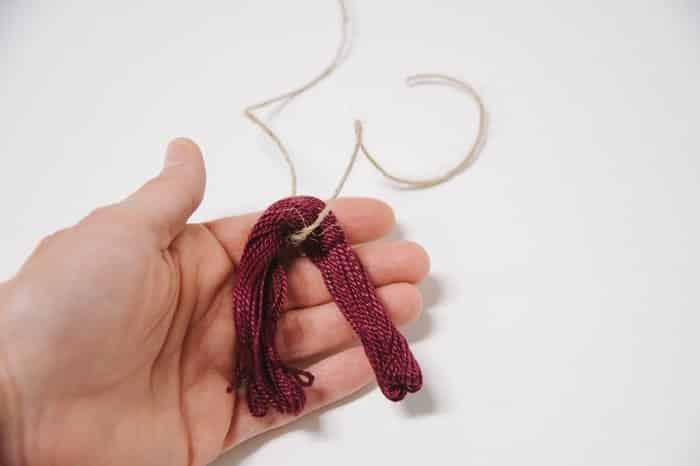
Step 4. Fold embroidery floss over twine.
Lay the piece of twine down. Fold the embroidery floss bundle in half over the piece of twine.
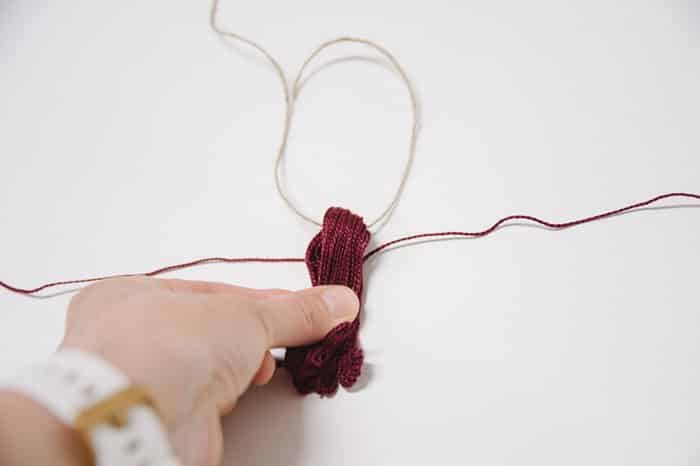
Step 5. Tie embroidery floss section around top of bundle.
Lay the 12" section of embroidery floss down.
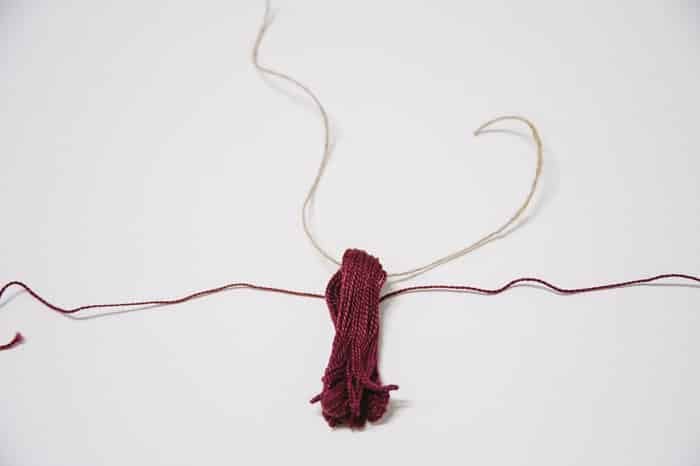
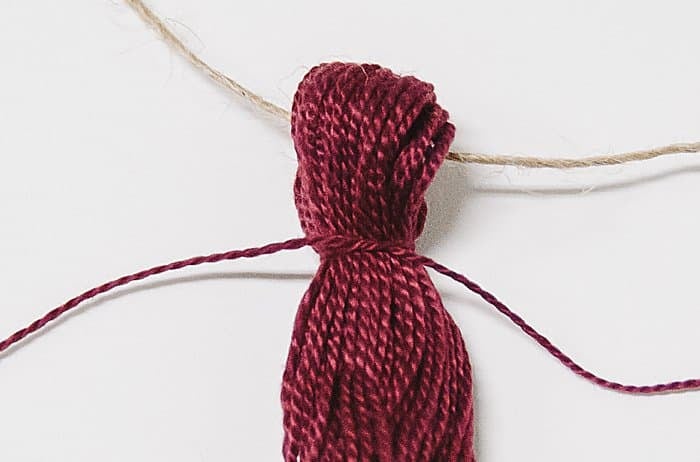
Lay the bundle of folded embroidery thread with the twine on top of the 12" section, as shown in the photo below.
Tie the 12" section of embroidery floss into a half-knot - like the first part of tying your shoes.
You don't want an actual knot here. You just want the first part of tying a knot where you put one end over and under the other and pull them tight.
(See the zoomed up photo below.)
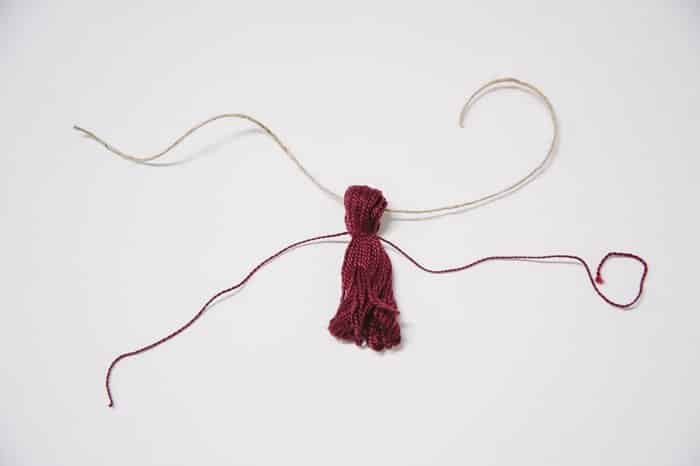
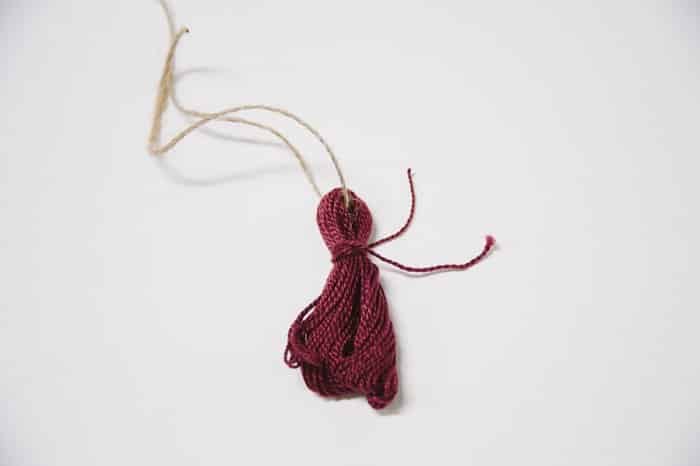
Step 6. Wrap ends of the 12" piece around neck of the tassel.
Take one side of the embroidery floss section and wrap it around the neck of your tassel. Leave about 1-2" unwrapped.
Take the other end of the section and wrap it around the neck of the tassel. Leave 1-2".
Knot the two free ends together to secure.
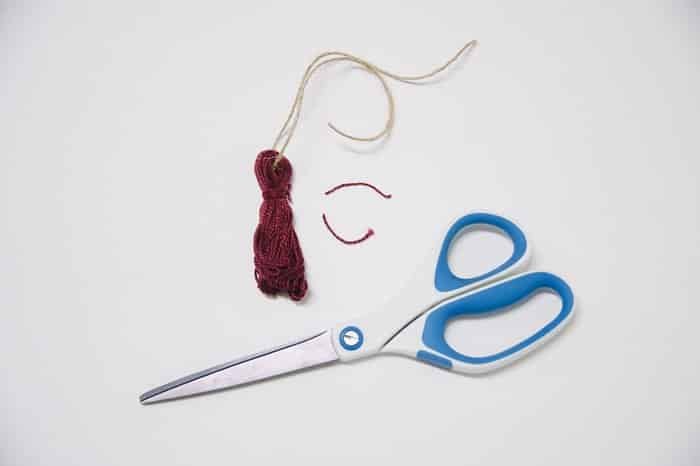
Trim the remaining two ends close to the knot.
Step 7. Cut the bottom of the tassel free.
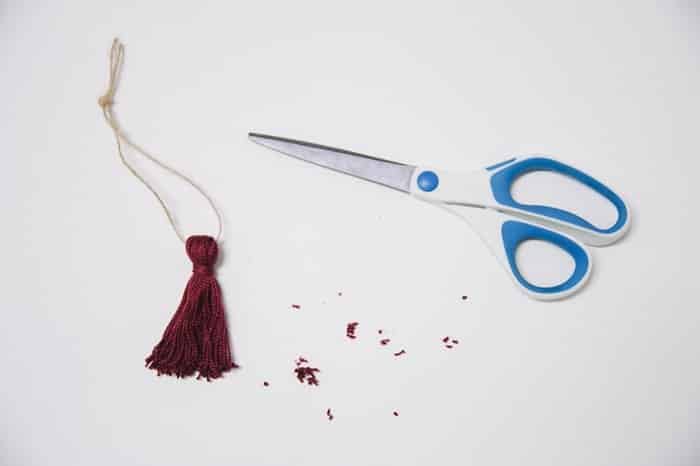
Using a scissors, cut all of the loops at the bottom of the tassel.
Step 8. Trim your tassel.
Your tassel might be uneven, so use the scissors to even up the bottom of the tassel.
Shake it and make sure all the loops are cut free and any long pieces are trimmed up.
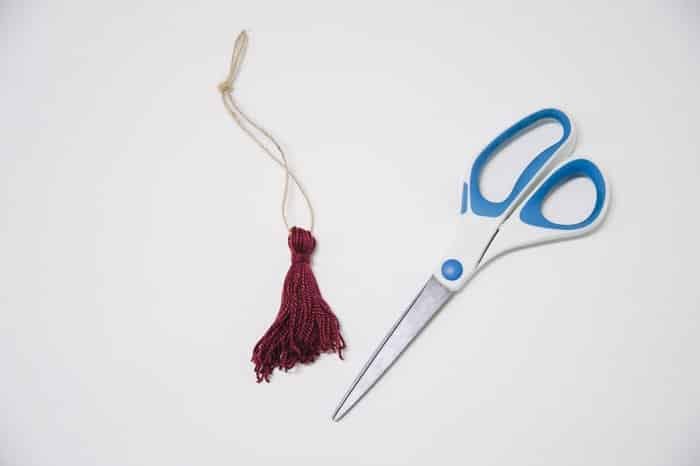
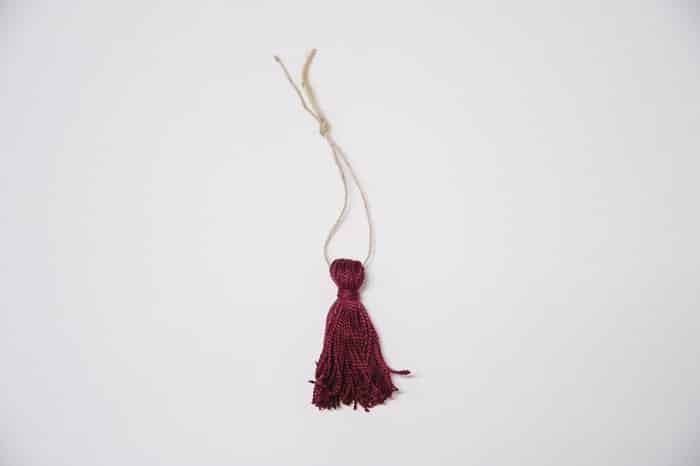
Step 9. Tie the twine, and hang!
You're done! Tie the twine and your mini embroidery floss tassel is ready to hang!
If you want to make a garland with them, you would replace the small section of twine with a long piece, or follow the embroidery floss tassel garland tutorial I wrote.
You can also make them into earrings by adding earring hardware, or make them into keychains by adding keychain hardware.
With bundles of embroidery thread (which are so cheap and available in almost every color imaginable!) and a minute or two, you can easily make mini tassels that can be used in dozens of different ways.
Be careful though... they really are addicting and pretty soon you'll have a tassel overload on your hands!
P.S. You can also make full length tassels too!


Leave a Reply