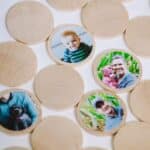
Here's how to make a DIY photo memory match game out of photos and wooden circles. It makes an awesome kids' gift, and handmade Christmas gift too!
My sister and I loved playing "Match" when we were younger.
You know, the memory game where you flip over the cards, trying to match two of the same thing. If you pick two cards that don't match, you turn them back over and try again on your next turn.
Playing that game is one of the core memories from my childhood.
When I was brainstorming Christmas ideas for my nieces, I thought it would be fun to make some type of memory game using photos for them. Then, I was shopping online for supplies for another Christmas gift project, and I came across the cutest wooden circles.
I thought they would be perfect for a cute DIY match game, so I bought them and got to work!
This same process can be used to make homemade photo magnets which are a huge hit too!
Jump to:
Why You'll Love This Craft
- Handmade gifts are the best kind of gifts, and this is a hit every time!
- This DIY memory game is very easy to make and requires no dangerous equipment or high-level skills. That makes it the perfect craft for kids.
- You can customize the match game in lots of different ways. You can use photos like I did here, or make it an animal match game by using photos of animals. You can simplify it for younger kids by using colored paper to make a color match game, or even make it a number matching game as a fun Pre-K game!
Craft Supplies Needed
- Wooden Circles - I bought 1-¾" circles from Woodworks Ltd but Amazon sells 1-½" or 2" circles.
- Small Photos - You need two of each photo. If you want to make a color match game, you can use colored paper, or even fun wrapping paper or printed paper if you want just to make a fun match version.
- Circle Paper Punch - You want a punch that makes circles that are slightly smaller than your wooden discs.
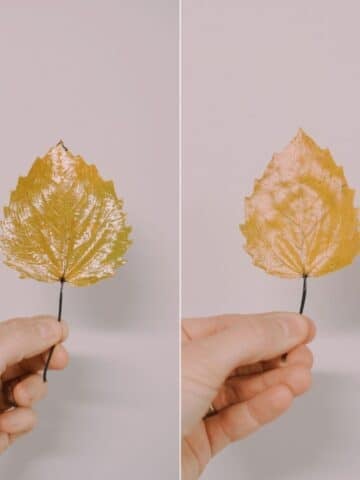
- Mod Podge - I used Matte Mod Podge, but you could use Gloss as well. (Here is a tutorial that shows the difference between Matte and Gloss Mod Podge. It is used on fall leaves, but you can see the subtle shine of Matte versus the high shine of Gloss.)
- Foam Paintbrush - Use a foam brush of decent quality so it doesn't leave little bits of foam behind.
- Clear Acrylic Sealer - I used a Matte version of Clear Acrylic Sealer, but again, you can pick whatever finish you like the best! This sealer helps remove the sticky, tackiness Mod Podge can have.
- Drawstring Bag - To store the match game once it's finished. You could also make a zipper pouch and put the game in there too.
How to Make a DIY Photo Memory Match Game
Step 1. Print photos.
You want to keep in mind the size of circles you'll be cutting out, so you want the faces in your photos to be small.
You can print wallet-sized photos so they are smaller to begin with.
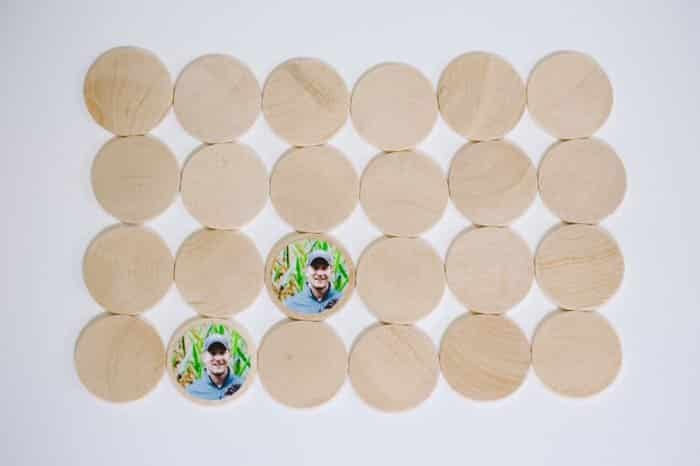
Step 2. Cut photos into circles using a paper punch.
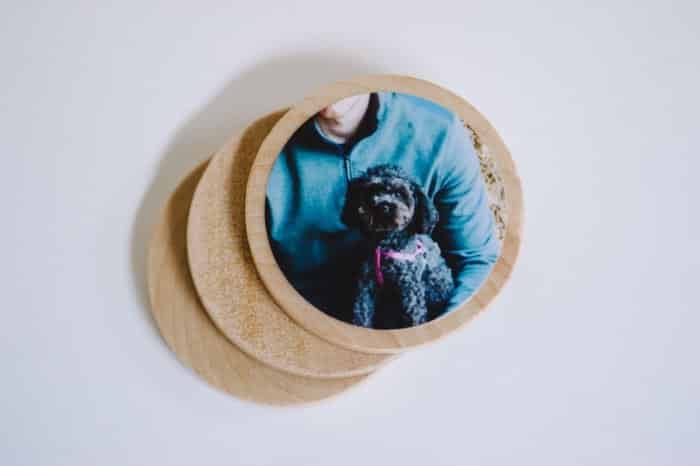
Step 3. Use Mod Podge to attach photos to the wooden discs.
I brushed a layer of Mod Podge on the wooden circle first, and then laid the photo circle on top. This acted as a glue to stick the photo to the wood.
Once that dried, I brushed another layer on top of the photo.
Later, I did a second coat on top of the photo to make it extra durable.
I also mod podged the sides and back of the wooden circles to protect them too.
Step 4. Seal with clear acrylic sealer.
The downside to using Mod Podge is that it can cause things to stick together.
A solution I read about online is to spray them with Clear Acrylic Sealer. This stops them from being tacky and sticking together.
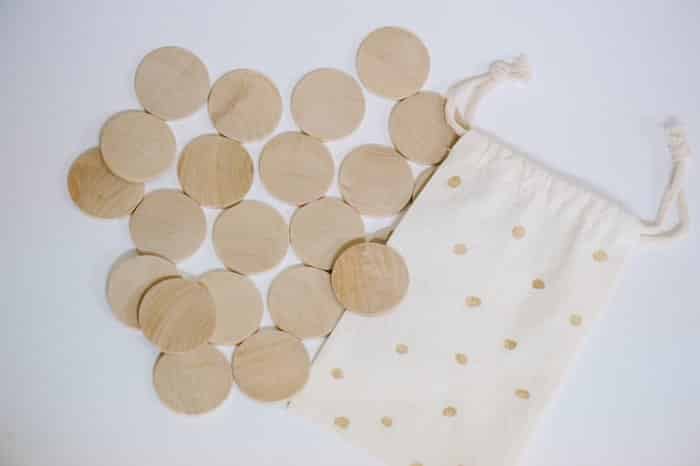
Step 5. Put dry circles in a drawstring bag and you're done!
To hold the game for my nieces, I used gold fabric paint and wrote "Match" on the front of a drawstring bag.
I also painted gold polka dots on the front and back of the bag to make it fun.
A plain drawstring bag would work fine, as would a cute zippered pouch, like the ones I made for Christmas presents last year!
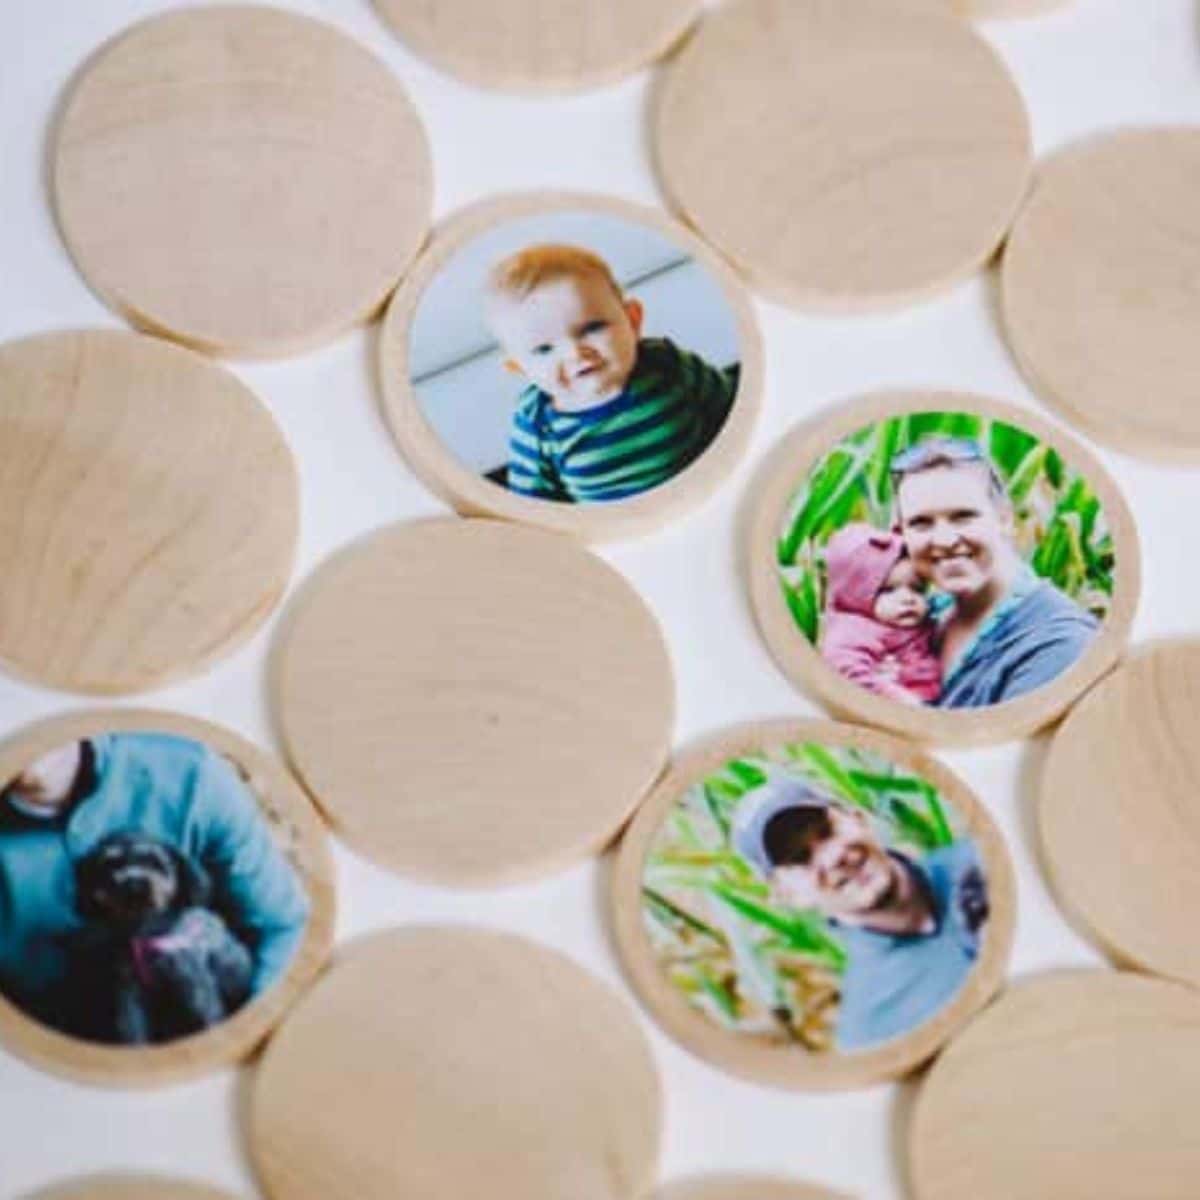
I LOVE how this game turned out.
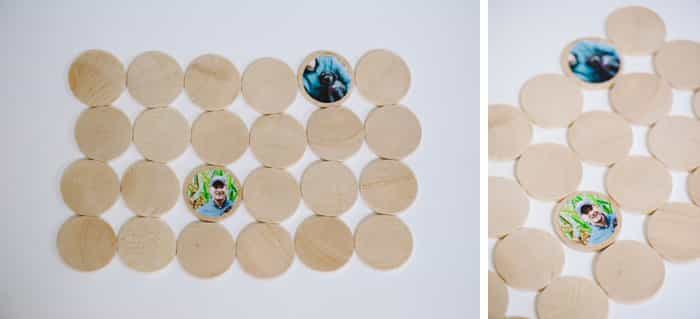
I used 12 sets of 2 identical photos; everyone in our immediate family.
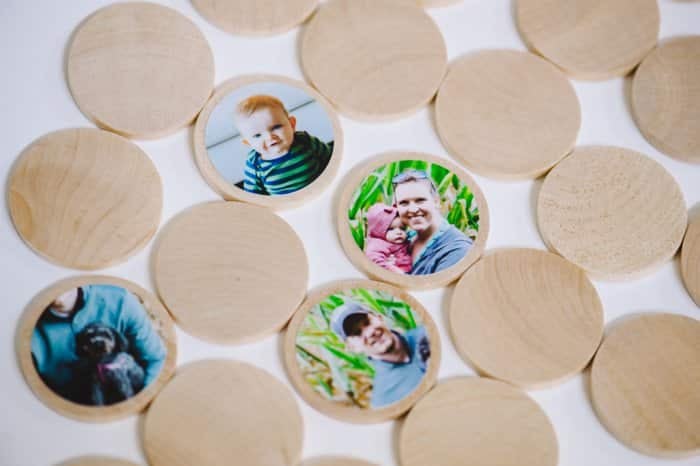
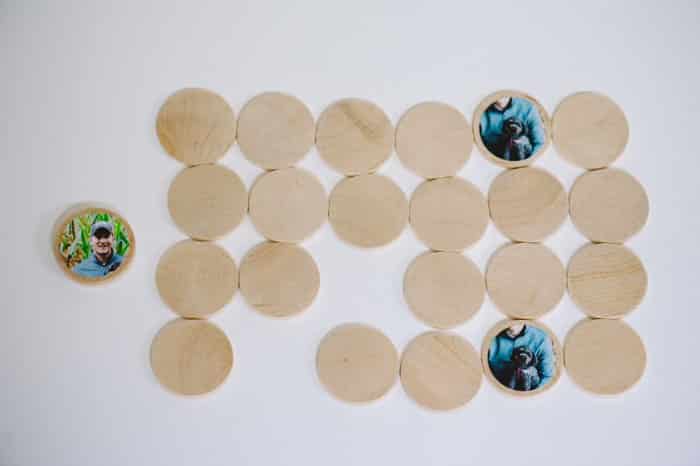
The only possible change I'd consider next time would be to cut identical circles of paper for the back sides to make them all the same.
It's possible that the varying wood grain could be memorized so that you know the one with the dot is grandma, and the one with the horizontal darker band is grandpa etc.
The kids might not pick up on this but the adults might. A solution would be to cut discs out of solid colored paper or maybe even brown kraft paper so the wood grain is mostly covered up, and less identifiable.
You could also paint the back side to make them all the same, too.
I'm undecided on whether I'd change anything though, because I really like the natural look and feel of the wood!
Common Questions
Mod Podge works great for attaching photos or paper to wooden discs! You can use Matte or Gloss Mod Podge; either works well. If you don't have Mod Podge, you could use white glue, or maybe even thin the glue with water to make your own DIY Mod Podge.
Yes, you can use scissors to cut out circles from photos, colored paper, wrapping paper, or other images! It probably won't be as precise as using a circle paper punch, but that's ok. You can use a circular object and trace a circle on the photo or paper to help you cut uniform circles if you want. Objects like medicine bottles or small toiletries may be the right-sized circles.
In this tutorial, we made a photo match game, using two copies of a handful of photos of my family. This makes a super fun personalized gift for a child or even for a grandparent! You can use the same tutorial but swap colored paper for the photos to make a memory match game that lets kids practice learning their colors as they match them up. By changing whatever image you put on the wooden discs, you could make many different varieties of match games. Animals, numbers, colors, patterns... You could even do more complicated versions like types of leaves or types of clouds. This would be a fun tool to use in homeschools because you could include making the match game as part of the process!
This homemade memory game could also be customized in a variety of ways besides using photos. Colored paper could be used to help kids learn and practice their colors, or patterned paper to teach colors and patterns.
Colored paper could even be cut into different shapes so kids could practice shapes and colors too while they play. The sky is the limit!
Combine it with a homemade set of photo coasters or a canvas photo made at home and you've got a great handmade gift set too!
More Wood Crafts You'll Love
---
⭐️🧶 Did you enjoy this craft and want to see more like it? ✂️ Join our FREE email community and get inspiring craft ideas sent right to your inbox! 🧵 ⭐️
---
How to Make a DIY Photo Memory Match Game
Materials
- Wooden Circles
- Small Photos Two of each.
- Circle Paper Punch
- Mod Podge Matte or Gloss.
- Foam Paintbrush
- Clear Acrylic Sealer Matte or Gloss.
- Drawstring Bag You can also make a zipper pouch.
Instructions
- Print photos.You want to keep in mind the size of circles you'll be cutting out, so you want the faces in your photos to be small.You can print wallet-sized photos so they are smaller to begin with.
- Cut photos into circles using a paper punch.
- Cut photos into circles using a paper punch.
- Seal with clear acrylic sealer.The downside to using Mod Podge is that it can cause things to stick together.A solution I read about online is to spray them with Clear Acrylic Sealer. This stops them from being tacky and sticking together.
- Put dry circles in a drawstring bag and you're done!To hold the game for my nieces, I used gold fabric paint and wrote "Match" on the front of a drawstring bag.I also painted gold polka dots on the front and back of the bag to make it fun.
Notes
- You can use scissors to cut out the circles if you don't have a circle paper punch. Use a small circular object of the appropriate size to help trace uniform circles and cut as precisely as you can.
- If you don't have a drawstring bag you can sew a cute zippered pouch.
- You can make different variations of this match game too - try colored paper, pictures of animals, patterned wrapping paper, or even use it in a homeschool to teach types of leaves, types of clouds, or other topic of learning.

Jennifer
Hi! I love this idea and would like to make a set for each if my siblings families. Quick question - did you print your photos on photo paper?
Laura Radniecki
Hi Jennifer!
I'm glad you like the idea! I think they would make awesome gifts for your siblings' families!
To answer your question, yes, I had my photos printed by a photo lab on photo paper so they're actual photographs on my wooden circles. But you could do the same thing with regular paper too; this type of game could even be made with colored paper or patterned scrapbook paper etc. So, if you don't have photo paper and wanted to print photos on regular paper or cardstock with your own printer, that would work too. I wanted my photos to be the best possible quality and the photo labs do a better job than my printer does at home. That's why I did it with actual photos for my game.
I hope that helps! Let me know if you have any other questions!
Laura