This post is sponsored by the Twin Cities Habitat for Humanity ReStore.
Repurpose with the help of the Habitat for Humanity ReStore in honor of Earth Day, and create amazing DIY projects by reusing materials others have donated!
Earth Day is almost upon us, and with it comes an increased awareness of our planet as a whole.
It only takes a few minutes watching a Netflix nature documentary to be completely awestruck by the beauty of Earth, and heartbroken about the changes that are happening to our beloved planet.
What can we do?
As the movement to "go green" has grown and society has become more environmentally conscious, recycling is simply a way of life for most people.
But, what else can we do?
That's where repurposing comes in; either reusing existing items or using them to make something new.
The Habitat for Humanity ReStore is one place where reusing and repurposing is at the forefront.
Everything in the store has been donated by individuals or businesses, and can be purchased by someone else looking to furnish a home, build something new, or repurpose an item and give it new life.
In honor of Earth Day, the Twin Cities ReStore (which has two locations; one in Minneapolis and one in New Brighton) has partnered with me to show you three up-cycle craft projects that can be done by repurposing materials available at the ReStore.
They are perfect for creating home decor while using existing building materials to do it!
Reuse and Repurpose with the Habitat for Humanity ReStore on Earth Day
Habitat ReStores have a variety of building materials available, ranging from small hardware and paint all the way up to doors, windows and flooring. They also sell furniture as well.
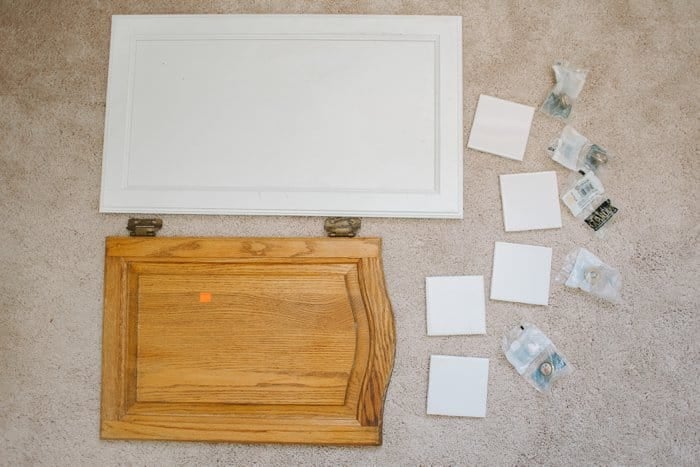
As I walked through the aisles, I found a few supplies that I bought with three different projects in mind.
Quote Wall Sign using a Cabinet Door
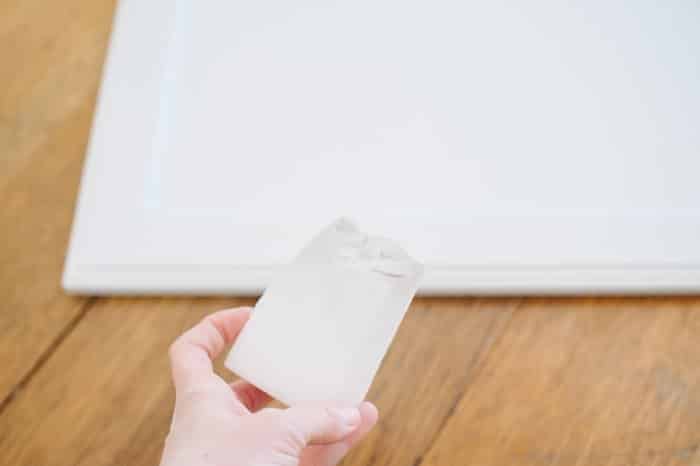
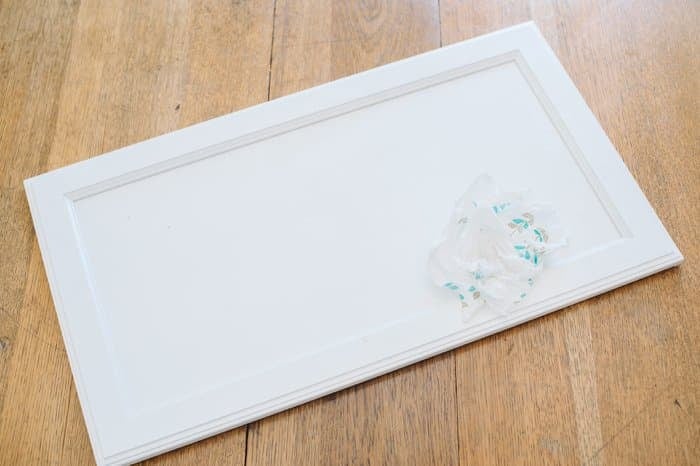
I picked out a pretty white cabinet door that was in great shape; just needing a little cleaning with a Magic Eraser and a final wipe with a paper towel.
It could easily be made into a wall sign by using black paint and stencils (or freehand if you have nice handwriting) to add a quote to it.
Ideas of Quotes for a White Wall Sign:
Bless This Mess
Be Kind & Love Well
In this house, we will serve the Lord
It could either be hung with strong Command Strips or by using hanging hardware drilled into the back.
Jewelry Holder using a Cabinet Door and Decorative Knobs
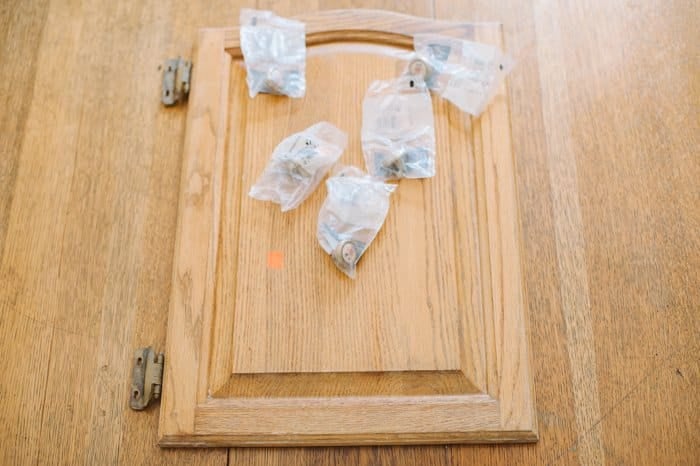
Next, I found a small wooden cabinet door that had potential to be made into something fun.
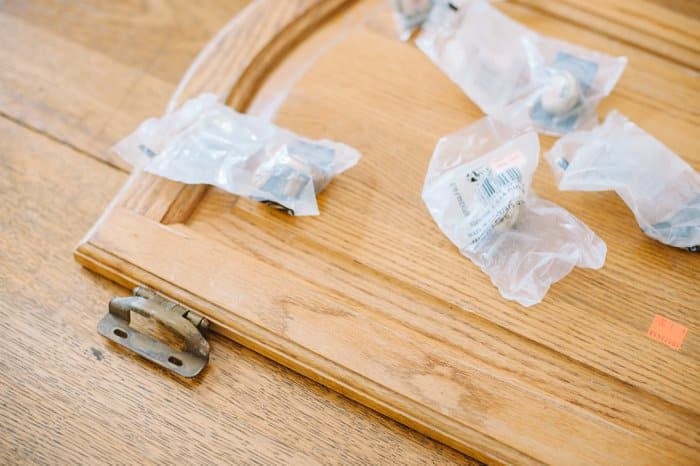
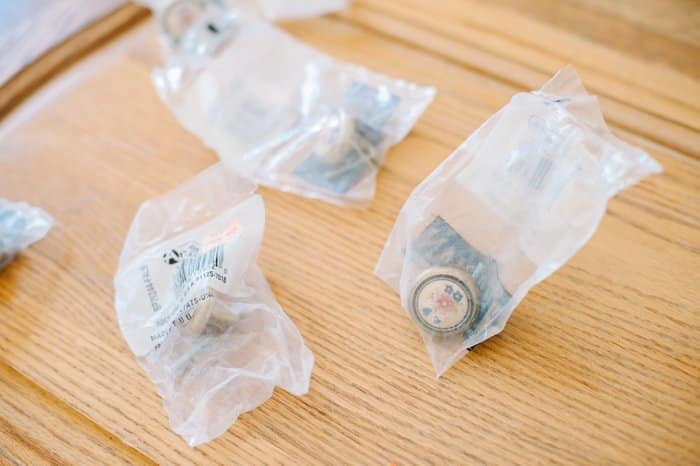
I also found five drawer knobs with a sweet floral design on them that had a retro but pretty feel.
This project would involve removing the hinges from the cabinet door, cleaning it up and either restaining it or painting it. I like the idea of painting the cabinet white or maybe a light mint or teal color, and then distressing the paint by sanding the edges and surface a bit.
The finished piece could be hung up on a wall or leaned up against a wall on the top of a dresser as well (although if it's not secured, it might tip over.)
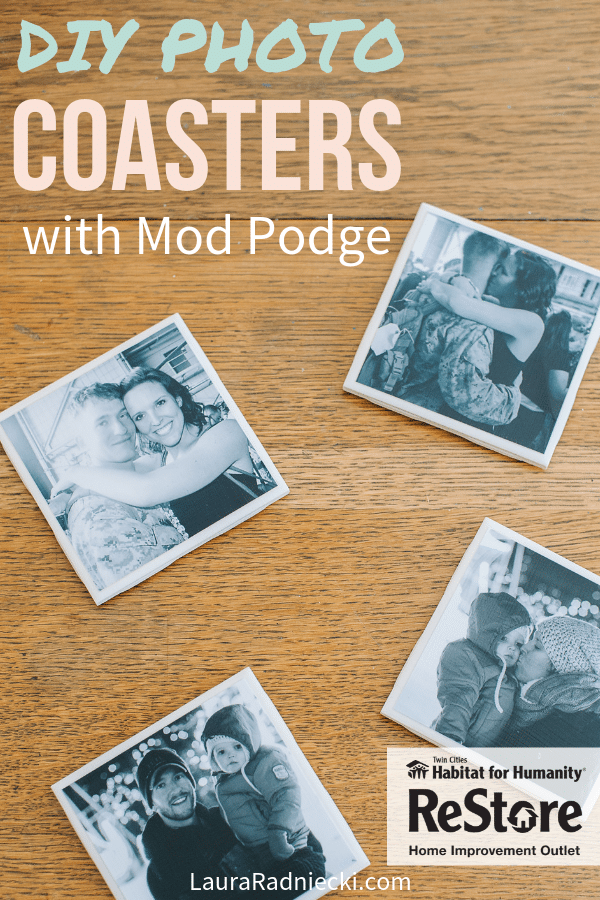
Mod Podge Photo Coasters with Square Tiles
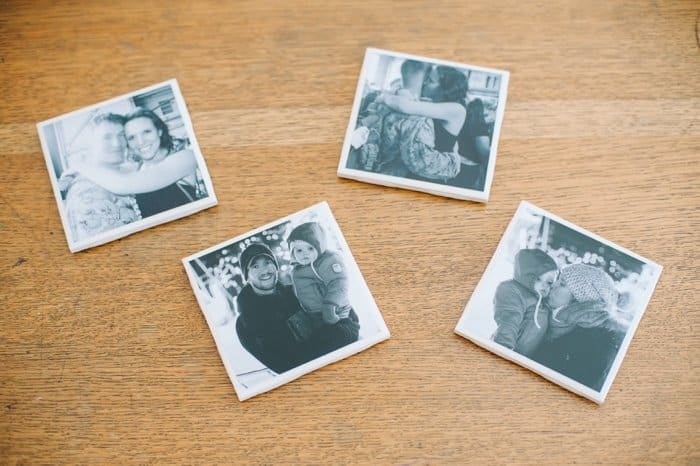
The last idea I had was to use small white square tiles to make photo coasters, using Mod Podge.
It's a popular craft, and one that I have both received as a gift and given as a gift before.
My son dropped my beloved coasters and cracked them, so I decided it was time to make a new set.
How to Make DIY Mod Podge Photo Coasters Using Square Tiles
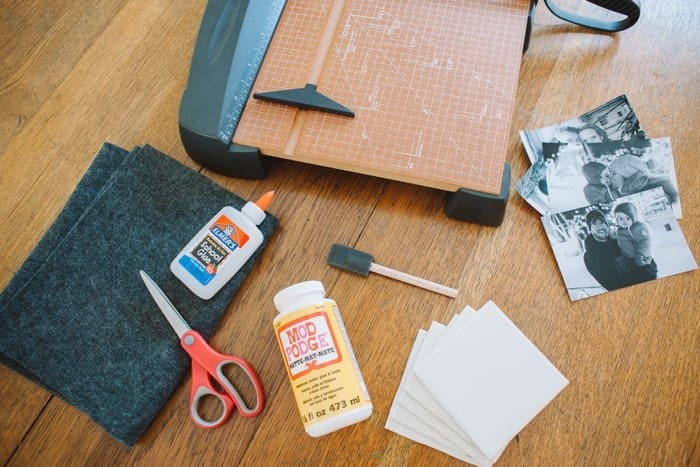
1. Gather supplies.
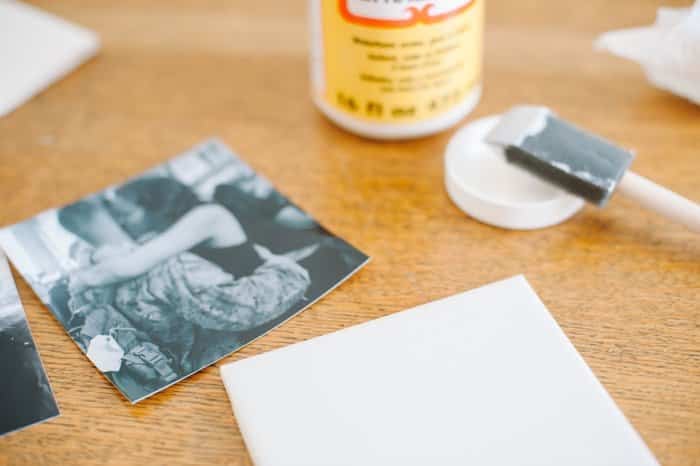
At the ReStore, small white square tiles are plentiful and cheap. They make the perfect base for the coaster.
You'll need:
Square white tiles
Photos (or old maps, bible pages, hymnal music, etc)
Mod Podge (I used matte)
Clear Acrylic Sealer
Glue
Felt
Scissors (or rotary cutter and cutting mat)
Paper Cutter (optional)
Small foam paint brush
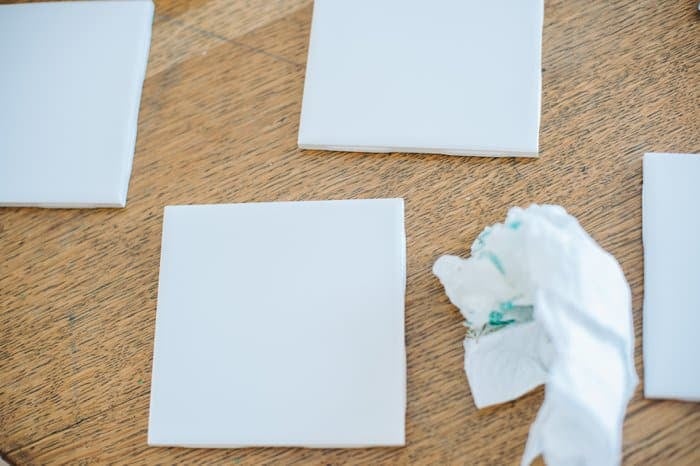
2. Clean tiles to remove any dirt or dust.
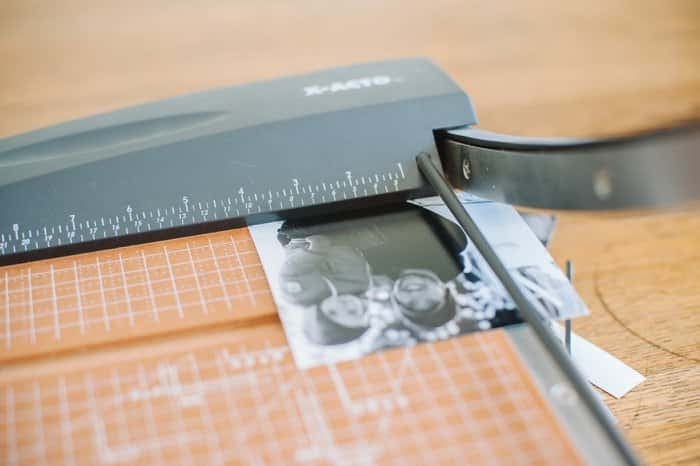
3. Cut photos to size using paper cutter or scissors.
You want the square photo to be slightly smaller than the tile, so that when it's all finished, you will see the edge of the tile as a frame around the photo.
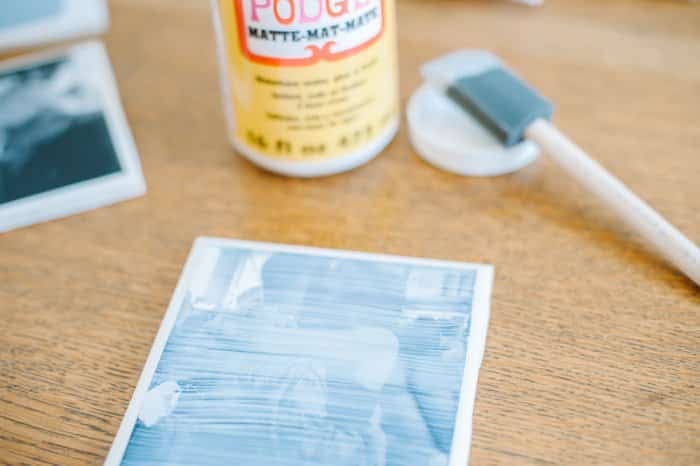
4. Brush Mod Podge onto a bare tile. Lay photo on top and let dry.
5. Paint another Mod Podge layer on the top of the photo. Let dry.
Optional: you can paint a second Mod Podge layer on top of the photo as an added layer of protection if you want. I did two coats of Mod Podge on top of each photo, letting them dry in between.
6. Spray photo surface with Clear Acrylic Sealer and let dry.
Mod Podge can get a little sticky and make cups stick to the coasters. That's where the Clear Acrylic Sealer comes in.
Once the coasters are sprayed with the Sealer, they will no longer be tacky.
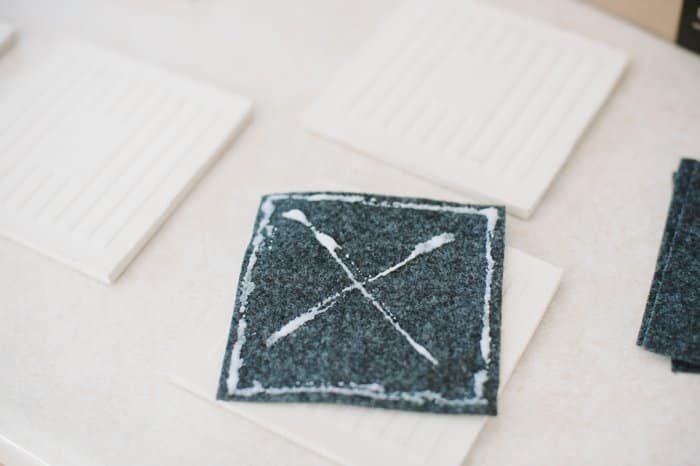
7. Cut felt and glue on bottom of tile.
Cut the felt squares to a similar size as the photos you cut for the top of the coasters.
You can use scissors, or a rotary cutter and cutting mat like I did.
Glue the felt to the bottom of the tiles with glue and let dry.
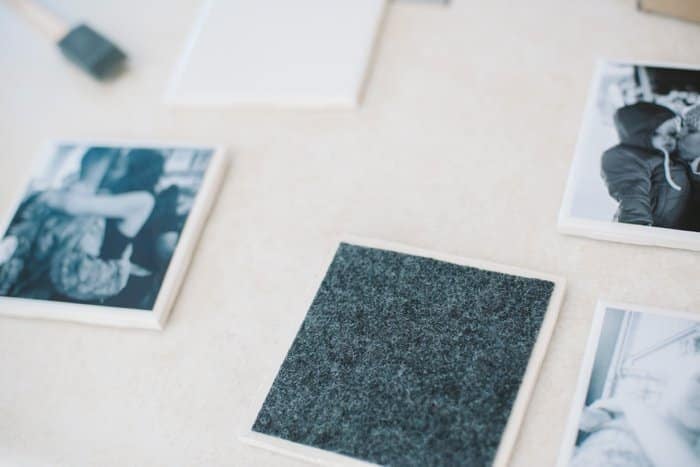
8. Repeat for all of the coasters.

The finished products are beautiful, sentimental coasters that are not only easy (and cheap!) to make but functional too.
Pair them with a set of DIY photo magnets, a homemade photo memory game, or even a DIY photo canvas and it's a guaranteed hit as a handmade gift!
- - - - -
Earth Day helps us remember that it's up to all of us to do our part to take care of our planet, for ourselves and for future generations.
Whether that be making more mindful lifestyle choices, trying to up our recycling game, or keeping things out of the landfills by donating our unwanted goods rather than throwing them away, we all need to help take care of our planet.
The Habitat for Humanity ReStore offers a place to donate unwanted furniture and building supplies, and it offers an amazing resource for buying supplies at a discounted rate as well.
Whether you're building or remodeling a home, or simply taking on a DIY or upcycle project - looking to give something new life, the ReStore is a one stop shop for supplies and inspiration.




Suzanne
Hi Laura!
This is a great Christmas gift for all of my kids who are grown and have everything! Will any phot surface work? Do recent photo surfaces work? ie. Walgreens shiny surface? Also can I use brush on sealer? I get concerned with aerosols. Thank you so much!
Laura
Hi Suzanne! I'm sorry for the delay - I missed this comment in the holiday hubbub! Any photo surface should work, it's really the mod podge that has the job of sealing the photo to the coaster. As far a brush on sealer, you definitely could try it! I have only ever used aerosols so I can't speak from experience, but it should work fine and accomplish the same goal, you would just see the brush strokes.
Mary Lou Wood
Hi, Laura,
I just found your instructions to attach photos to ceramic tile. Your directions are by far the easiest I have seen, and easy to understand. I now have 3 tiles in the drying phase, so I will let you know how they turn out. I have a big project coming up for a Sesquicentennial celebration for my church, and I have been struggling with the how-to for several week.
Thank you.
Laura
Mary Lou, thank you so much for this kind message! I hope the coasters turned out well and I'm very happy to hear the process was easy for you to follow. Best wishes!
Ann
I followed these steps but think I did something wrong. Mine are coming out with brush strokes after sealing with the acrylic spray. Do have any tips? Thank you.
Laura
Hi Ann! I think some brush strokes are going to be visible. If they are really bad, you could try using a wider foam brush so you have to do less strokes - maybe a 2" or even bigger if you can find one. Another option is to try a different type of Mod Podge - a different sheen (glossy, if you tried matte, or vice versa) and see if that helps. From all my Mod Podge projects though, if I look really close, some brush strokes are usually visible. You can also try a second or even third layer of acrylic sealer and see if that minimizes the look of the brush strokes at all. Good luck! Let me know know the outcome.
Marie Duvall
Can you use regular color photos
Laura
Hi Marie!
Absolutely! You can use any type of photo you want. You can also use basically anything that's flat - paper, drawings, images from magazines, even flat fall leaves. Anything that you can get to stick to the coaster with Mod Podge, and that won't cause the surface to be bumpy, and hard to place a glass on.
So, YES, you can definitely use color photos too!
I hope that helps!
Laura
Carol
Laura,
I’m sorry, I meant when you purchased the tiles were they shiny or dull as in a matte finish?
Carol
Laura
Hi Carol!
I'm glad you like the photo coaster idea!
I think the tiles had a glossy type surface; they were standard bath tiles which I think are usually pretty shiny.
But honestly, it wouldn't matter either way. I bought some others recently that have a rough, matte surface and I think they will work just fine.
Let me know if you make them! I'd love to hear how it goes!
Thanks for reaching out!
Laura
Carol
Hi Laura,
I love the coaster idea. Thanks for explaining how to make them . I was wondering if the square white tiles have a glaze on them or are they full or have a matte finish?
Thanks,
Carol
Melani
Hi! We’re the photos printed on regular photo paper? Thanks!
Laura
Hi Melani!
Yes, these are regular photo prints, printed from a photo lab. They are just your typical 4x6 photos! I believe I ordered matte, but glossy would work fine too!
Happy crafting!
Laura
Pat Skelton
Thank You for the lovely earrings ! I I’ve the color ! Hope your Birthday was wonderful.
Pat Skelton