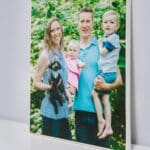
Canvas photos are a home staple in everything from DIY gallery walls to bookshelves, and for good reason. They're beautiful! But what's even better? A simple DIY photo canvas that you can make with your own two hands!

Going the DIY route for canvas photos checks all the boxes; they're fun, fast, easy to make, affordable, and can be customized in a ton of different ways.
With a photo and a canvas, plus a couple of other supplies (including a free checklist I made to help!), you can make a DIY canvas photo of your own in hardly any time at all. Here's how!
Jump to:
Why You'll Love This Craft
- You can buy canvases at any craft supply store, online retailer, or repurpose an existing canvas print from your own house or a thrift store.
- DIY canvas pictures are an easy way to make art for your walls, and it is much cheaper than ordering photo canvases from print stores.
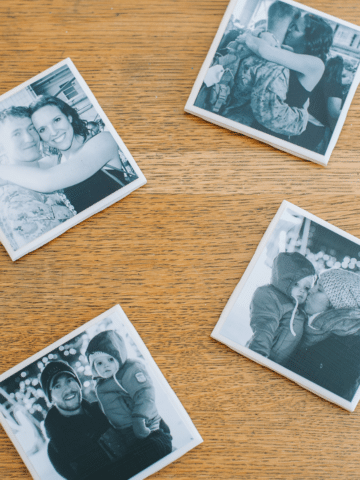
- This project makes a fantastic handmade gift too! Pair it with a set of handmade photo coasters and you're all set with the perfect sentimental, heartfelt gift.
Craft Supplies Needed
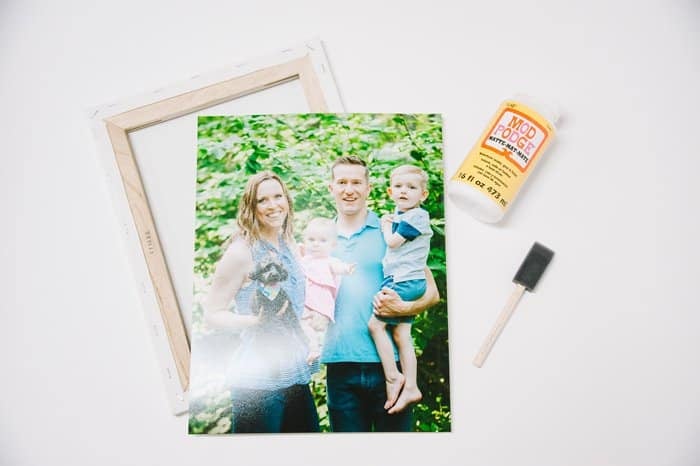
- Canvas - You can buy a blank white canvas at a craft store or online retailer, or repurpose one from a thrift store.
- Photo - Your photo print should be as big as the canvas.
- Scissors or Paper Cutter - If your photo is too big for the canvas, you'll need to trim it so it is just slightly smaller than the canvas dimensions. You want the photo print to be about ⅛" smaller than the canvas on all sides.
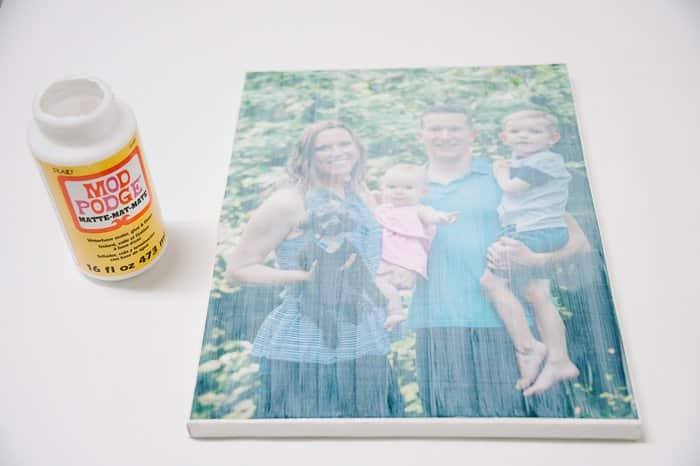
- Mod Podge - I used matte finish, but you can use glossy if you like shine.
- A Foam Brush - The brush I used is 1" wide.
- Clear Acrylic Sealer - This seals and protects projects once they are finished, and helps remove Mod Podge's tackiness.
- Hot Glue & Twine - (Optional) This is a pretty way to finish off the back of the DIY canvas, and also helps making hanging a breeze.
- DIY Photo Canvas Checklist (it’s free in the resource library!)
How to Make a Simple DIY Photo Canvas
Step 1. If you are repurposing an existing canvas print, paint it white. You want to start with a clean slate.
Step 2. Trim your photo so it's just slightly smaller than the size of your canvas. You can use scissors or a paper cutter to do this.
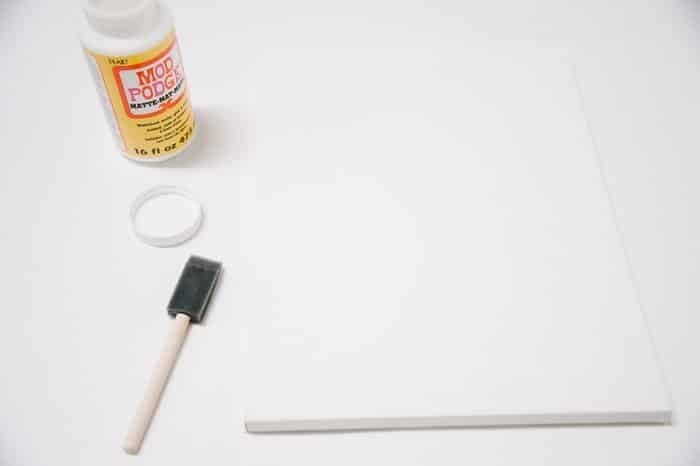
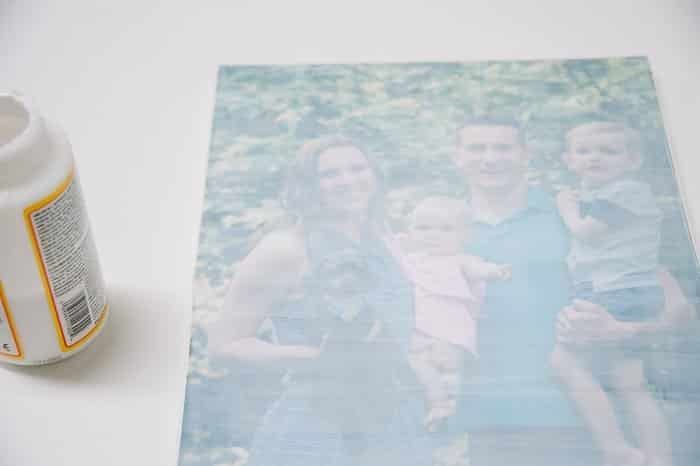
Step 3. Apply a layer of Mod Podge to the front of the canvas using a foam brush.
Lay your photo down onto the canvas, and position it so it's centered and flat. Let it dry.
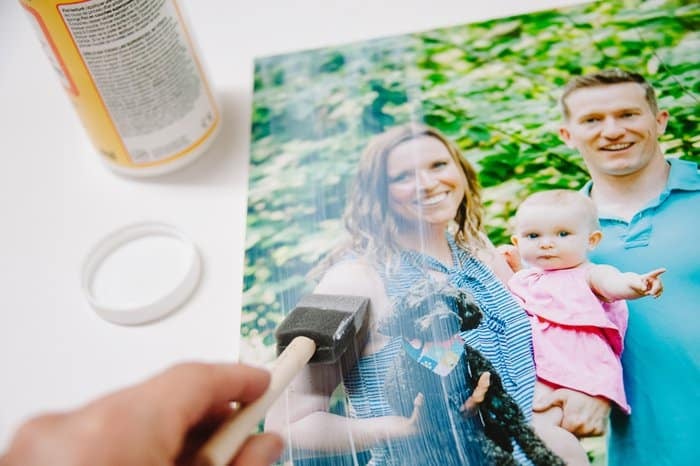
Step 4. Brush a layer of Mod Podge on top of the photo using long vertical brush strokes.
Make sure to cover the edges where the photo and canvas meet so the photo will completely adhere to the canvas background. Let dry.
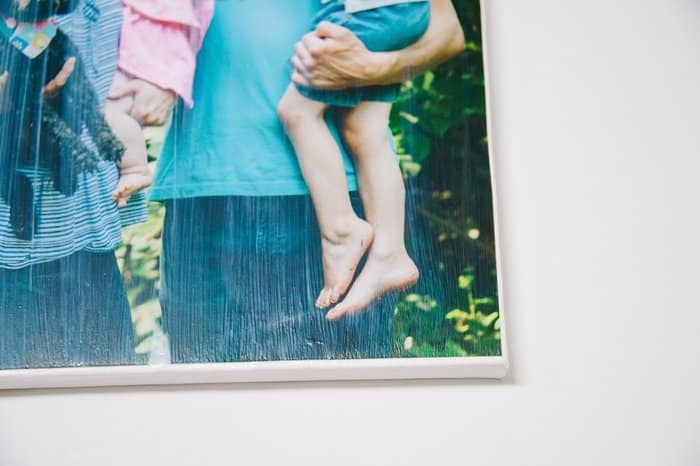
Step 5. Once dry, apply a second Mod Podge layer to the photo. Go in the opposite direction this time (horizontal brush strokes for my second coat.) Let dry.
Step 6. Brush a third layer of Mod Podge onto the top of the canvas using vertical brush strokes. Let dry.

Step 7. Spray the dry canvas with clear acrylic sealer to remove some of the tackiness Mod Podge often leaves, and to seal and protect your new canvas.
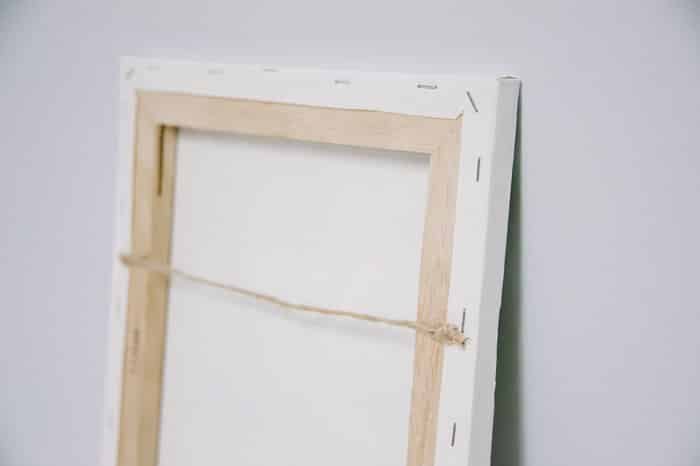
Step 8. Hot glue a piece of twine with knots on both ends to the back of the canvas to make an easy hanging string.
Common Questions
This process would also work well to make a photo print with a wood back. You can use a piece of wood instead of a canvas, and follow the same steps for applying layers of Mod Podge.
A foam brush will help decrease visible brush strokes, but some strokes are expected. You can minimize this by using a wider foam brush and spraying the finished canvas with clear acrylic sealer.
If you are comfortable putting a nail into your wall, you can hang the dry canvas directly onto the nail. Simple - done! If you want to use a command hook or if you want to make the back of the handmade canvas print look more professional, you can hot glue a twine hanging string to the back to finish it off.
This tutorial shows you the fastest and easiest way to make a DIY photo canvas.
It's perfect for repurposing a print you don't love anymore (or one you find at a thrift store!) and makes a great personalized gift idea for the holidays or birthdays.
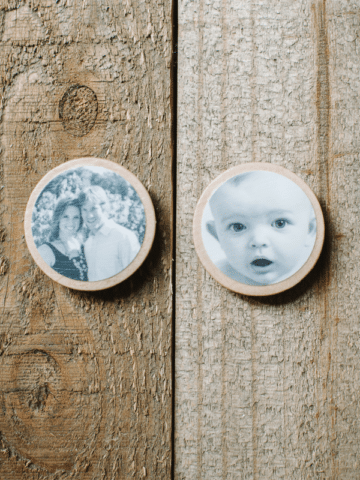
You can even add DIY photo magnets or a homemade photo match game to your handmade gift set!
More Mod Podge Crafts You'll Love

---
⭐️🧶 Did you enjoy this craft and want to see more like it? ✂️ Join our FREE email community and get inspiring craft ideas sent right to your inbox! 🧵 ⭐️
---
How to Make a DIY Photo Canvas
Materials
- Canvas
- Photo
- Scissors or Paper Cutter
- Mod Podge (Matte or Glossy)
- Foam Brush (I used a 1 inch brush)
- Clear Acrylic Sealer
- Hot Glue Gun and Twine
Instructions
- If you are repurposing an existing canvas print, paint it white. You want to start with a clean slate.
- Trim your photo so it's just slightly smaller than the size of your canvas. You can use scissors or a paper cutter to do this.
- Apply a layer of Mod Podge to the front of the canvas using a foam brush.Lay your photo down onto the canvas, and position it so it's centered and flat. Let it dry.
- Brush a layer of Mod Podge on top of the photo using long vertical brush strokes.Make sure to cover the edges where the photo and canvas meet so the photo will completely adhere to the canvas background. Let dry.
- Once dry, apply a second Mod Podge layer to the photo. Go in the opposite direction this time (horizontal brush strokes for my second coat.) Let dry.
- Brush a third layer of Mod Podge onto the top of the canvas using vertical brush strokes. Let dry.
- Spray the dry canvas with clear acrylic sealer to remove some of the tackiness Mod Podge often leaves, and to seal and protect your new canvas.
- Hot glue a piece of twine with knots on both ends to the back of the canvas to make an easy hanging string.
Notes
- Some visible brush strokes are normal on your finished canvas. To minimize them, try a wider foam brush, and spray with clear acrylic sealer once it's dry.
- If you don't have an old canvas, you can use a piece of wood as the backing for your DIY photo print!

Linda
I just purchased a resaurant in PA and I thought it would be nice to show our food items by taking pics and putting them on the wall replacing canvas pictures of wine bottles and Italian items. Where do I get the pictures blown up at?
Laura
Hi Linda!
Congratulations on your restaurant purchase! How exciting for you; what an adventure.
Honestly, you can have the photos printed anywhere; even some place like WalMart.
If you wanted to look at something a little better quality, you could look at an online service like Mpix.com or a lab like that. They will ship the prints to you and they're experts at making sure they survive the shipment process.
I hope that helps!
Best of luck in your new adventure and I hope the projects (and the restaurant itself) turn out wonderful!
Laura
Pamela A StPierre
Love this easy diy. Will be trying out for Christmas
Laura
Wonderful to hear, Pamela! Good with your Christmas gifts; I hope they are a big hit!