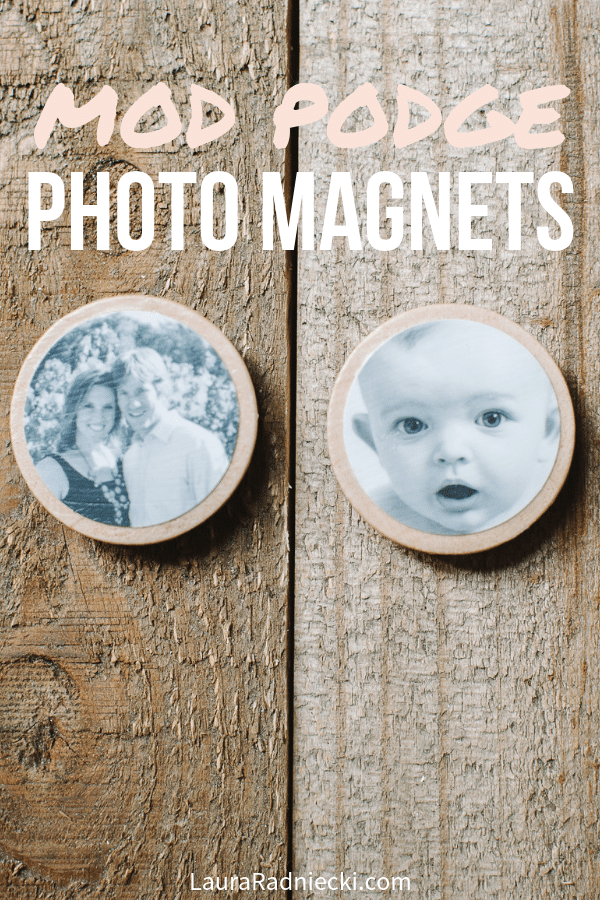
Make cute, easy DIY Photo Magnets using photos, Mod Podge and wood circles, with a magnet on the back! Perfect for your own refrigerator or to give as a handmade gift!
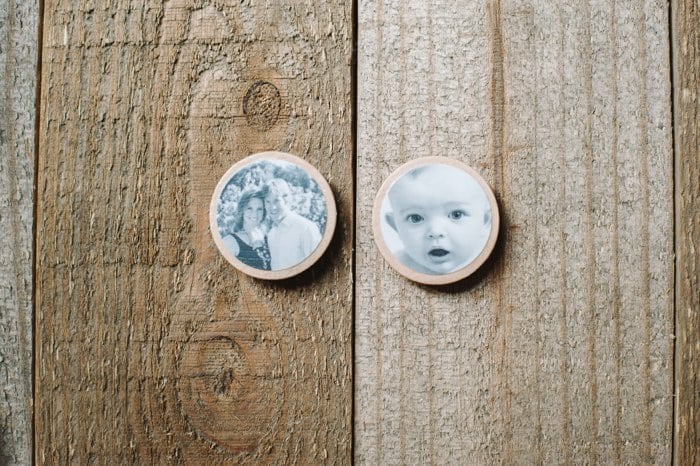
Last year, I made a DIY photo match game for my nieces for Christmas. I used small wooden circles, a circle paper punch, Mod Podge and photos, and the result was amazing!
I loved the little photo discs so much that I decided to make them into magnets for our refrigerator too. The process of making them is the same as it was for the match game, except I added a magnet to the back this time.
These are an awesome way to make your own fridge pretty, but I think it makes an even better homemade gift!
How to Make DIY Photo Magnets with Mod Podge and Wooden Circles
Supplies Needed:
Wooden circles (the ones I used were slightly larger than these, but this size would work great)
Circle paper punch
Photos
Mod Podge - I used Matte Finish
Foam brush
Clear Acrylic Sealer
Magnets
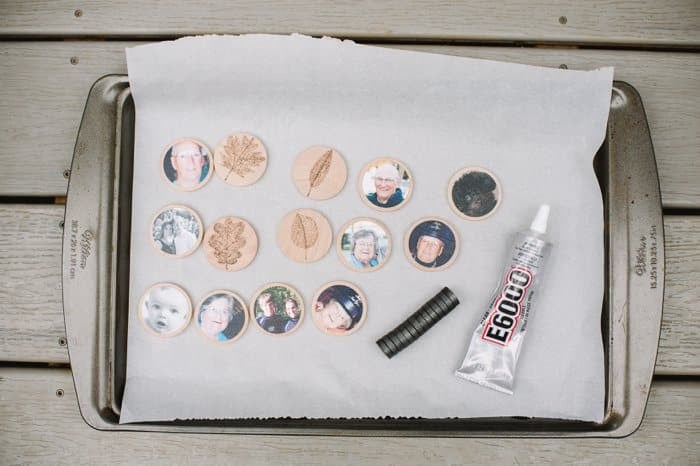
Glue -I used E6000
Step 1. Cut Photos into Circles Using Paper Punch
Using the circle paper punch, cut your photos into small circles. I focused on people's faces.
Step 2. Use Mod Podge to Attach Photo to Wooden Circle
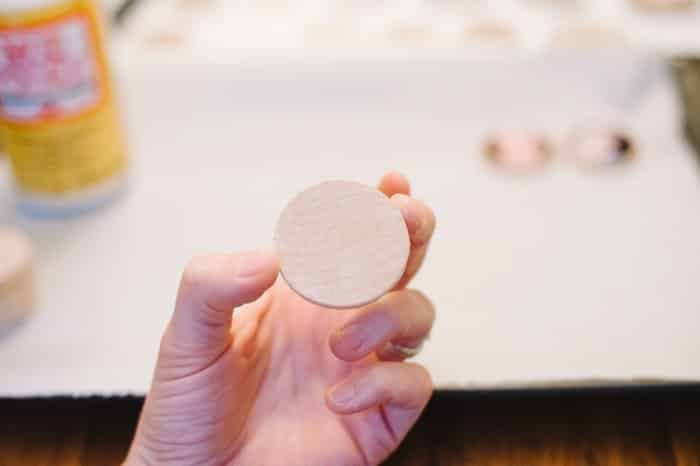
Using the foam brush, brush one coat of Mod Podge onto a wooden circle.
Place a photo onto the wet layer of Mod Podge and make sure it's centered on the wooden circle. Set aside and let it dry.
Repeat for all of the photos and all of the wooden discs.
Step 3. Coat Front, Back and Sides with Mod Podge
Once the Mod Podge is dry and the photo is set in place, carefully brush a layer of Mod Podge around the edges of the disc, holding onto the front and back so you can get the sides. This is kind of tricky and messy, but do your best. You want to seal the edges, but be careful not to smudge the wet parts too much.
Next, holding the circle flat on your palm, brush another layer of Mod Podge on top of the photo to seal it in.
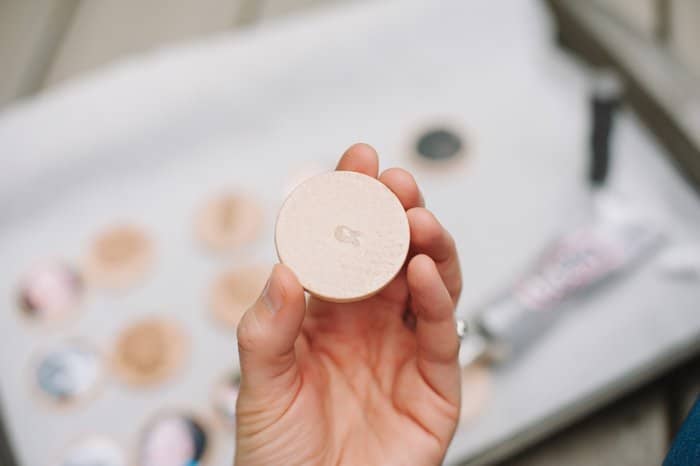
Lastly, once the top and sides are dry, brush a coat onto the back of the wooden disc as well. The finished product should have a layer of Mod Podge on the front, back and edges of each disc, with a photo secured to one side.
Step 4. Seal with Clear Acrylic Sealer
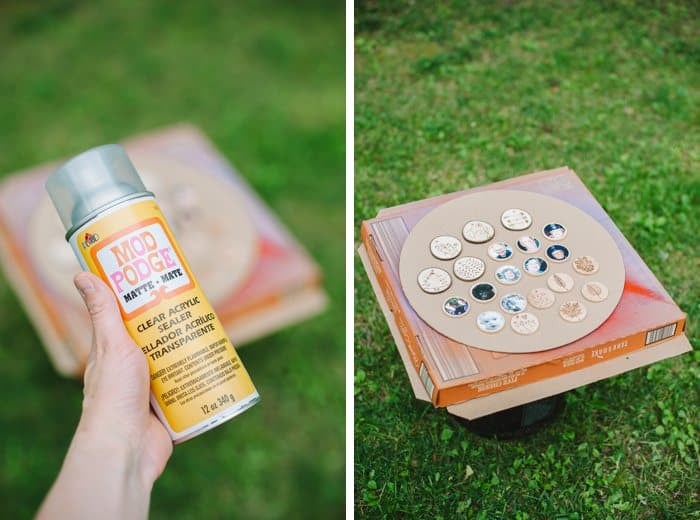
Even when dry, Mod Podge can be somewhat tacky. When I was making the DIY match game, I read that spraying Mod Podge with Clear Acrylic Sealer removes the stickiness and prevents two Mod Podge'd surfaces from sticking together. I tried it and it worked perfectly!
For these photo magnets, I decided to coat both sides with sealer to add another layer of protection and to remove any tackiness from the surfaces.
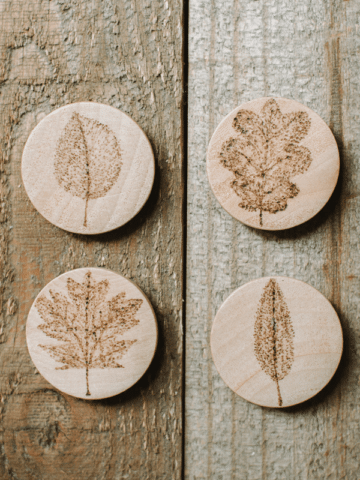
(Check out the tutorials for the woodburned magnets and woodburned ornaments pictured above too!)
Step 5. Glue Magnets onto the back
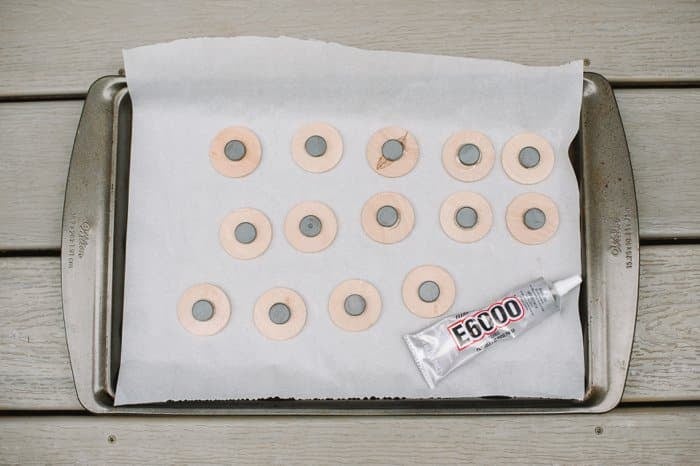
To glue the magnets onto the back, I used E6000 glue. (Do this part outside or in a well ventilated area because it's stinky glue. But it works great!)
Using a small drop of E6000 glue, I glued the magnets to the back of the dry photo discs.
Step 6. Let Photo Magnets Dry and Enjoy!
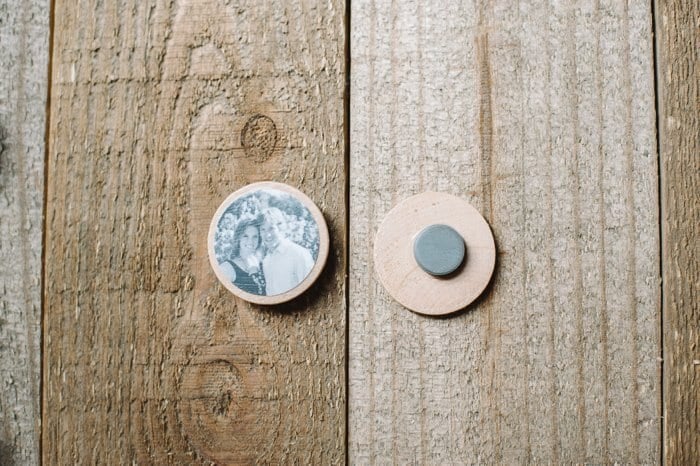
Once the glue is dry, they're ready to go!
My fridge used to be full of random magnets we collected over time, usually promotional ones from different businesses. After making these, I removed all of those and replaced them with these cute, customized magnets! I love looking at them on our refrigerator!
These DIY photo magnets would also make an awesome handmade gift for family or friends. I'm especially thinking about people who appreciate sentimental gifts, like grandparents and mamas! Pair them with a set of handmade photo coasters or a DIY canvas photo and they'll be treasured!

With these photo magnets and my DIY woodburned magnets, my fridge has had a custom makeover and yours can too!
– If you liked this post, I would love if you would share it on Pinterest or Facebook. Thanks & xo! –

Linda
No one ever says..
Is it """photo "paper"""" or a computer print on "regular paper""""""?
Laura
Haha, you are right, Linda!