How to make beautiful wood burned Christmas ornaments out of wood slices, using a wood burning tool. These DIY Christmas tree ornaments are perfect as handmade gifts or for your own holiday tree!
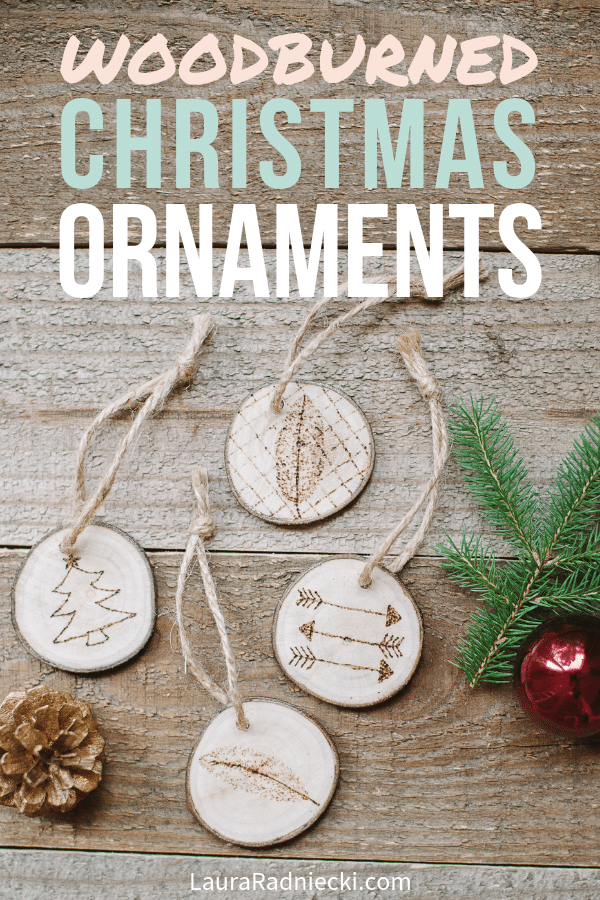
I recently shared the woodburned leaf magnets I made, and alluded to another woodburning project I would be sharing soon. I am so excited about these ornaments!
You'll see why, but I am officially obsessed with wood burning. I did some of it in elementary school; my dad helped my sister and I make crafts in the summer to enter into the county fair and woodburning was one of the categories. I haven't done it for at least a decade or maybe two until recently, but now I remember why I liked it so much!
With some wood tree slices, a woodburning tool, Mod Podge and some twine, you can make these gorgeous Christmas ornaments in no time! They're perfect for your own tree or to give to someone special on your Christmas list!
How to Make Wood Burned Christmas Ornaments on Wood Slices
Supplies Needed:
Wood Tree Slices
Drill - to make twine hole
Woodburning tool
Mod Podge
Foam Brush
Clear Acrylic Sealer
Twine
Step 1: Prepare the Wood Slices.
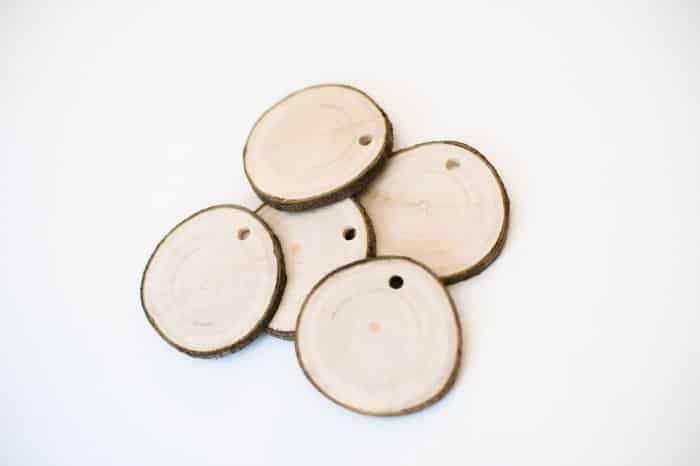
The easiest way to make these ornaments is to use tree slices that have a small hole drilled at the top. This makes it easy to thread twine through and create a ready-to-hang ornament.
The slices can also be lightly sanded if needed. It's easier to wood burn if the surface is smooth, but it's not mandatory.
Step 2: Decide on designs.
Brainstorm and decide what types of designs you want to put on your wood tree slices. You can use scratch paper to sketch out some ideas.
This will help make the wood burning phase go smoothly.
Step 3: Wood burn!
Let the woodburning tool get hot before you begin woodburning your designs. It's also helpful to use a scrap piece of wood and practice a little bit. This helps you get used to the tool and see how it works.
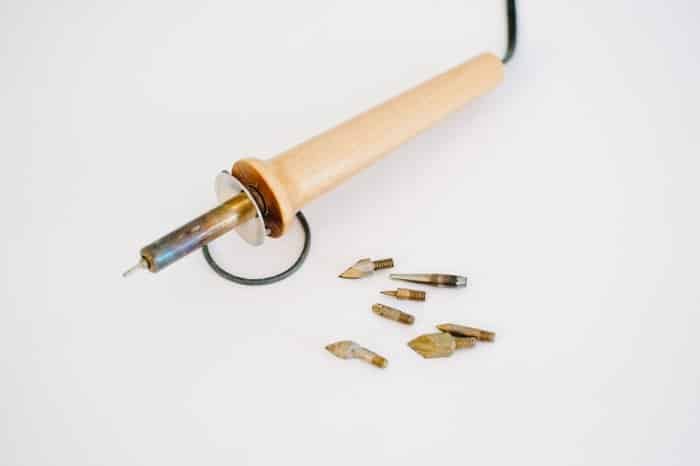
When you're ready, start creating your designs!
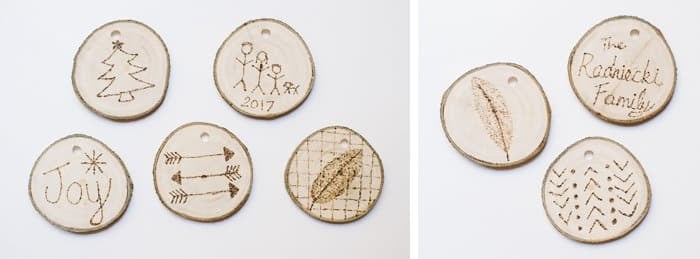
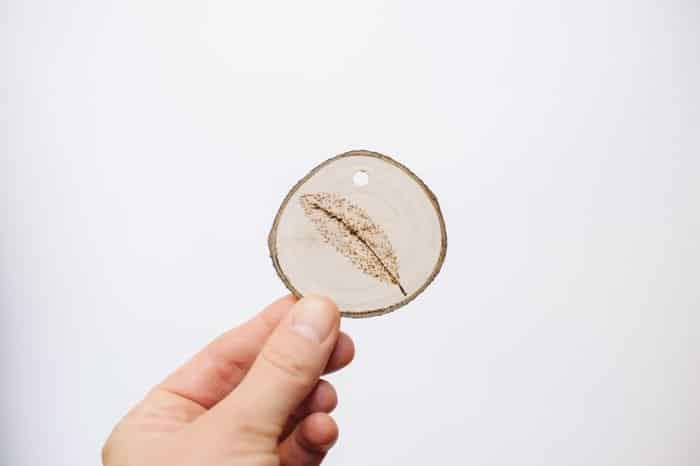
This was so fun and addicting to me. Each time I made one, I had another idea I wanted to try on another one.
I ended up making a lot of them double-sided, just so I could try out another idea.
Wood burning is definitely not a precision art form; at least not for me. There were parts of the tree slices where the wood burner would glide smoothly across the wood. And there were others where it would bump and jerk along, leaving darker burn marks. This is ok though; I didn't expect it to be perfect. In fact, I think that's part of the charm too.
They are rustic and handmade with love.
Step 4: Seal Tree Slices with Mod Podge.
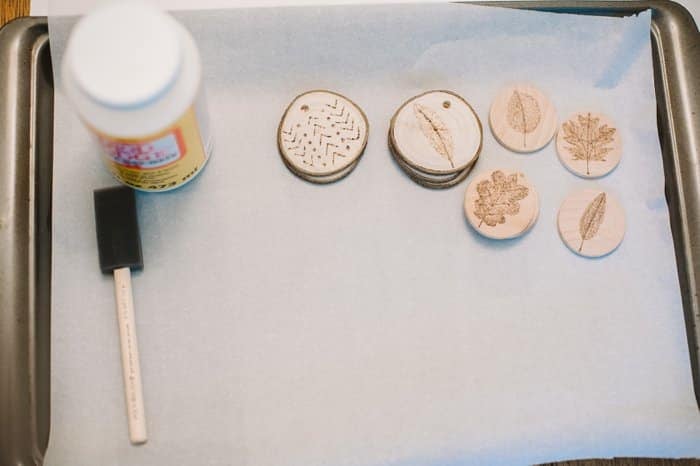
Once all of the wood pieces have been wood burned, either on just one side or both of them, it's time to seal them. This helps protect them.
I used matte Mod Podge, but you could use whatever finish you like.
Using a foam brush, swipe Mod Podge onto one side first. Once that's dry, brush a little bit of the Mod Podge onto the bark edge of the disc, and then onto the other flat surface.
Depending on how well you coated each side, it might only need one coat on all surfaces. If in doubt, add another coat.

Step 5: Seal with Acrylic Sealer
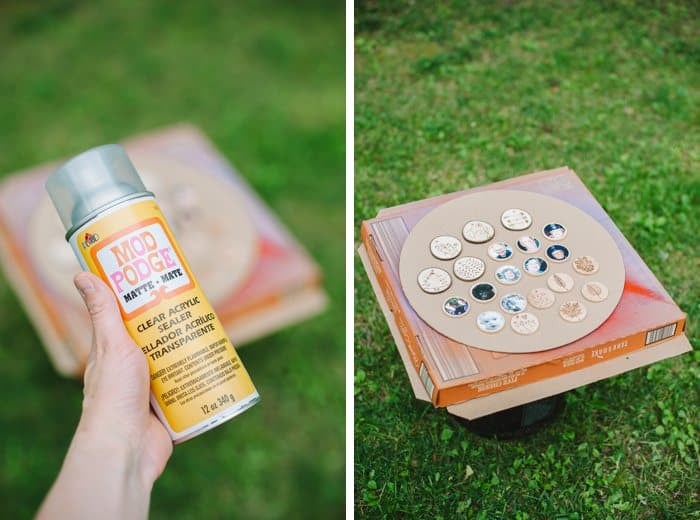
One side effect of Mod Podge is that it can be a little bit sticky, and cause the discs to stick together. That's where this sealer comes in.
Spray clear acrylic sealer onto the front and back surfaces of the tree slices, letting them dry before flipping.
I use a matte spray, but you can use any finish you want.
Step 6: Add twine.
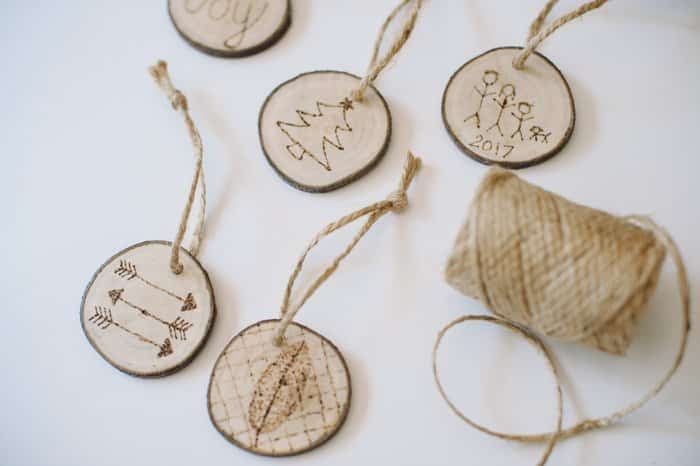
Once the wood slices are sealed and dry, add pieces of twine through the holes and knot them at the end.
This makes a loop, and the ornaments are now ready to hang!
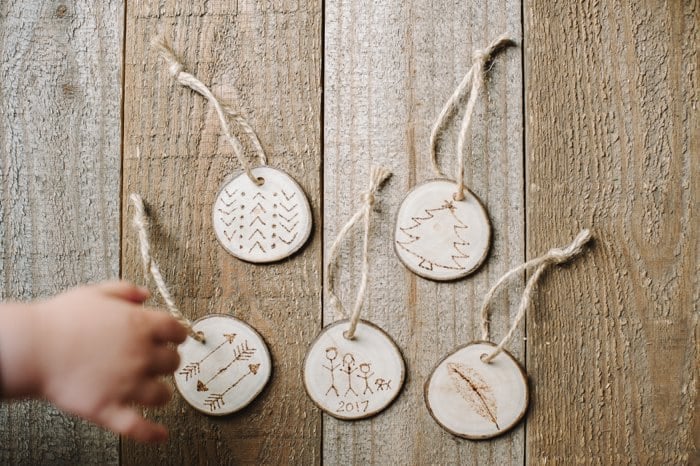

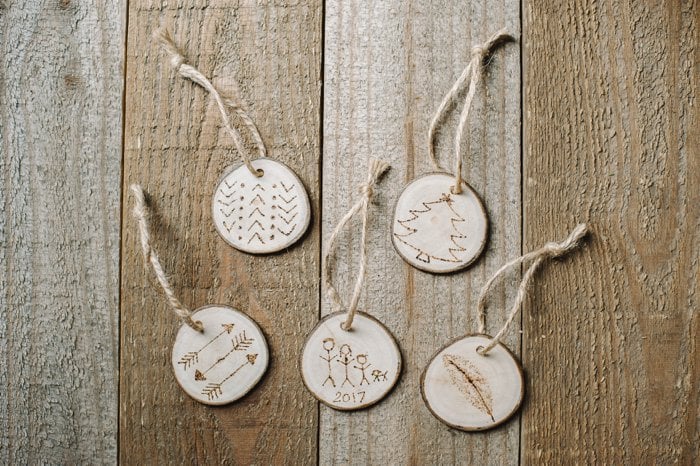
Step 7: Add the wood burned Christmas ornaments to your tree and enjoy!
These are the perfect rustic handmade ornament to add to your Christmas tree. They can be customized for literally any occasion, decor style, tree theme, year, child, or family.
They would make wonderful handmade Christmas gifts for a lucky person from your gift list as well.
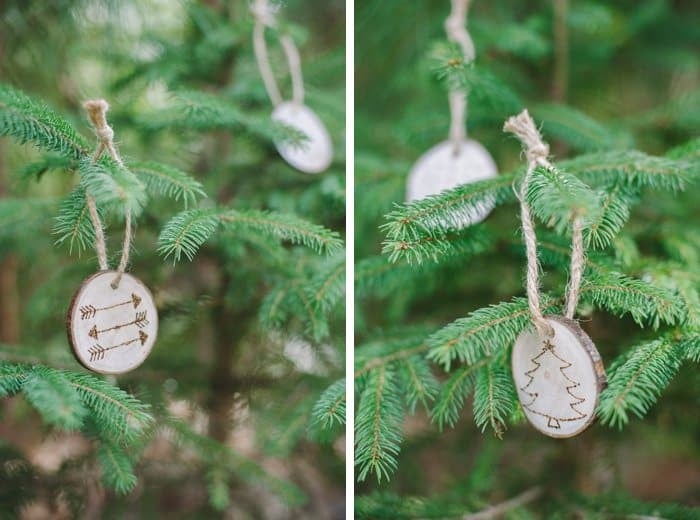
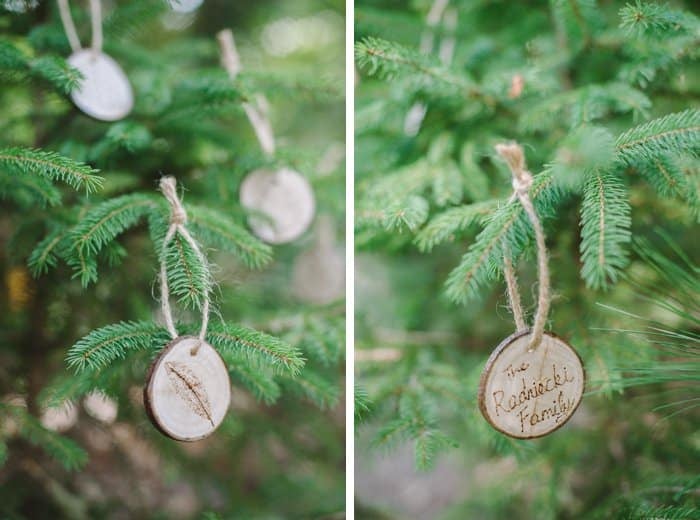
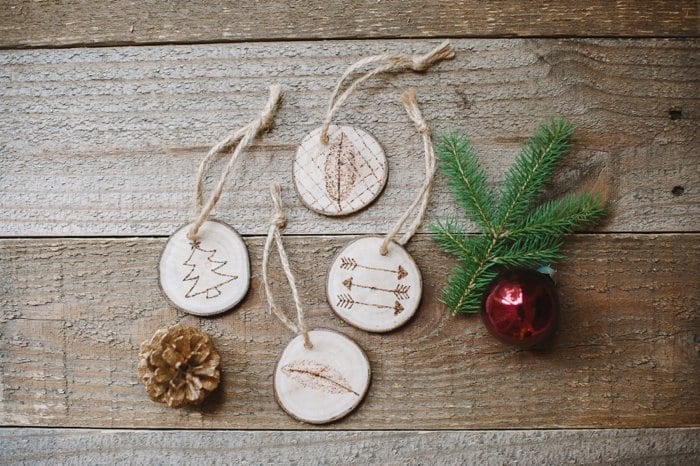
Wood burning is an addicting hobby; I can attest to that.
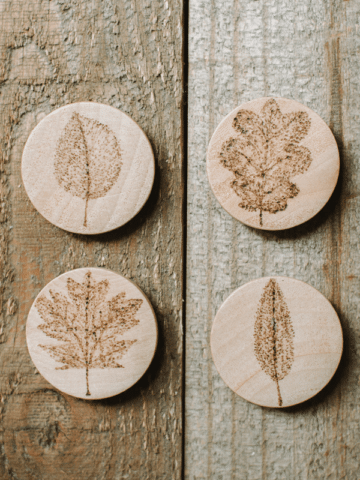
I quickly wood burned designs onto all of the wooden tree slices I had, using both of the sides of each one! I also woodburned leaves onto smaller wooden circles to make DIY woodburned magnets as well.
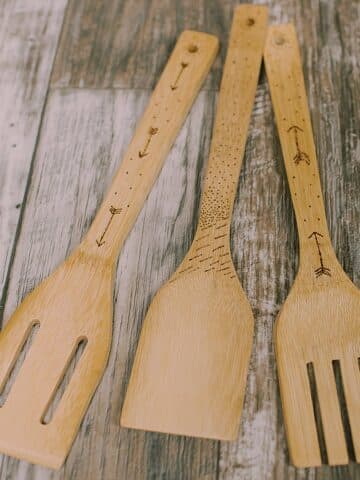
When I was finished, I found myself thinking... "What else can I wood burn on?"
With a wood burning tool, some wood slices and twine, it's easy (and fun) to make a set of completely unique and customized Christmas tree ornaments that you'll love looking at throughout the whole holiday season!
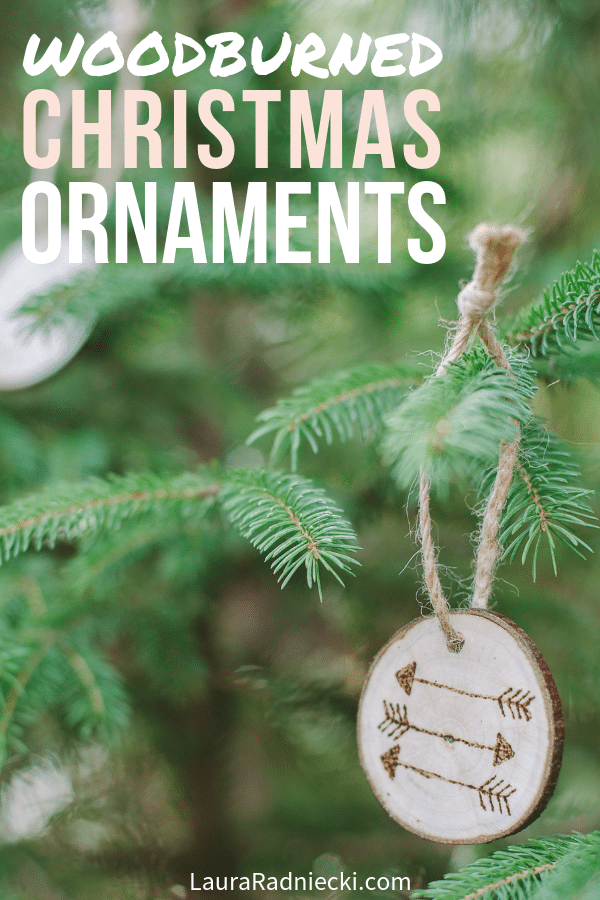
– If you liked this post, I would love if you would share it on Pinterest or Facebook. Thanks & xo! –


Leave a Reply