• Skip to main content
  • Skip to primary sidebar
Laura Radniecki
menu icon
go to homepage
  • Fall
  • Craft Index
  • Library
  • Shop
  • Writing
    • Facebook
    • Instagram
    • Pinterest
    • YouTube
  • subscribe
    search icon
    Homepage link
    • Fall
    • Craft Index
    • Library
    • Shop
    • Writing
    • Facebook
    • Instagram
    • Pinterest
    • YouTube
  • ×
    Home » Woodburning

    How to Make Wood Burned Leaf Magnets on Wood Slices

    Nov 7, 2017 | Updated Mar 19, 2024 | By Laura | This post may contain affiliate links | 3 Comments

    • Facebook
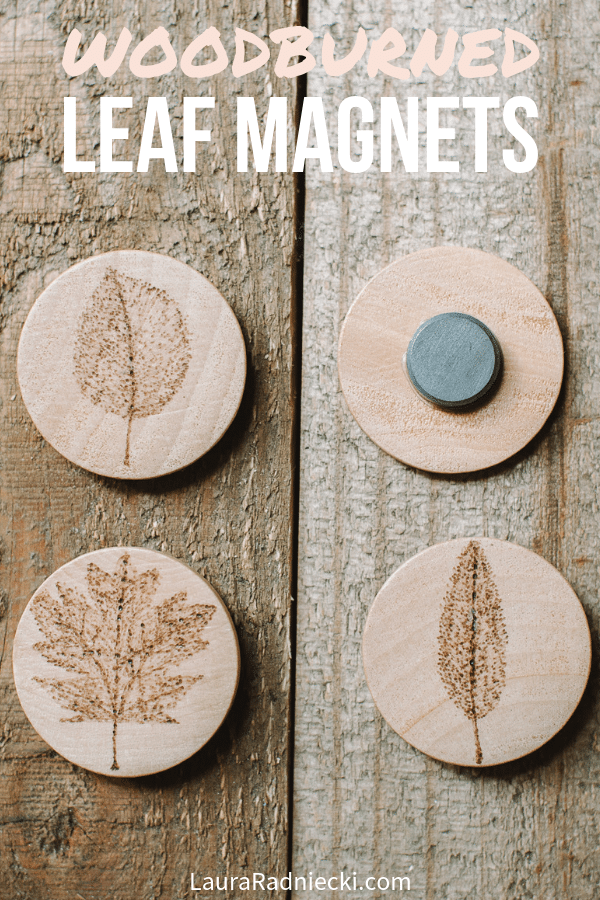
    How to make wood burned leaf magnets

    Learn how to make DIY wood burned magnets using a woodburning tool, with leaf designs on them! It's an easy wood burning craft, and makes a great homemade gift idea too.
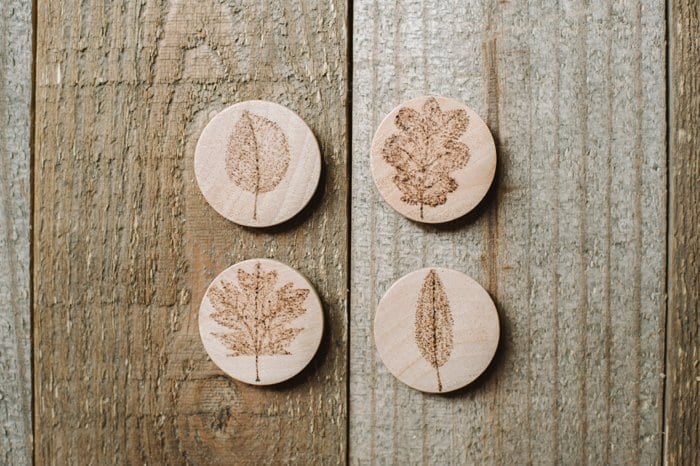
    Leaf Magnets

    Last week, I posted a tutorial about the DIY photo magnets I made using photo circles, wooden discs, Mod Podge and magnets.

    Today, I've got the sister tutorial to that one; the other half of the awesome new magnets that are sprucing up my refrigerator!

    This tutorial is all about how to make woodburned leaf magnets on wood slices!

    How to Make Wood Burned Leaf Magnets on Wood Slices

    Supplies Needed:

    Wooden circles
    Woodburning tool
    Mod Podge
    Foam brush
    Clear Acrylic Sealer
    Magnets
    Glue - I used E6000 glue

    Step 1. Wood Burn on the Wood Slices

    Decide which woodburning tip to use and make sure that's the one in the tool. I used the one with the finest point. Plug in the tool and wait until it's hot.
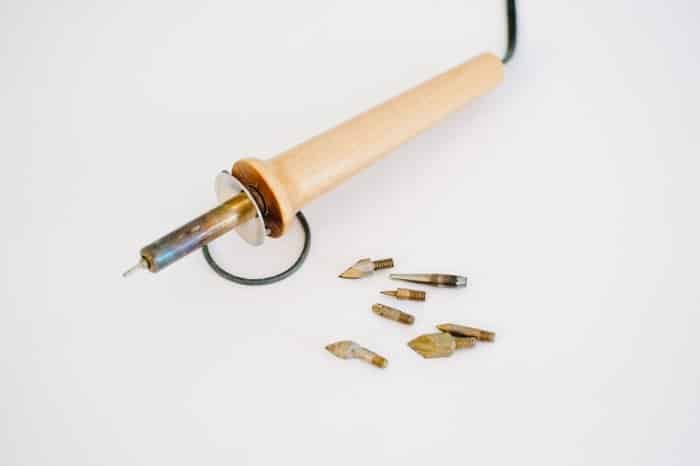
    Wood burning tool

    Woodburn a variety of designs into your wooden discs. I decided to do a set of four leaves for mine. You can do any type of design, drawing, pattern or word you want.

    Wood burning takes practice and you get better as you go on. Have fun and be creative!
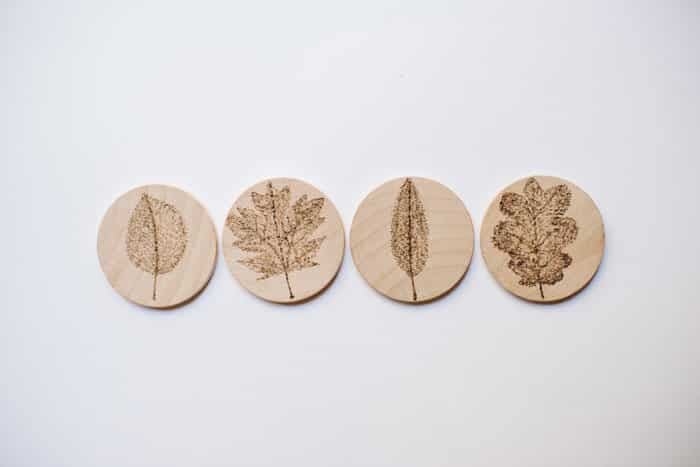
    Wood Burned Leaf Magnets on Wood Slices | Wood Burned Leaf Magnets, Magnets with Leaves, Woodburning Gifts, Wood Burned Magnets, Woodburned Magnets

    Step 2. Mod Podge all sides of the discs.

    Using the foam brush, add a layer of Mod Podge first to the sides of the wood slices, and then to the front. Let dry.

    Once that's dry, add a layer of Mod Podge to the back of the wooden disc as well.
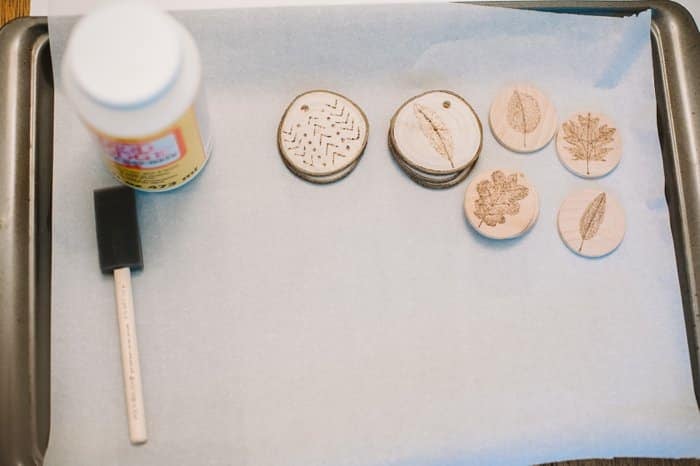
    Use Mod Podge to seal wooden circles

    (Tutorial for the wooden tree slice woodburned ornaments here!)
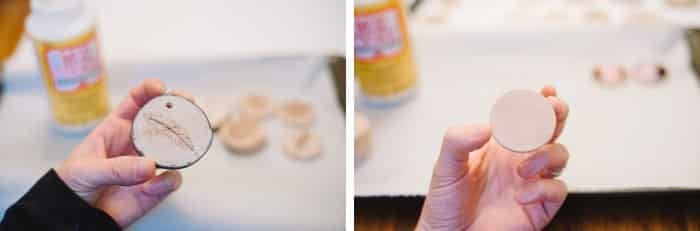
    Mod Podge to seal wooden discs

    Step 3. Seal Front and Back with Clear Acrylic Sealer

    Like I explained in the DIY photo magnet tutorial which goes through most of these same steps, Mod Podge can stay tacky even when it's dry. It can cause multiple surfaces to stick together. One way to eliminate this tackiness is to spray a clear acrylic sealer on all surfaces, so that's what I did!

    Spray the Clear Acrylic Sealer to the front and the back. It will hit the sides as you spray.
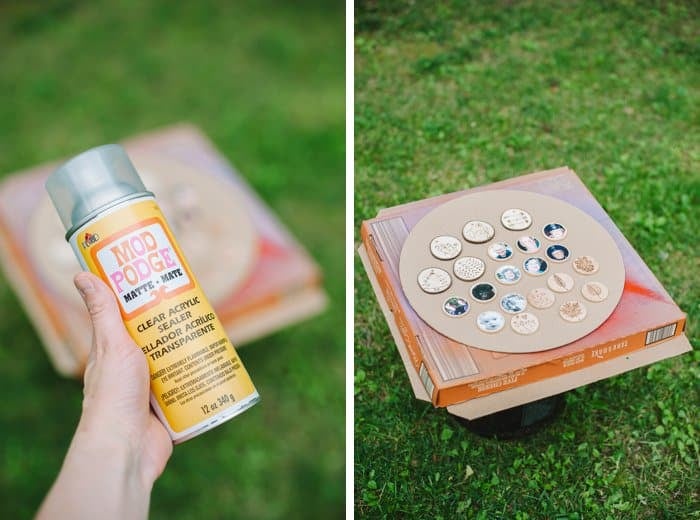
    Use clear acrylic sealer to seal wooden discs

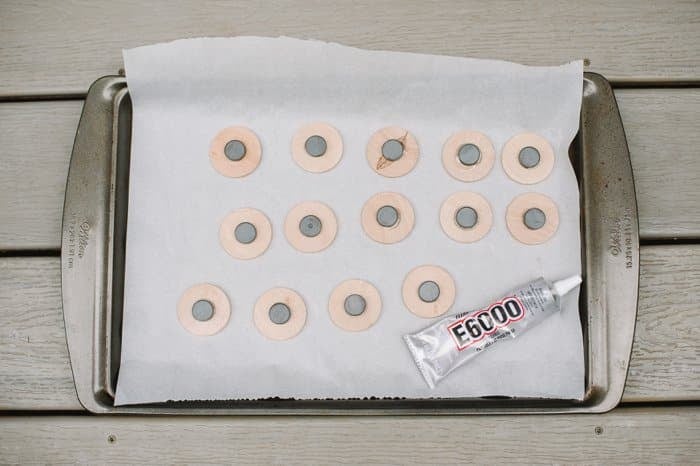
    Step 4. Glue on the Magnets

    I used E6000 glue in a well ventilated area (outside) because it's very stinky glue.
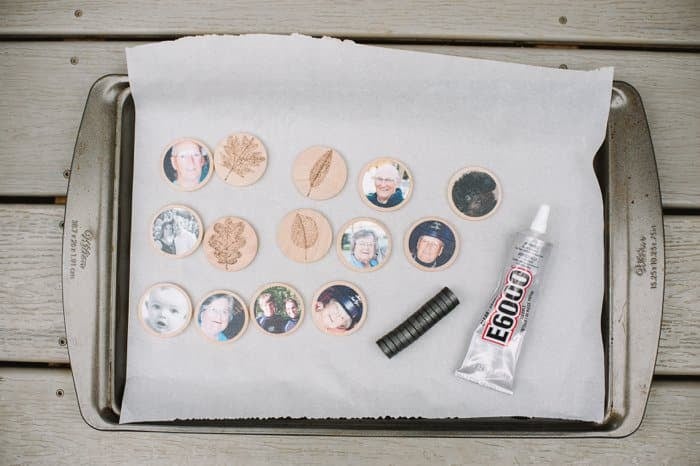
    Use E6000 glue to add magnets to wooden discs

    Put a little glue on the back of the discs and attach the magnet. Let dry.
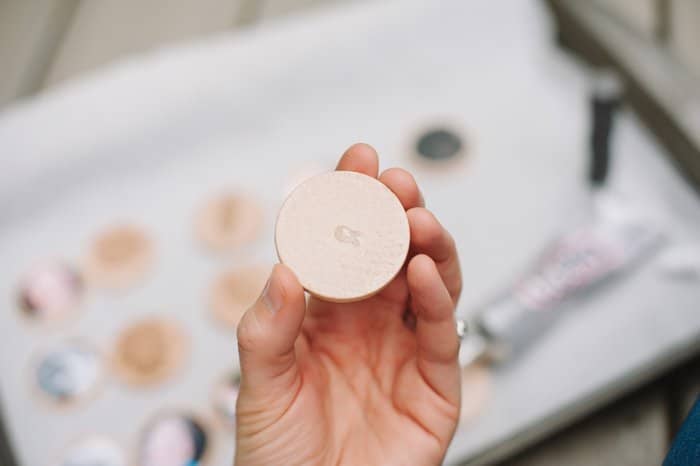
    Use E6000 glue to add magnets

    Glue magnets on the back of wooden circles with E6000 glue

    Step 5. Enjoy your new wood burned magnets!

    Once the glue is dry and the magnets are secure, the magnets are ready to be used!

    Just like the photo magnets I made, I think these would make an awesome handmade Christmas gift for someone on your list.

    Wood Burned Leaf Magnets on Wood Slices | Wood Burned Leaf Magnets, Magnets with Leaves, Woodburning Gifts, Wood Burned Magnets, Woodburned Magnets

    Seriously... how cute are they?!?! I just love them!
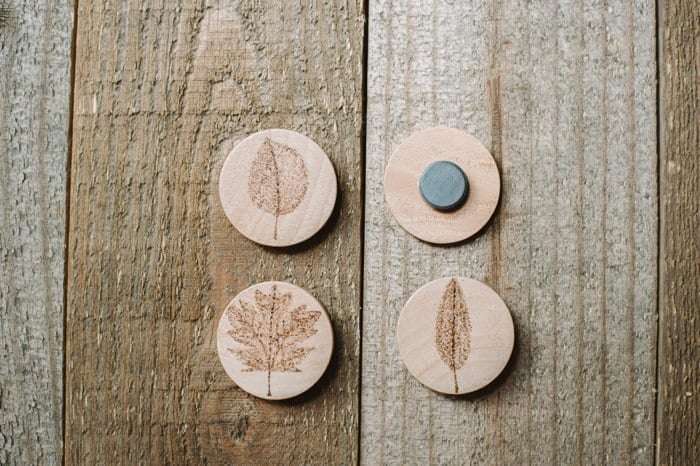
    Wood Burned Leaf Magnets on Wood Slices | Wood Burned Leaf Magnets, Magnets with Leaves, Woodburning Gifts, Wood Burned Magnets, Woodburned Magnets

    Using a woodburning tool is addicting, let me warn you. I started thinking, "Hmmm... what else can I woodburn???" I got way better as I went along. I got used to the way it felt in my hand and learned how fast I had to move it to avoid burning the wood.

    With the woodburning tool, a few wood slices and some magnets and Mod Podge, it's simple and fun to make a set of DIY wood burned ornaments for yourself or as a handmade gift!
    How to make wood burned leaf magnets

    – If you liked this post, I would love if you would share it on Pinterest or Facebook. Thanks & xo! –
    More Easy Woodburning Craft Ideas

    • How to make a woodburned wooden utensil wall hanging
      DIY Woodburned Wooden Utensil Wall Hanging
    • How to make a DIY woodburned spoon
      DIY Woodburned Wooden Spoon
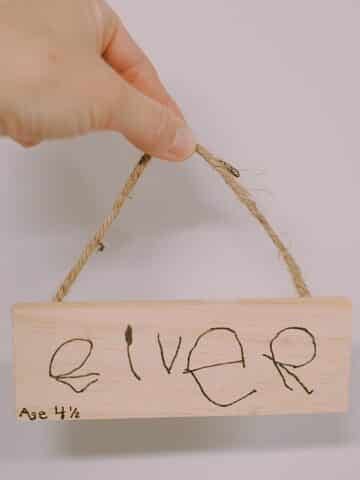
    • How to make a kids handwriting woodburned ornament
      How to Make a Woodburned Kids' Handwriting Ornament
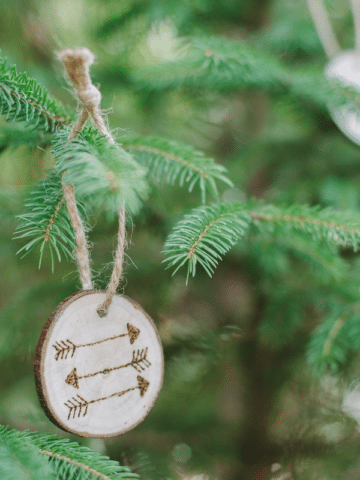
    • Wood Burned Christmas Ornaments on Wood Slices - DIY Ornaments
      How to Make Wood Burned Christmas Ornaments on Wood Slices

    About Laura

    Laura Radniecki is a crafter, writer, and photographer from small-town Minnesota. A lifelong maker, she shares easy step-by-step craft tutorials. She's a wife to her high school sweetheart, mama to their son and daughter, dog mama to their 2 brother + sister toy poodles, and a part-time RV snowbird in Florida.

    Reader Interactions

    Comments

      Leave a Reply Cancel reply

      Your email address will not be published. Required fields are marked *

      Recipe Rating


    1. J Oakley

      December 05, 2022 at 2:40 pm

      Hi,
      would it be sufficient to use the sealer without first brushing on the mod podge?

      Thanks,
      Jesse

      Reply
      • Laura

        December 11, 2022 at 9:22 am

        Hi Jesse! Yes, sealer should work just fine by itself too! You could always to two coats to make sure it's thoroughly coated and protected. I hope that helps!

        Reply
    2. Kathleen Bailey

      May 27, 2020 at 7:39 pm

      What a great idea! My husband woodburns so I told him I want some magnets and tree ornaments right away!

      Reply

    Primary Sidebar

    Hi, I'm Laura Radniecki!

    I’m here to help you make easy crafts! Around here, you’ll find step-by-step craft tutorials that remove the guesswork, and are easy, fast, and fun. If you are a busy crafter, you are in the right place!

    (I also write when I'm inspired, and share my thoughts on my life + our world here too.)

    .

    More about me →

    Fall Crafts

    • How to make a beeswax dipped leaf garland.
      How to Make a Beeswax Leaf Garland
    • A Halloween wreath made with burlap ribbon with black and orange polka dots on it.
      How to Make a Burlap Halloween Wreath
    • How to Preserve Fall Leaves with Beeswax.
      How to Preserve Fall Leaves with Beeswax
    • Fall earrings made with felt ball pumpkins.
      How to Make Felt Ball Pumpkin Earrings
    • A look at using Matte vs Gloss Mod Podge to preserve fall leaves.
      A Look at Matte vs Gloss Mod Podge Fall Leaves
    • A wooden bowl with plaster easter eggs in it. The plastic eggs are wrapped in yarn and twine to look like DIY acorns.
      DIY Fall Acorns using Yarn-Wrapped Plastic Easter Eggs

    Popular Crafts

    • Purple and red paper cones made with construction paper, laying with a scissors on a table top.
      How to Make a Cone Out of Paper
    • Yellow DIY cornhole bag and scrabble tiles that say "game on".
      How to Make Cornhole Bags
    • Photo showing a wreath made out of jute rope hanging on a wall above a shelf with a plant on it.
      How to Make a Jute Wreath
    • How to Make a Pacifier Clip
      How to Make a Pacifier Clip
    • Learn how to make yarn tassels in this DIY tassel tutorial, showing two methods - one by hand and one using cardboard for making tassels.
      How to Make Yarn Tassels
    • Pinecones laying on a whitewashed wooden surface.
      How to Prepare Pine Cones for Crafts

    Footer

    ↑ back to top

    About

    • About Me
    • Shop
    • Privacy Policy
    • Accessibility

    Newsletter

    • Get craft tutorials, DIY project inspiration, and a first look at anything new by joining our email list. - Sign Up!

    Contact

    • Contact

    As an Amazon Associate, I earn from qualifying purchases.

    Copyright © 2026 Laura Radniecki