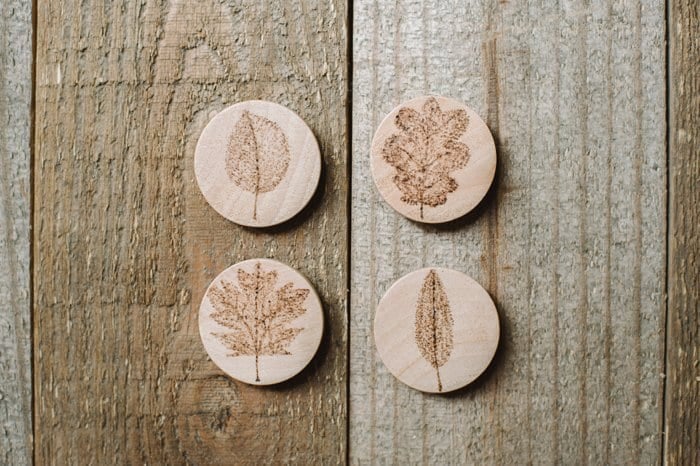
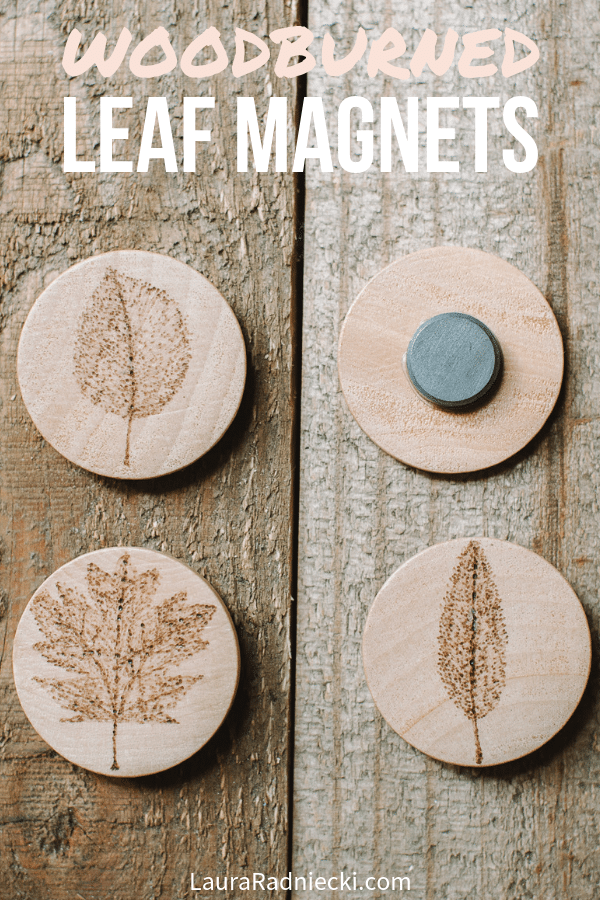
Learn how to make DIY wood burned magnets using a woodburning tool, with leaf designs on them! It's an easy wood burning craft, and makes a great homemade gift idea too.
Last week, I posted a tutorial about the DIY photo magnets I made using photo circles, wooden discs, Mod Podge and magnets.
Today, I've got the sister tutorial to that one; the other half of the awesome new magnets that are sprucing up my refrigerator!
This tutorial is all about how to make woodburned leaf magnets on wood slices!
How to Make Wood Burned Leaf Magnets on Wood Slices
Supplies Needed:
Wooden circles
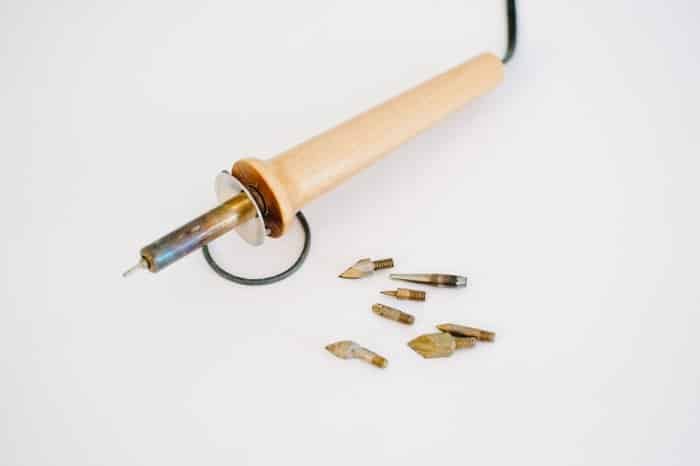
Woodburning tool
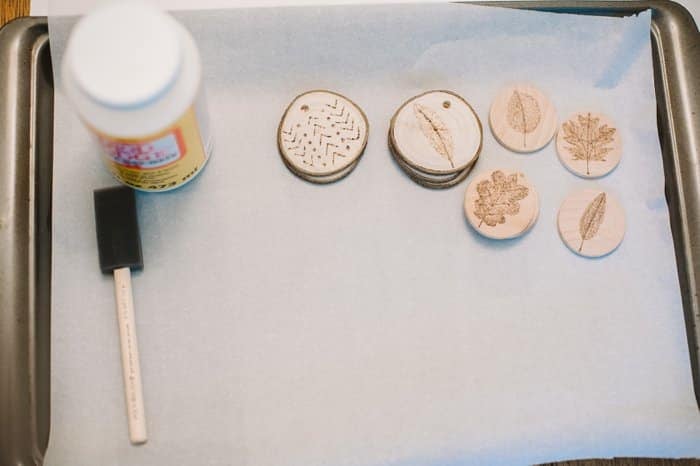
Mod Podge
Foam brush
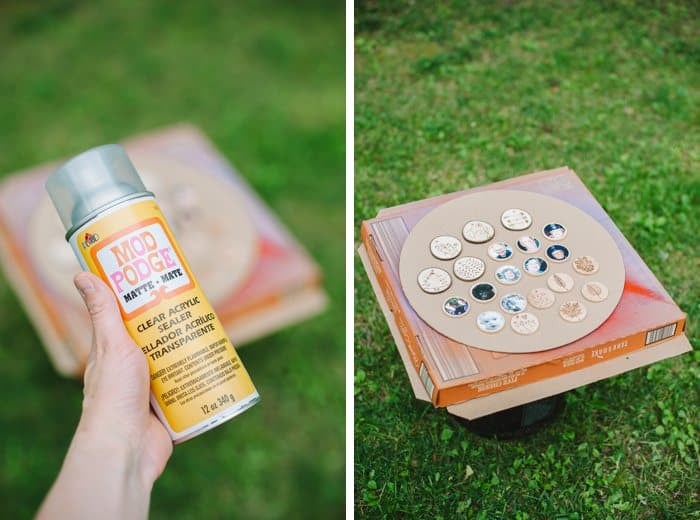
Clear Acrylic Sealer
Magnets
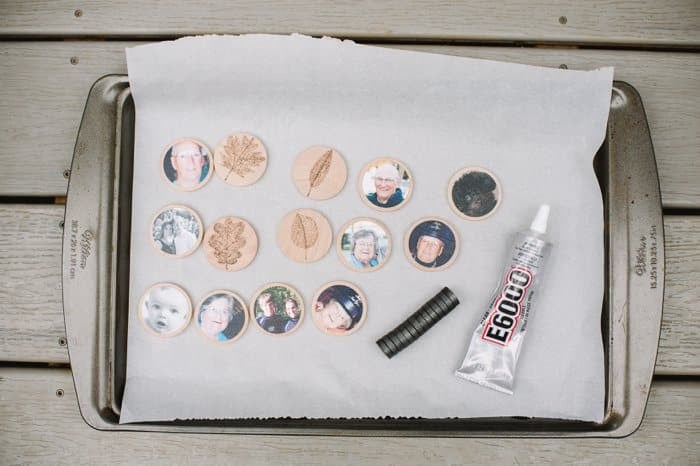
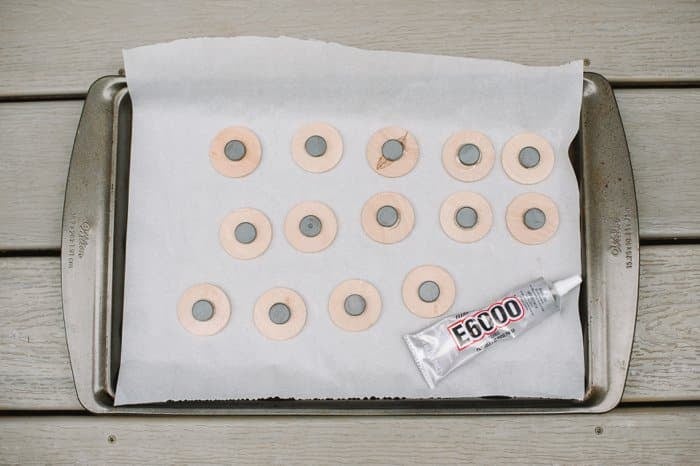
Glue - I used E6000 glue
Step 1. Wood Burn on the Wood Slices
Decide which woodburning tip to use and make sure that's the one in the tool. I used the one with the finest point. Plug in the tool and wait until it's hot.
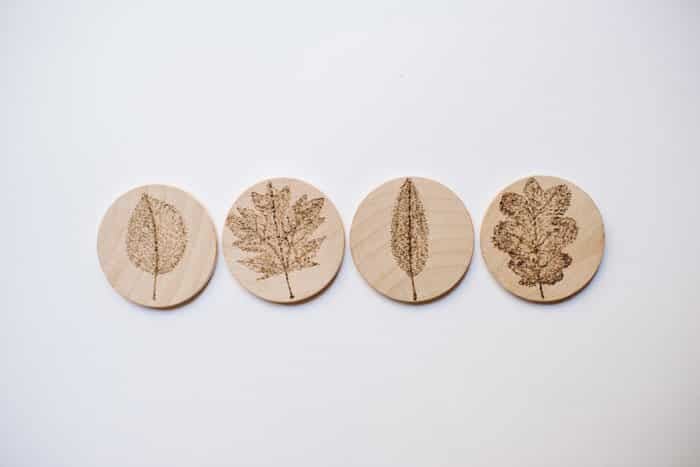
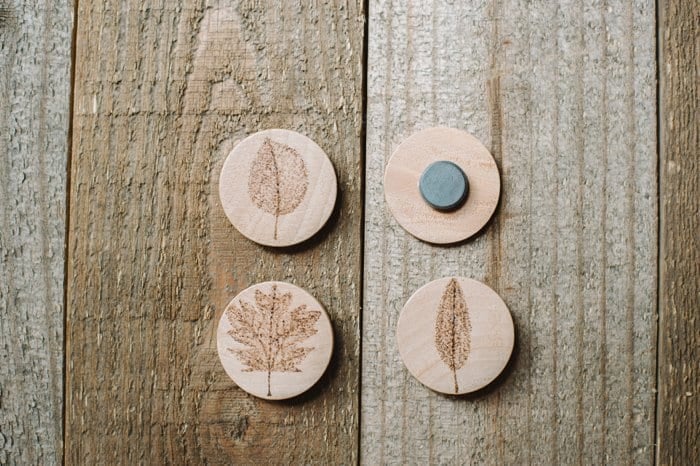
Woodburn a variety of designs into your wooden discs. I decided to do a set of four leaves for mine. You can do any type of design, drawing, pattern or word you want.
Wood burning takes practice and you get better as you go on. Have fun and be creative!
Step 2. Mod Podge all sides of the discs.
Using the foam brush, add a layer of Mod Podge first to the sides of the wood slices, and then to the front. Let dry.
Once that's dry, add a layer of Mod Podge to the back of the wooden disc as well.
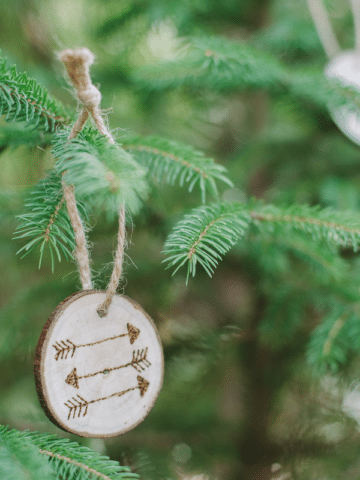
(Tutorial for the wooden tree slice woodburned ornaments here!)
Step 3. Seal Front and Back with Clear Acrylic Sealer
Like I explained in the DIY photo magnet tutorial which goes through most of these same steps, Mod Podge can stay tacky even when it's dry. It can cause multiple surfaces to stick together. One way to eliminate this tackiness is to spray a clear acrylic sealer on all surfaces, so that's what I did!
Spray the Clear Acrylic Sealer to the front and the back. It will hit the sides as you spray.
Step 4. Glue on the Magnets
I used E6000 glue in a well ventilated area (outside) because it's very stinky glue.
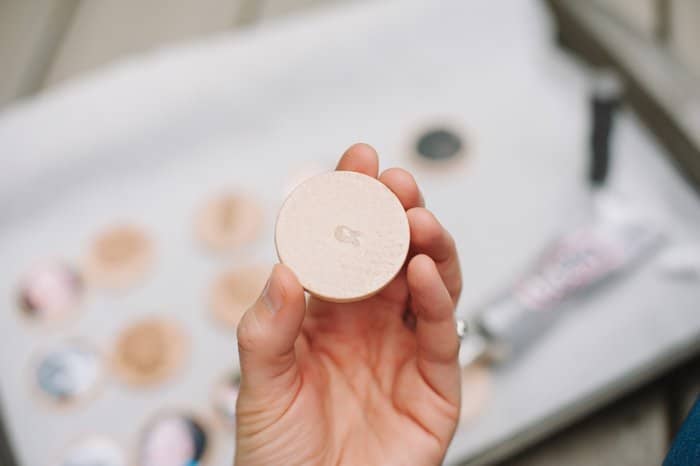
Put a little glue on the back of the discs and attach the magnet. Let dry.
Step 5. Enjoy your new wood burned magnets!
Once the glue is dry and the magnets are secure, the magnets are ready to be used!
Just like the photo magnets I made, I think these would make an awesome handmade Christmas gift for someone on your list.

Seriously... how cute are they?!?! I just love them!
Using a woodburning tool is addicting, let me warn you. I started thinking, "Hmmm... what else can I woodburn???" I got way better as I went along. I got used to the way it felt in my hand and learned how fast I had to move it to avoid burning the wood.
With the woodburning tool, a few wood slices and some magnets and Mod Podge, it's simple and fun to make a set of DIY wood burned ornaments for yourself or as a handmade gift!
– If you liked this post, I would love if you would share it on Pinterest or Facebook. Thanks & xo! –


J Oakley
Hi,
would it be sufficient to use the sealer without first brushing on the mod podge?
Thanks,
Jesse
Laura
Hi Jesse! Yes, sealer should work just fine by itself too! You could always to two coats to make sure it's thoroughly coated and protected. I hope that helps!
Kathleen Bailey
What a great idea! My husband woodburns so I told him I want some magnets and tree ornaments right away!