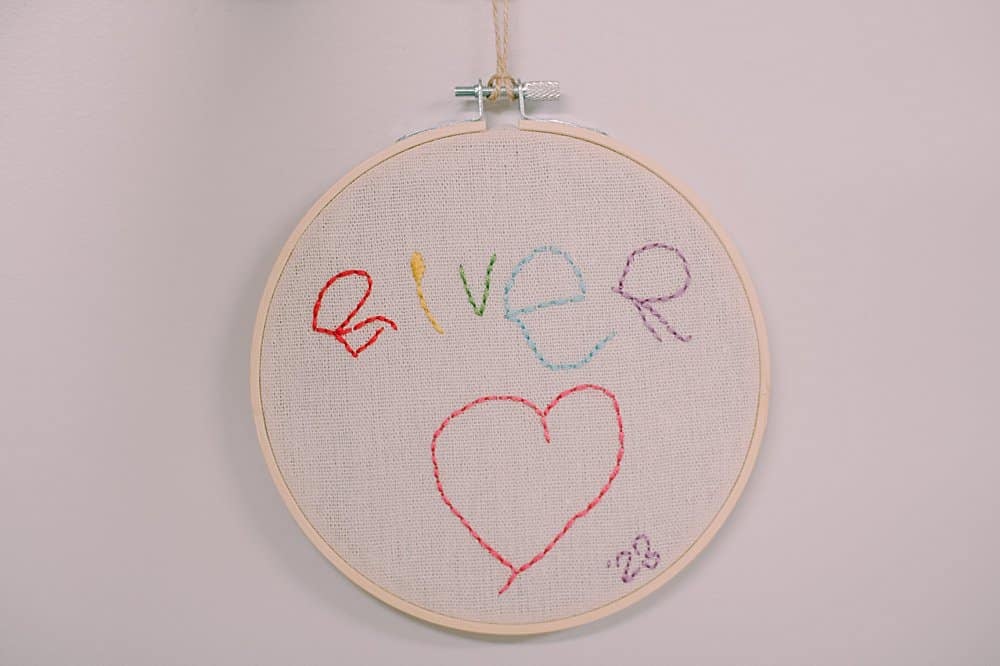
Learn how to make a DIY kids' handwriting embroidery keepsake using the handwritten signature embroidered into fabric, hanging in an embroidery hoop.
Embroidery is a wonderful hobby for any craft enthusiast. It requires very few supplies and you can learn enough in a few minutes to get started!
My favorite way to use embroidery is to make keepsake projects with it, similar to the woodburned kids' handwriting ornament we made recently.
Today, we are going to make a cherished keepsake project by embroidering the handwritten name of a child onto fabric in an embroidery hoop!
Let's get started!
DIY Kids' Handwriting Embroidery
Step 1. Gather Supplies
Supplies Needed:
- Linen Fabric
- Embroidery Hoop
- Kid's handwritten name on a piece of paper
- Carbon Paper
- Embroidery Needle
- Embroidery Thread - (here's how to store embroidery thread without tangles)
- Scissors
- Hot Glue Gun and Glue
- Twine
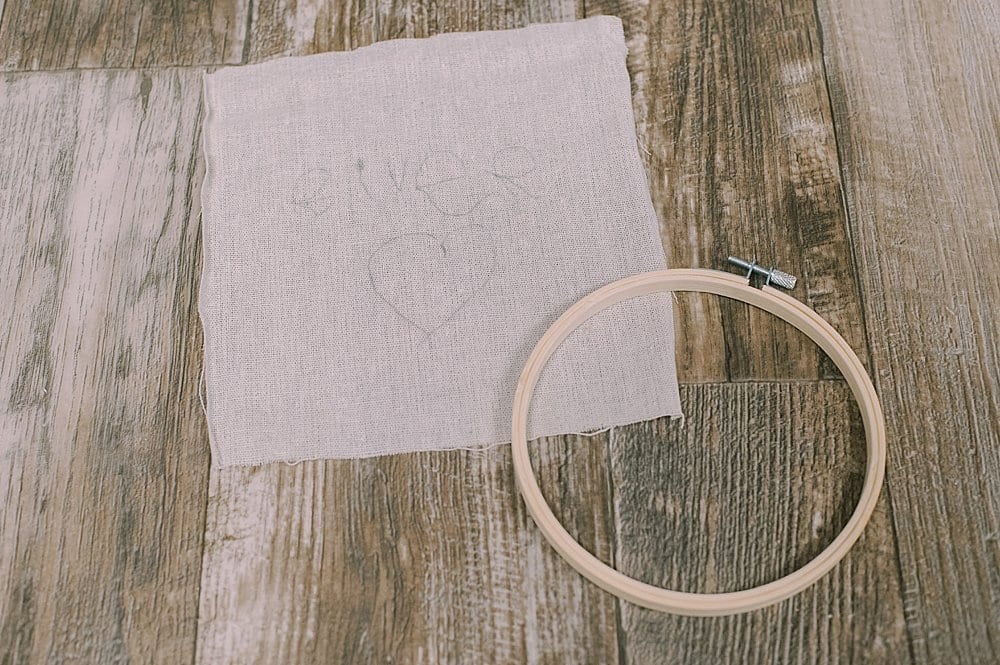
Step 2. Use carbon paper to transfer the child's name onto the fabric.
Make sure the name is smaller than the hoop you are going to use.
(I resized my child's name using my printer's copier to shrink it.)
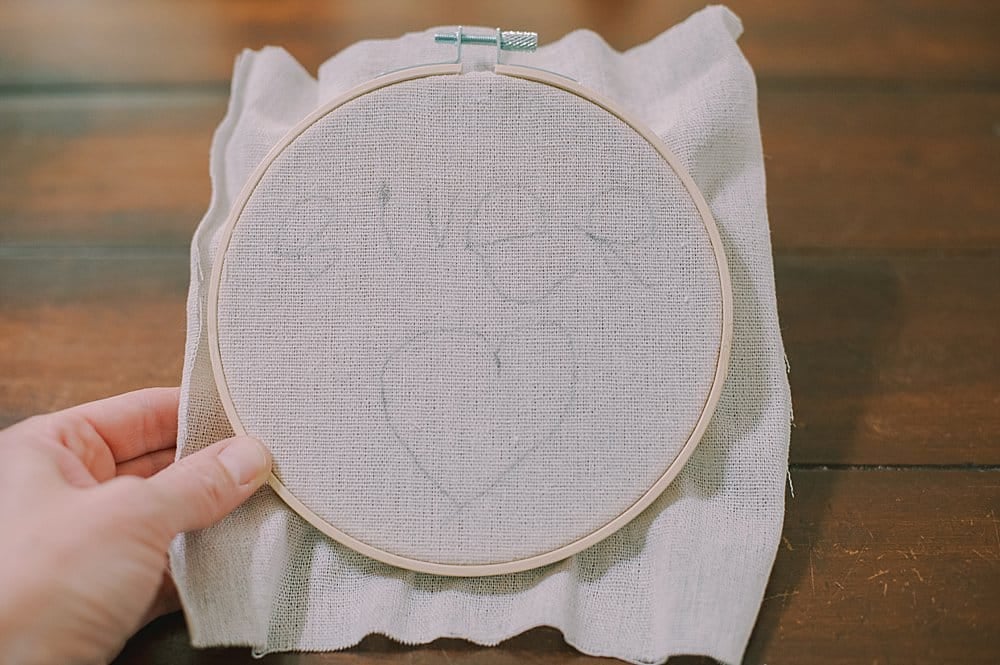
Step 3. Place the fabric into the embroidery hoop so the name is positioned correctly, and the fabric is pulled tight and ready for embroidery!
Make sure the screw at the top of the outer hoop is tightened enough to keep the fabric in place while you work.
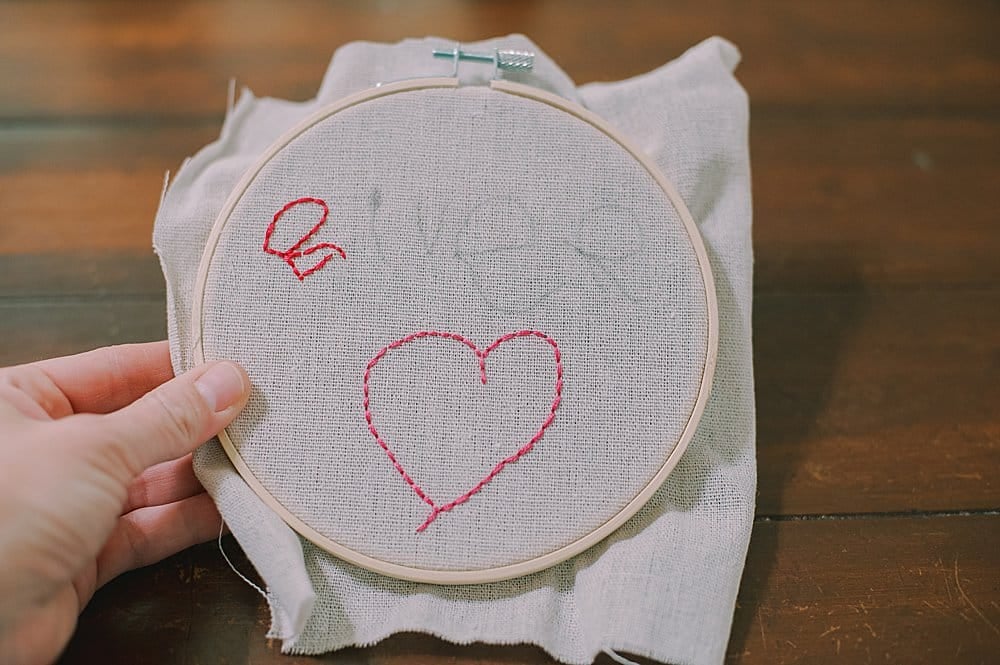
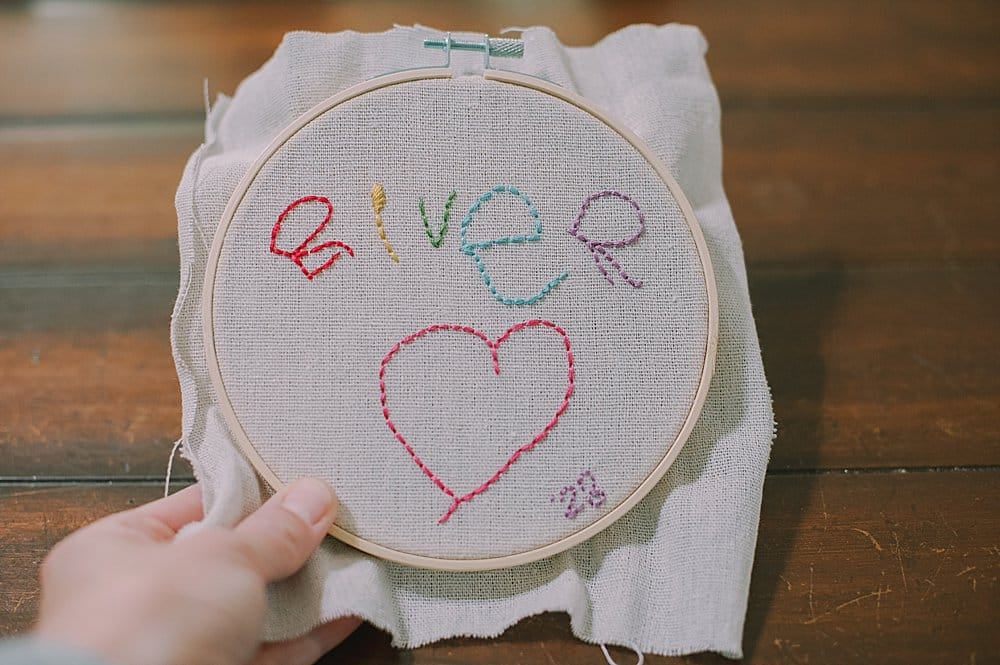
Step 4. Choose your embroidery floss colors, and begin to stitch the letters of the child's name.
You can use any of the common embroidery stitches for this project.
I decided to use a simple backstitch in varying colors of the rainbow.
The dot above the yellow "i" is a small section of the satin stitch.
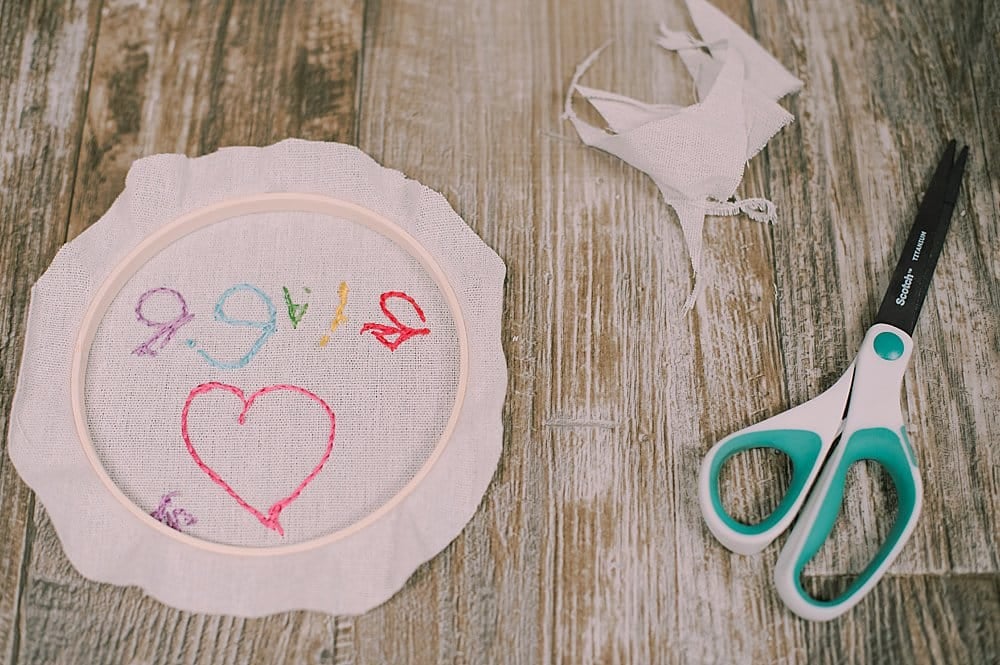
Step 5. Once the embroidery is finished, turn your project over and trim off any excess fabric from the back.
I like to hot glue the fabric to the inside of the back of the frame, so for that method of finishing an embroidery project, I only need ½" to ¾" of excess fabric.
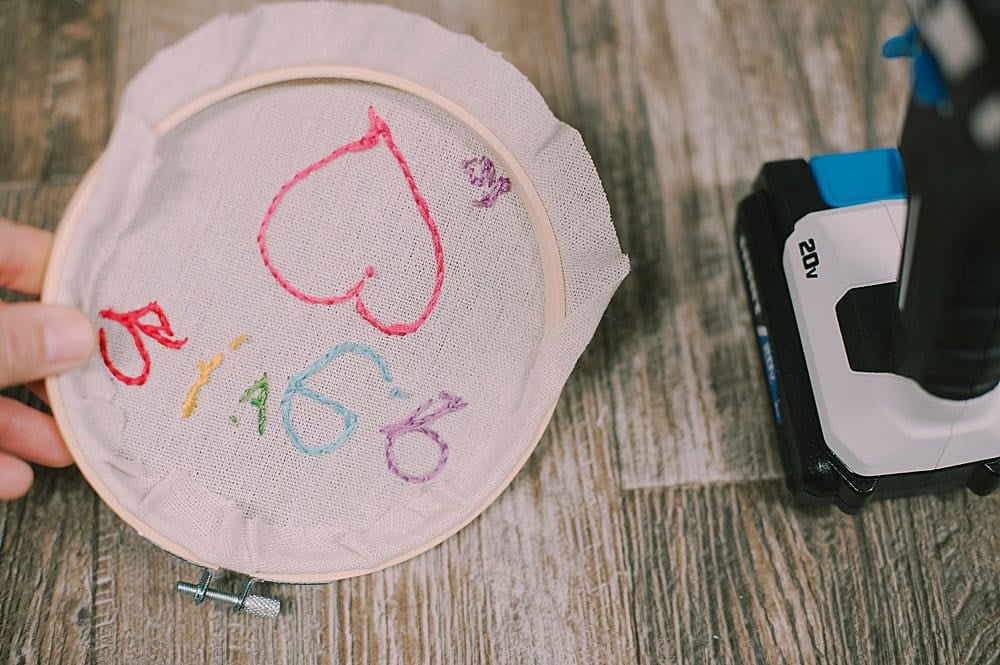
Step 6. Dab hot glue to the inside edge of the back of the embroidery hoop, and carefully press the excess fabric into the glue.
Continue around the whole hoop, gluing the excess fabric to the back inside of the hoop.
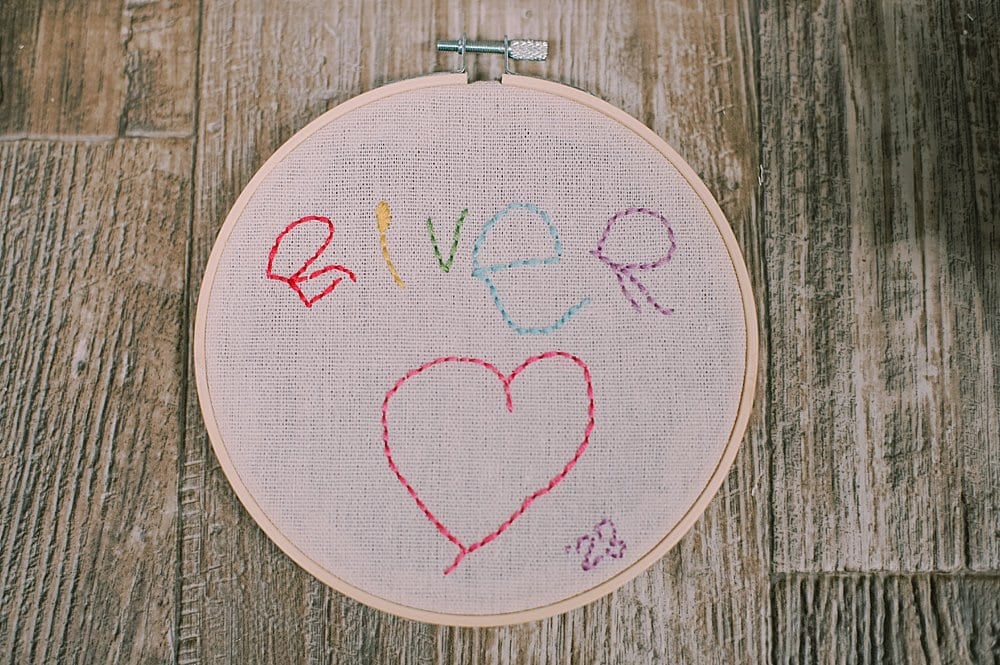
Turn your project over and take a look from the front.
If you like what you see, you are done!
You can display it on a shelf, or you can hang it directly onto a nail, using the metal screw at the top of the hoop as a hanging hook.
Another option for hanging is to loop a small section of twine through the metal screw and use that to hang it up.
Embroidery is a fantastic hobby and can be used for so many fun projects.
This project is a favorite because it combines fun embroidery with the ability to make a keepsake and preserve a cherished piece of childhood - the way a child writes their name when they are just learning how to write.
This project makes a lovely gift and can be made on a smaller scale to create a cute ornament for the Christmas tree.
I'm keeping this forever!



Leave a Reply