See different ways showing how to display embroidery projects, such as how to frame embroidery in a hoop, how to frame embroidery in photo frames, and how to wrap canvas with embroidery!
You’ve been hard at work on a beautiful embroidery project and you’re coming to the end.
You carefully complete the very last embroidery stitch, tie one last knot, and snip the thread on the back.
Your embroidery project is done!
Now, what do you do with it?
There are three main options when looking for a way to finish and display your embroidery projects.
3 Ways to Display an Embroidery Project:
- Frame it in the hoop
- Frame it in a photo frame
- Wrap it around a canvas
Of course, there are other options such as using the embroidered fabric in a quilt or as a pillow cover.
But for these purposes, we are looking at how to display embroidery, either hanging on a wall (or gallery wall), or sitting on a shelf.
Let’s take a look at our options!
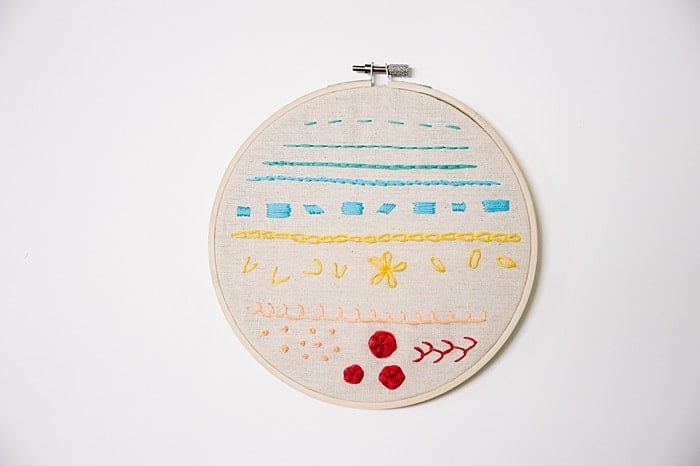
How to Finish Embroidery in the Hoop
Once you’re finished with your embroidery project, the first option is to finish the embroidery off in the hoop.
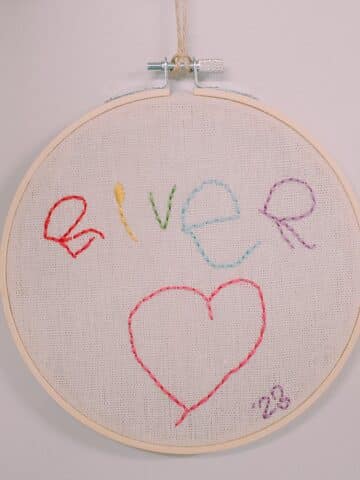
The hoop will become the frame for your artwork, and the frame can easily be placed on a shelf or hung up using the tightening screw on the top of the outer hoop.
Here's how to finish your embroidery so you can display it in the hoop.
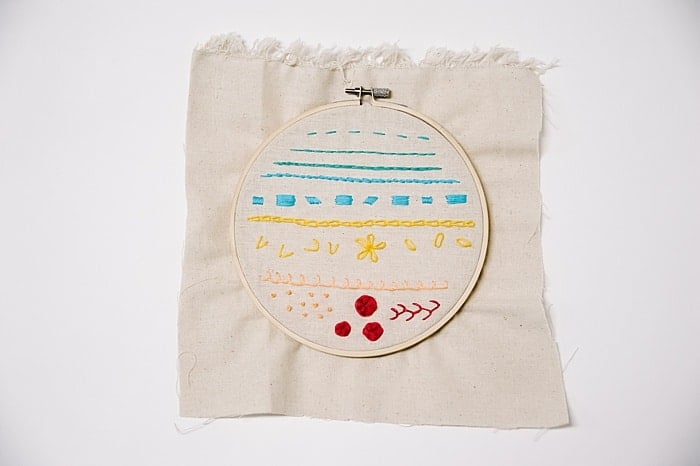
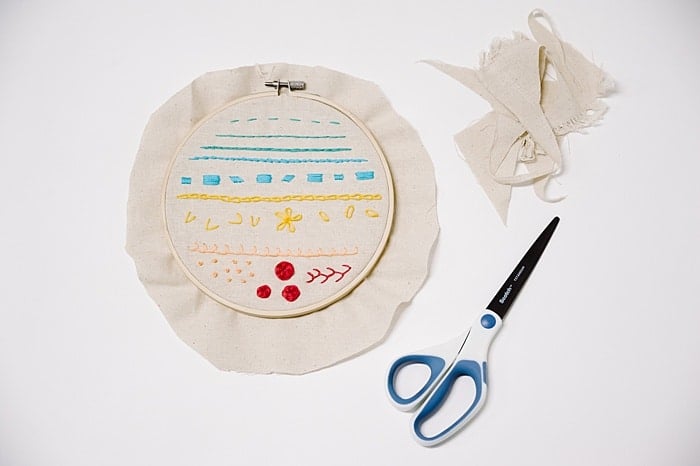
Step 1. Trim excess fabric to 1-2” around the perimeter of the hoop.
Step 2. Thread a needle with embroidery thread.
Tie a knot at one end.
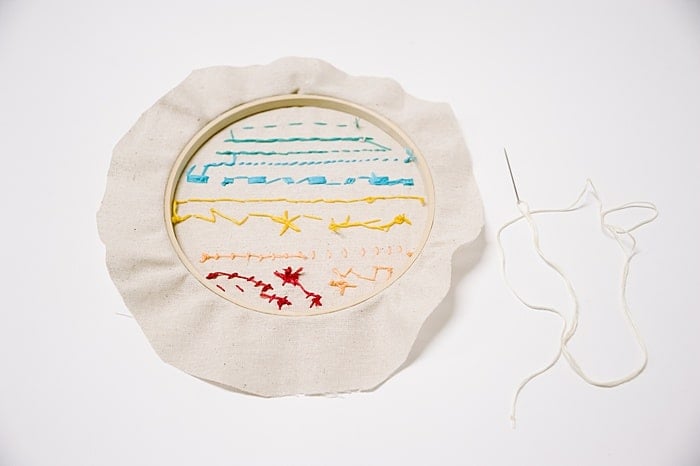
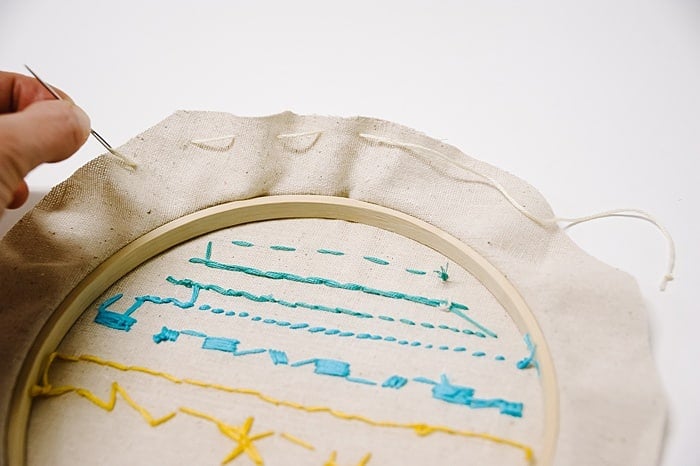
Step 3. Sew a loose running stitch around the perimeter of the fabric.
Leave a 3-4” thread tail as pictured.
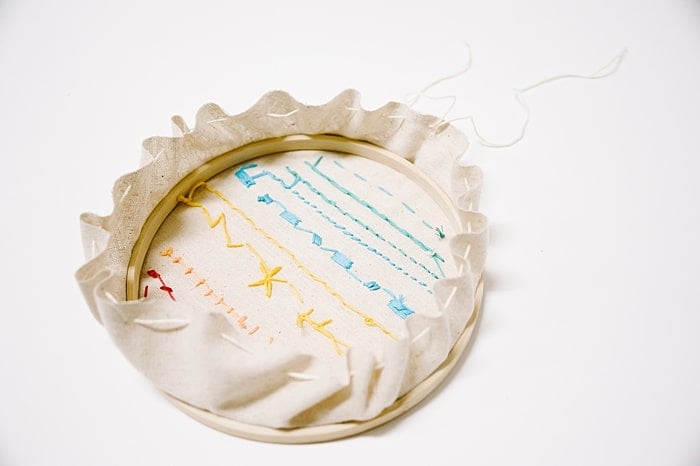
Step 4. Continue sewing all the way around the edge with a loose running stitch.
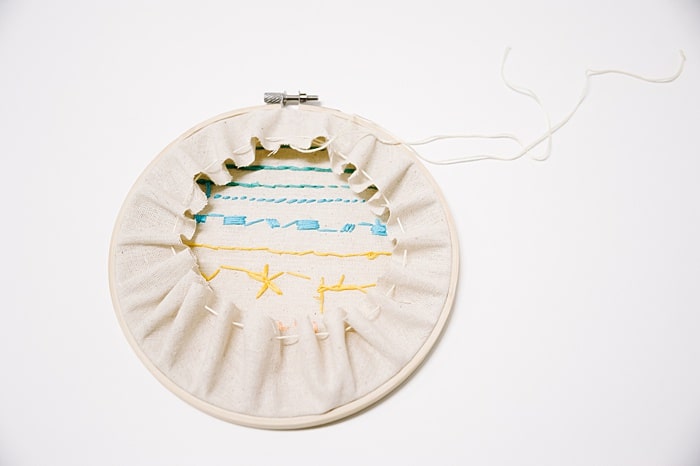
Step 5. Pull both ends of the thread and watch as the back of the embroidery cinches up.
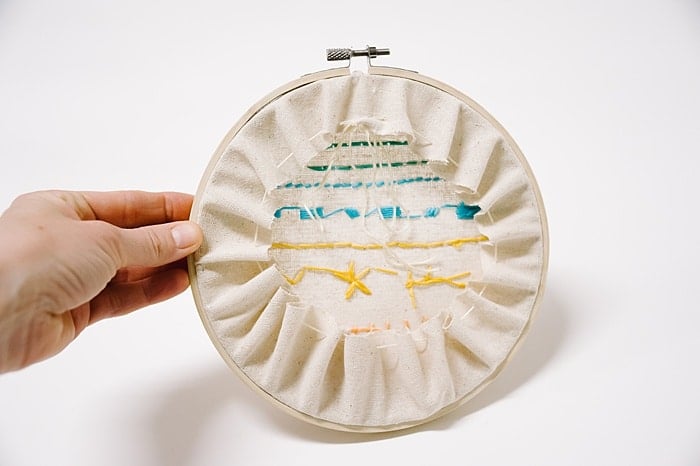
Step 6. Tie the thread tightly to secure.
Your embroidery is now finished in its hoop and ready to hang!
This method allows you to adjust and reposition the fabric in the hoop in the future if needed.
Alternative Method for Finishing Off Embroidery in the Hoop - Hot Glue
An alternative method for finishing off embroidery in the hoop (I've used this method in the past, particularly with smaller 3” embroidery ornaments) is to cut the excess fabric at about ¾” from the edge, and then hot glue it to the inside of the inner hoop edge.
This makes it permanent; you would not be able to reposition it once it’s been hot glued.
But it is a durable, secure option that is easy and fast.
How to Frame Embroidery in a Photo Frame
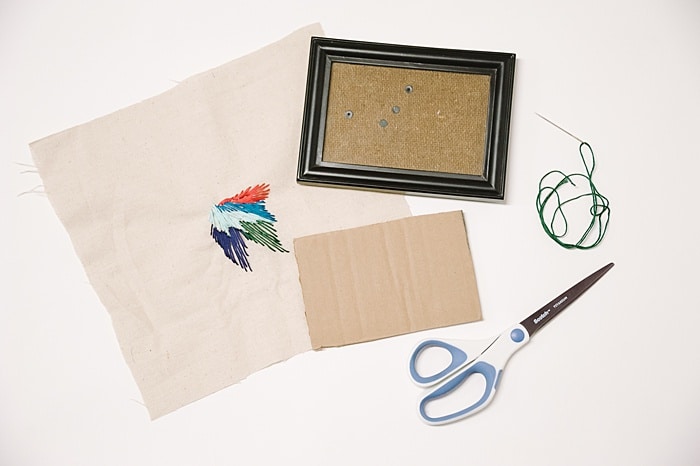
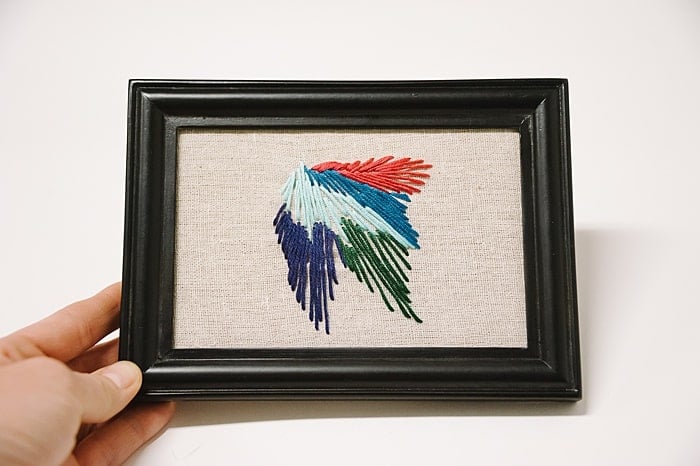
Another option for displaying your embroidery projects is to frame them in photo frames.
Here’s how to frame embroidery in a photo frame.
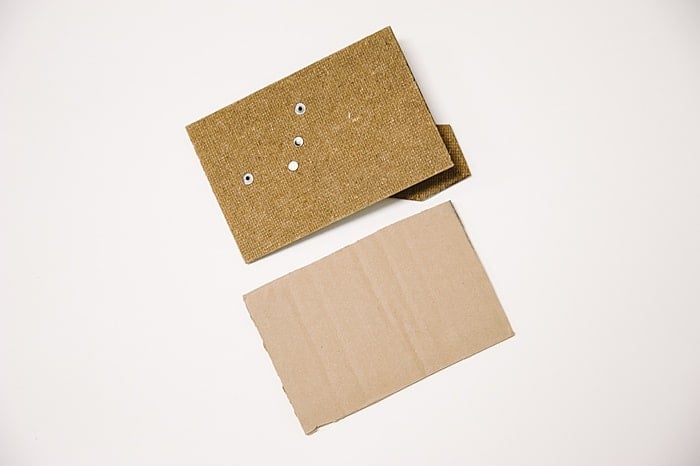
Step 1. Cut a piece of cardboard or foam board to the dimensions of the inside of the photo frame.
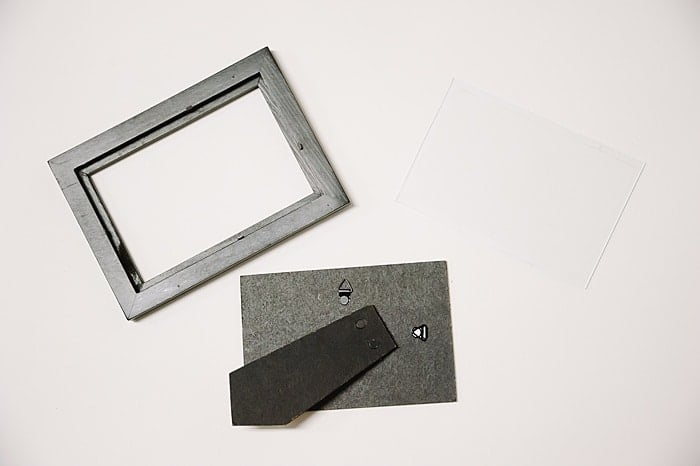
Step 2. Remove the glass from the photo frame.
You need to take the glass out to make room for your embroidery, and also because the glass can cause your stitches to break down over time if it presses on it.
Step 3. Lay your embroidery fabric face down, and place the cardboard or foam board in the middle.
Center your artwork as desired.
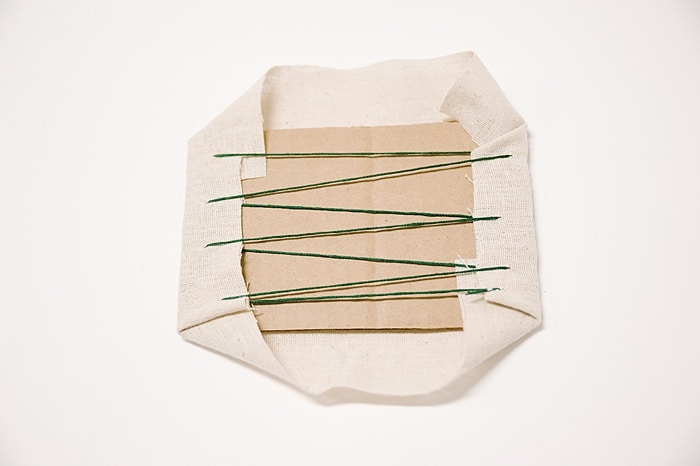
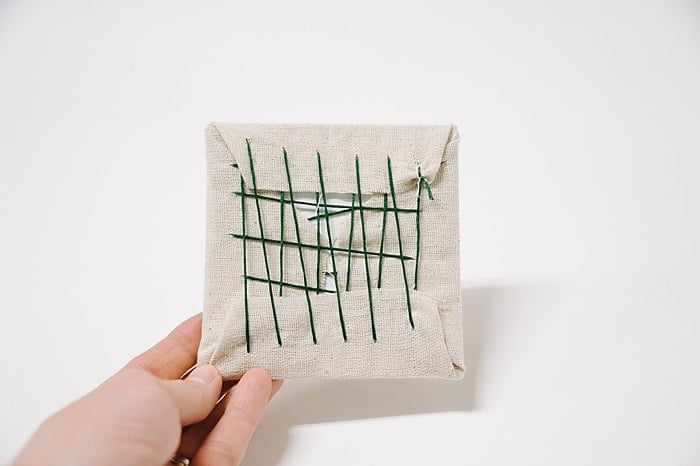
Step 4. Fold two opposite sides of your fabric toward the back of the cardboard/foam board, and begin to sew tightly.
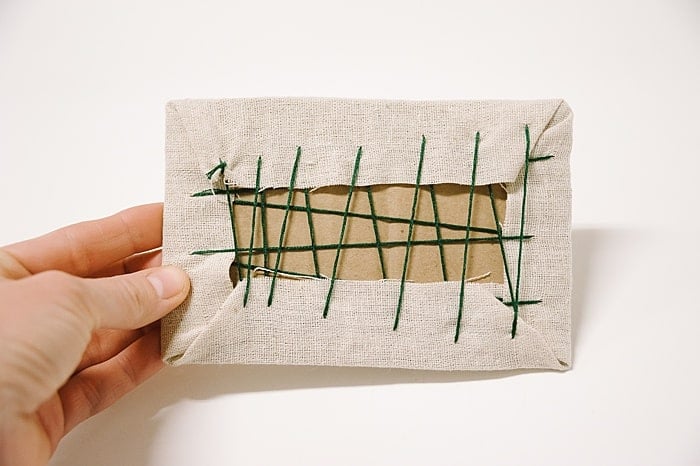
Sew using a simple lacing method.
Step 5. Fold the other two sides toward the back and lace to secure.
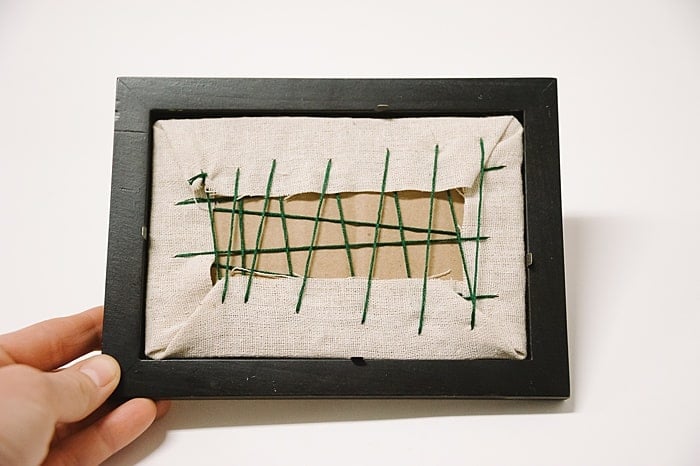
Step 6. Place the artwork inside the photo frame.
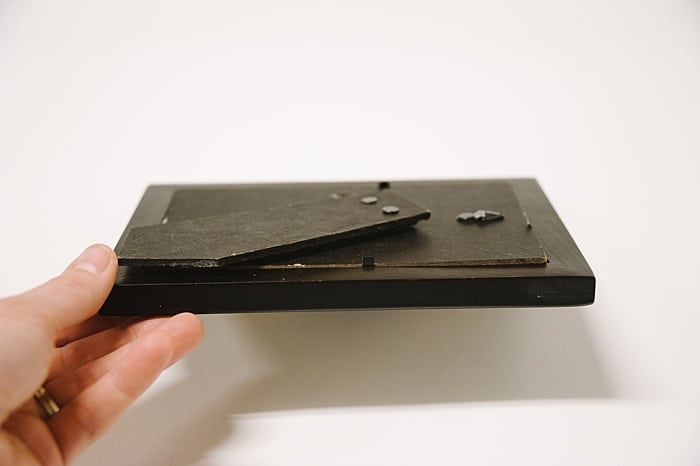
Step 7. Put the back of the frame back on.
(If you’re not able to secure the back on, it means the cardboard/foam board is too thick. You may need to repeat the process with thinner cardboard.)
Step 8. Display your embroidery project!
How to Wrap a Canvas with an Embroidery Project
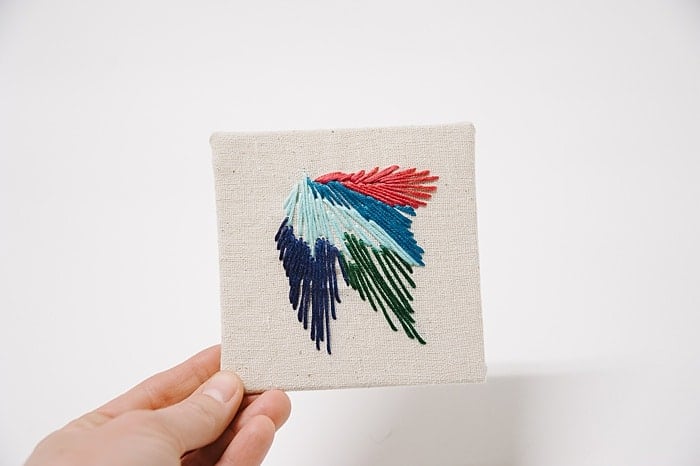
The last option for displaying embroidery projects is to wrap them around a canvas to display the finished product.
The method for doing this is similar to the method for framing embroidery in a picture frame.
Here’s how to wrap embroidery around a canvas to display.
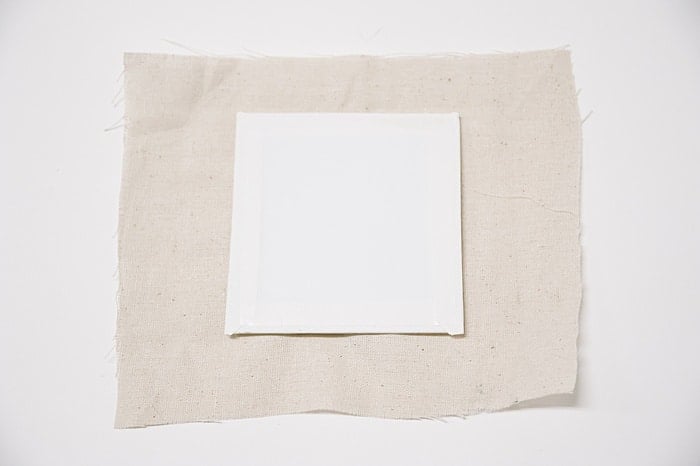
Step 1. Lay the embroidered fabric face down on the table.
Step 2. Place canvas in the center, making sure the artwork is centered on the canvas.
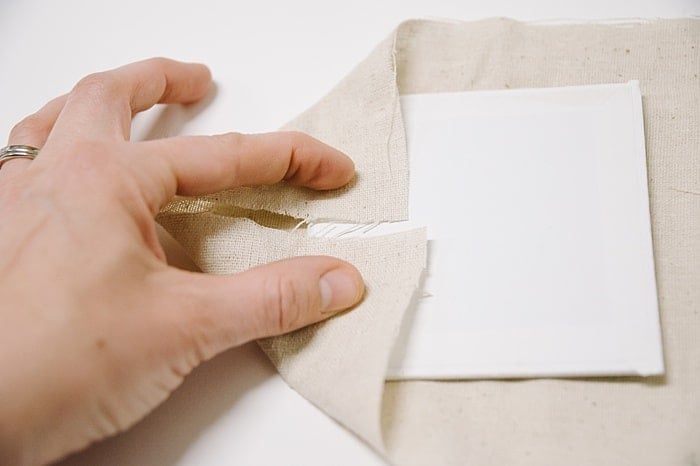
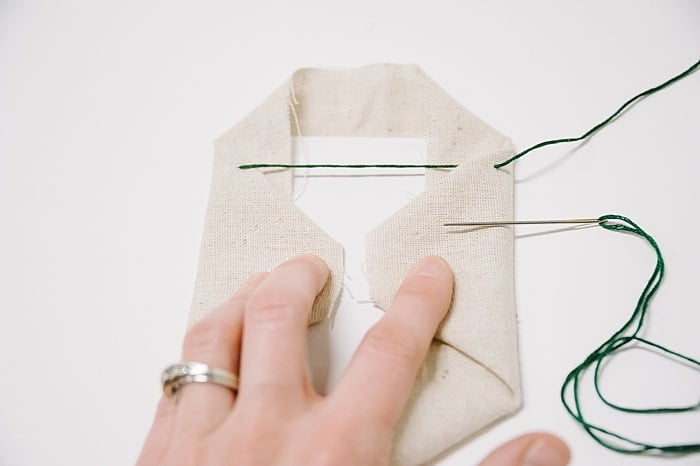
Step 3. Fold two fabric edges of one side in toward the middle, as shown.
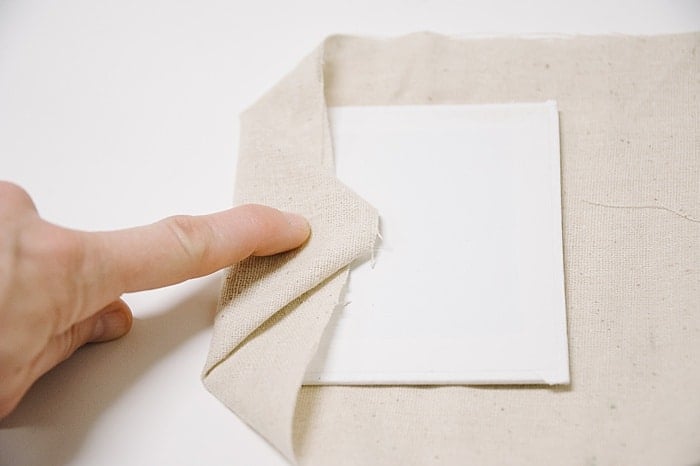
Step 4. Fold the rest of that side toward the middle.
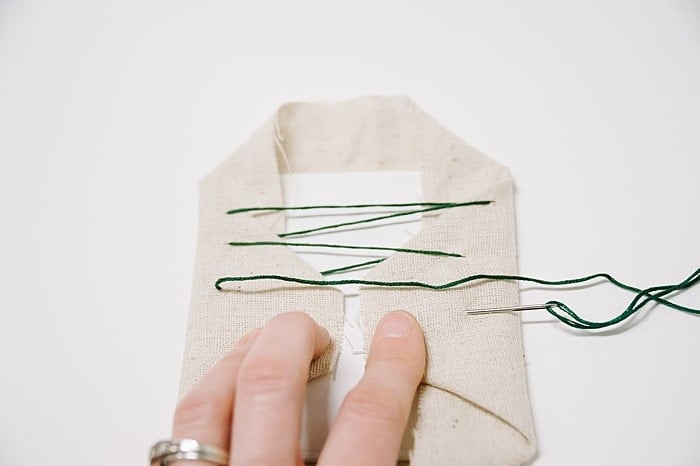
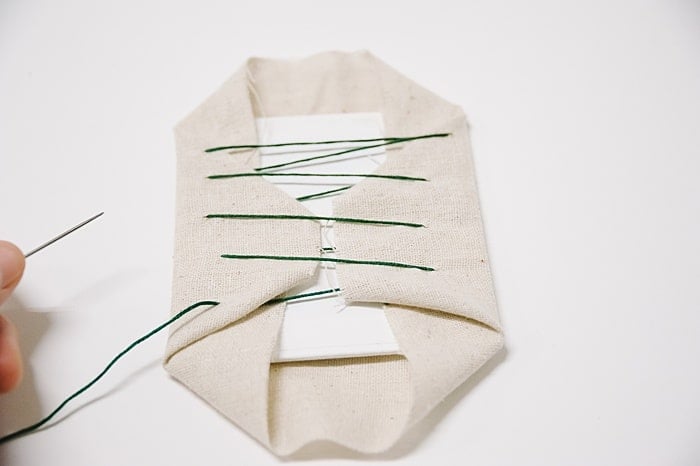
Step 5. Repeat on the other side, and use a needle and thread to begin a lacing stitch across the two sides.
Pull tight enough to remove all loose slack.
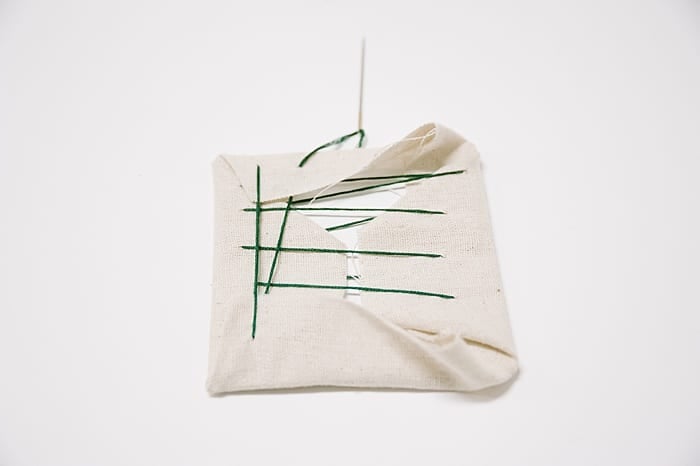
Step 6. Continue until two of the sides are all secured.
Step 7. Repeat the process with the other two sides of the fabric; lacing them tightly together too.
Step 8. You’re done!
You now have an embroidery-wrapped canvas you can display on a shelf, or on the wall (with some Command strips.)
- - - - -
Now you are ready to practice your embroidery stitches because you know how to frame and display your embroidery in three unique ways!



Leave a Reply