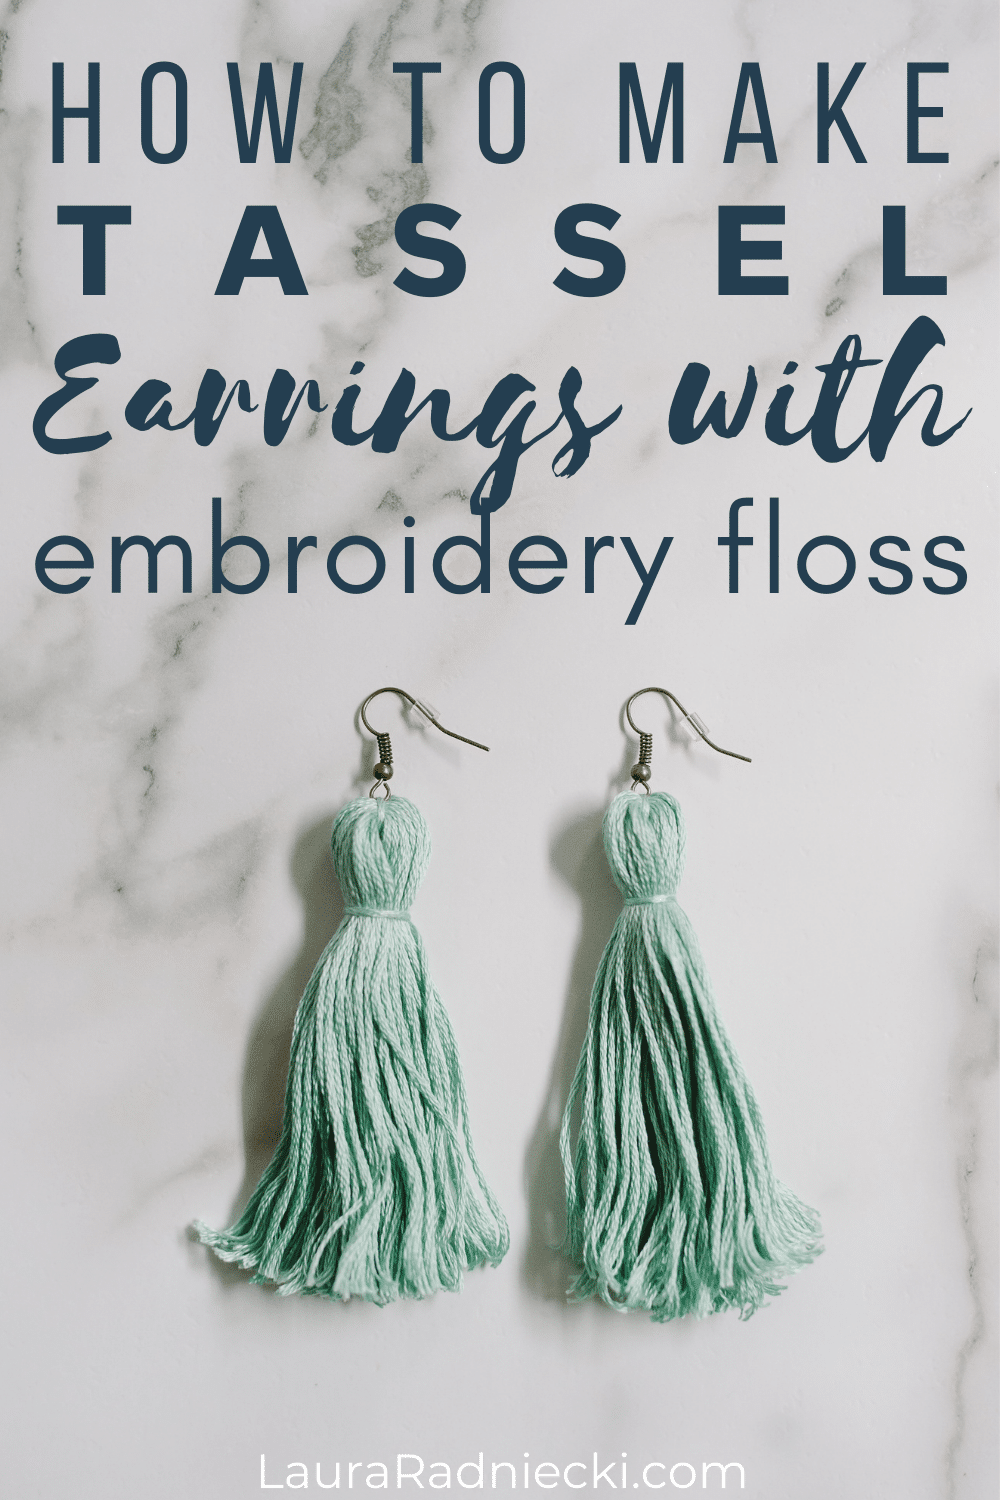
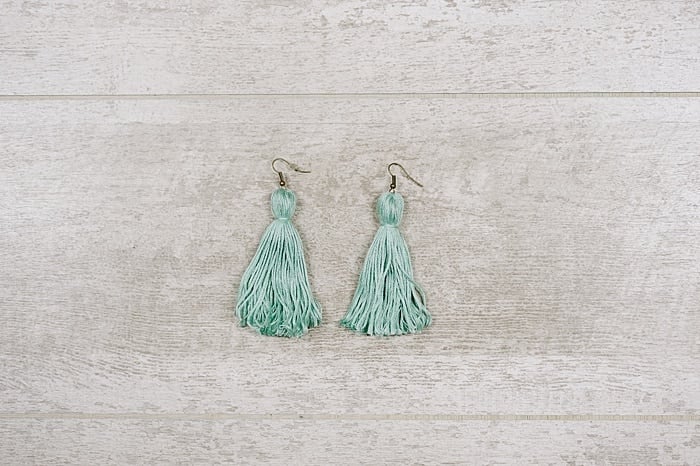
Learn how to make tassel earrings with embroidery floss using this easy DIY tutorial with step-by-step photos.
DIY tassel earrings are fun and easy to make; yarn tassel earrings are funky, fun, and bold, and only take a few minutes to make.
You can also use embroidery thread, and make diy embroidery floss tassel earrings using a similar process, which will give you beautiful long fringe tassel earrings!
Here’s how to make easy tassel earrings with embroidery floss!
How to Make Tassel Earrings with Embroidery Floss
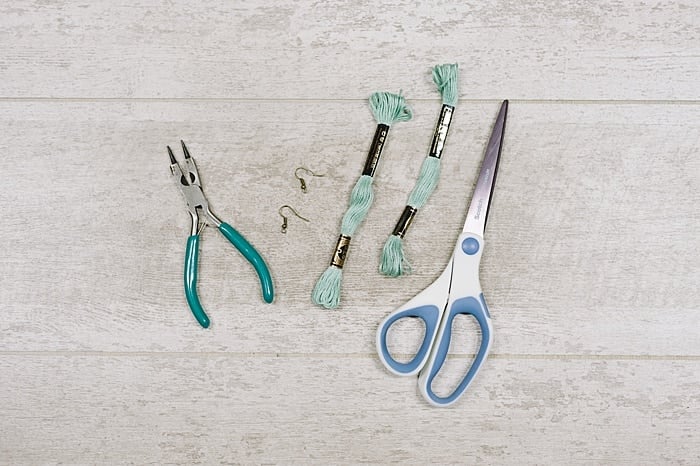
Step 1: Gather Supplies
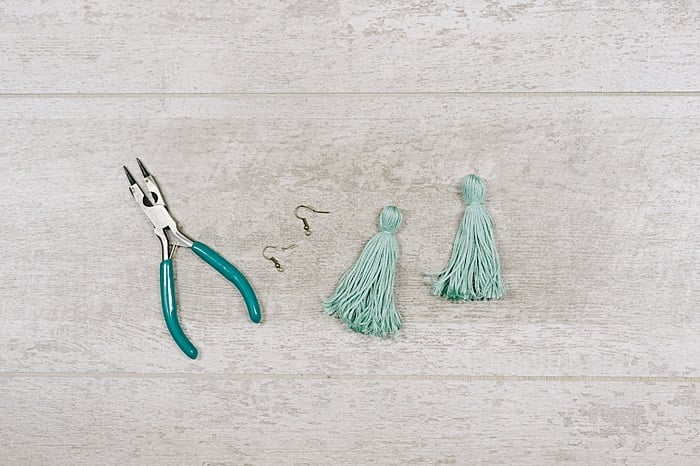
Supplies Needed:
- Embroidery Floss Bundles - (2 of them)
- Earring Hooks - (2 of them)
- Pliers
- Scissors
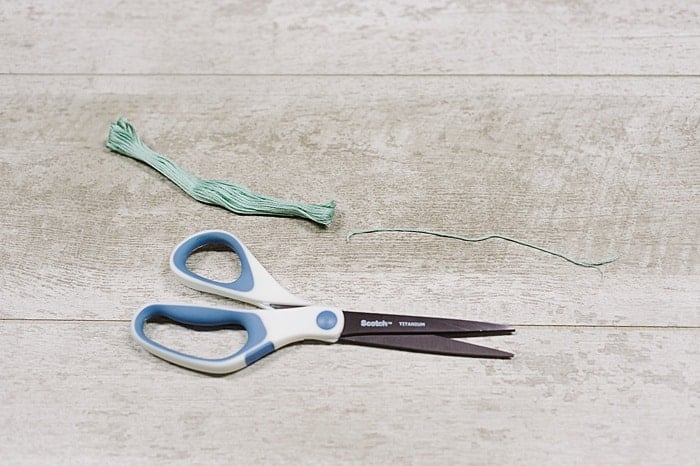
Step 2: Begin to make an embroidery floss tassel using this method:
Step A. Cut two 8” lengths of embroidery floss; set aside.
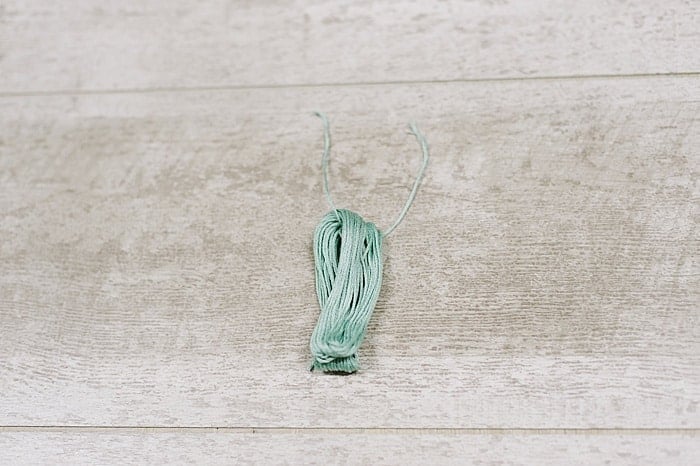
Step B. Lay the embroidery floss bundle down.
Step C. Lay one 8” length of floss in the middle of the bundle, and fold the bundle over, as pictured.
Tie a knot in the string to secure.
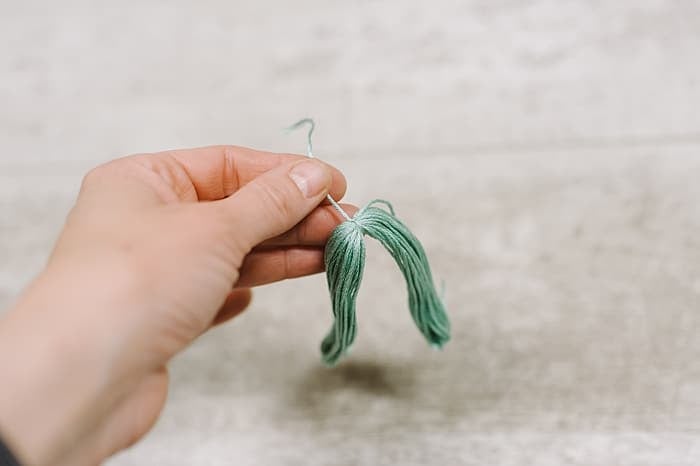
Step D. Tie the second 8” string around the neck of the tassel and knot it to secure.
Step E. Cut the loops at the bottom of the tassel with a scissors until they are all free and your tassel is complete.
Step 3: Use a pliers to open the wire loop on the bottom of one earring hook.
Step 4. Pass the open loop under the tie string at the top of the tassel.
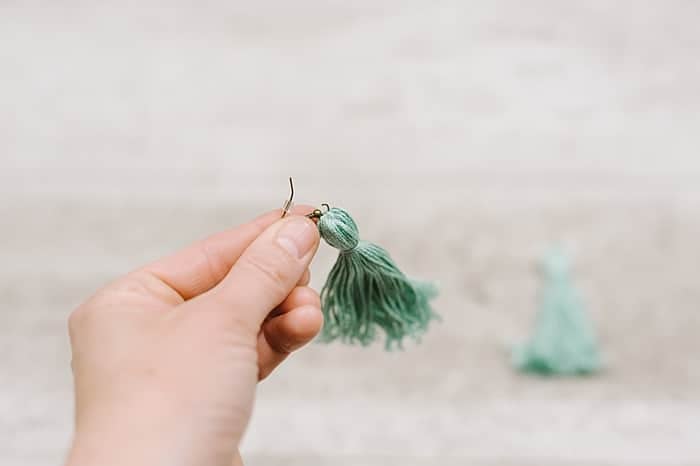
Step 5: Close the loop tightly with a pliers to secure.
Step 6: Repeat for the second earring with the second earring hook and tassel.
Step 7: That’s it! Your tassel earrings are done!
You can repeat the process with any color embroidery thread and experiment with trimming the tassels shorter for a different look!
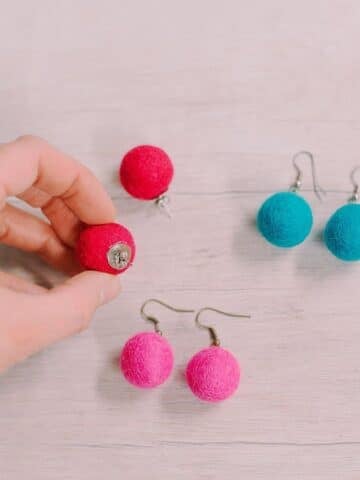
If you like making your own earrings, you can also make felt ball earrings, mini embroidery hoop earrings, or DIY leather earrings.

Leave a Reply