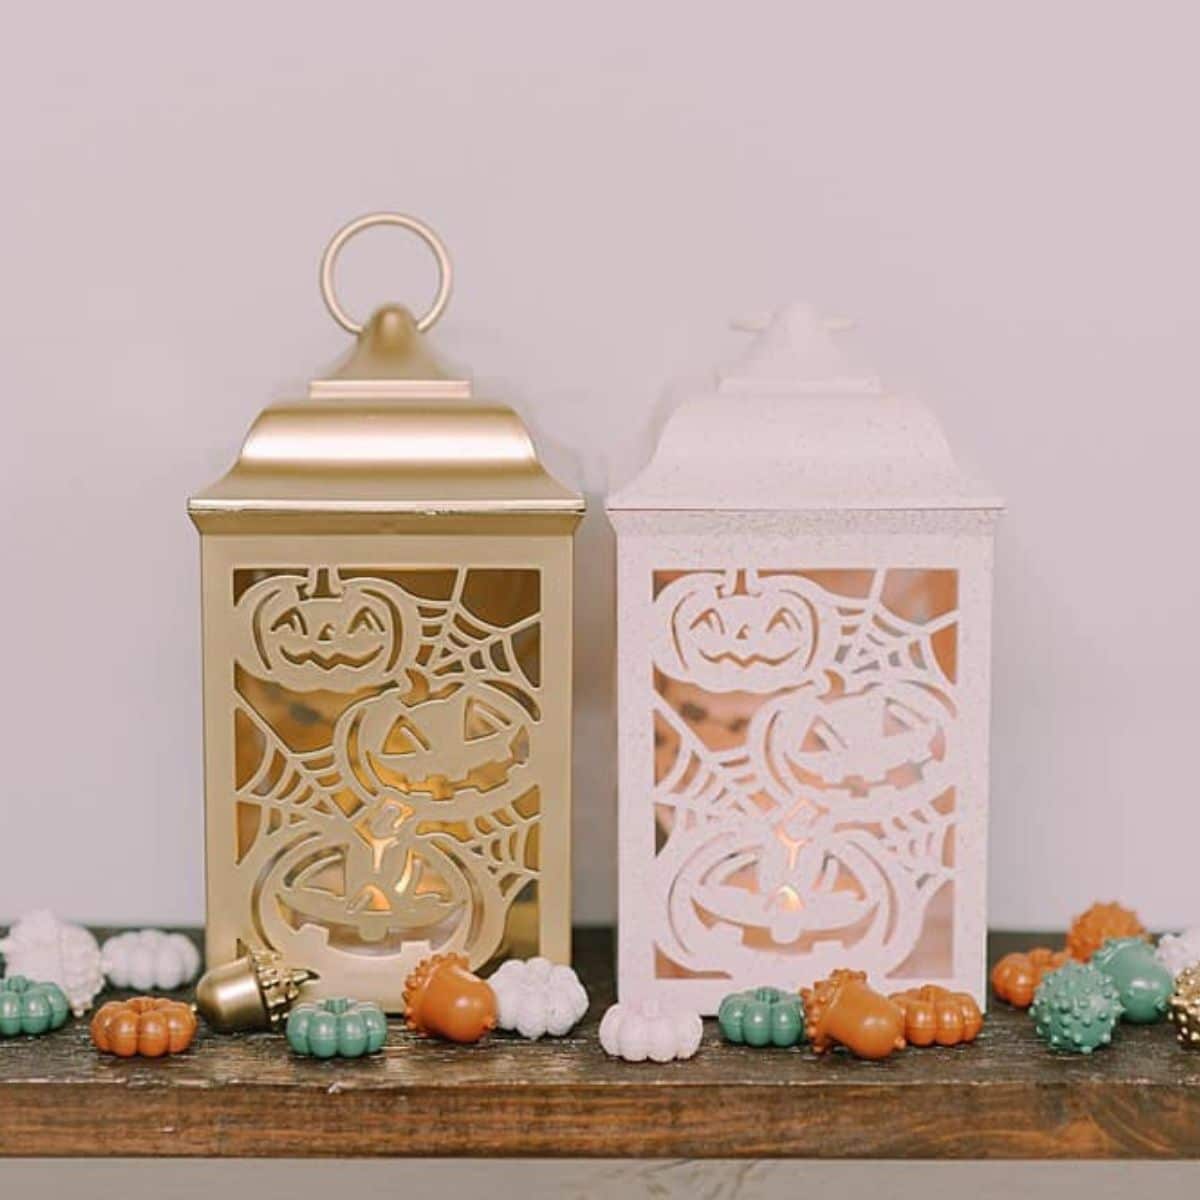
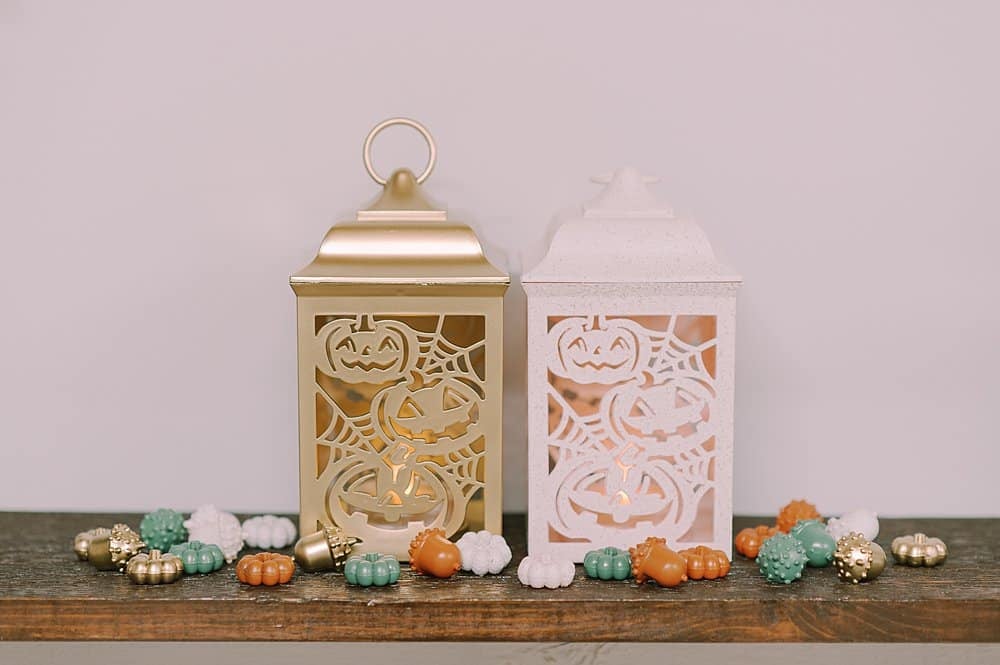
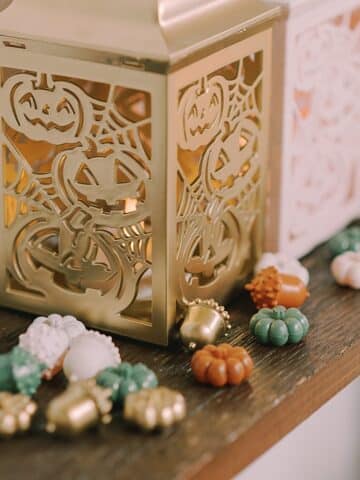
Learn how to make DIY Halloween lanterns in this step-by-step tutorial, using plastic lanterns from the Dollar Tree! Spice up your Halloween decor by spray painting lanterns in the colors of your choice (check out that gold!)
It's easy to find cheap Halloween decor at places like the dollar store, but it isn't always cute or classy.
That's where spray paint comes in! With a few coats of your color of choice, you can turn $1 Halloween pumpkin buckets into beautiful decor for your front porch, or do the same for other Halloween decorations like these spray-painted plastic acorns and pumpkins.
We'll keep that same philosophy in mind today and use spray paint to transform bright orange Halloween lanterns from the Dollar Tree into beautiful, classy lanterns you'll love to display on your mantel or front porch.
Jump to:
Why You'll Love This Craft
- It's so fun to walk through the seasonal aisles at dollar stores or craft stores and see what's available for each holiday. These lanterns were cute but the bright orange color isn't my favorite vibe. That's an easy fix with spray paint!
- Spray paint is magic. You can find it in any color imaginable, and a few coats give new life to something ugly or in need of a facelift.
- Once you see how easily these lanterns get a makeover, you'll be looking for other spray paint projects to do, like spray painting pumpkins and gourds!
Craft Supplies You'll Need
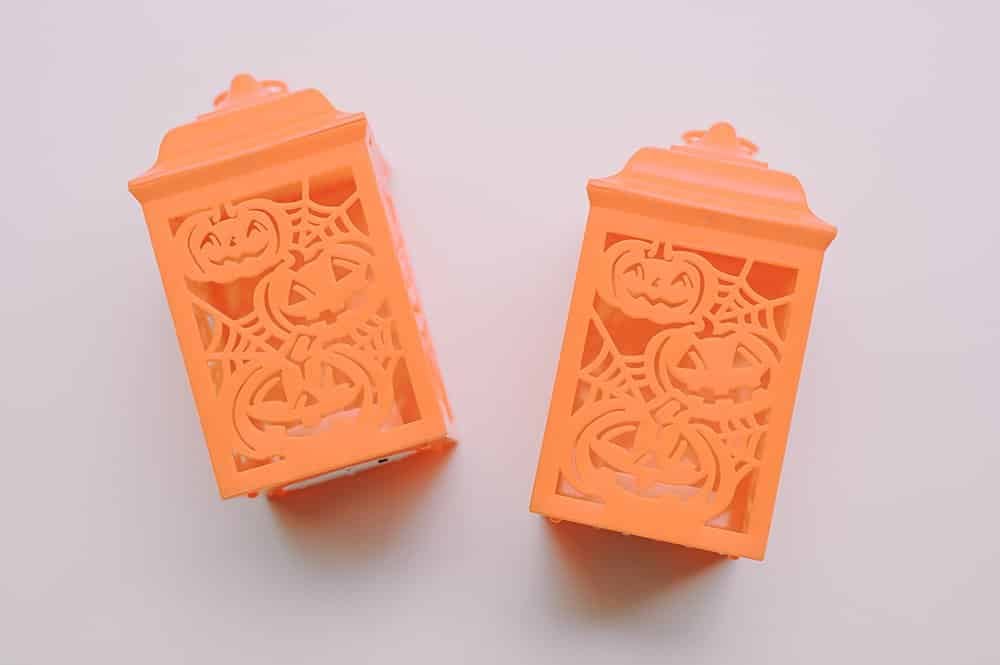
- Plastic Lanterns - I got mine at the Dollar Tree
- Spray Paint - You'll want a spray primer made for plastic, and a spray paint also made for plastic.
How to Make DIY Halloween Lanterns from the Dollar Tree
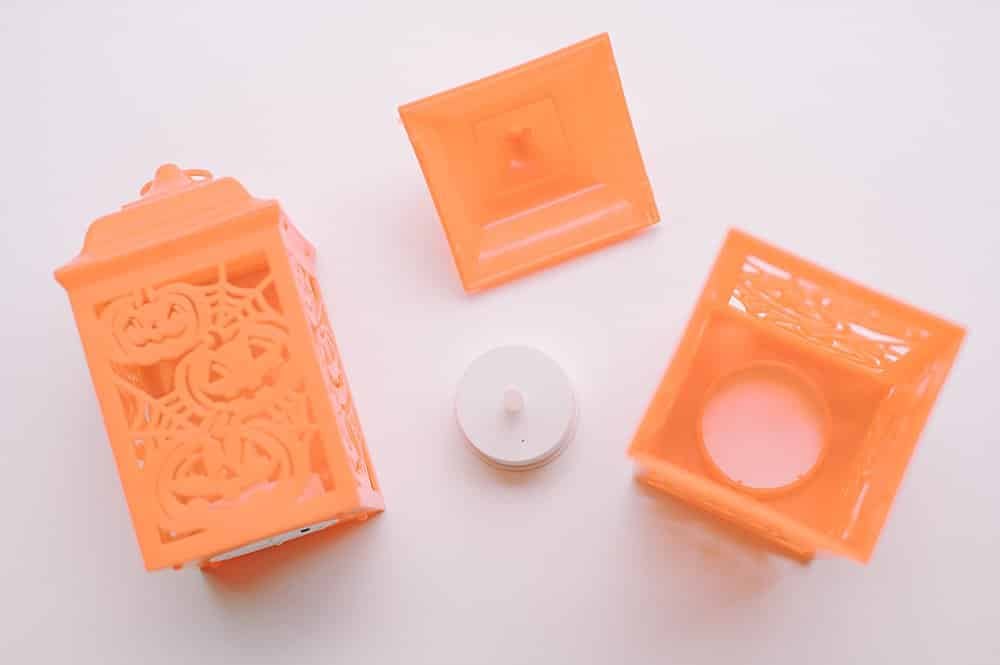
Step 1: Remove the tops of the lanterns and the tea lights, so you're ready to prime and paint.
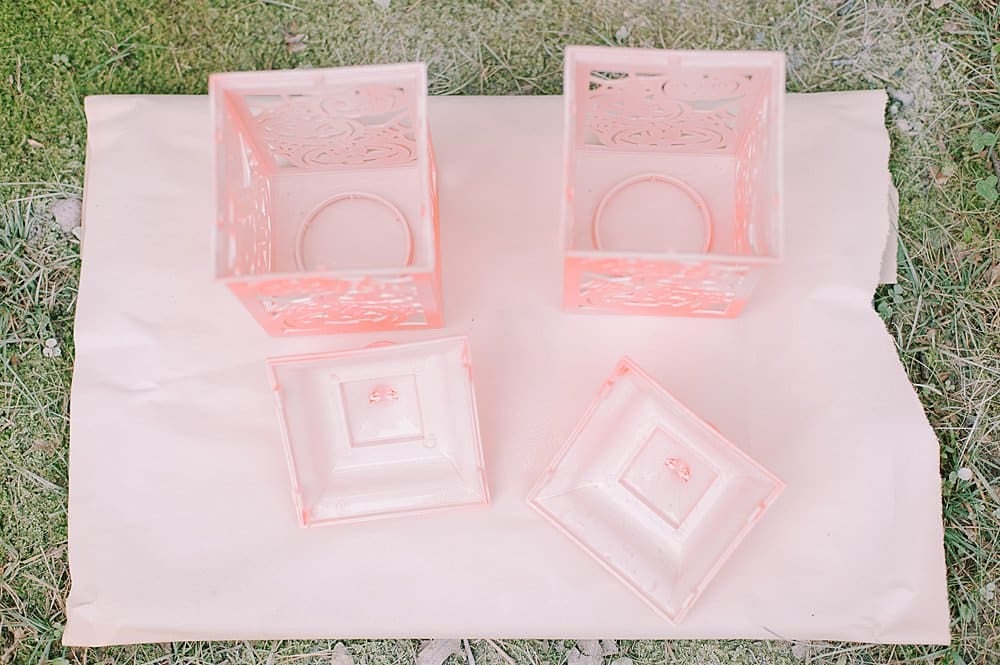
Step 2: Prime the inside of the lanterns with a spray primer designed for plastic.
For best results, especially when trying to cover colorful items with light-colored paint, use a separate primer followed by spray paint.
If you're repainting a light item, or using dark colored spray paint, you might be able to use a combo primer and paint All-in-One, if you want to.
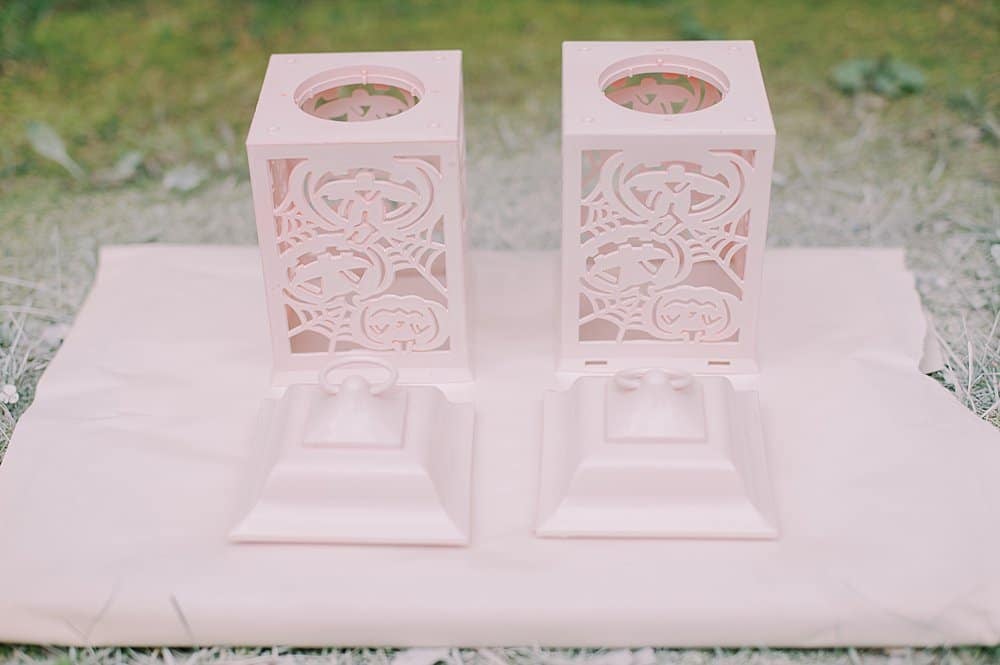
Step 3: Prime the outside of the lanterns and tops.
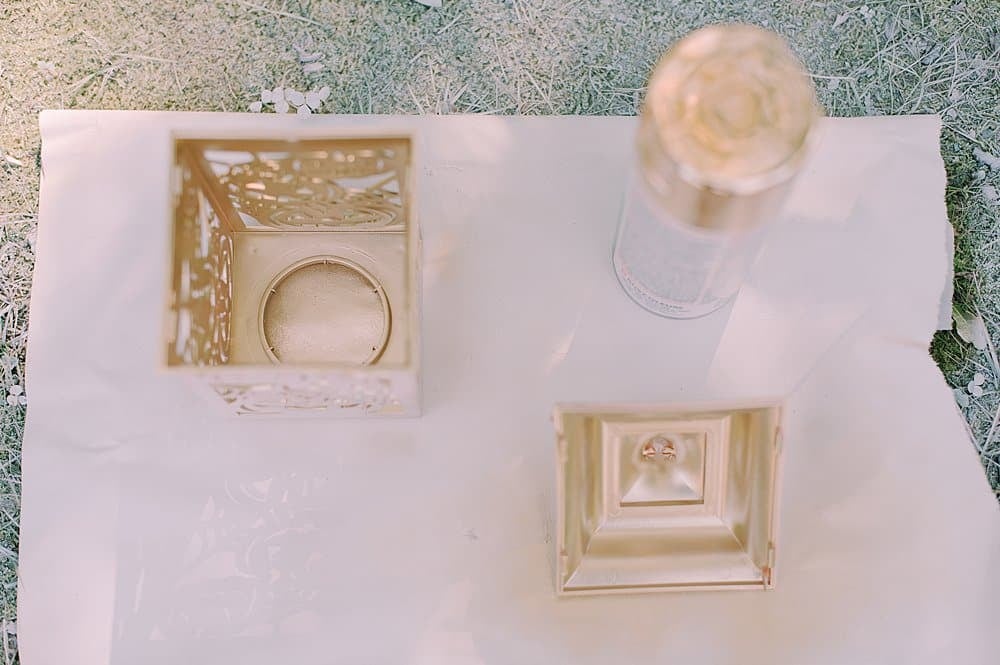
Step 4: Paint the inside of the lanterns with your color of choice!
This metallic gold color is a favorite around here.
It's great for painting sea shells, spray painting pine cones, making gold acorns, and just about anything else you can think of!
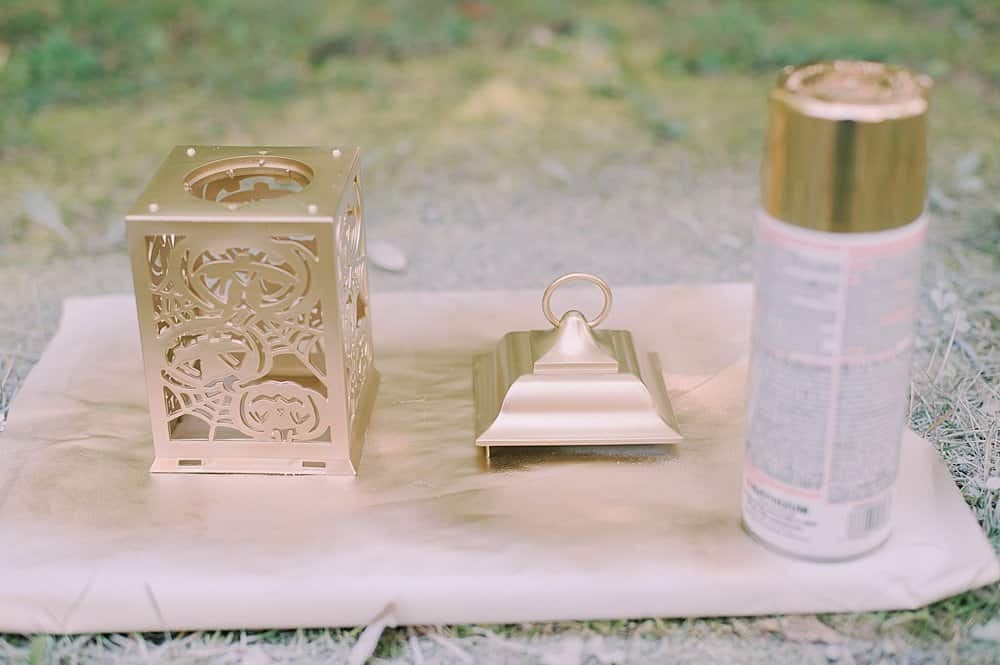
Step 5: Spray paint the outside of the lantern and the top.
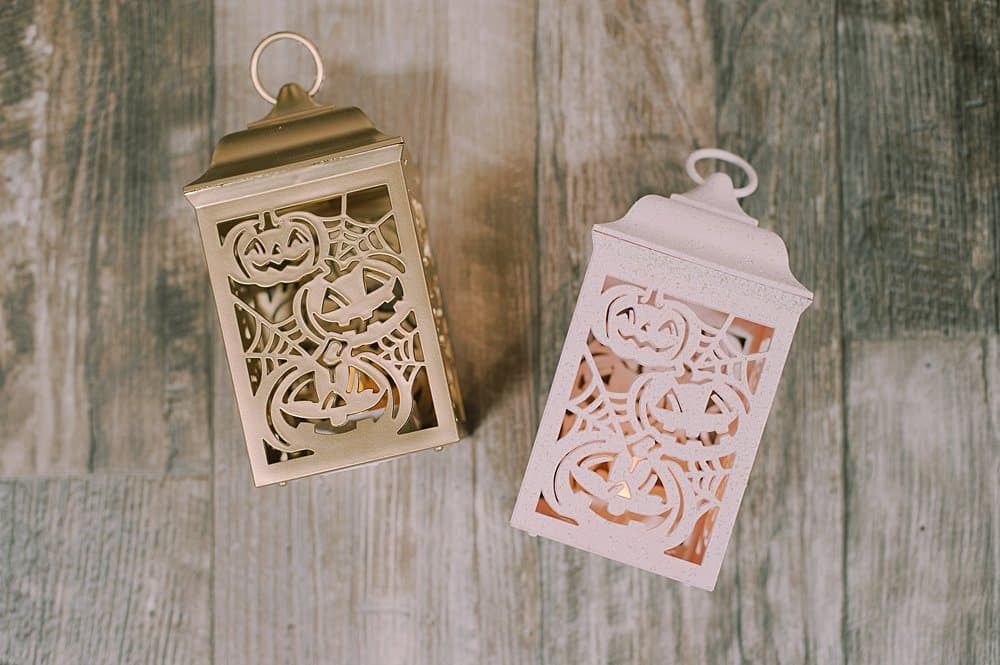
Step 6: Once the paint is dry, put the tea lights back in place and the tops of the lanterns back on.
Common Questions
The best answer is... it depends. If you are repainting a light item, or you are using dark-colored spray paint, you are probably fine with an all-in-one primer and paint product.
However, if you are trying to repaint a dark or colorful item (like these bright orange lanterns here), or you use a light color like white, you will want to use a separate spray primer. This will give you the best chance of covering the dark item so you don't see it when you repaint it with a light color.
NOTE: Even if you do everything right like using a separate spray primer and multiple coats, some dark or colorful items are just plain hard to paint. If you look closely, the white lantern in these pictures still has some orange peeking through, despite painting them with a white primer, a white paint, and then coating them at the end with a "faux stone finish" spray paint. That bright orange is hard to cover up! Keep this in mind when you are choosing colors to spray paint your items. On the other hand, the gold spray paint covered up the orange beautifully.
We started by priming the insides of the lanterns and caps first and then followed with the bottoms, outsides and tops. Once the primer was dry, we repeated the process with the spray paint.
For best coverage, you'll want to do multiple light coats, letting each one dry in between according to the spray paint can's directions.
Check out these additional Halloween crafts to go with these lanterns as you make your home festive! Spray-painted acorns and pumpkins, painted plastic pumpkins, yarn tassel ghosts, and a fun burlap Halloween wreath.
Spray paint is one of the greatest inventions for DIY and craft projects.
It's so easy to use, and that can of metallic gold can transform even the cheapest, ugliest items into elegant masterpieces!
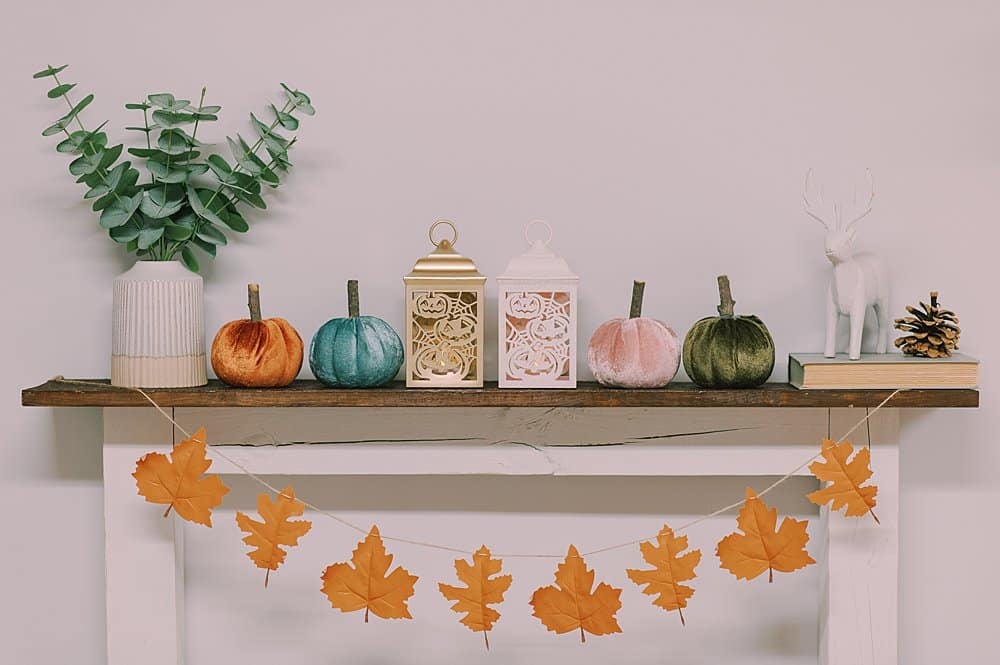
Whether you choose gold and white as we did here or other fun colors for your lanterns, your Halloween decor is getting a facelift by adding these fun lanterns!
More Spray Paint Crafts You'll Love
---
⭐️🧶 Did you enjoy this craft and want to see more like it? ✂️ Join our FREE email community and get inspiring craft ideas sent right to your inbox! 🧵 ⭐️
---
How to Make DIY Halloween Lanterns
Materials
- Plastic Lanterns
- Spray Paint (spray primer and spray paint, both rated for plastic.)
Instructions
- Remove the tops of the lanterns and the tea lights, so you're ready to prime and paint.
- Prime the inside of the lanterns with a spray primer designed for plastic.For best results, especially when trying to cover colorful items with light-colored paint, use a separate primer followed by spray paint.If you're repainting a light item, or using dark colored spray paint, you might be able to use a combo primer and paint All-in-One, if you want to.
- Prime the outside of the lanterns and tops.
- Paint the inside of the lanterns with your color of choice!This metallic gold color is a favorite around here.It's great for painting sea shells, spray painting pine cones, making gold acorns, and just about anything else you can think of!
- Spray paint the outside of the lantern and the top.
- Once the paint is dry, put the tea lights back in place and the tops of the lanterns back on.
Notes
- For best results, use a separate spray primer and spray paint, making sure both are rated for use on plastic. If you are using a dark colored spray paint, or covering something that is light in color, you could use a two-in-one primer and paint product. But if your item is dark or colorful (like these orange lanterns!) or you are using a light color spray paint, you'll want to make sure you get the best primer coverage as a base.
- Use multiple light coats, letting the paint dry for the appropriate time in between. (Make sure you read the can as different types and brands have different recommendations!)
- Get ready to be hooked, and want to spray paint everything! It's so fun to watch something get a spray paint makeover; you'll be looking around you for what else you can spray paint!






Leave a Reply