What happens after a trip to the beach, especially if you have kids?
You're left with a dozen (or more) seashells that you have no idea what to do with. And they just keep accumulating with every vacation.
So what do you do with the seashells from the beach that make their way home with you?
After you clean them (bleach and water works well), you can display them in a jar, vase, or basket on a shelf. The intricate colors of shells are beautiful on their own.
Or, you can take them up a notch with a can of spray paint. My favorite color option? GOLD.
Gold spray paint is magic in a can, and has the amazing ability to transform everyday objects into stunning showstoppers.
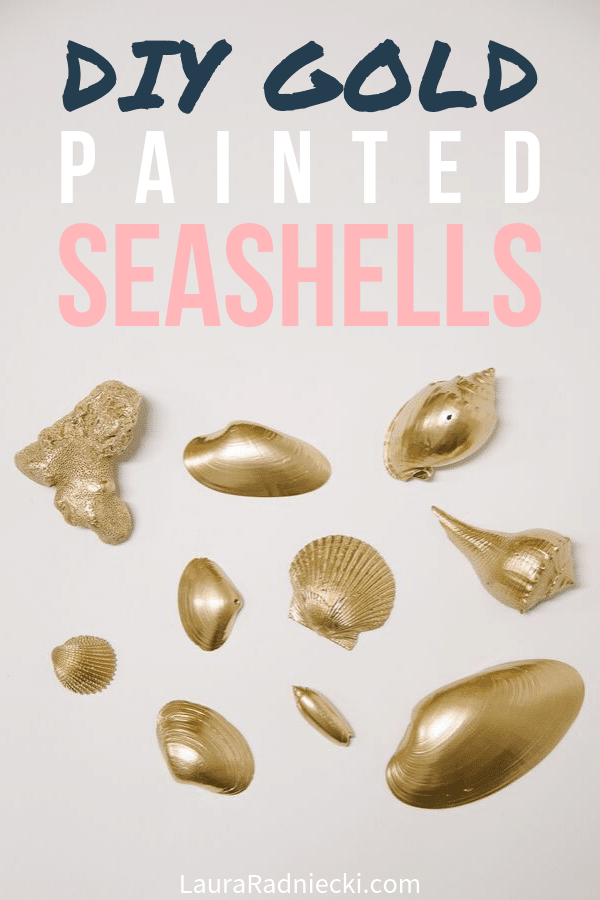
DIY gold seashells are no different, and are so easy to do. Here's how to paint seashells with gold spray paint!
How to Spray Paint Seashells
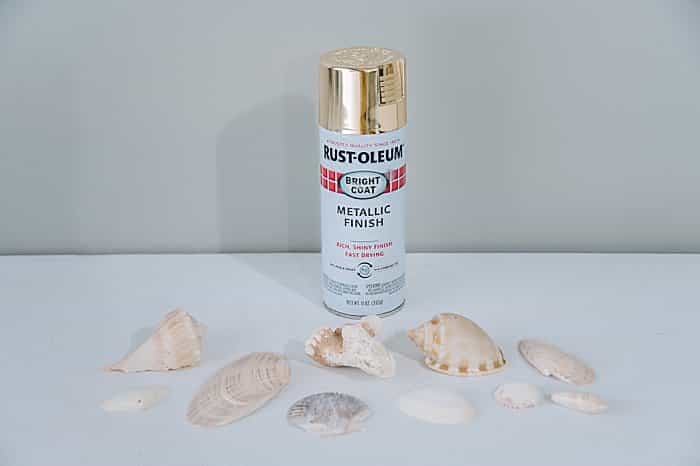
Step 1. Gather Supplies
Supplies Needed:
- Seashells (cleaned with bleach and water)
- Spray Paint Primer (optional)
- Spray Paint (metallic gold is my favorite, but you can use any color you want!)
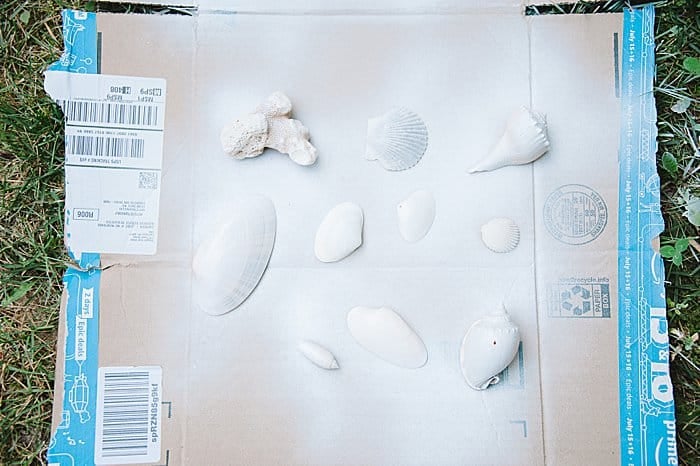
Step 2. (Optional) Prime the seashells.
This step is not necessary, but I was priming some other spray paint projects at the same time I was painting these diy gold seashells so I primed them as well.
A quick coat of white spray paint primer on all of the tops of the seashells is sufficient.
Let dry.
Step 3. Spray paint BOTTOM SIDE of seashells first.
Once the primer is dry (if you choose to prime them first), flip them over so you can paint the underside of the shells first. This way, you'll get the bottom side painted first, and then be able to flip them over and concentrate on the top side. This eliminates smudging on the top sides.
Spray paint the bottoms of all of the shells with your spray paint color. (GOLD in my case!)
Let dry.
PRO TIP: You're not likely to see the undersides of the shells much, so one coat of spray paint should be enough. If you feel like they could use a second coat, give the bottoms another coat and let dry before continuing.
Step 4. Flip them over and spray paint the TOPS of the seashells.
Once the bottoms of the shells are dry, flip them over. Now it's the really fun part!
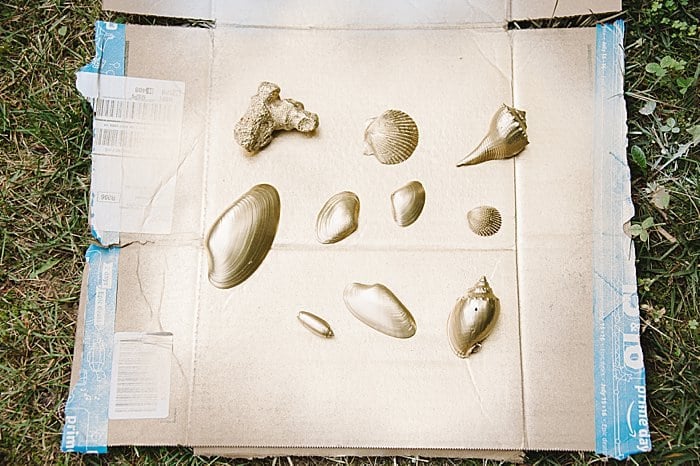
Next, spray the tops of the seashells!
As with all spray paint projects, it's best to do multiple light coats so they don't drip and have a chance to dry in between coats. (I know this and yet I still end up doing way too heavy of coats every darn time.)
Let the first coat dry.
Step 5. Repeat on top of shells if needed.
Once the first coat on the tops of the shells is dry, look and see if they need a second coat.
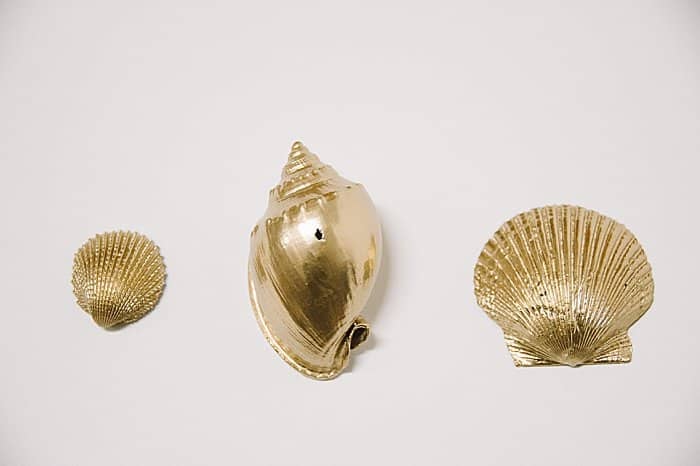
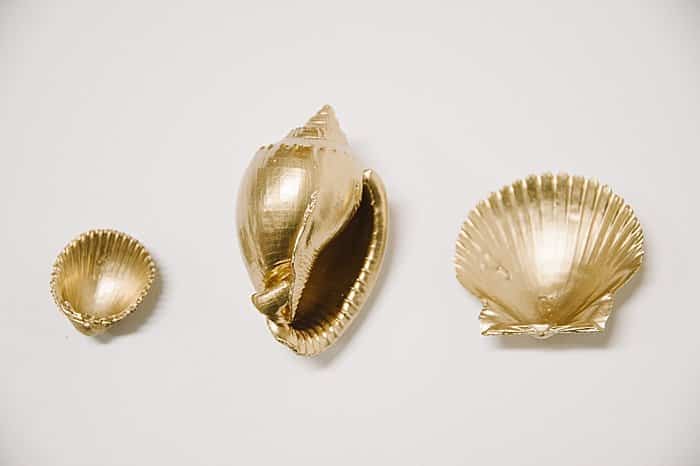
I wanted my shells to be completely gold with none of the natural shells showing through at all, so I did multiple coats.
Step 6. Use for home decor or craft projects!
Let the shells and spray paint fully cure before you do anything with them.
The paint can will give you specifics but it's usually 72 hours to be fully cured.
Once the shells are cured and completely dry, they're ready for your home decor or to be make into some fun projects!
I think they will make darling magnets for the fridge, and I'm going to make Christmas ornaments with some of them too.
I'm a major sucker for gold, and am so excited about how awesome these turned out!
Gold spray paint is magic in a can, and transforms anything it touches into something gorgeous and fancy. It's the perfect way to make DIY gold seashells from all of those vacation shells you've got hanging around.
Just be careful once you start spray painting things gold... If you're like me, you'll soon be thinking, "Hmmm... what ELSE can I spray paint?!"

Leave a Reply