
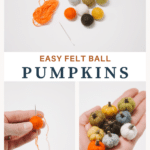
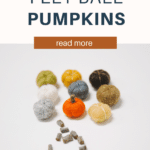
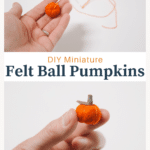
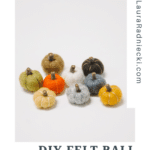
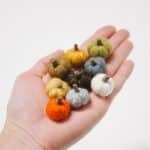
Learn how to make mini felt ball pumpkins for your DIY Fall decor this year. They are easy to make, a great fall kids' craft idea, and so cute!
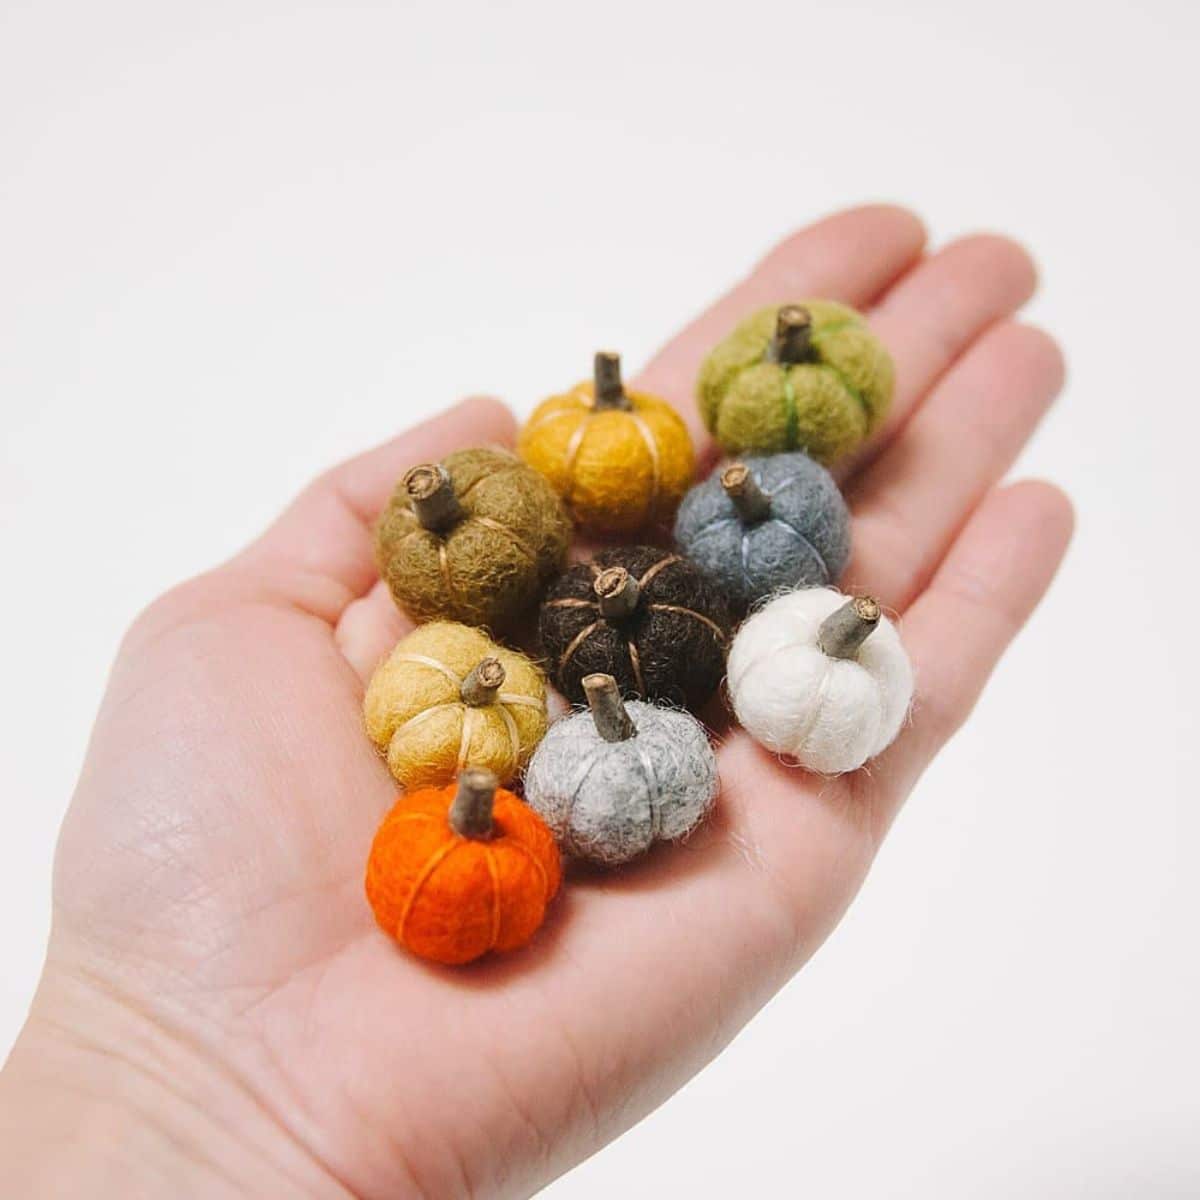
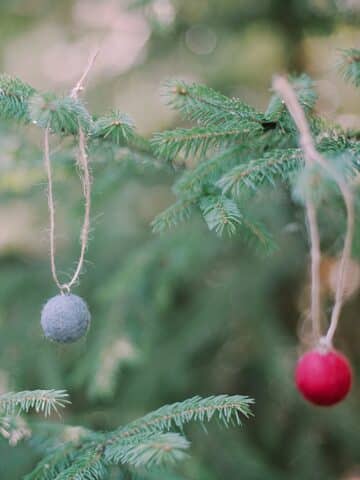
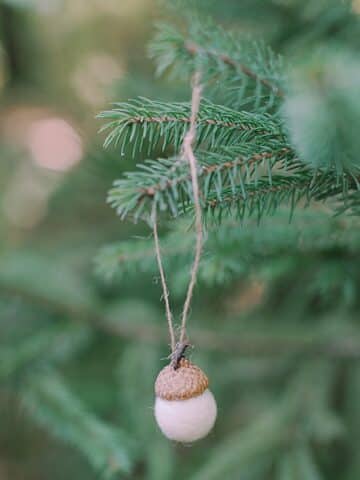
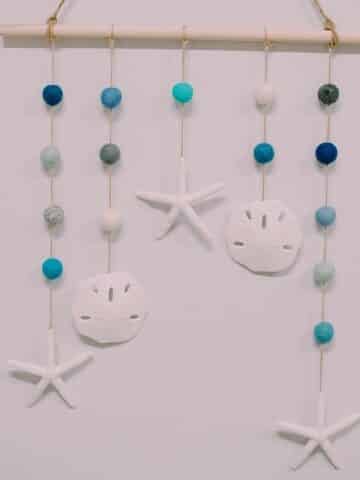
Felt balls are an awesome craft supply - they can be used in so many fun projects like felt ball acorns, a felt ball garland, and multiple Christmas ornaments, like a felt ball tree ornament, a felt ball wreath ornament, and a felt ball dreamcatcher ornament.
Today, we're bringing felt balls into the Fall season, and turning them into mini felt ball pumpkins!
Jump to:
Why You'll Love This Craft
- Aside from the felt balls, you only need a few supplies to make this project, and chances are you already have them in your stash!
- These felt ball pumpkins can be made in any color you want.
- There is something exquisite about miniatures - I'm not sure what it is but tiny miniatures are just so much fun!
Craft Supplies Needed
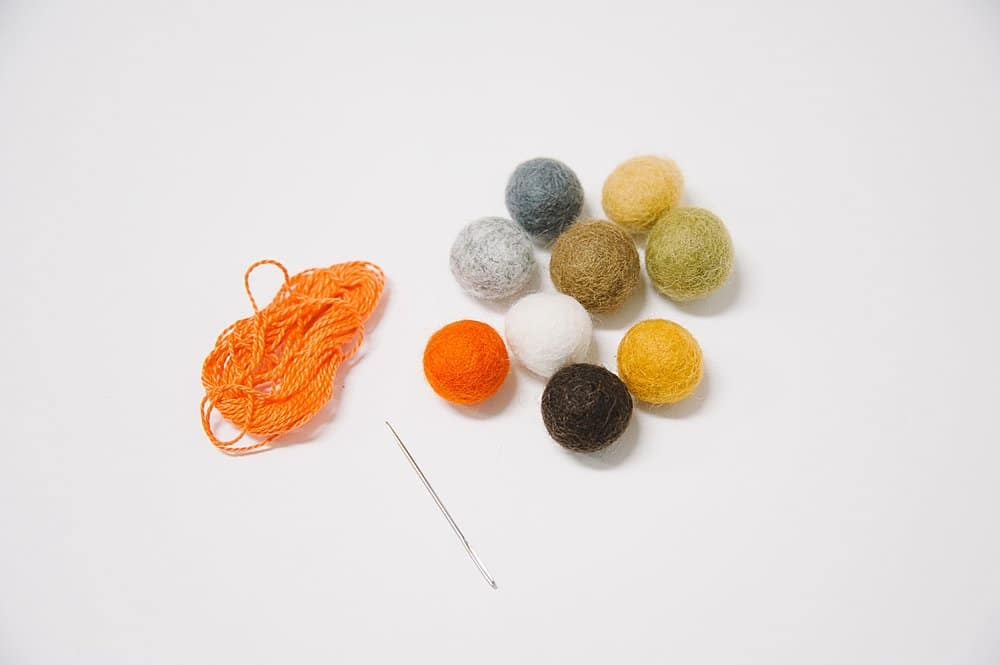
- Felt Balls - I like 20mm felt balls the best - they are the perfect size; not too small and not too large.
- Embroidery Needle - You want it to be decently sharp so it can poke through the center of each felt ball.
- Embroidery Thread - Choose colors that match the felt balls as closely as possible. This will make your tiny pumpkins the most lifelike.
- Wooden Branch - Look for a small branch, or use just the tip of a bigger branch. You want pumpkin stems that are only a few millimeters in diameter, so the branch should not be very thick.
- Scissors, Hot Glue Gun, and Hot Glue - Basic necessities for must every craft project!
How to Make Mini Felt Ball Pumpkins
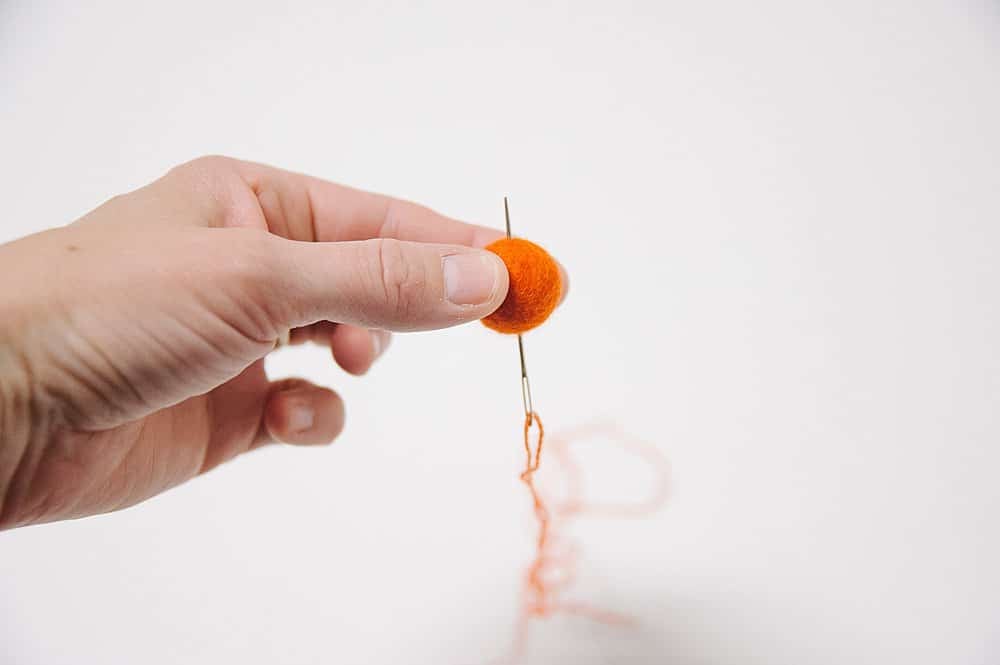
Step 1. Thread an embroidery needle with embroidery floss that matches the color of the felt ball you are making into a pumpkin, and knot one end.
Start at the bottom of the felt ball, and push the needle up to the top.
(A thimble might be helpful, or you can use a flat tabletop to help you push the needle through the felt ball.)
Pull all the slack floss through the top, until the knot is snug against the bottom of the ball.
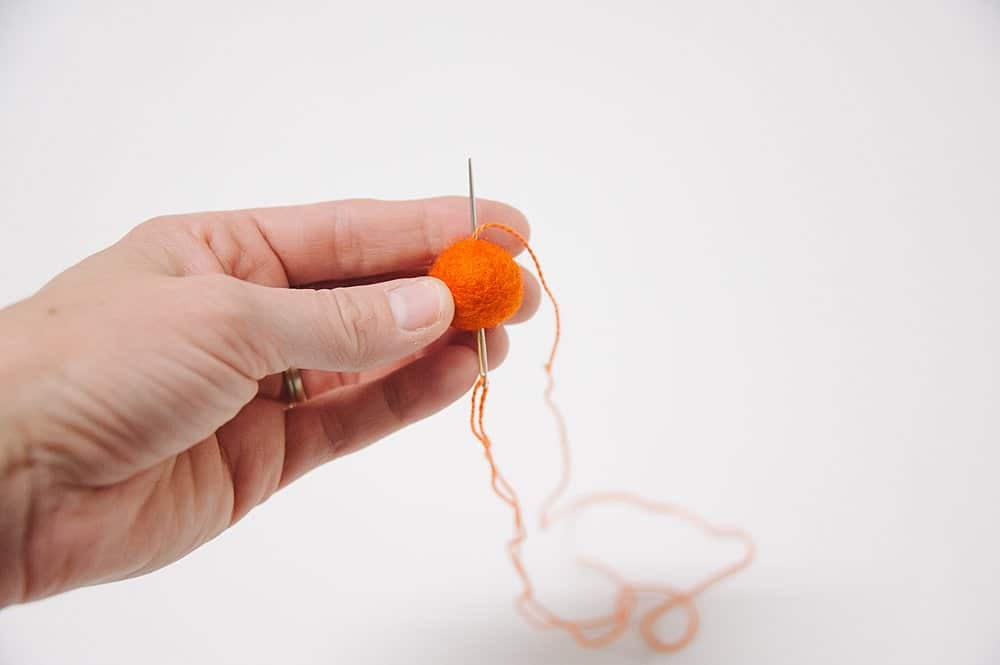
Step 2. Take the needle and go back to the bottom of the felt ball where you just inserted it, and push it through to the top again.
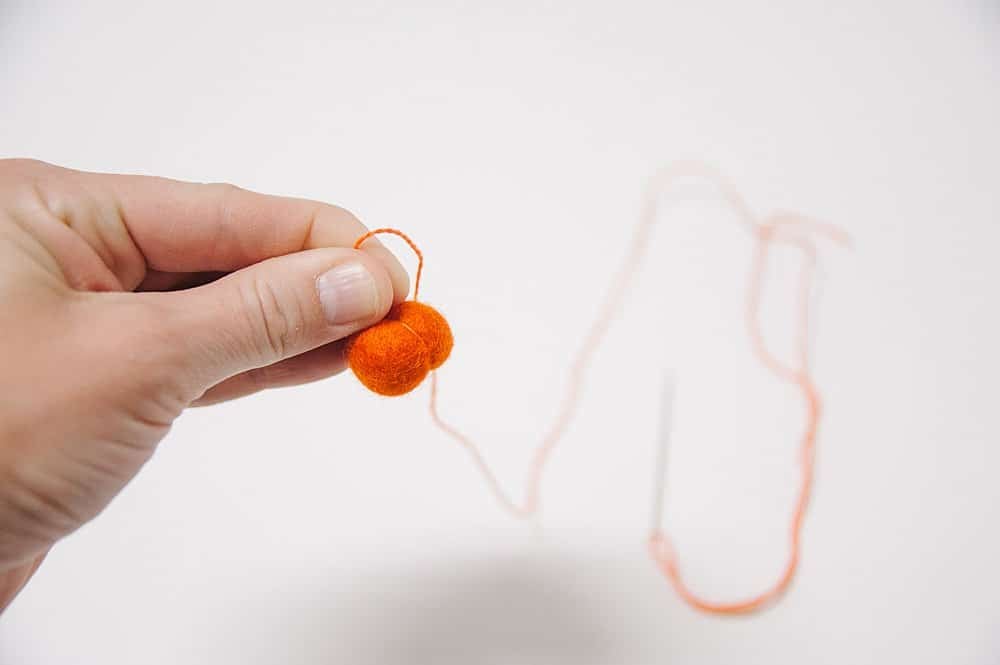
Step 3. Pull the slack out from the top of the felt ball.
As you pull tighter, you will see an indentation form on the side of the felt ball from the embroidery floss.
(This is how to turn a felt ball into a pumpkin; you will make 6 evenly spaced indentations along the ball to make it look like a pumpkin.)
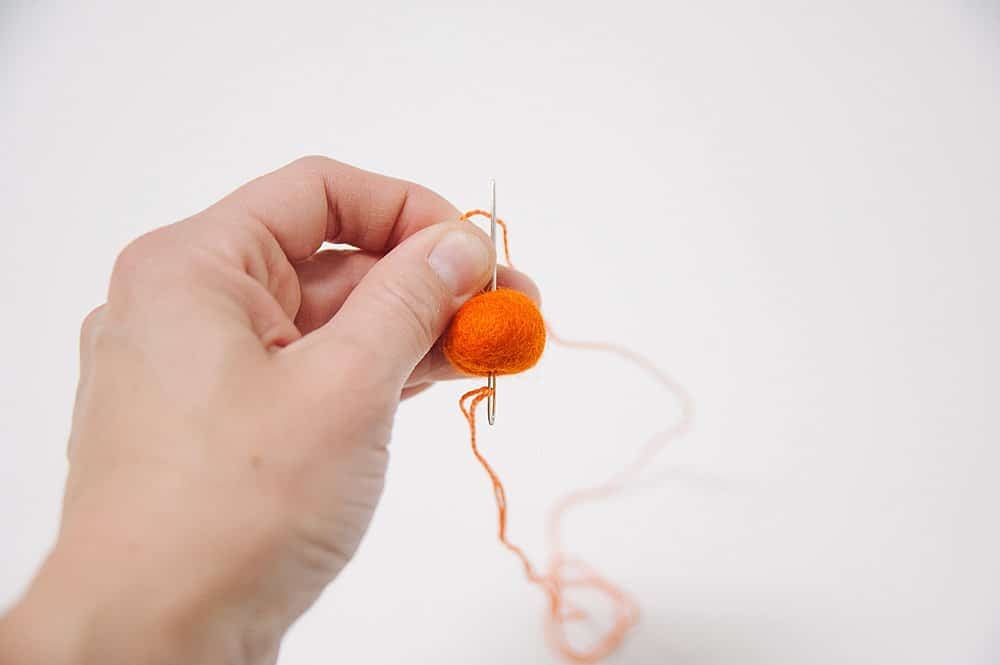
Step 4. Bring the needle back to the bottom of the ball again, and push it up through the top again.
Position the floss directly across from the first indentation, before you pull the slack all the way out.
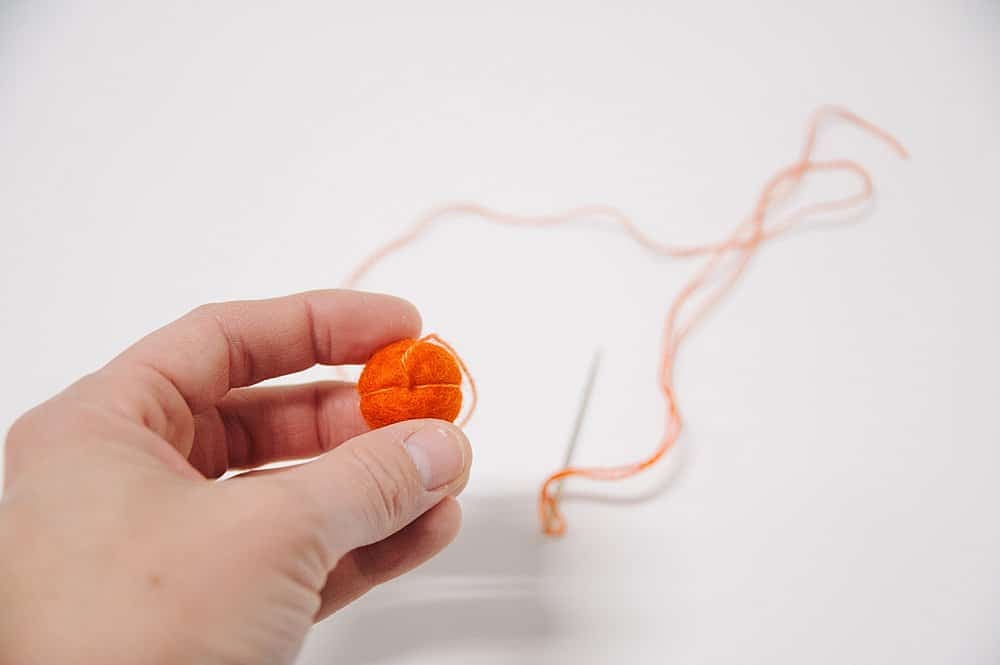
Step 5. This will create another indentation directly across from the first one.
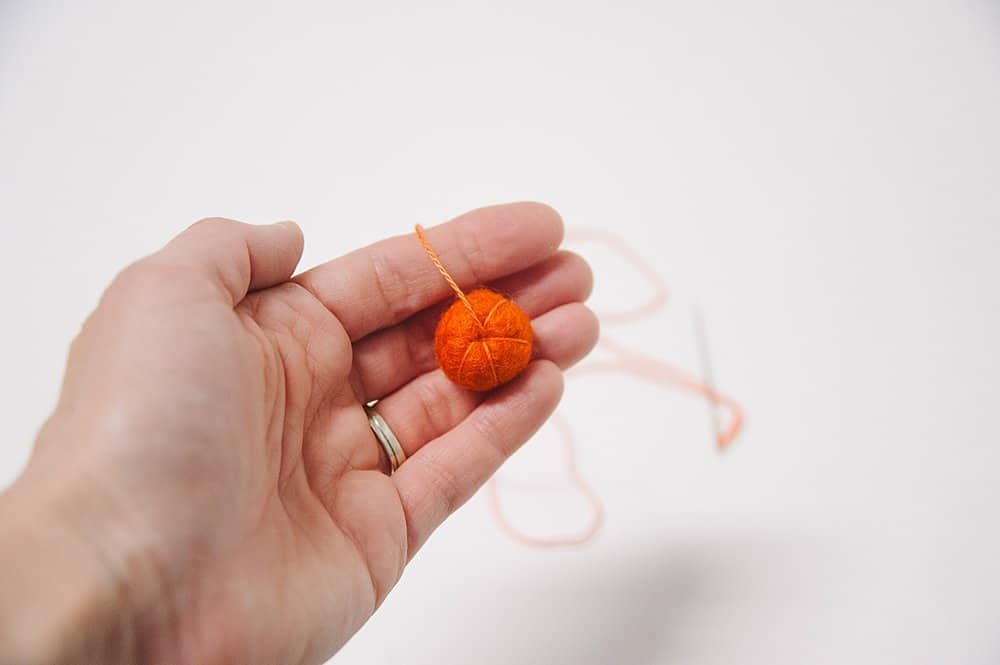
Step 6. Repeat this process of pushing the needle into the bottom of the felt ball, up to the top, pulling the slack, and creating another indentation in the side of the pumpkin, until you have 6 evenly spaced sections.
This is what it looks like when there are 4 indentations.
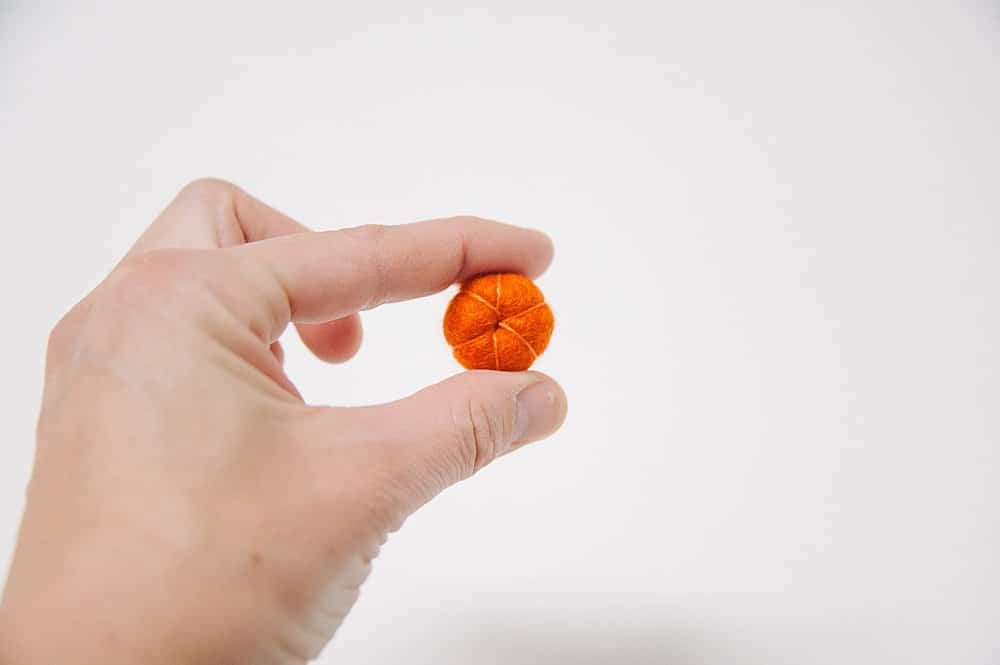
Step 7. Once the pumpkin has all 6 indentations, secure the embroidery floss, tie a knot, and trim any loose ends.
This is what the top of your felt ball pumpkin looks like.
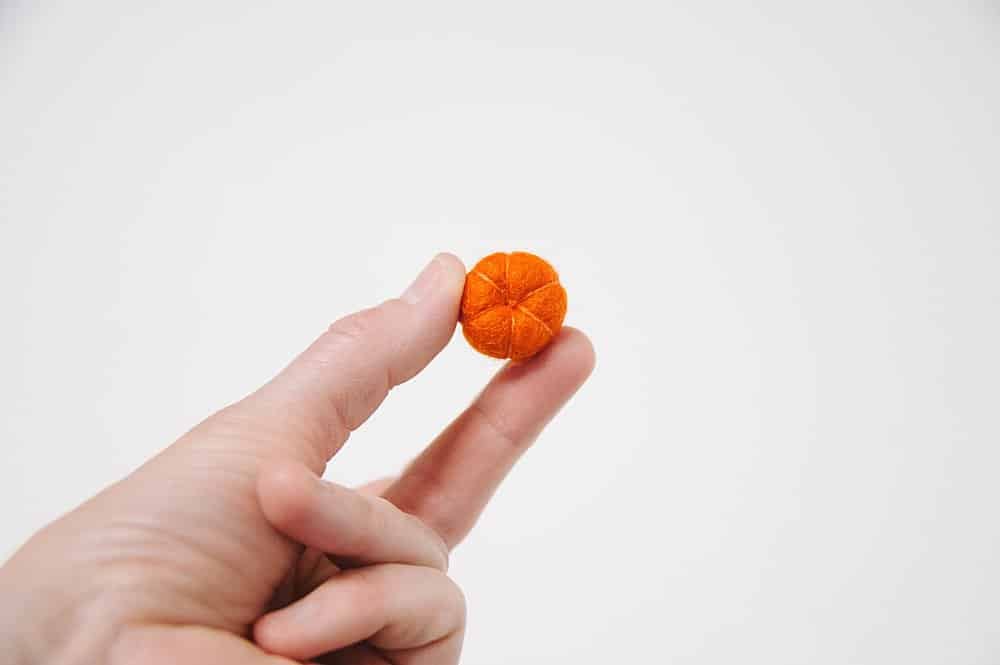
Step 8. This is what the bottom of the pumpkin looks like.
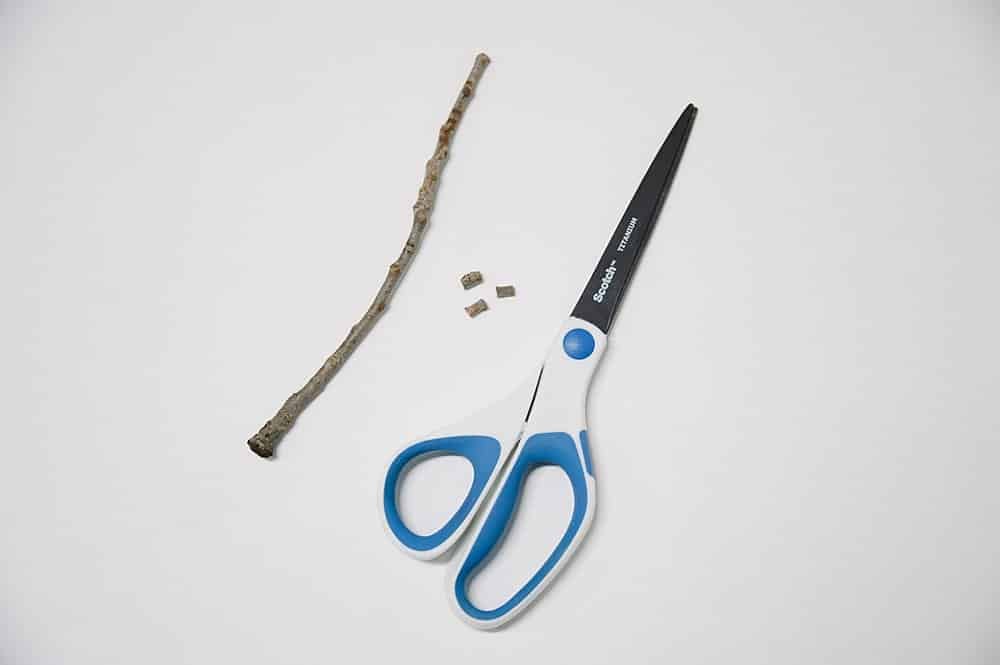
Step 9. Cut a small wooden branch into sections for the pumpkin stems.
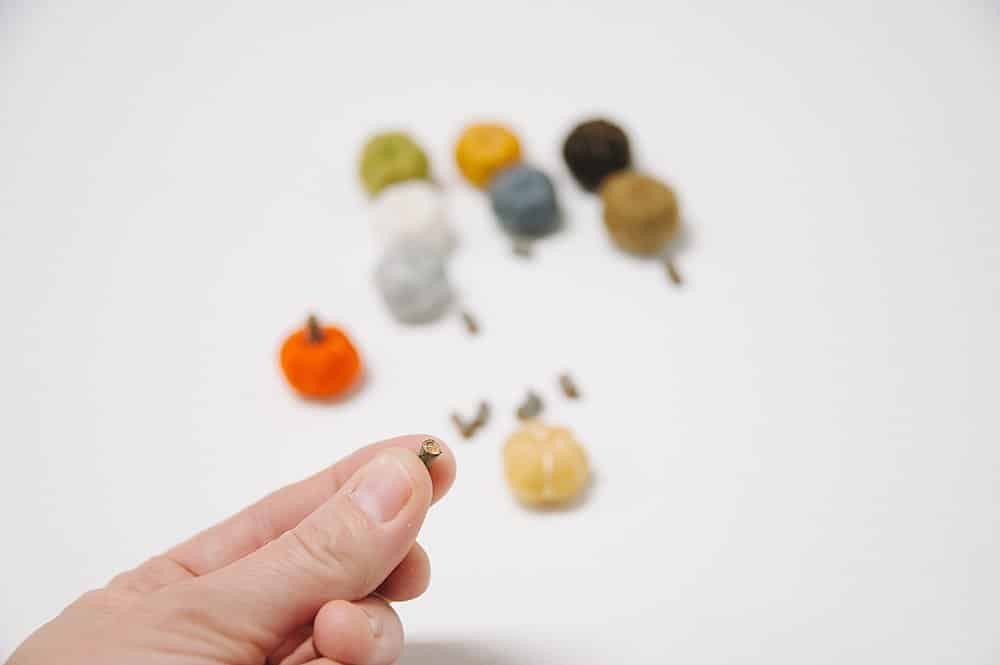
Step 10. Hot glue the stem onto the top of the mini felt ball pumpkin. Hold it in place until the glue dries.
Repeat for all of the pumpkins.
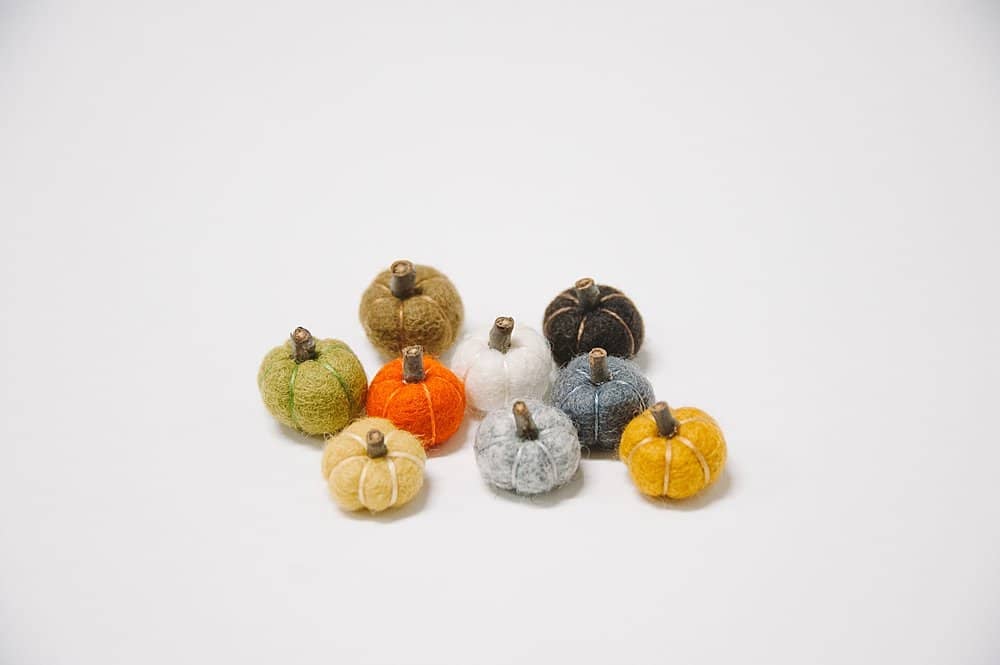
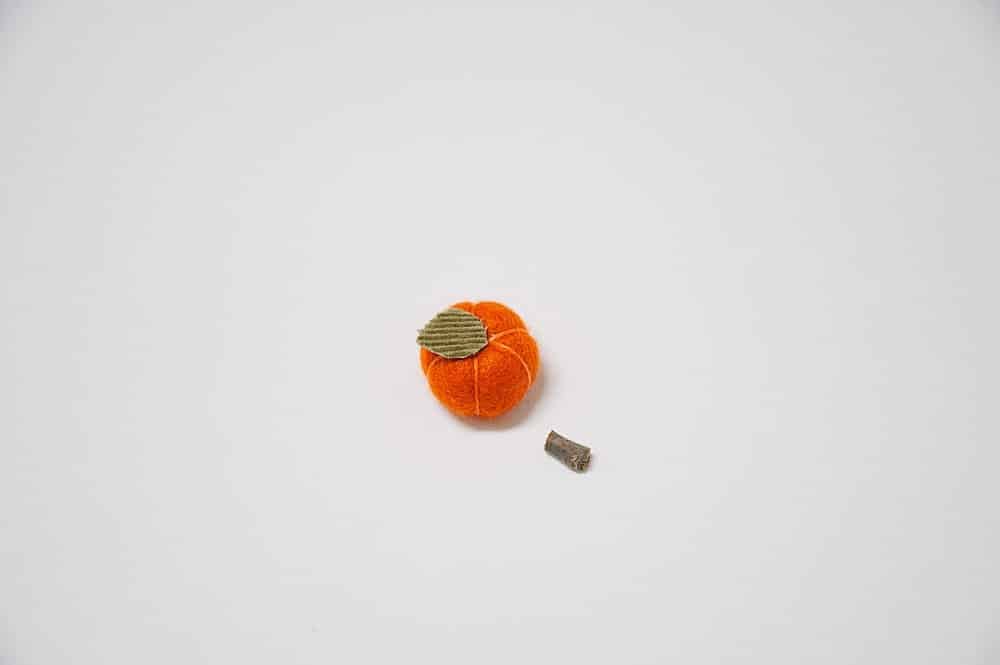
Step 11. You can add a small green fabric leaf if you want to make it look a little more realistic.
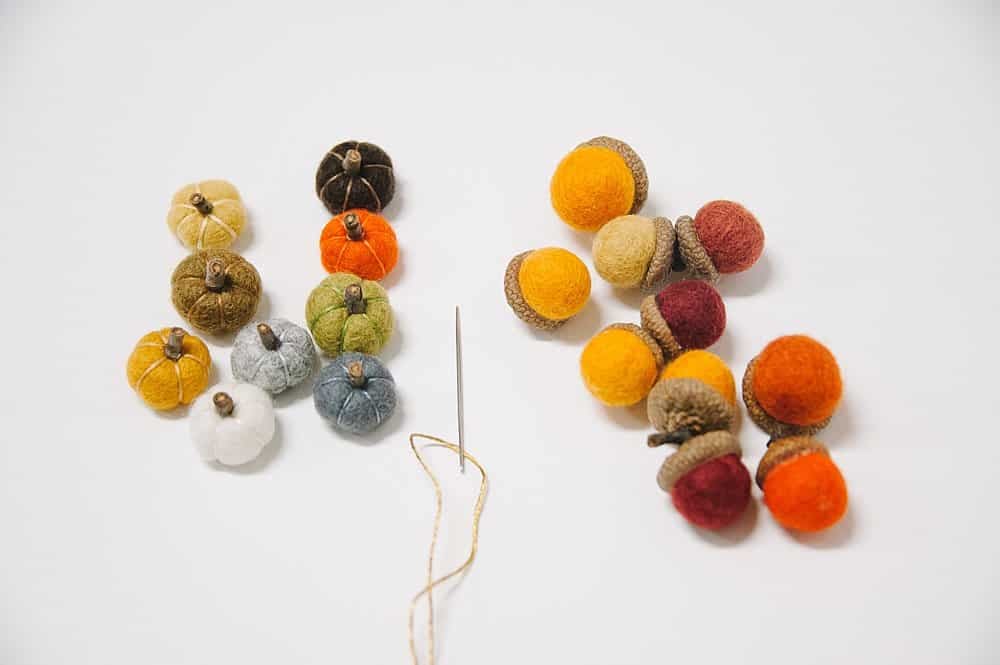
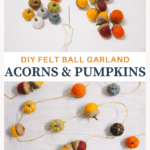
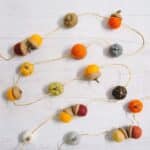
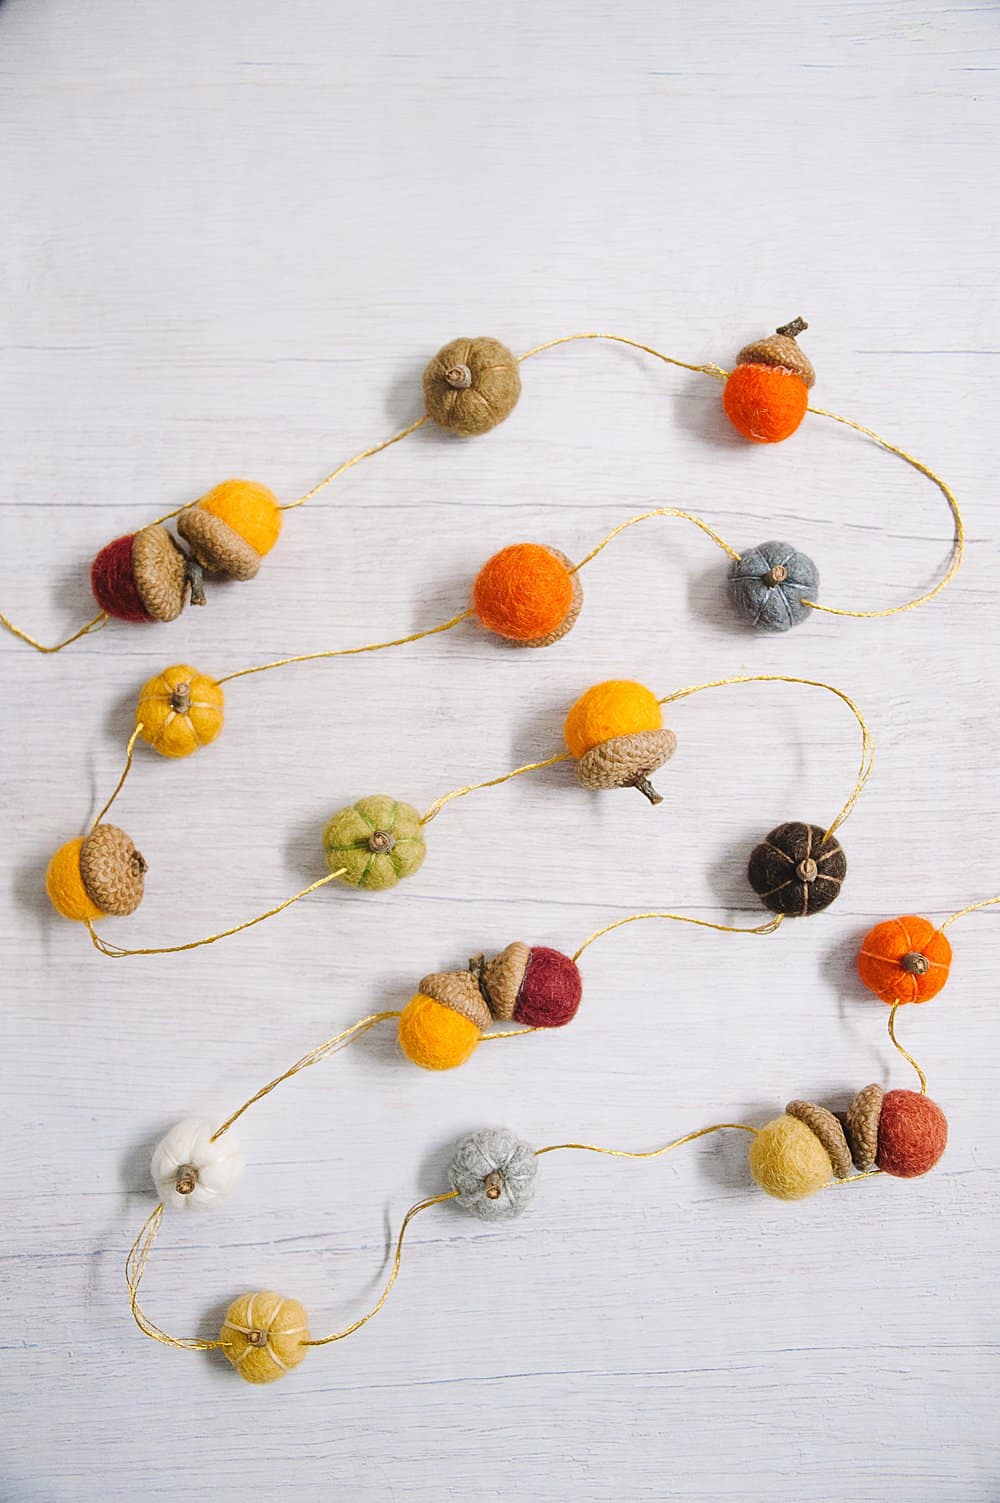
Step 12. You could also make a beautiful fall garland by stringing the felt pumpkins onto embroidery floss or thin twine (we used gold embroidery floss, and added some felt ball acorns!)
Common Questions
My favorite size is 20mm felt balls. They are easy to use, look great up close and at a distance, and are the perfect size - not too big and not too small. You can buy them on Amazon, from suppliers on Etsy or Ebay, and you may even find them at some big craft stores. (I buy mine on Amazon!)
If you don't have access to a small stick or tree branch, you could make a tiny stem out of brown clay and either bake it or let it air dry (depending on the type of clay you use!) Here's another out-of-the-box idea... try using the stem from an apple! It might be a little thinner than ideal, but it's natural and could work great if you trim it to leave only the thickest part!
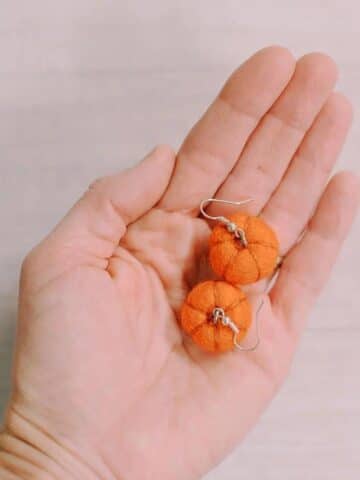
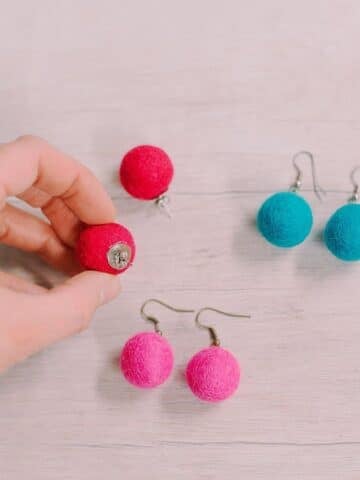
I knew you would love them!! I do too! You can make a bunch to scatter around your shelves and table as fall decorations, or you can make a fall pumpkin garland by stringing them together onto string or twine. They can also be made into the cutest pumpkin earrings!
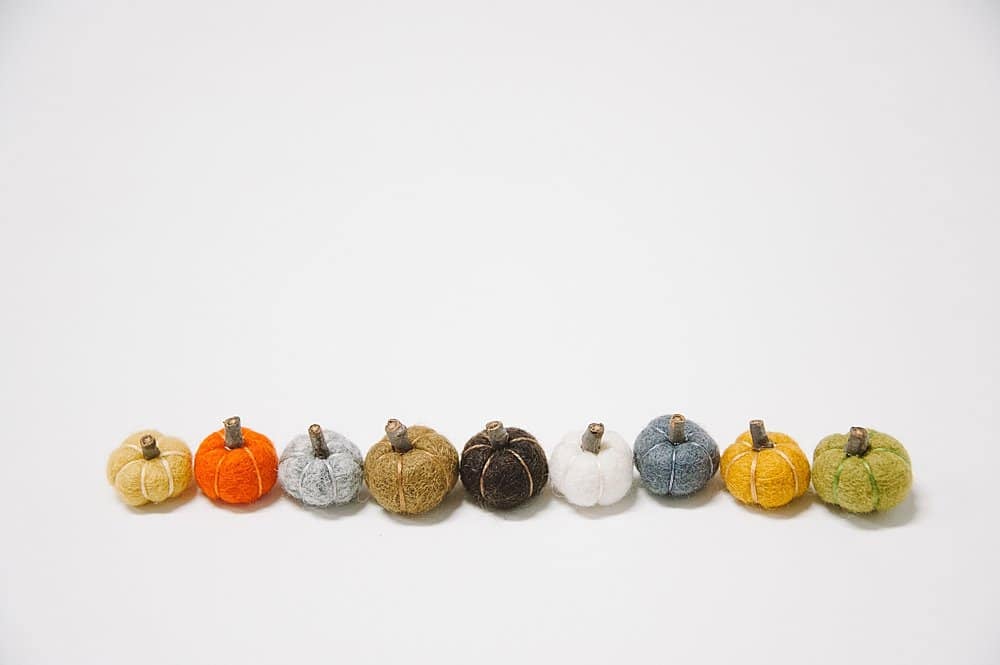
Felt balls are a fun craft supply, and can be made into so many different projects.
Today, we turned felt balls into miniature pumpkins, using embroidery floss and a tiny wooden branch as a stem.
You can use the pumpkins in your fall decor by themselves, or combine them with felt ball acorns into a gorgeous fall garland.
Just know that once you make one mini felt ball pumpkin, you'll want to make a dozen!
More Fall Crafts You'll Love
---
⭐️🧶 Did you enjoy this craft and want to see more like it? ✂️ Join our FREE email community and get inspiring craft ideas sent right to your inbox! 🧵 ⭐️
---
How to Make Mini Felt Ball Pumpkins
Materials
- Felt Ball I like 20mm balls the best!
- Embroidery Needle
- Embroidery Thread
- Wooden Branch
- Scissors, Hot Glue Gun, and Hot Glue
Instructions
- Thread an embroidery needle with embroidery floss that matches the color of the felt ball you are making into a pumpkin, and knot one end.Start at the bottom of the felt ball, and push the needle up to the top.(A thimble might be helpful, or you can use a flat tabletop to help you push the needle through the felt ball.)Pull all the slack floss through the top, until the knot is snug against the bottom of the ball.
- Take the needle and go back to the bottom of the felt ball where you just inserted it, and push it through to the top again.
- Pull the slack out from the top of the felt ball.As you pull tighter, you will see an indentation form on the side of the felt ball from the embroidery floss.(This is how to turn a felt ball into a pumpkin; you will make 6 evenly spaced indentations along the ball to make it look like a pumpkin.)
- Bring the needle back to the bottom of the ball again, and push it up through the top again.Position the floss directly across from the first indentation, before you pull the slack all the way out.
- This will create another indentation directly across from the first one.
- Repeat this process of pushing the needle into the bottom of the felt ball, up to the top, pulling the slack, and creating another indentation in the side of the pumpkin, until you have 6 evenly spaced sections.
- Once the pumpkin has all 6 indentations, secure the embroidery floss, tie a knot, and trim any loose ends.
- Cut a small wooden branch into sections for the pumpkin stems.
- Hot glue the stem onto the top of the mini felt ball pumpkin. Hold it in place until the glue dries. Repeat for all of the pumpkins.
- You can add a small green fabric leaf if you want to make it look a little more realistic.
- You could also make a beautiful fall garland by stringing the felt pumpkins onto embroidery floss or thin twine (we used gold embroidery floss, and added some felt ball acorns!)
Notes
- I prefer 20mm felt balls because they're the perfect size - not too big and not too small. You can buy then anywhere but I prefer to buy them on Amazon.
- Pick embroidery floss colors that match the felt ball colors if possible - or as close as you can get. This will make the mini pumpkins look as realistic as possible.
- If you don't have a stick or tree branch to cut for pumpkin stems, you can make tiny stems out of clay, or even trim an apple stem and use that! (Although craft stores everywhere carry sticks!)

Leave a Reply