A DIY tutorial on how to create an easy felt ball garland. Perfect for holiday decorations, home decor, party decor, or a nursery and kids room.
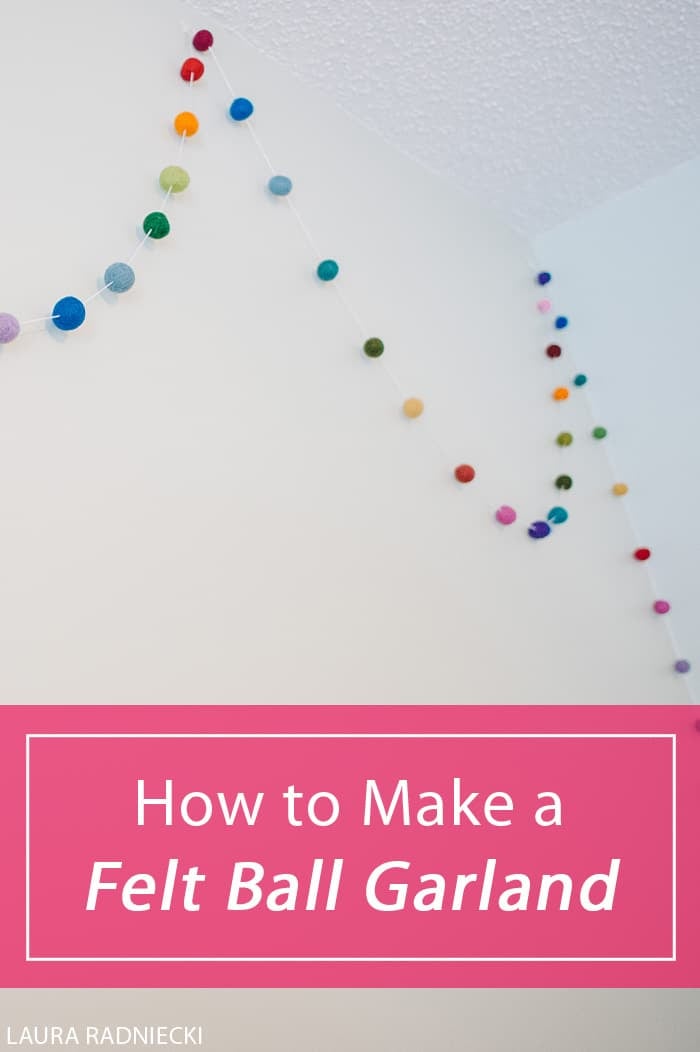
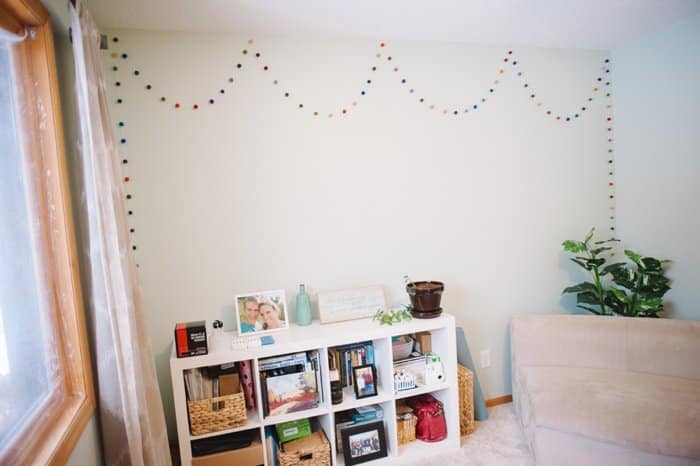
Today, I am sharing a fun tutorial that I used to add some color and fun to my home office.
I'm always a little late to the game - these garlands made out of felt balls are not new. They've been around for a few years, and people have been making them all over Pinterest for holidays and parties. I'm sure you've seen them.
But I just recently discovered them, LOVED the look of them, and thought I'd try making one myself.
How to Make a Felt Ball Garland
There are tons of places to buy felt balls online, or you can make your own felt balls with tutorials like this one.
Here's a place to buy felt balls on Amazon, or you can get them at shops on Etsy or Ebay.
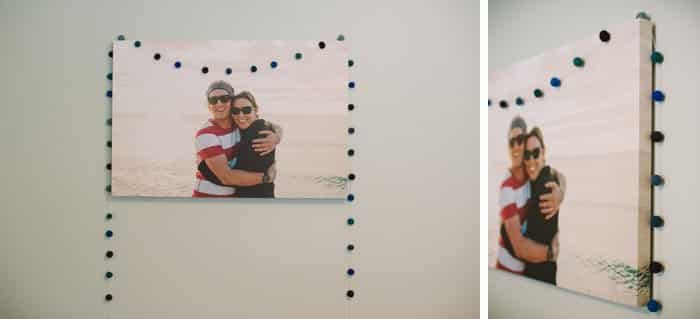
Before I get to the step by step tutorial, I wanted to show the first garland I made. My office [and house in general] has a beachy theme with light colors and woodwork and sea glass green walls. I thought that using felt balls in shades of blue, green and teal would make a great complimentary garland. I liked it ok but it blended in way too much and just kind of looked a little Blah.
So after I made this one, I took all the balls off the string and started over.
Supplies you'll need to make a felt ball garland:
- Felt Balls - [these are 2 cm in diameter]
- Embroidery floss or other thin string like Bakers Twine
- A large needle - I used one of the sharper tipped gold ones from this needle set.
- Scissors
- Nails or command hooks to hang finished garland
Step 1 - Determine your color pattern.
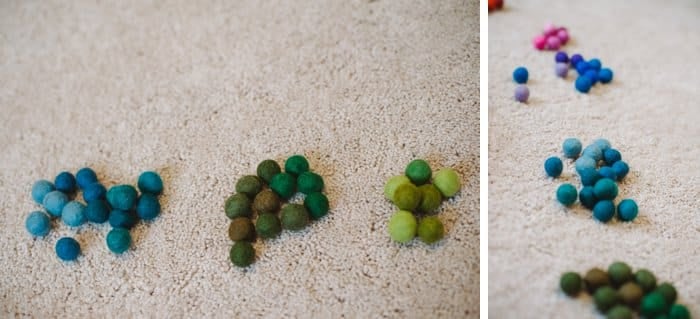
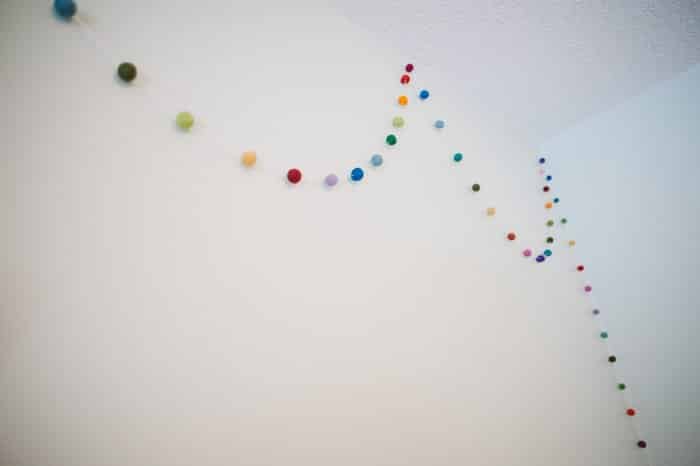
I wanted to make a rainbow-inspired garland that would add color and fun to my walls, so I grouped the balls into color piles.
My order included an assortment of colors. I wanted to see what the different colors were like for future projects. In the future, I would choose specific colors for my order, like one specific shade of red, one shade of orange etc. This would allow my garland to be more symmetrical. As you'll see, mine has a general rainbow vibe but I had to improvise with the colors and numbers of balls that I had.
Step 2 - Start threading the balls onto the string!
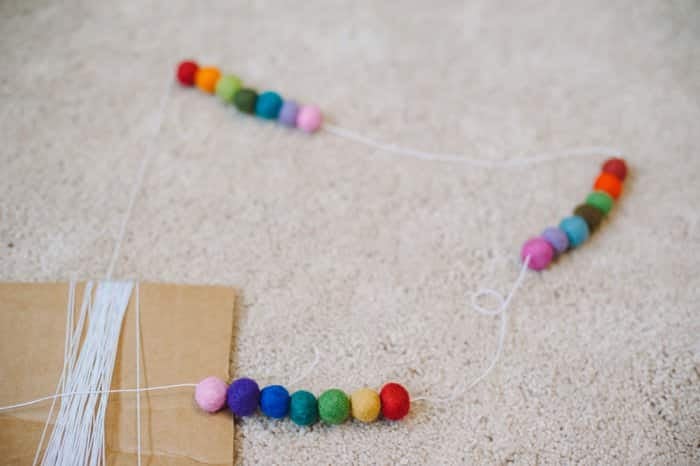
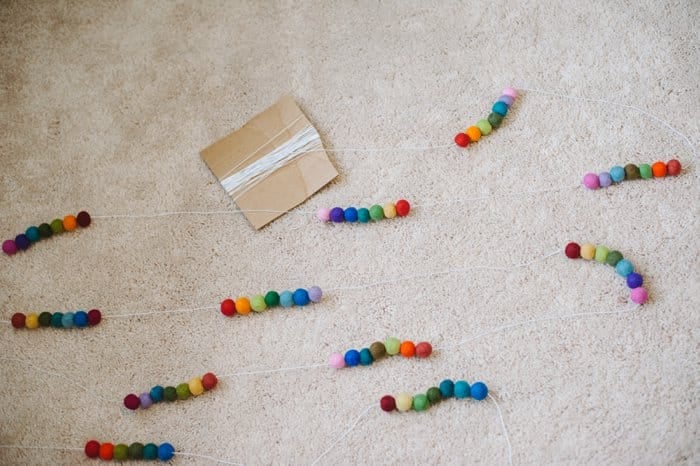
My embroidery floss got knotted into a huge mess so I unwound it and wrapped it around a piece of cardboard. It made it easier to manage for me.
Then, I threaded balls onto the string in rainbow patterns.
The needle goes through the felt balls fairly easily, with decent pressure. It hurt my finger to try to push it through though, so I used the hard surface of my desk to push against the needle. A thimble would work great too.
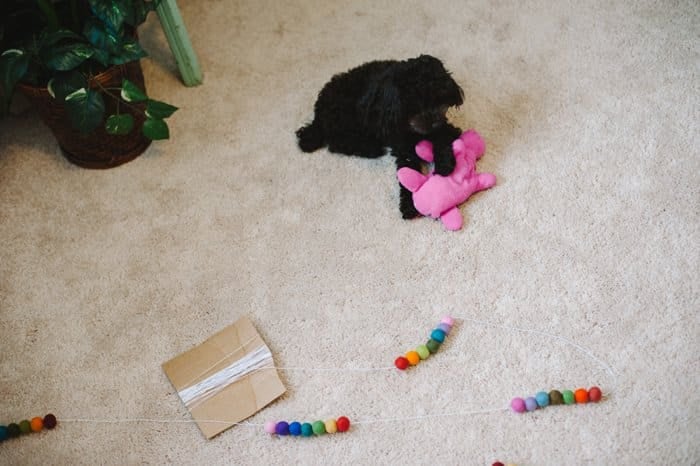
My little helper below. She actually was really good about not messing with the project. She would get close and sniff around, but she left it mostly alone.
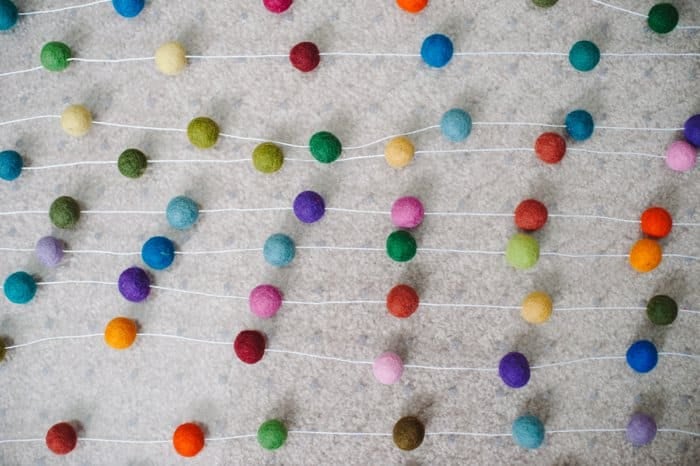
Step 3 - Once all the balls are threaded onto the string, space them out to the desired distance.
I made my garland as long as possible, using all the felt balls I had ordered.
If you know you want to make your garland 10 feet long, you can use your string as the judge and stop when you're garland is your desired length.
I chose to space the balls about 2-3" apart.
It's not an exact science either. I just looked at mine up on my wall and some of the gaps between balls are 2" and some are 3".
You don't have to tie knots around the balls or do anything special to keep them in place. They will stay where they are unless you move them intentionally.
Step 4 - Hang it up!
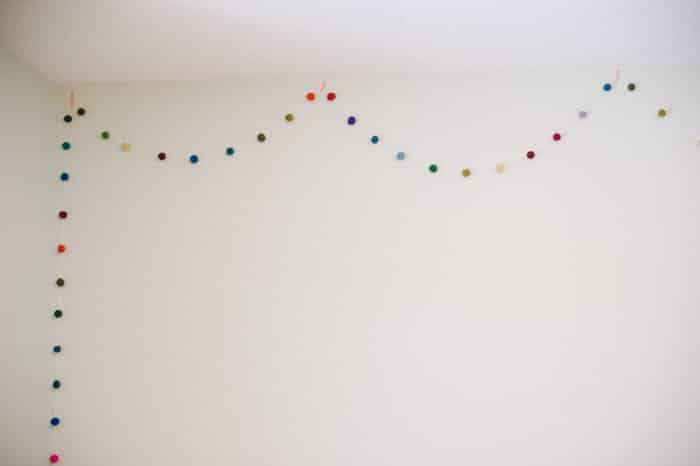
I wanted to see where to put my command hooks, so I used washi tape to help me envision what the finished product would look like.
Then, I hung the hooks up, draped the garland and viola! All done!
It's such a simple decoration but it makes me insanely happy. I love walking into my office and seeing the pop of color it adds to an otherwise bare wall.
The uses for a felt ball garland like this are truly limitless! Home decor, party decor, holiday decorations, kid's crafts... I made a shorter garland for my baby niece who is set to arrive any day now!
I'm thinking ahead to next Christmas too - thinking about what I might do with more garlands.
Have you tried making a garland like this before?

– If you liked this post, I would love if you would share it on Pinterest or Facebook. Thanks & xo! –

Lauren
The biggest problem I had with the garlands was getting the needle through the wool balls. It went in fine, but once the string end got all the way into the ball, I couldn't pull the needle through. My roommate found these rubber grips called needle pullers. Hopefully those will solve my issue! Love your garland.
Laura Radniecki
Hi Lauren!
Thanks so much for writing! You'll have to let me know how the needle pullers work! I'm intrigued to hear!
Yes, I know exactly what you mean. I had to wiggle the needle/string back and forth, and my fingers were so sore and raw after I was finished. I have a hunch your needle pullers might be the ticket!
Laura
Ruby
Hey Laura,
I’m struggling a little trying to push the balls onto the string I have - do you have any tips on how to do this easier?
Thanks
Laura Radniecki
Hi Ruby! Yes, depending on the felt balls you are using, some seem to be denser than others, and are harder to thread onto the string. I would first try to use a thimble or if you don't have one of those, you can use the edge of something hard to help you push the needle through. I initially tried the edge of my wooden desk but it actually dented it haha, so I wouldn't recommend that! You can use the plastic flat edge of a pair of scissors or something else that is hard and easy to use. Another option is to try a smaller needle if possible, and/or try a smaller string if the above ideas don't work. I'm sorry you're having trouble, and I hope this will help you out! Good luck and let me know what works for you!
Lisa
Recently discovered felt ball garlands and now totally obsessed with them!! Fab tutorial, thank you!
Laura Radniecki
Thank you, Lisa! I know how addicting they are! 🙂
shannon
How long was your final garland?
Laura Radniecki
Hi Shannon!
My garland ended up being very long; maybe 15-20+ feet? It stretches across a whole wall in my office, with big loops, and then hangs down toward the floor at each end.
You can make them as long or as short as you want, depending how much embroidery floss/bakers twine you use, how many felt balls you have, and how far apart you put them. I could have made mine even longer because I had some balls left over that I didn't use, but I had already covered my whole wall so decided to end it there.
I hope that helps!
Laura
laura
What kind of needle did you use?
Laura Radniecki
Hi Laura!
Thanks for reading and asking your question about the needle I used. I updated the post to include this information, but I used one of the gold tipped needles from this needle set.
I hope that helps!
Laura
Melinda Bacon
Live your garland. However, when I try to see your needle you used it takes me to a jade lint something lol. Could you show me a pic of the needle set you used and where you got yours? Thank you..
Laura Radniecki
Thanks for pointing out the broken link, Melinda! I have updated it with a link to needles that are very similar to what I use, and from the same brand. I bought mine at my local JoAnn Fabrics store, and I think they are likely available at any craft store, as well as on Amazon via the updated link. Happy crafting!