Learn how to make a faux leather leaf garland, using faux leather leaves from the Dollar Tree, an embroidery needle, and twine!

Garlands are one of the easiest ways to transform your home for a season or holiday, and this faux leather leaf garland is the perfect way to say Hello to Fall! Combine it with DIY Dollar Tree pumpkins, or homemade fabric pumpkins to complete your fall mantel!
Using faux leather leaves bought from the Dollar Tree, along with twine and an embroidery needle, you can quickly and easily make a garland that looks like it came from a designer boutique!
Here's how to make one!
Jump to:
Why You'll Love This Craft
- Garlands are one of the easiest ways to decorate for a special occasion, a season, or a holiday. They are often quick and easy to make, and use only a few supplies.
- All you need to make this fall garland is string, a needle, and faux leather leaves. You can also use paper leaves, fabric leaves, or even real fall leaves!
- We also used these faux leather leaves to make a fun fall leaf wreath that was a hit!
Craft Supplies Needed
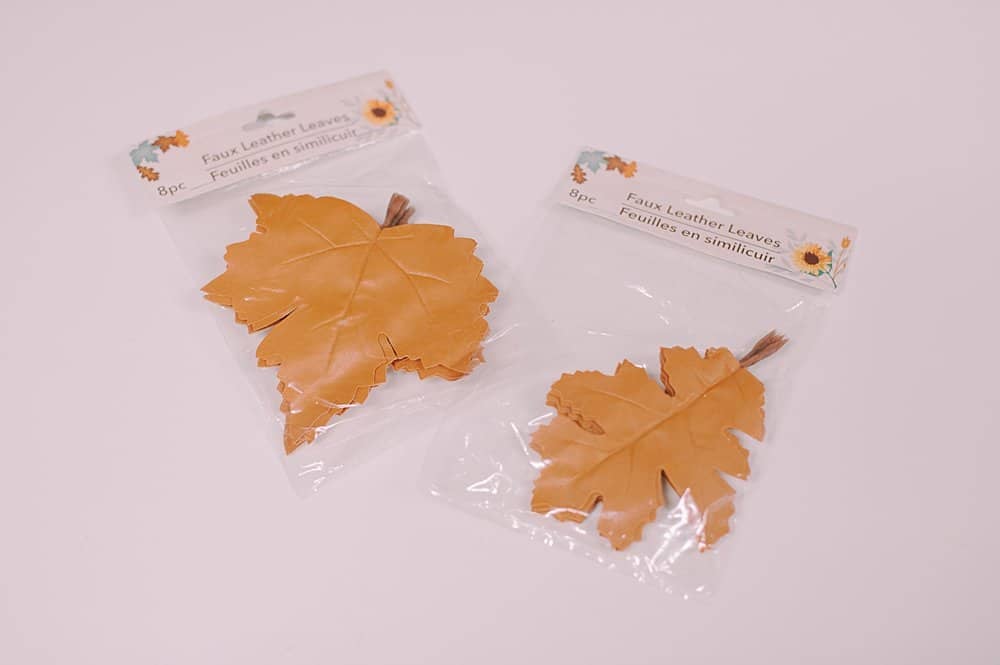
- Faux Leather Leaves - I bought mine at the Dollar Tree. If you can't find these leaves, you can use paper leaves, fabric or felt leaves, or real leaves preserved in Mod Podge (or beeswax leaves!)
- Twine - I love the rustic look of twine for garlands. You could also use cotton string, bakers twine, embroidery floss, yarn, or rope.
- Embroidery Needle - You need a needle with an eye that is large enough to thread your string through.
- Scissors - A craft project staple!
How to Make a Faux Leather Leaf Garland

Step 1: Open leaf packages, and determine the order you want the leaves to be in for your garland.
I decided to alternate maple leaf, oak leaf, maple leaf, oak leaf, etc.
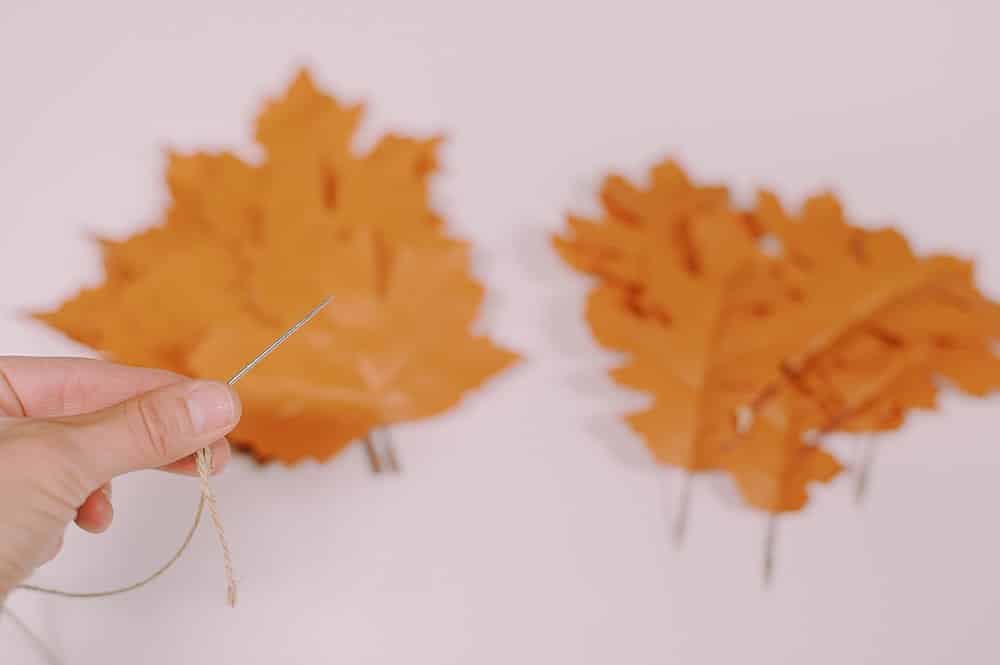
Step 2: Cut a length of twine longer than your desired finished garland, and thread one end into a large-eyed embroidery needle.
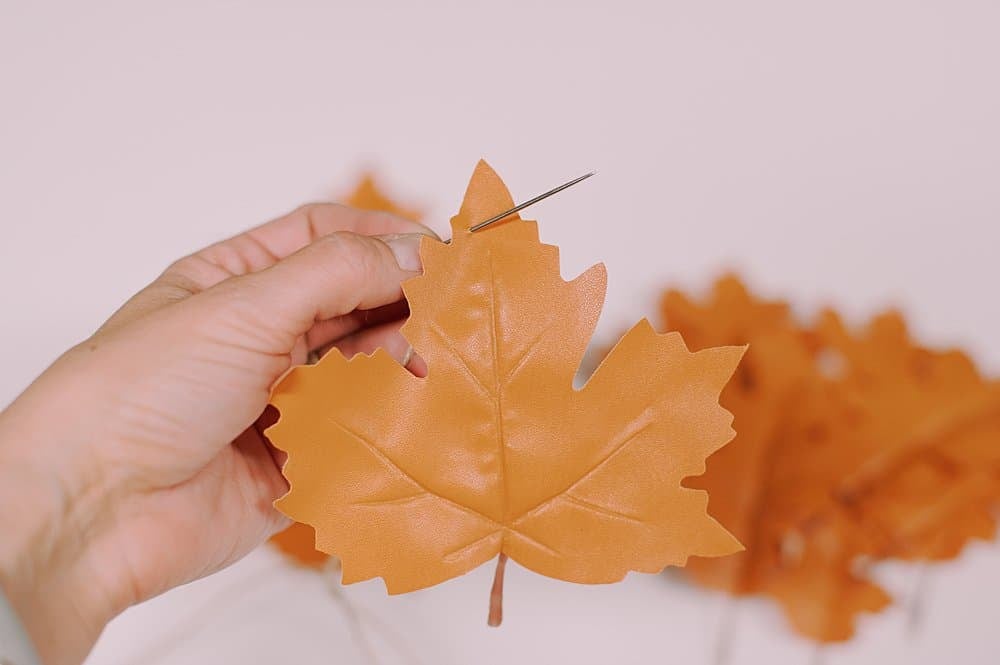
Step 3: Starting from the back of your first leaf, push the needle from the back to the front.
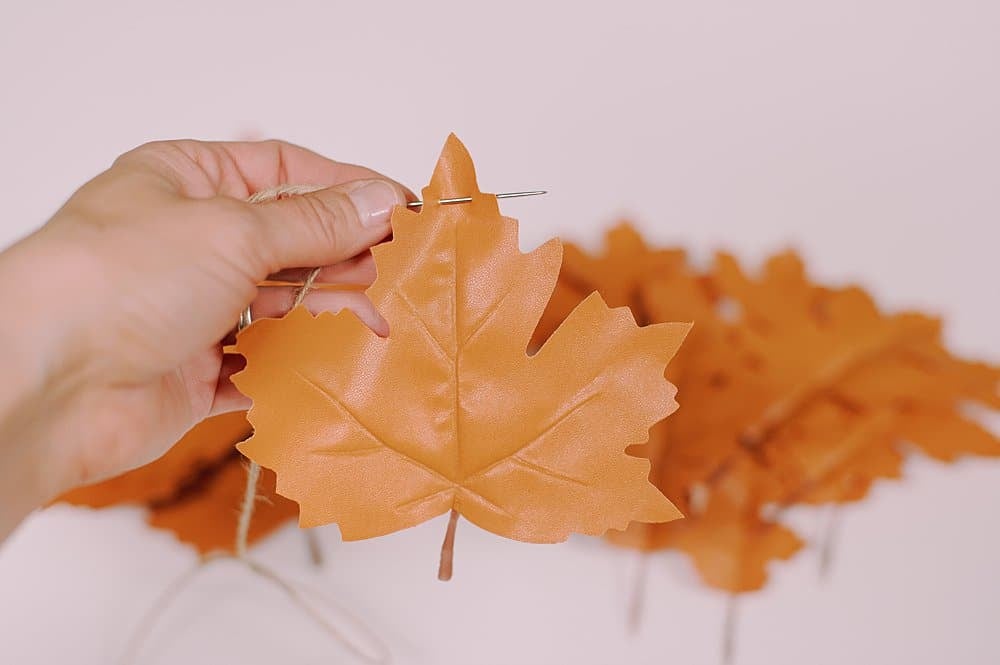
Step 4: Move over slightly and push the needle from the front of the leaf to the back again.
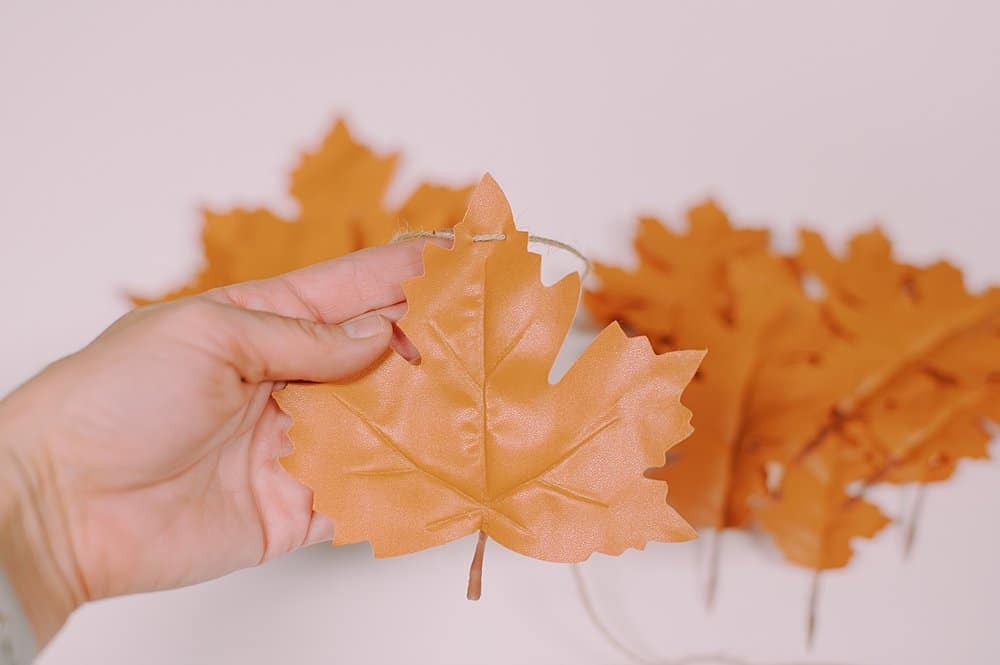
Step 5. Gently pull the twine through.
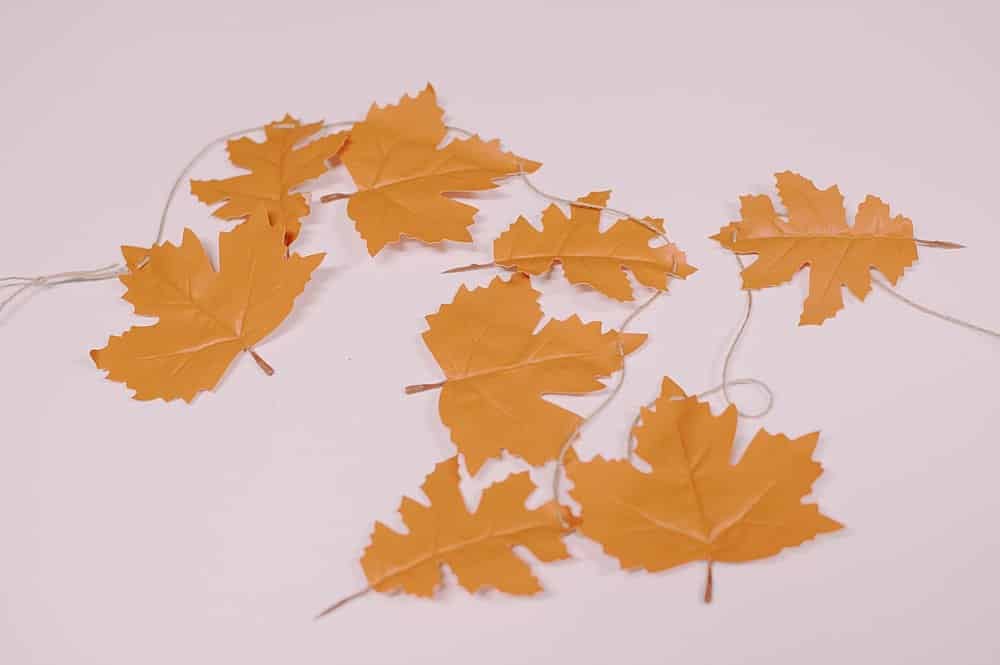
Step 6: Continue threading leaves onto the twine in the pattern you chose, in this same back to front & front to back again method.
Add leaves until your desired length of twine is filled, and tie loops in the ends of the twine.
You can move the leaves around on the twine by sliding them back and forth, to get your desired spacing.


Common Questions
You can use paper leaves, fabric leaves, felt leaves, plastic leaves, or real leaves that you preserve with Mod Podge, or even try beeswax-dipped leaves to make a garland like this! We made a similar garland with burlap leaves and it turned out great!
Twine is my favorite type of string to use for any type of garland. But if you don't have twine, or don't like twine, you can use other types of string like cotton string, thin rope, baker's twine, yarn, or embroidery floss to make your garland.
Aren't they great?? If you find some at Dollar Tree, scoop them up! Faux leather leaves are so hard to find anywhere else. We made a lovely faux leather leaf wreath that looks great on the wall or the front door during the fall season. You'll love it!
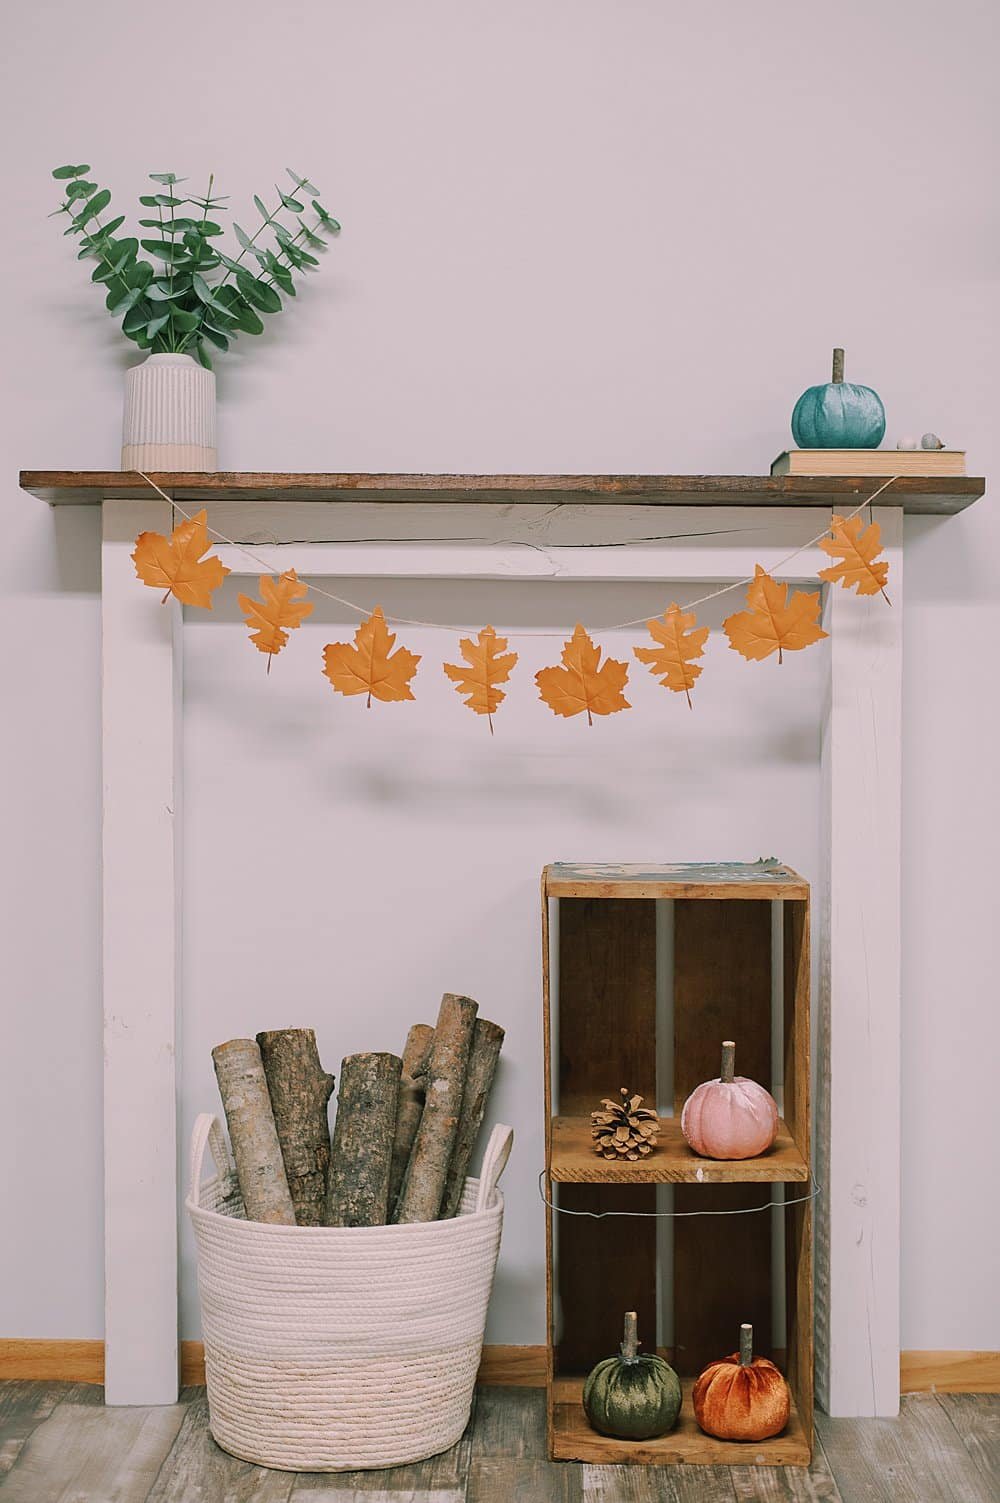
These faux leather leaves were a Dollar Tree treasure! They look fancy and much more expensive than they were.
Combined with the rustic twine, they add an element of easy elegance to a mantel as a faux leather leaf garland, or to the wall as a faux leather leaf wreath!
More Fall Crafts You'll Love
---
⭐️🧶 Did you enjoy this craft and want to see more like it? ✂️ Join our FREE email community and get inspiring craft ideas sent right to your inbox! 🧵 ⭐️
---
How to Make a Faux Leather Leaf Garland
Materials
- Faux Leather Leaves
- Twine
- Embroidery Needle
- Scissors
Instructions
- Open leaf packages, and determine the order you want the leaves to be in for your garland. I decided to alternate maple leaf, oak leaf, maple leaf, oak leaf, etc.
- Cut a length of twine longer than your desired finished garland, and thread one end into a large-eyed embroidery needle.
- Starting from the back of your first leaf, push the needle from the back to the front.
- Move over slightly and push the needle from the front of the leaf to the back again.
- Gently pull the twine through.
- Continue threading leaves onto the twine in the pattern you chose, in this same back to front & front to back again method.Add leaves until your desired length of twine is filled, and tie loops in the ends of the twine.You can move the leaves around on the twine by sliding them back and forth, to get your desired spacing.
Notes
- If you can't find faux leather leaves, try paper leaves, fabric or felt leaves, plastic leaves, or preserve leaves with Mod Podge or beeswax and use those for your garland!
- You can use cotton string, baker's twine, yarn, rope, or embroidery floss if you don't have or don't like the look of twine.
- If you love garlands as much as I do, you can layer multiple garlands on the mantel at the same time for a fun twist for fall!









Leave a Reply