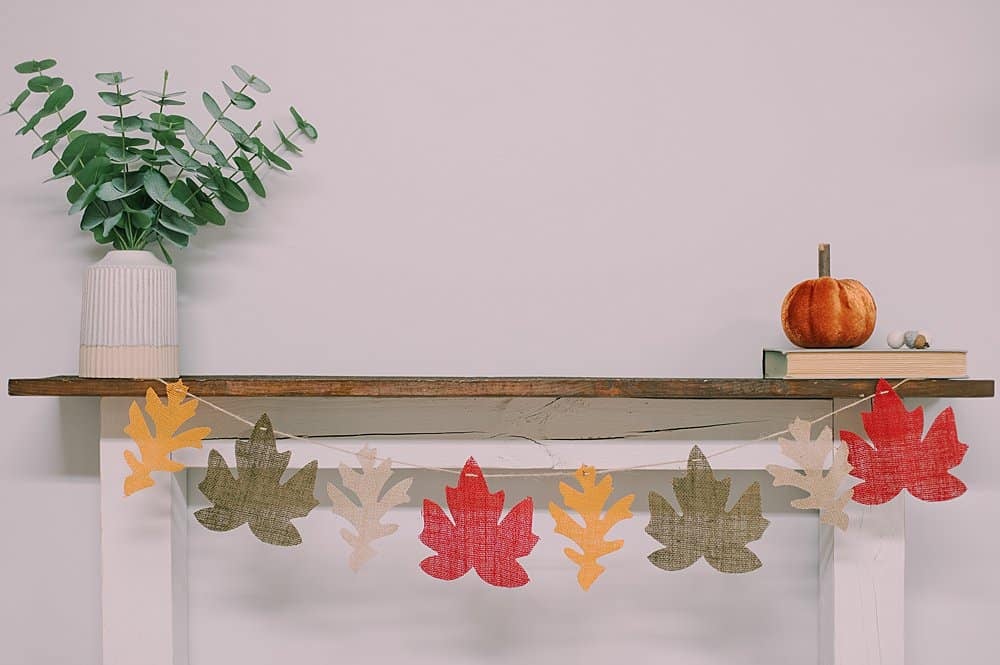
Learn how to make a burlap leaf garland for fall, using precut burlap leaves from the Dollar Tree! All you need are the leaf shapes, twine, an embroidery needle, and scissors, and you can make your own fall garland in minutes!
When it comes to easy fall decor ideas, a garland is one of the simplest, easiest, and definitely, fastest ways to decorate for Fall!
With twine and something to string onto it, you can create a beautiful garland that can transform your mantel (or wall) in a very short time.
Today, let's take a look at how to make a fall garland using burlap leaves from the Dollar Tree! If you can't find precut leaf shapes, you can use any leaf shape template or printout, and cut your own leaves out of burlap fabric.
Here's how to make one!

How to Make a Burlap Leaf Garland
Step 1: Gather Supplies
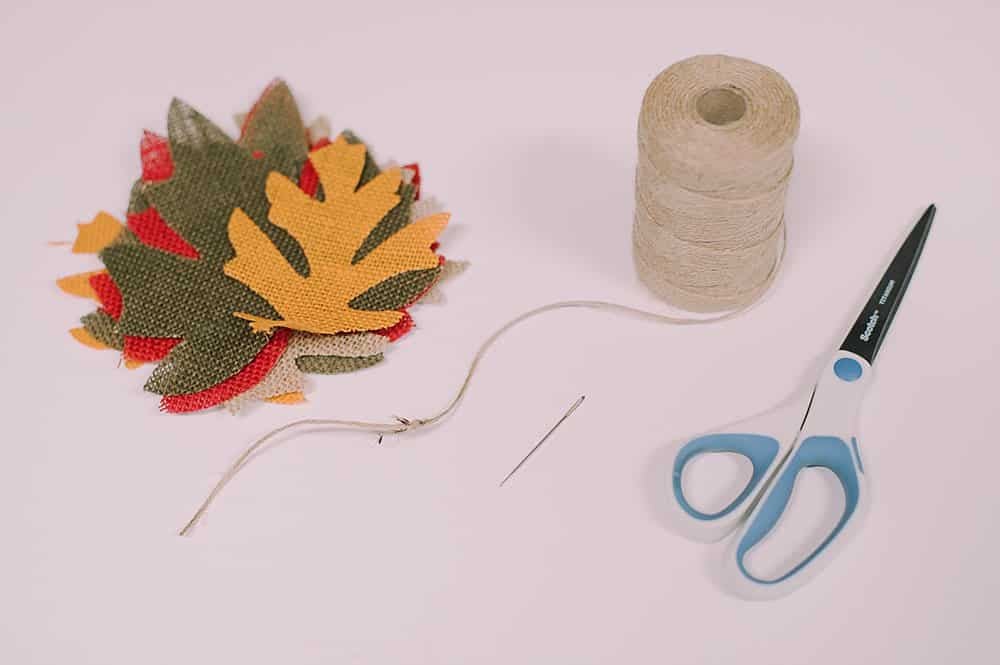
Supplies Needed:
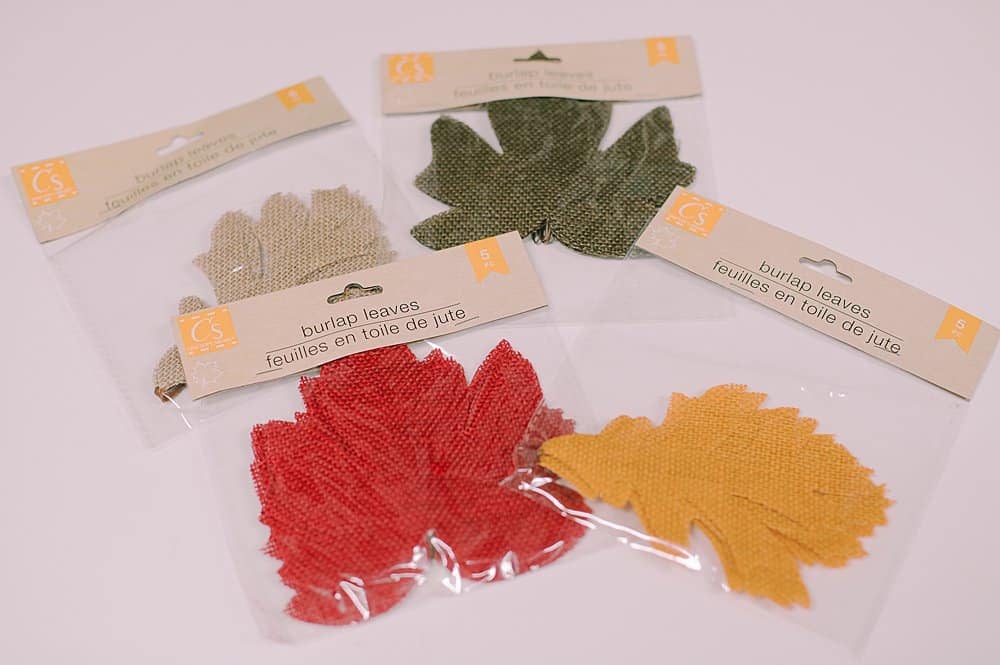
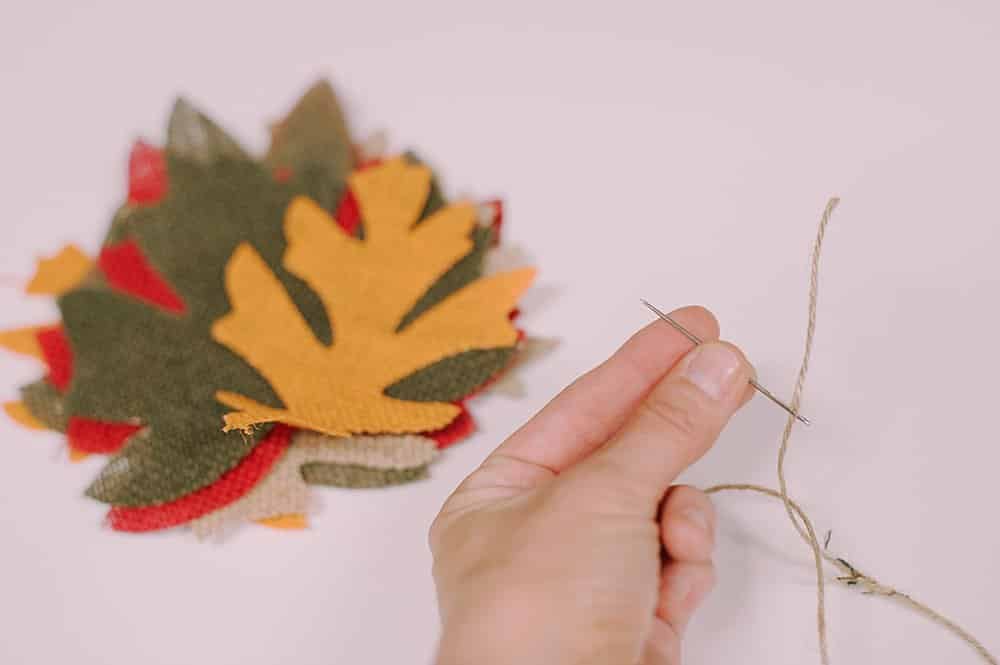
- Burlap Leaves - I got mine at the Dollar Tree but you can buy them on Amazon too.
- Twine
- Embroidery Needle
- Scissors
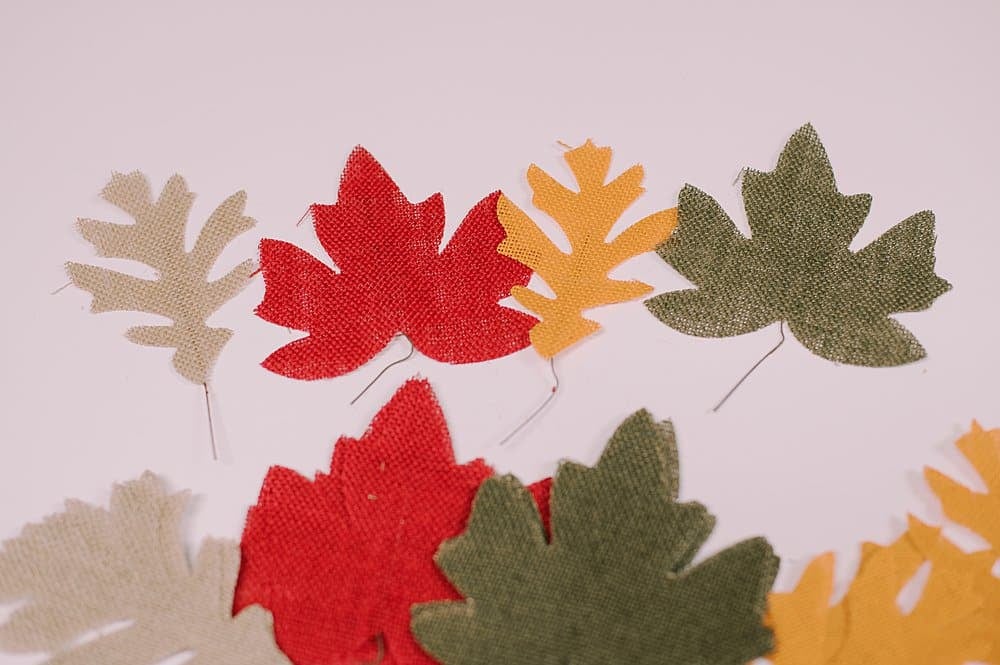
Step 2: Decide on a pattern for your burlap leaf garland.
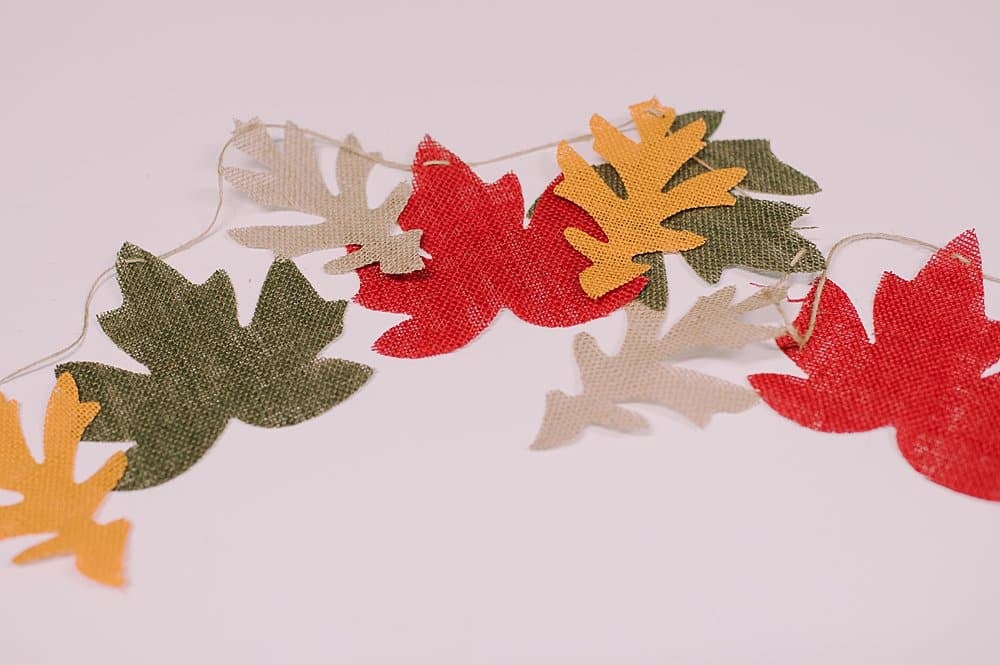
I decided to alternate the colors of my leaf garland.
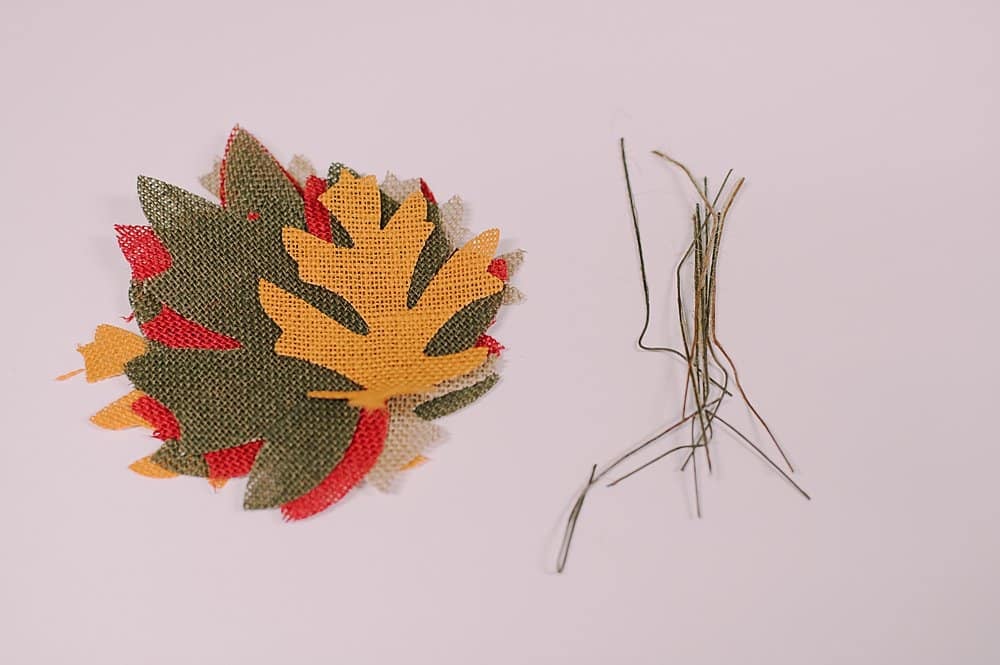
The burlap leaves I bought from the Dollar Tree had a metal stem glued on the back, so I peeled them off.
Step 3: Cut a length of twine and thread one end through a large-eye embroidery needle.
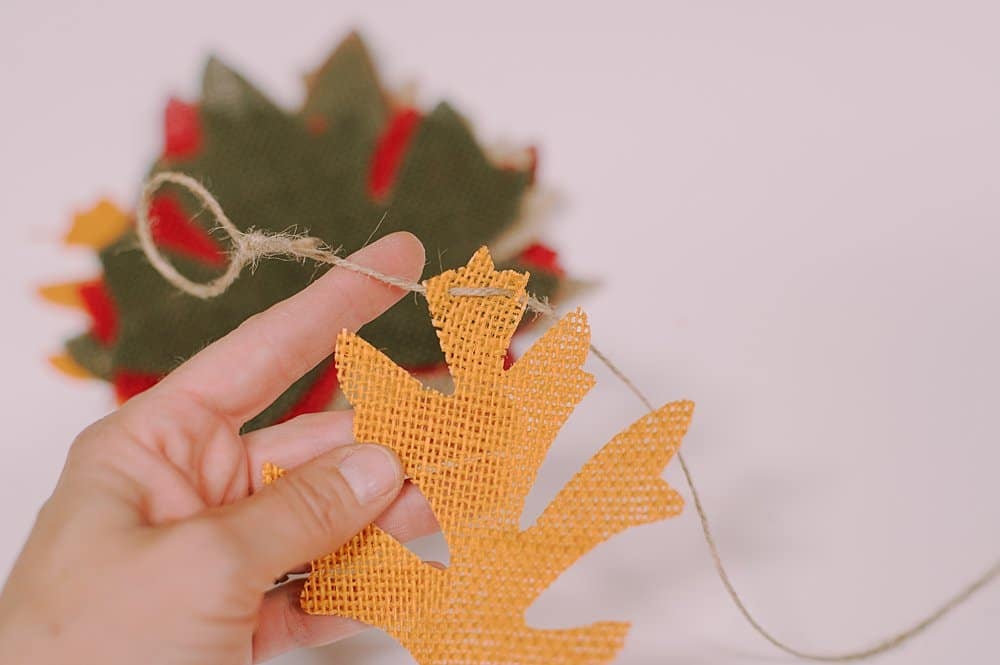
Step 4: Thread the leaves onto the twine.
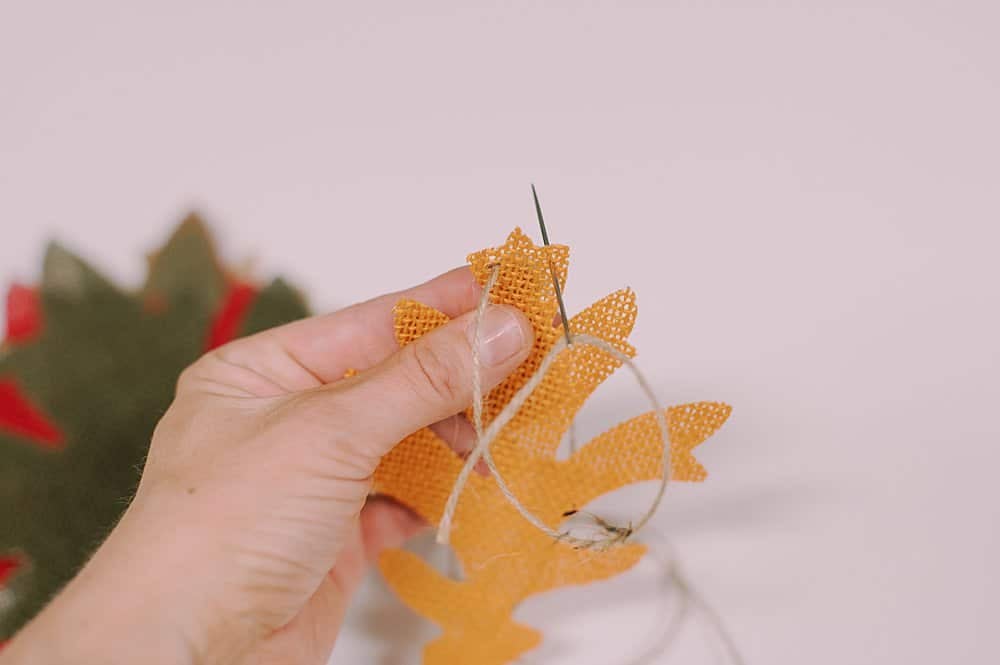
Thread the needle from the back to the front of a burlap leaf near the top.
Then thread the needle toward the back of the leaf again, which will let the leaf hang flat instead of twisting to its side.
Step 5: Continue threading leaves onto the twine in the color pattern you chose.
Step 6: Once the garland is long enough for your mantel or wall, tie loops in both ends, and hang it up!
- - - - -
Garlands are such a great holiday decor idea because they are fun and fast to make, and they are easy to switch out for each holiday that comes.
Plus, you can layer different garlands together for an even more interesting fall decor vibe!
As always, if you make one, let's see it!
Happy crafting!






Leave a Reply