Learn how to make a DIY paper book with a cardstock cover in this easy step-by-step tutorial! We will be using a sewing machine to quickly bind the blank books together.
DIY Blank books are easy to make and can be used for so many different purposes - drawing, journaling, writing, illustrating, brainstorming, or just keeping kids busy at church or a restaurant!
It's especially fun to use a sewing machine to bind paper books - maybe because it feels slightly strange and thrilling to sew paper and see a book come to life before your eyes!
Today, we will turn plain white printer paper and colored paper for a cover (either construction paper or scrapbook paper) into a beautiful book in just minutes!
Jump to:
Why You'll Love This Craft
- Kids love to color, draw, and write. Notebooks and plain paper are fine, but there's something special about making a book and kids can sense it! These blank books are huge hits with kids because they feel special and important.
- You can buy books (and I have) but if your kids are like mine, they will use up a stack of new books in days. These DIY books are fast, easy, and cheap to make, which means I don't have to micromanage how many books they use!
- Printer paper and colored cover paper are supplies you likely have at home already, so chances are you can make these books without buying anything new!
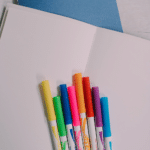
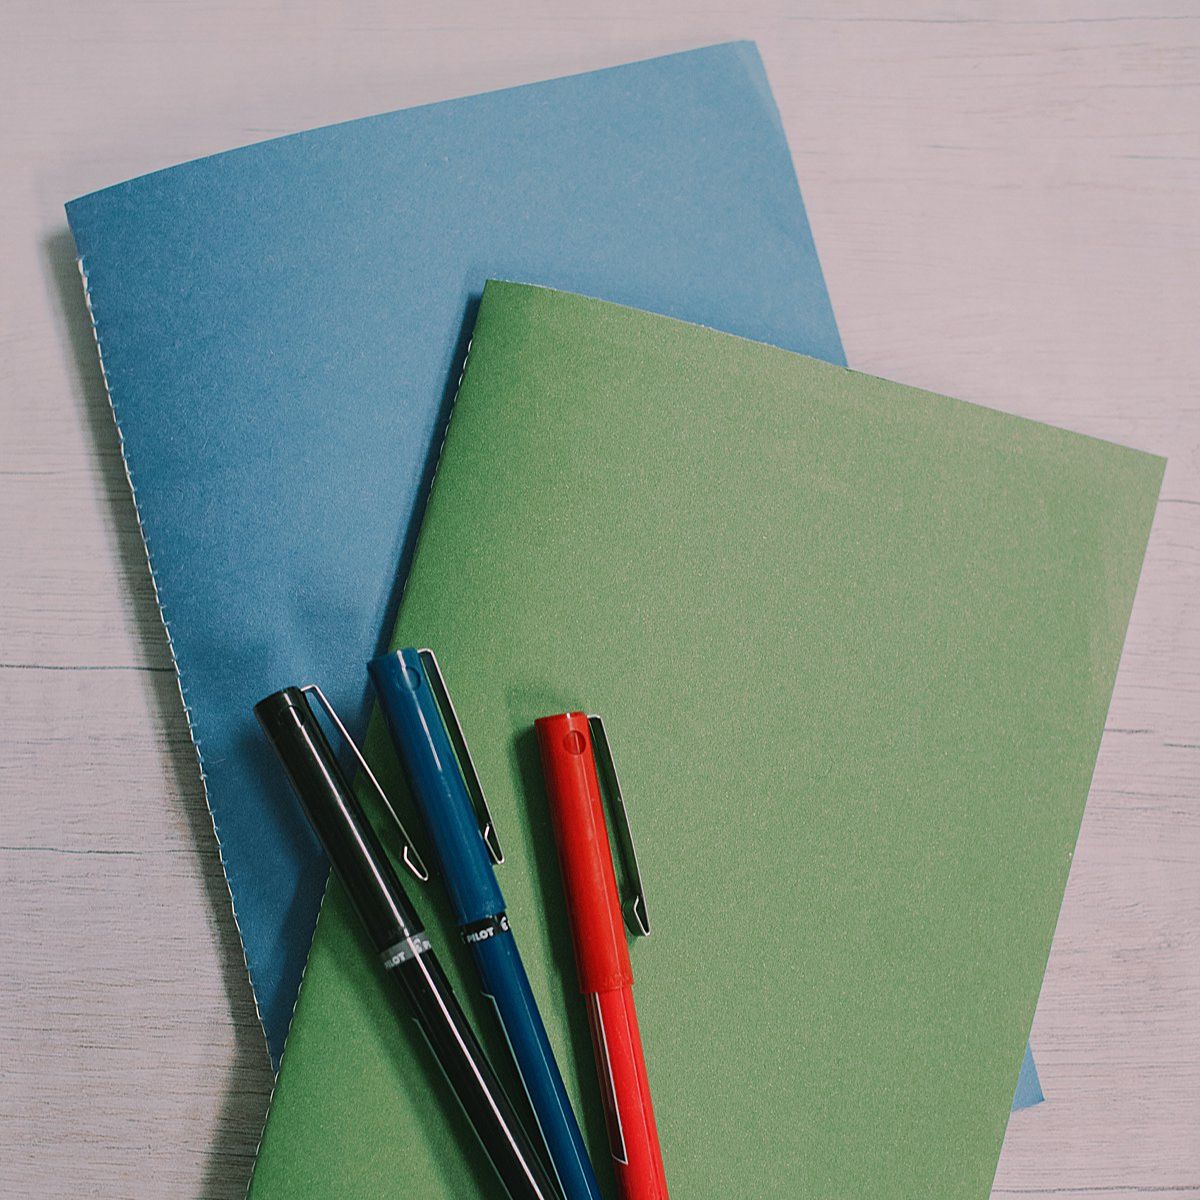
Craft Supplies Needed
- White Printer Paper - Each piece of 8.5x11 inch printer paper will add 2 pages to your blank book. Determine how many pages you want your book to have, and divide that by 2 for the sheets of printer paper.
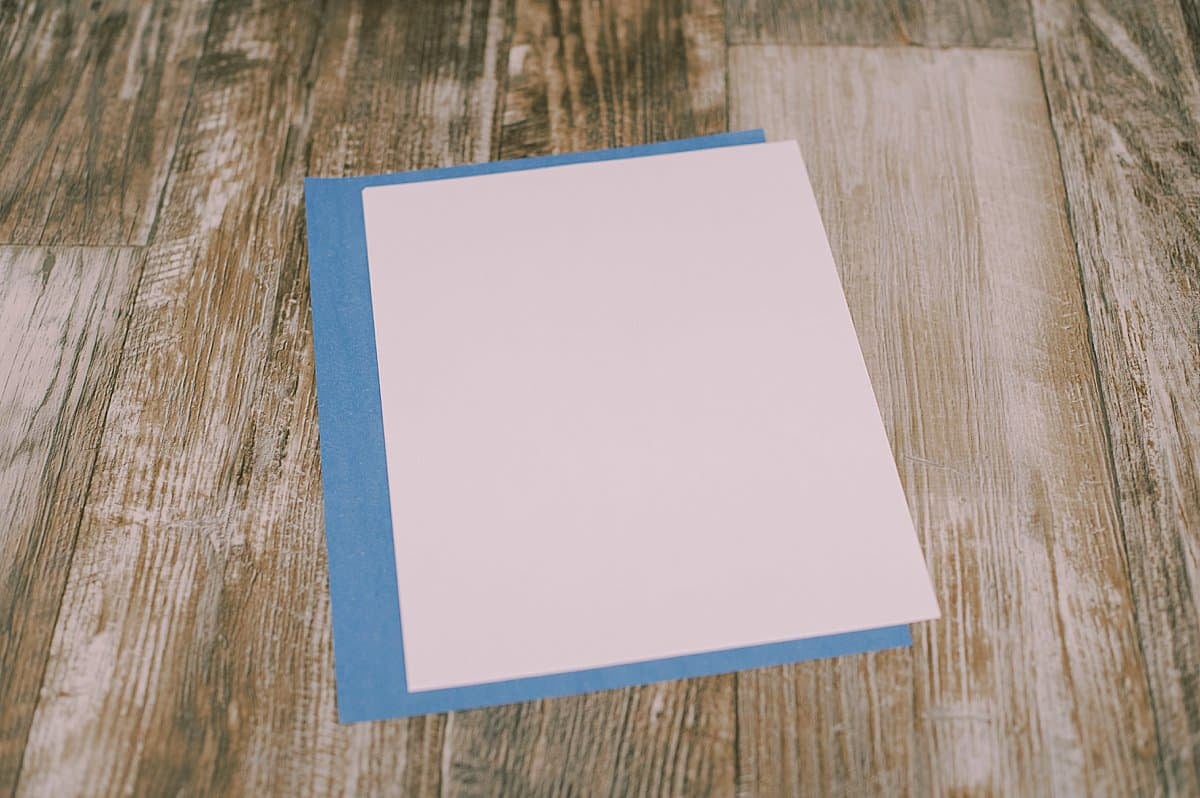
- Scrapbook or Construction Paper - For your book's cover, you can use paper that is the same size as your interior paper (this gives it a "paperback" look), or slightly larger (this gives it a "hardcover" look.) For this tutorial, our cover paper is slightly bigger than the interior pages, so they have a hardcover look.
- Quilt Clips - These clips will help hold your book's interior pages and cover in place while you sew them together.
- Sewing Machine
How to Make a DIY Paper Book with a Cardstock Cover
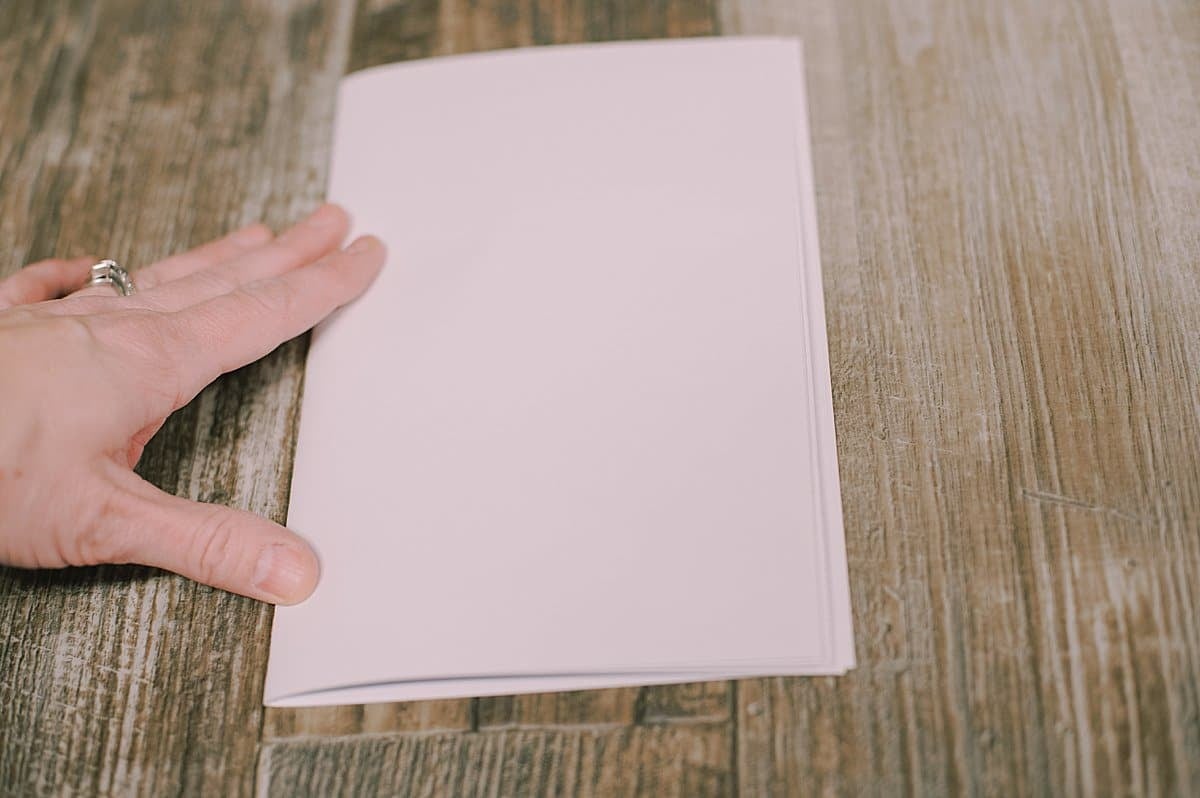
Step 1. Fold the white printer paper in half, creasing it firmly in the middle.
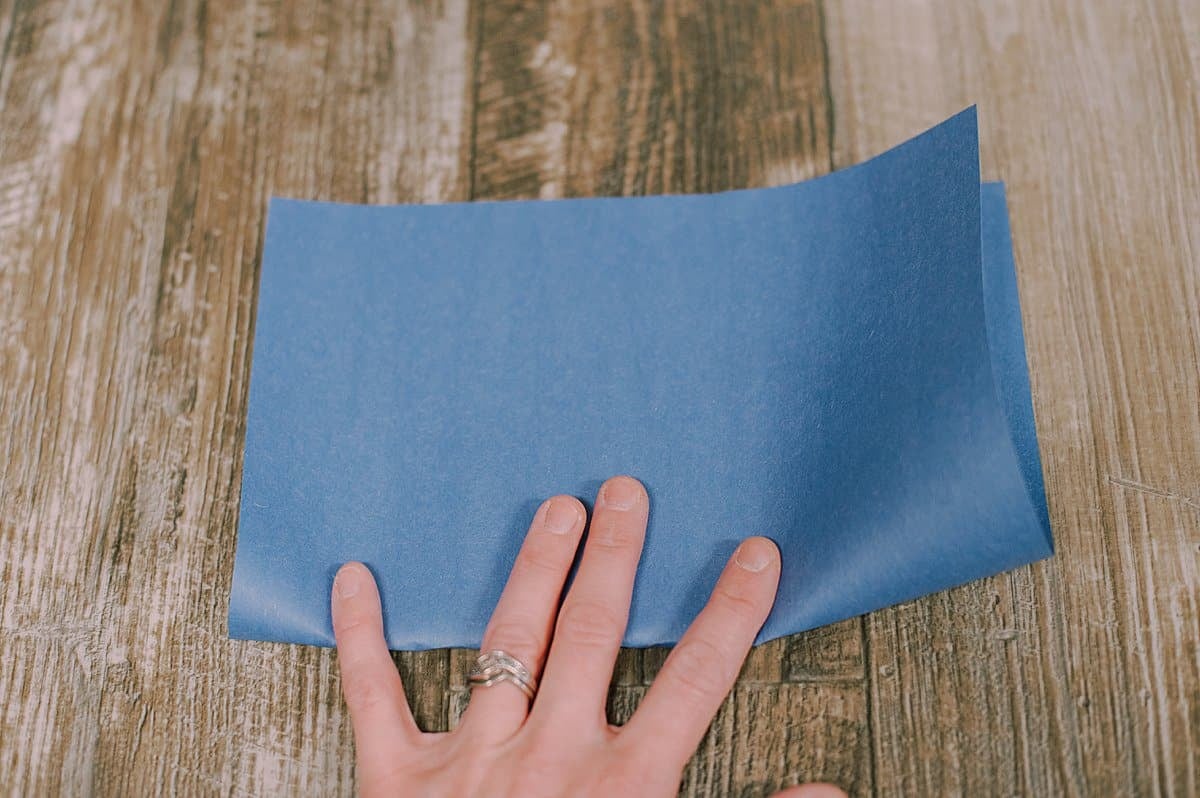
Step 2. Fold the cover paper in half.
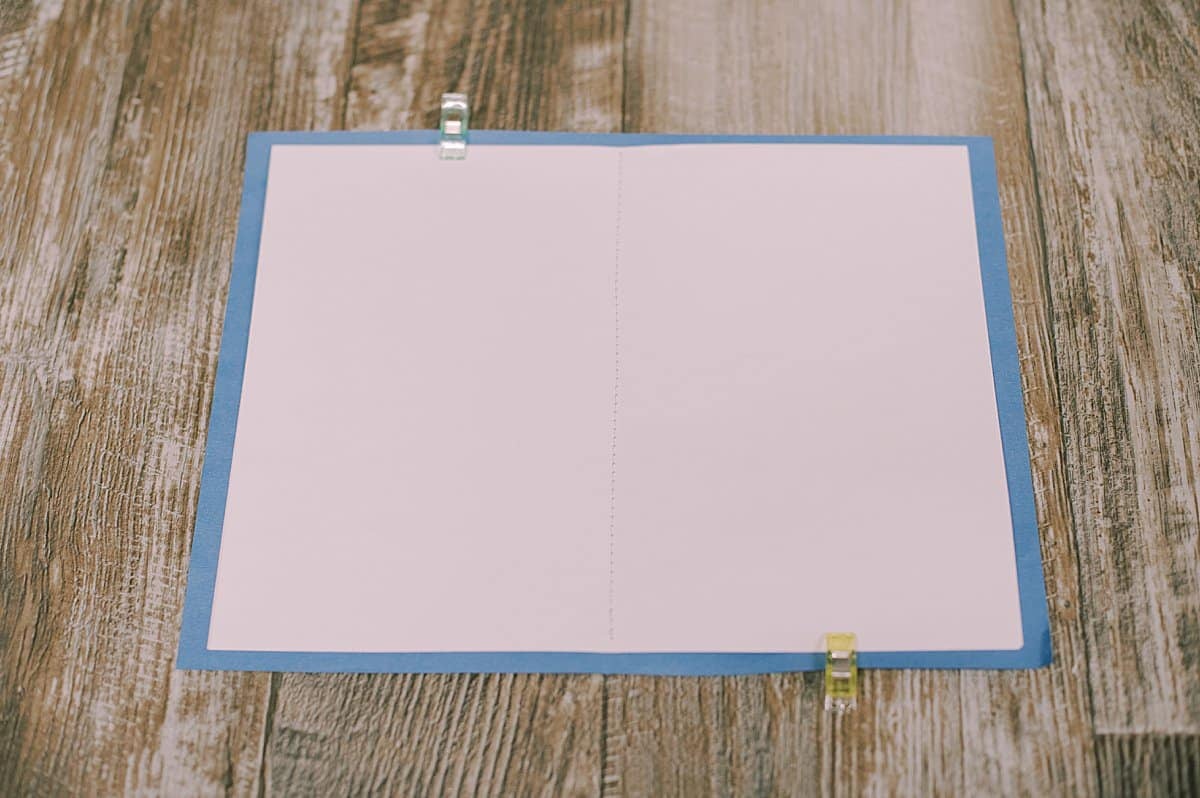
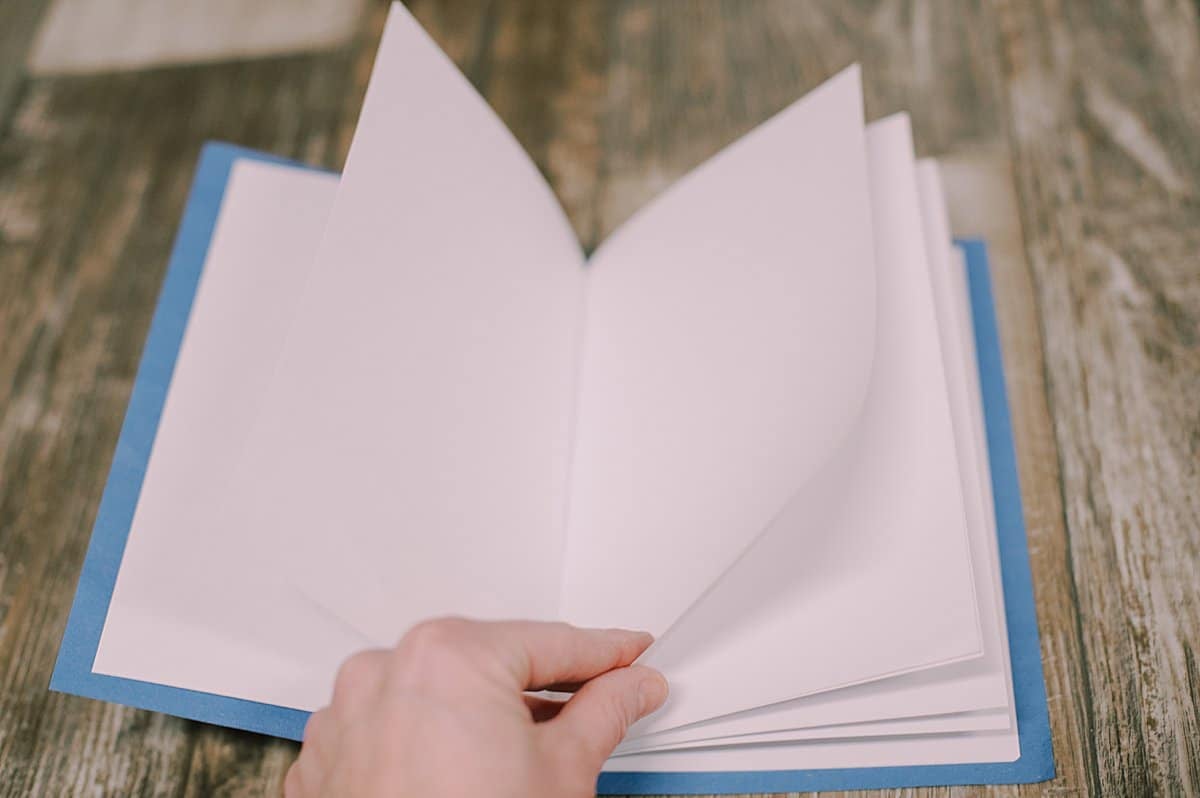
Step 3. Center the interior pages onto the cover paper, making sure the middle creases line up. Use quilt clips to hold the inside paper pages and the outside cover together so they don't move around.
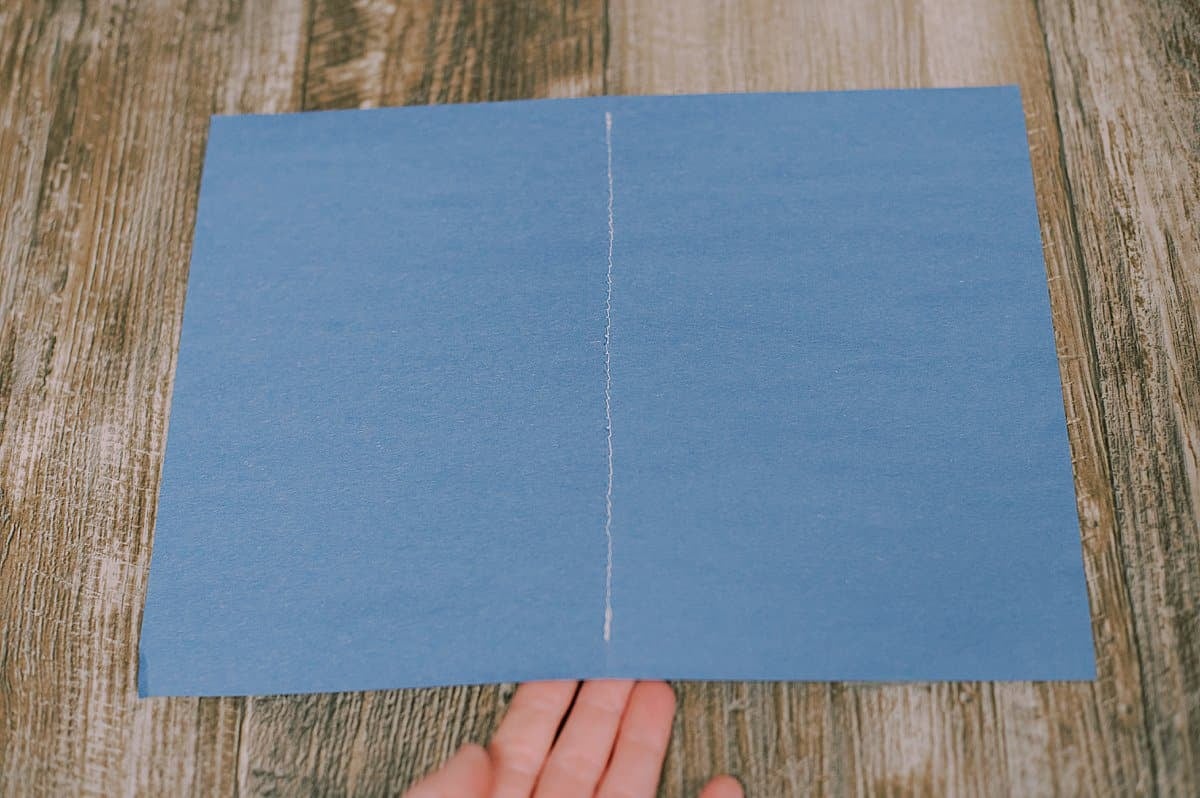
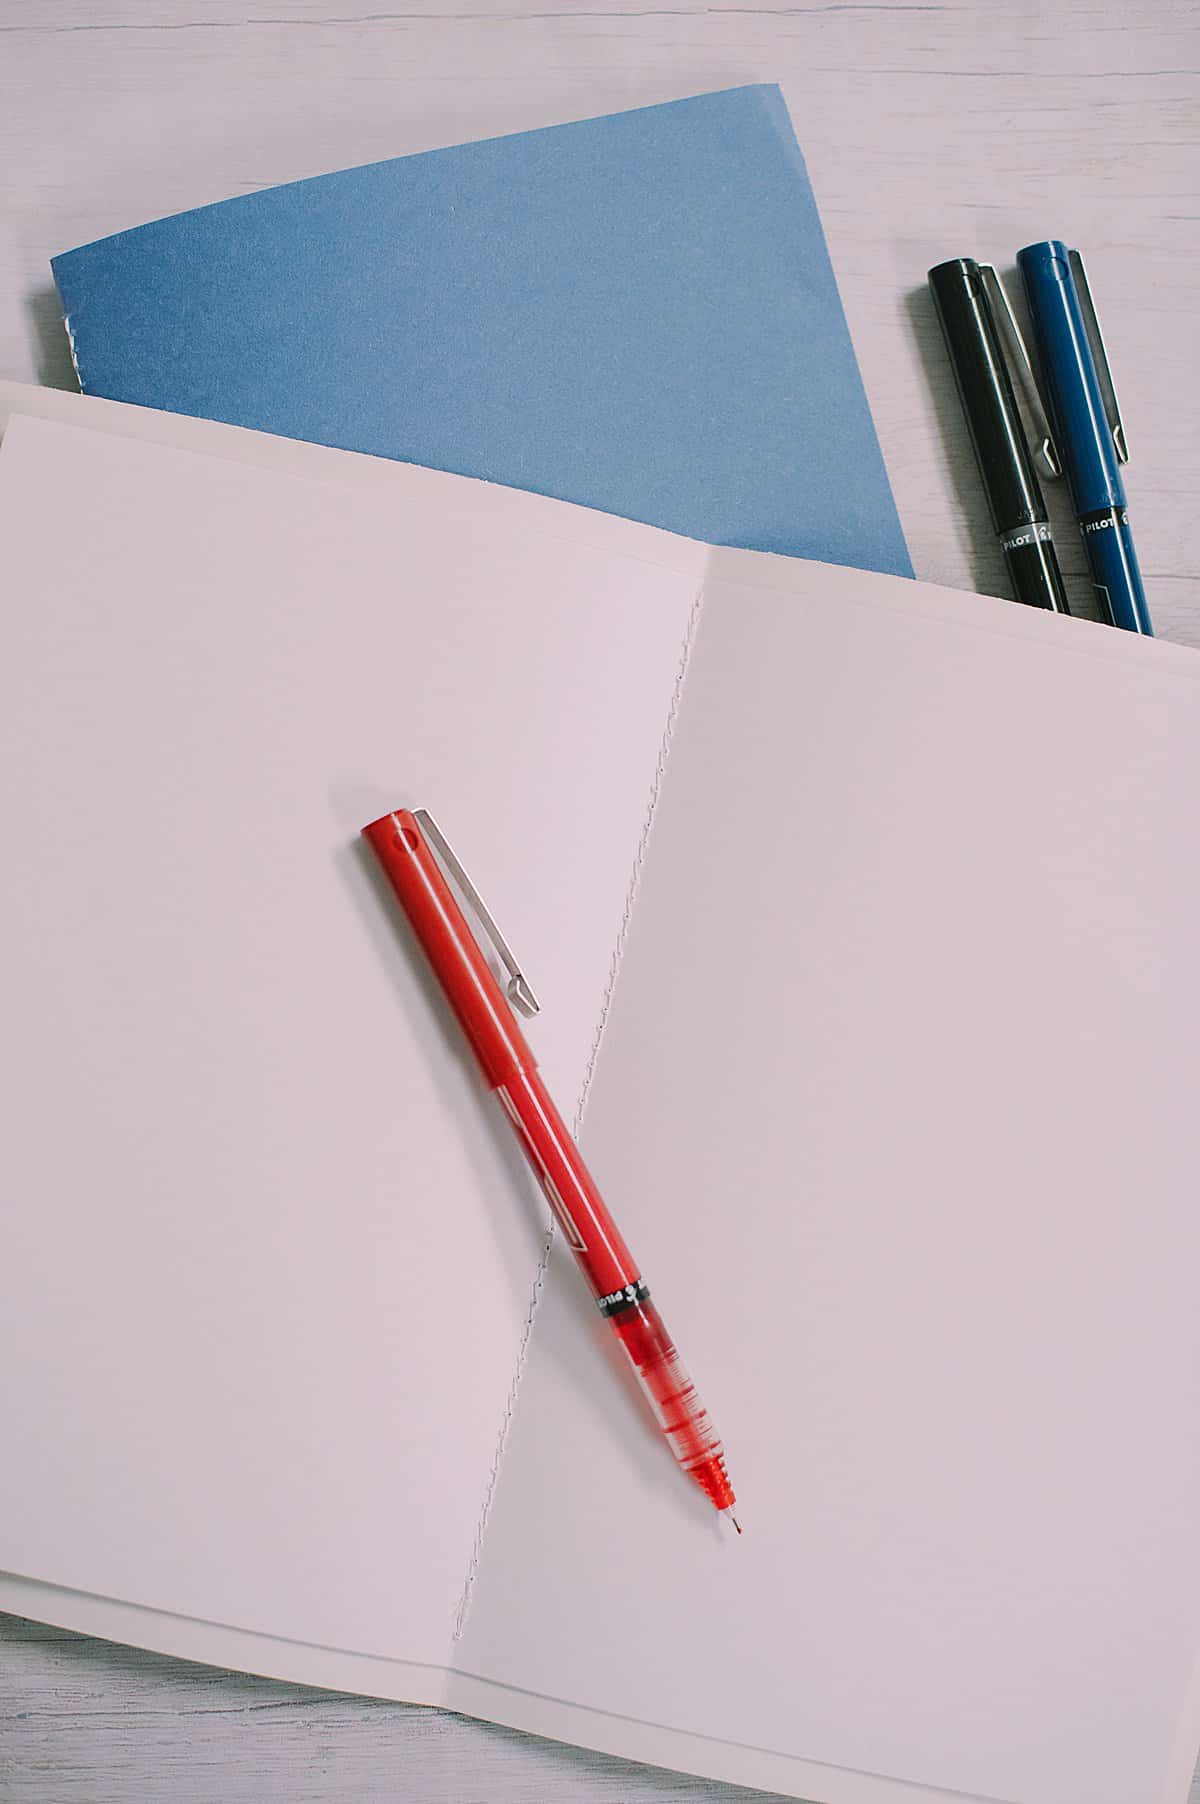
Step 4. (Option 1) Sew a straight stitch down the middle crease of the book, from the top of the white interior pages down to the bottom. Backstitch at the beginning and end.
Note: Sewing from the inside is easy because you can use the white paper to guide where to start and stop your stitches. The creased pages also make a path to sew in.
The downside of sewing the book from the inside is that the visible stitches on the outside of your book will be the bobbin stitches, which can look messy.
There is a second option for how to sew your book together.

Step 5. (Option 2) Flip the book over after you have clipped the inside pages and the cover together.
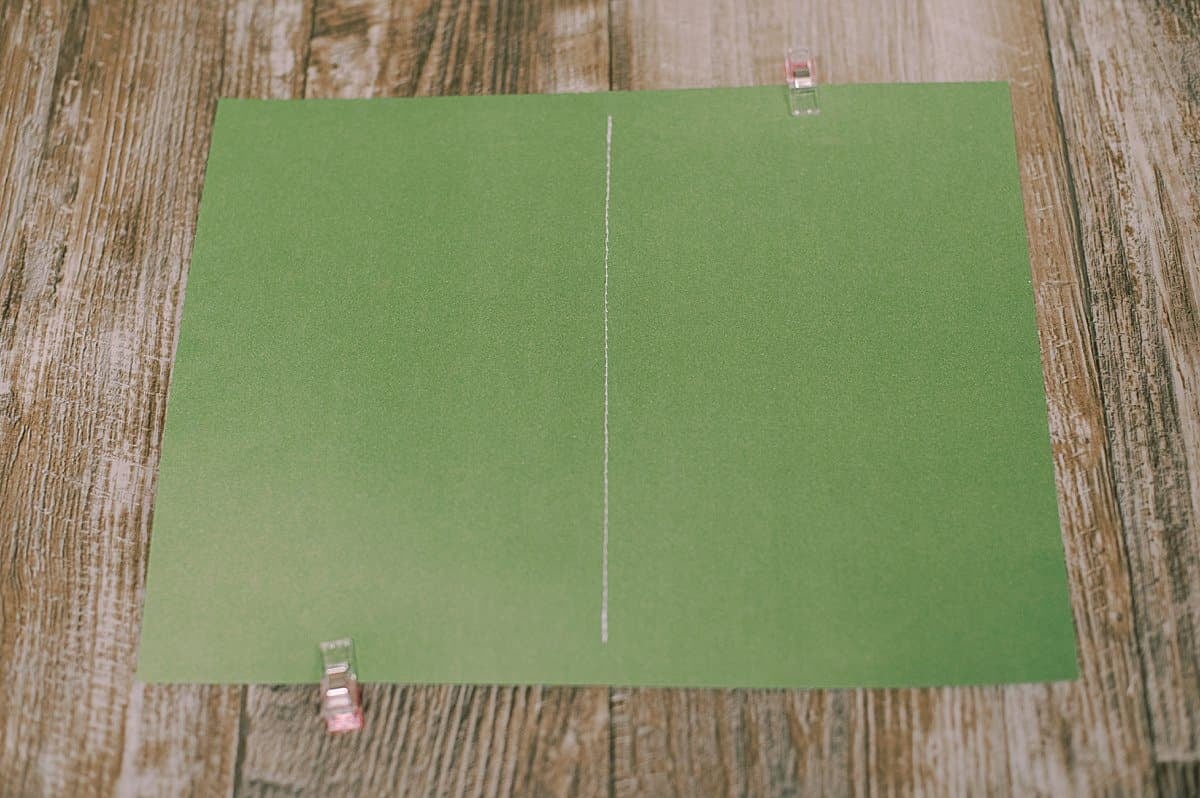
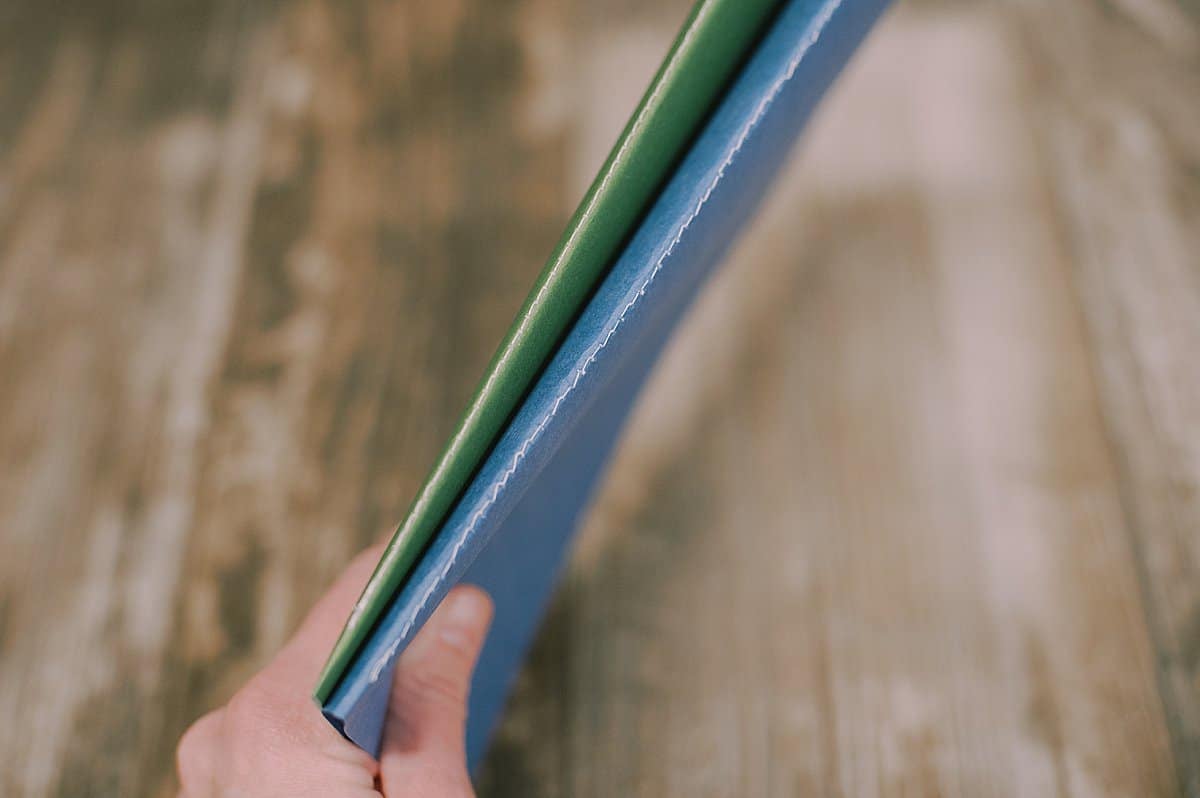
Step 6. You will sew down the outside crease of the book instead.
This way, your neat top stitches will be visible from the outside of your book, and the messy bobbin stitches will be hidden on the inside.
The downside of this method is you can't see where the interior white pages start and stop so you'll have to approximate where to begin and end sewing. You'll also be sewing down the book's ridge.
Colorful, patterned paper covers hide messy stitches better than a solid color cover will, so keep that in mind when you choose your cover, and decide how to sew your book together.
Whichever way you choose, either method works fine to sew your cover and pages together into a finished DIY book!
Common Questions
For this style of homemade book, every piece of white printer paper will make 2 pages in the finished book. If you want your book to have 10 pages, you will need 5 pages of white paper for the inside. If you want your book to have 20 pages inside, you'll use 10 pieces of white paper.
The books we made in this tutorial have 20 interior pages - we used 10 pieces of white printer paper that were folded in half. You could add more interior pages as long as you can sew the book together to bind it. If you have trouble sewing the book, you know it's too thick.
Yes! There are three easy ways to make a homemade book out of paper, only one of which requires a sewing machine. You can also use a stapler or a hole punch and string. There are other methods of making a book out of paper by just folding the paper too.

Once you master this book-making process, you can make one in a minute or two!
You could make them in bulk too - folding a bunch, then clipping them together, and finally sewing them in a batch.
This would make them even faster to make; you could whip up a whole set fast.
These DIY paper books make fantastic gifts or stocking stuffers for kids, (and so would these darling DIY mini books!) They are also very satisfying to sew.
More Paper Crafts You'll Love


---
⭐️🧶 Did you enjoy this craft and want to see more like it? ✂️ Join our FREE email community and get inspiring craft ideas sent right to your inbox! 🧵 ⭐️
---

How to Make a DIY Paper Book with a Cardstock Cover
Materials
- White Printer Paper
- Scrapbook or Construction Paper
- Quilt Clips
- Sewing Machine
Instructions
- Fold the white printer paper in half, creasing it firmly in the middle.
- Fold the cover paper in half.
- Center the interior pages onto the cover paper, making sure the middle creases line up. Use quilt clips to hold the inside paper pages and the outside cover together so they don't move around.
- (Option 1) Sew a straight stitch down the middle crease of the book, from the top of the white interior pages down to the bottom. Backstitch at the beginning and end.Note: Sewing from the inside is easy because you can use the white paper to guide where to start and stop your stitches. The creased pages also make a path to sew in.The downside of sewing the book from the inside is that the visible stitches on the outside of your book will be the bobbin stitches, which can look messy.
- (Option 2) Flip the book over after you have clipped the inside pages and the cover together.
- You will sew down the outside crease of the book instead.This way, your neat top stitches will be visible from the outside of your book, and the messy bobbin stitches will be hidden on the inside.The downside of this method is you can't see where the interior white pages start and stop so you'll have to approximate where to begin and end sewing. You'll also be sewing down the book's ridge.
Notes
- Decide whether to sew on the inside or outside of the book depending on what type of cover paper you choose. Colorful patterned paper hides messy stitching better than solid color covers.
- Every piece of printer paper yields 2 pages in your finished book. If you want your book to have 10 pages when it's done, use 5 pieces of white paper. If you want your book to have 20 pages, use 10 pages of printer paper.
- If you don't have a sewing machine, you can use a stapler or a hole punch and string to bind your books.


Leave a Reply