Learn how to make mini blank books for kids using a sewing machine to bind the books in this easy DIY step-by-step photo tutorial.
We learned how to make DIY paper books using blank printer paper, and they have been a HUGE hit with the kids.
They can be used for everything from drawing and writing to brainstorming, and even creating math workbooks or crossword puzzles!
Today, we are going to use the same easy book-making method to make mini books. They will get progressively smaller as we cut printer paper in half first to make a book. Then, in half again to make a book that's a quarter of the original size, and then smaller yet again!
Ready to see how to do it?
Let's try it!

How to Make Mini Blank Books for Kids
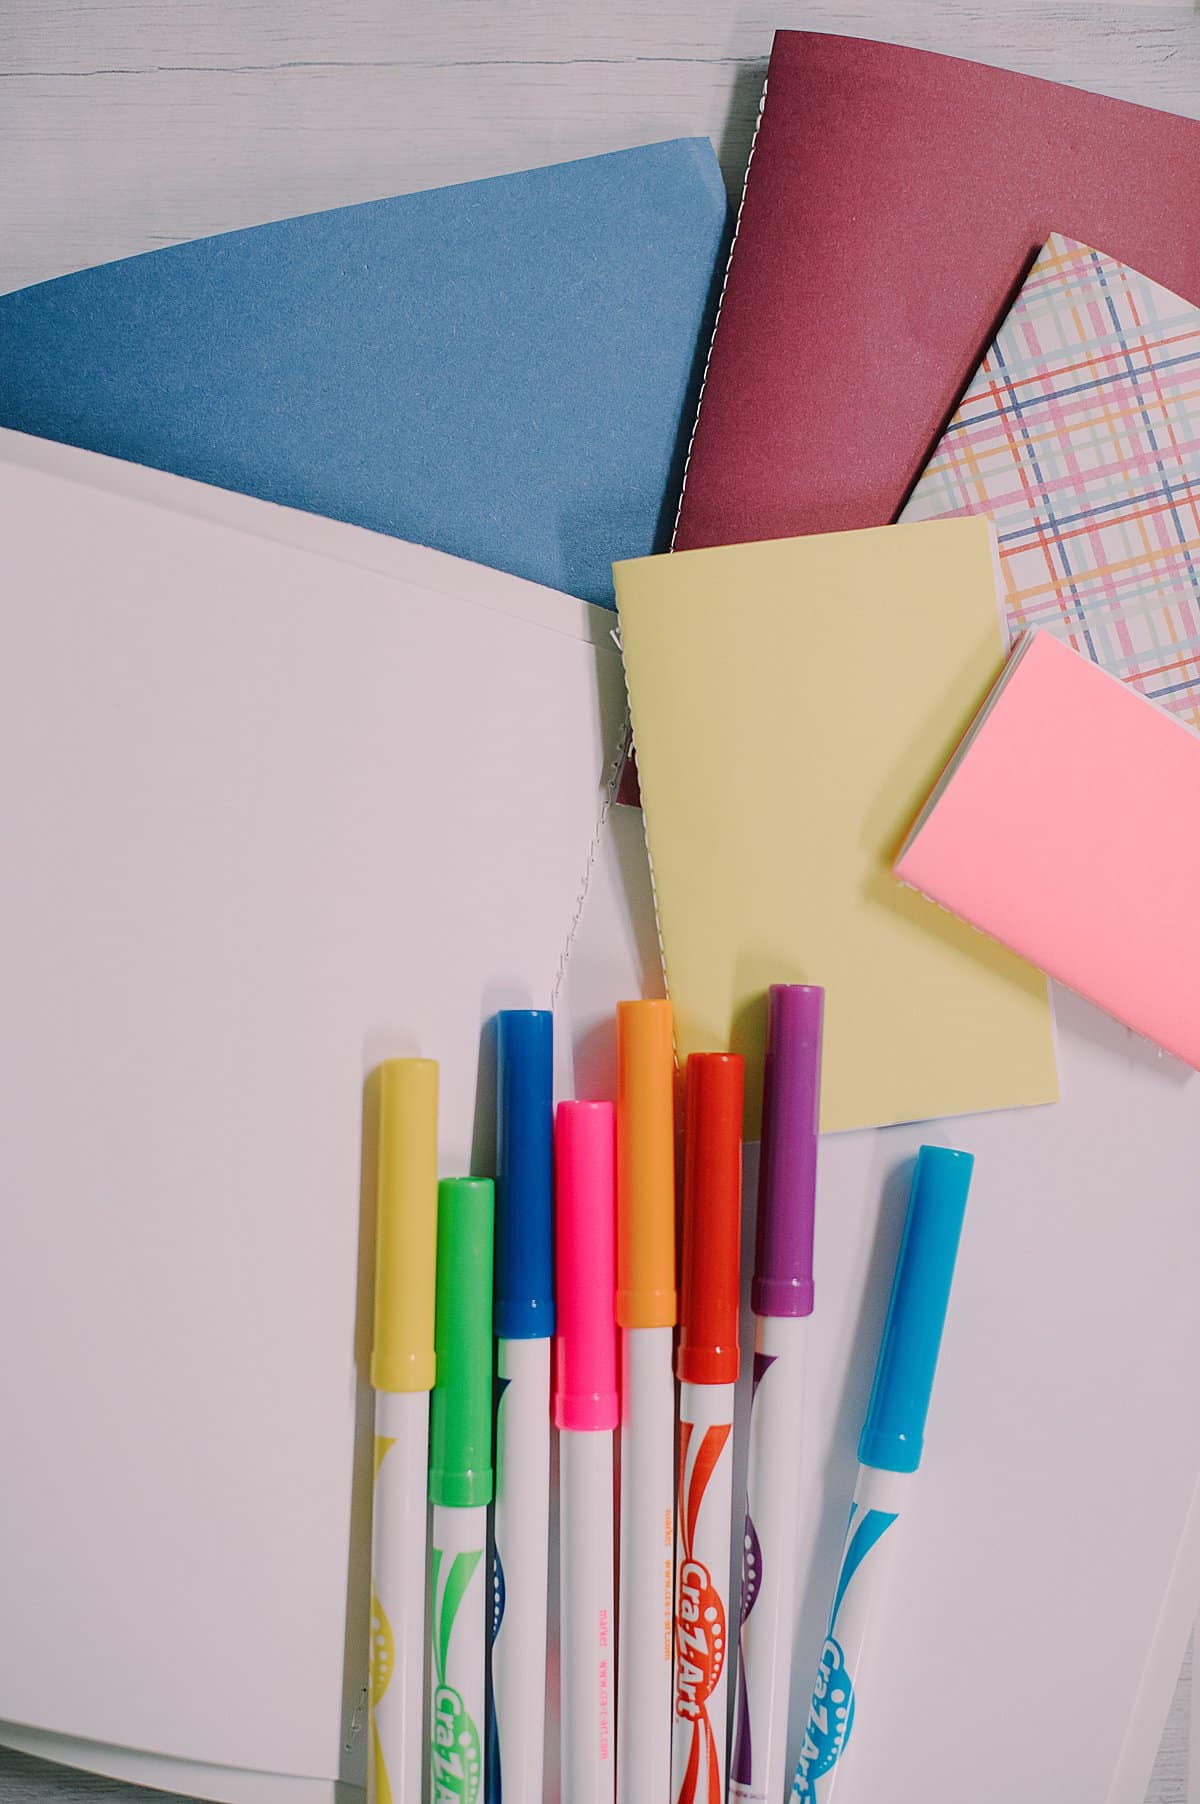
Step 1. Gather Supplies
Supplies Needed:
- White Printer Paper
- Colored Paper for Book Bovers (scrapbook paper or construction paper)
- Paper Cutter
- Sewing Machine
- Scissors
- Quilt Clips
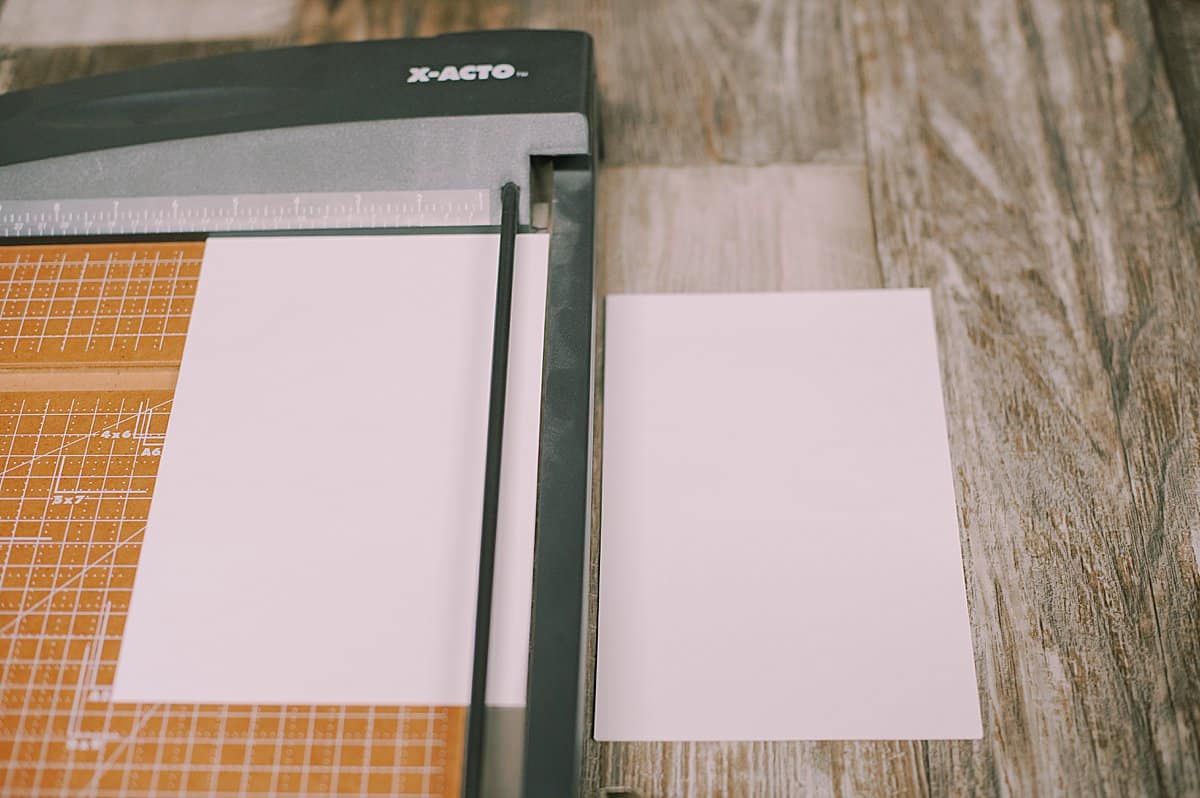
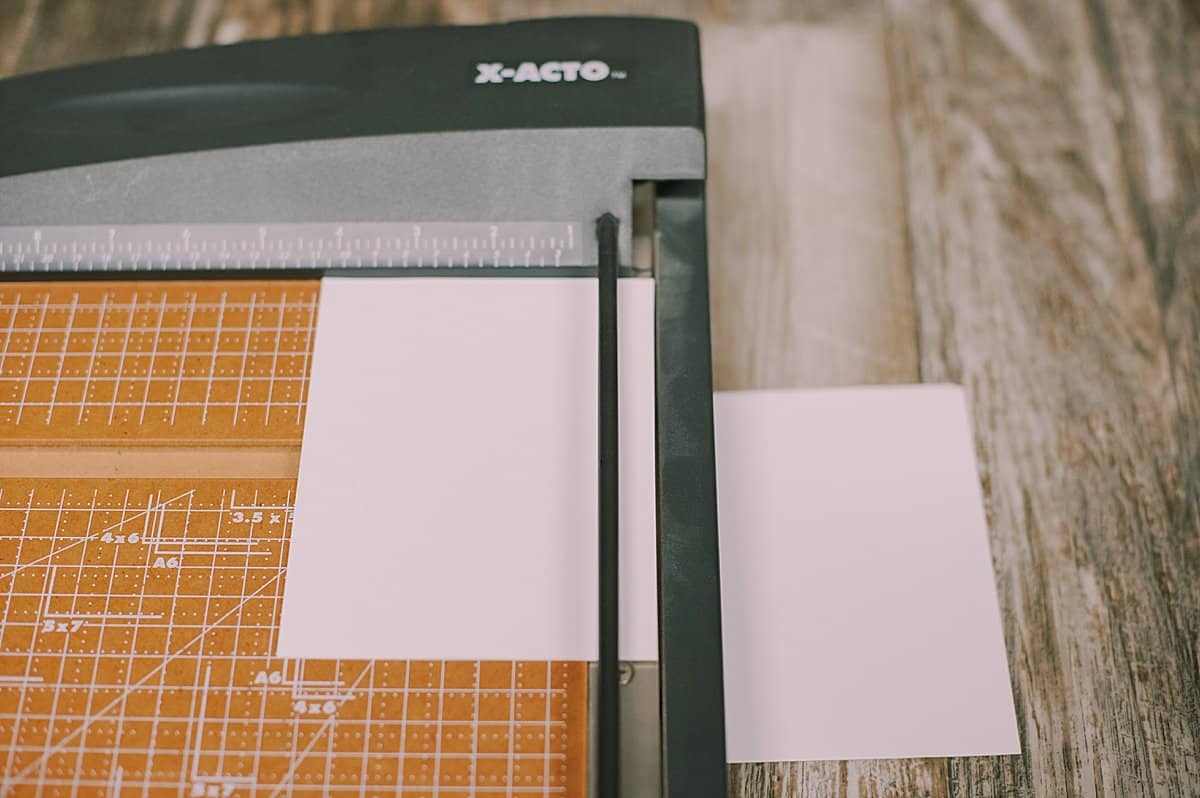
Step 2. Cut a stack of printer paper in half.
We are going to make a book that is half the size of this DIY Paper Book.
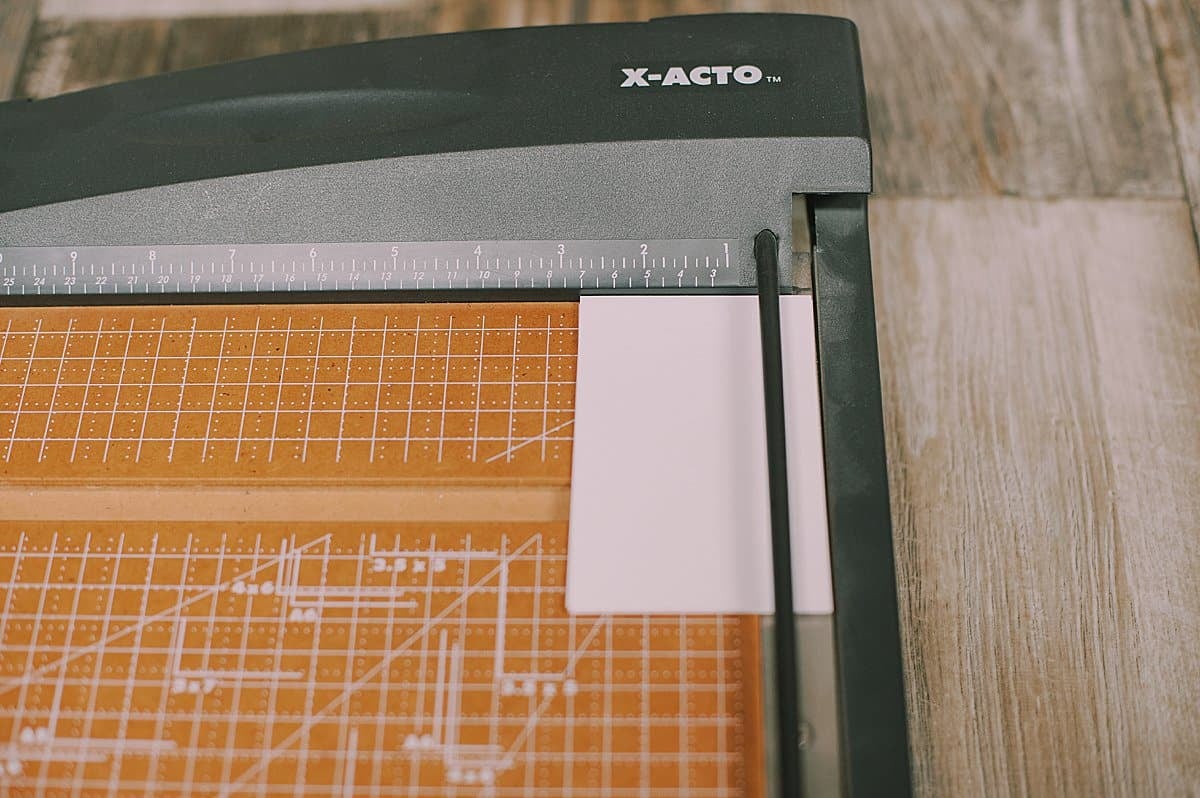
Cut the paper in half, from 8.5"x11" to 8.5"x5.5".
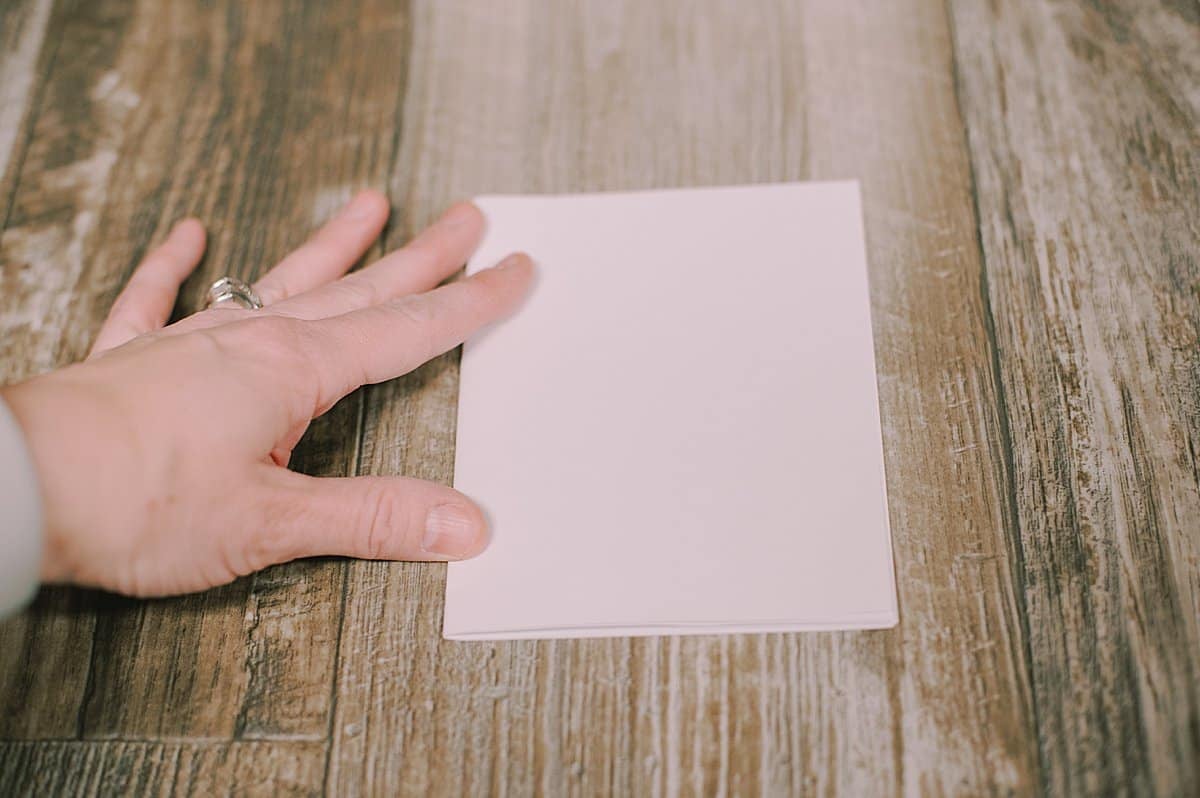
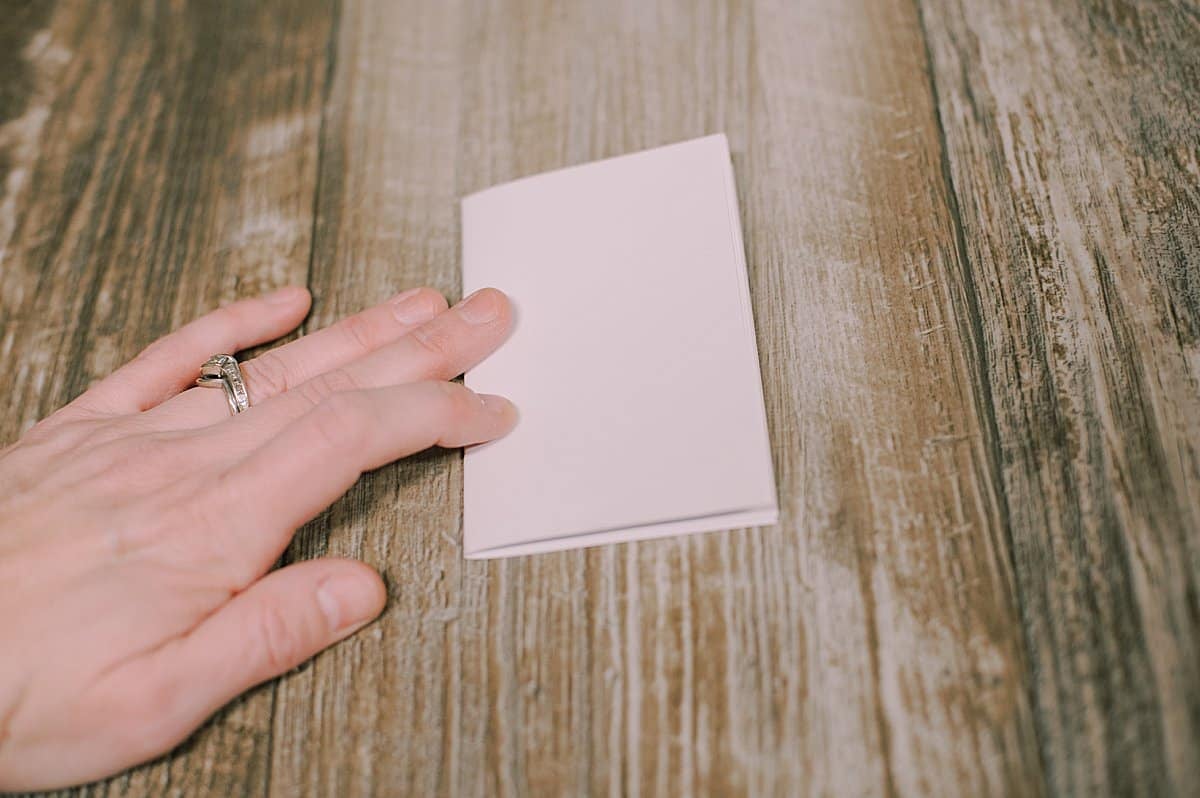
Step 3. Fold the paper in half and crease well.
Each of this book's interior pages will be 4.25"x5.5".
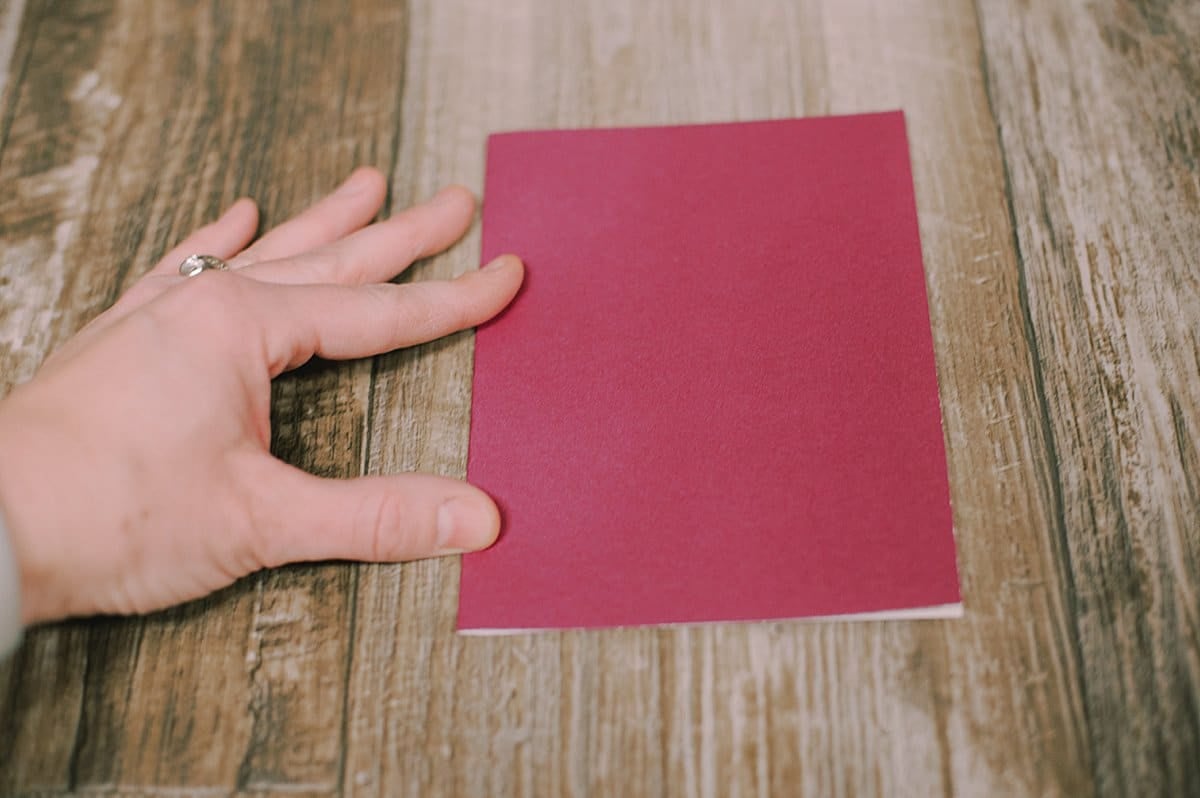
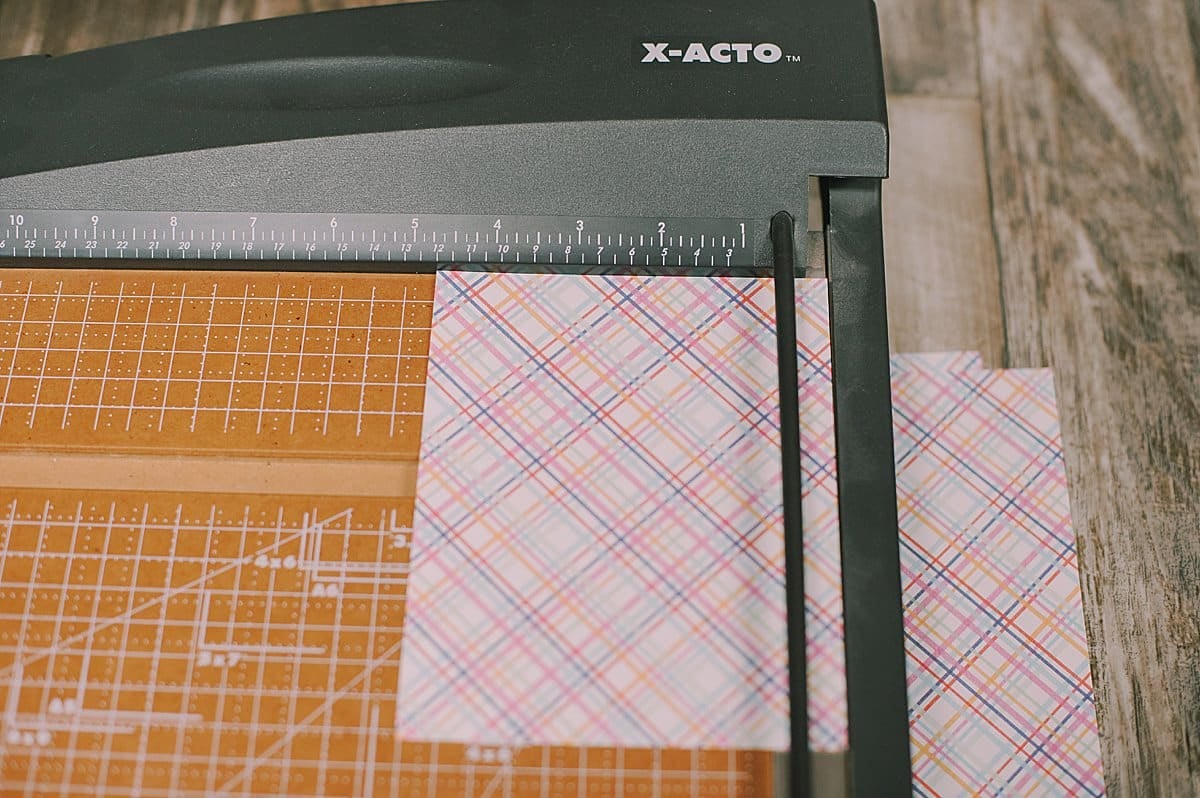
Step 3. Cut colored paper for the cover of the book.
If you want the cover slightly larger than the interior pages (a "hardcover look") - cut the cover ½" wider and ½" longer than the interior section.
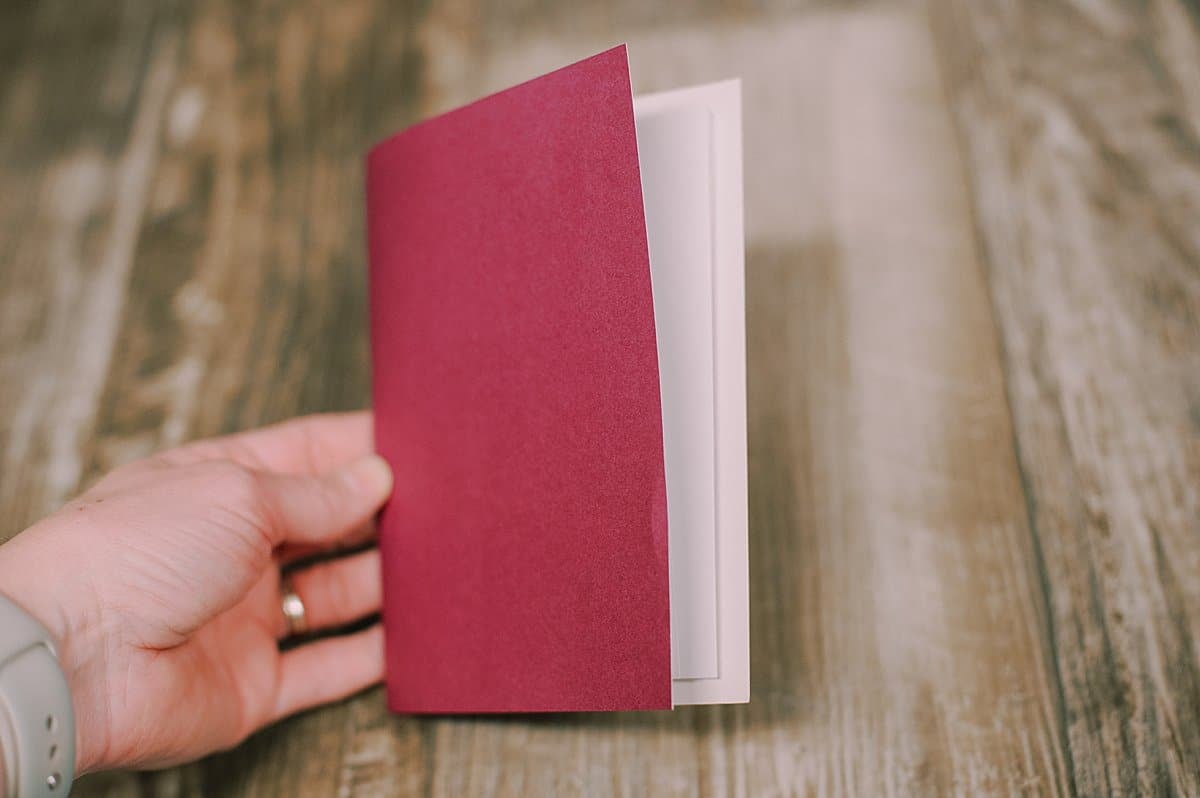
This book's interior paper section (before folding) was 8.5"x5.5". The cover is 9"x6", and will be about ¼" larger to create a hardcover-like look.
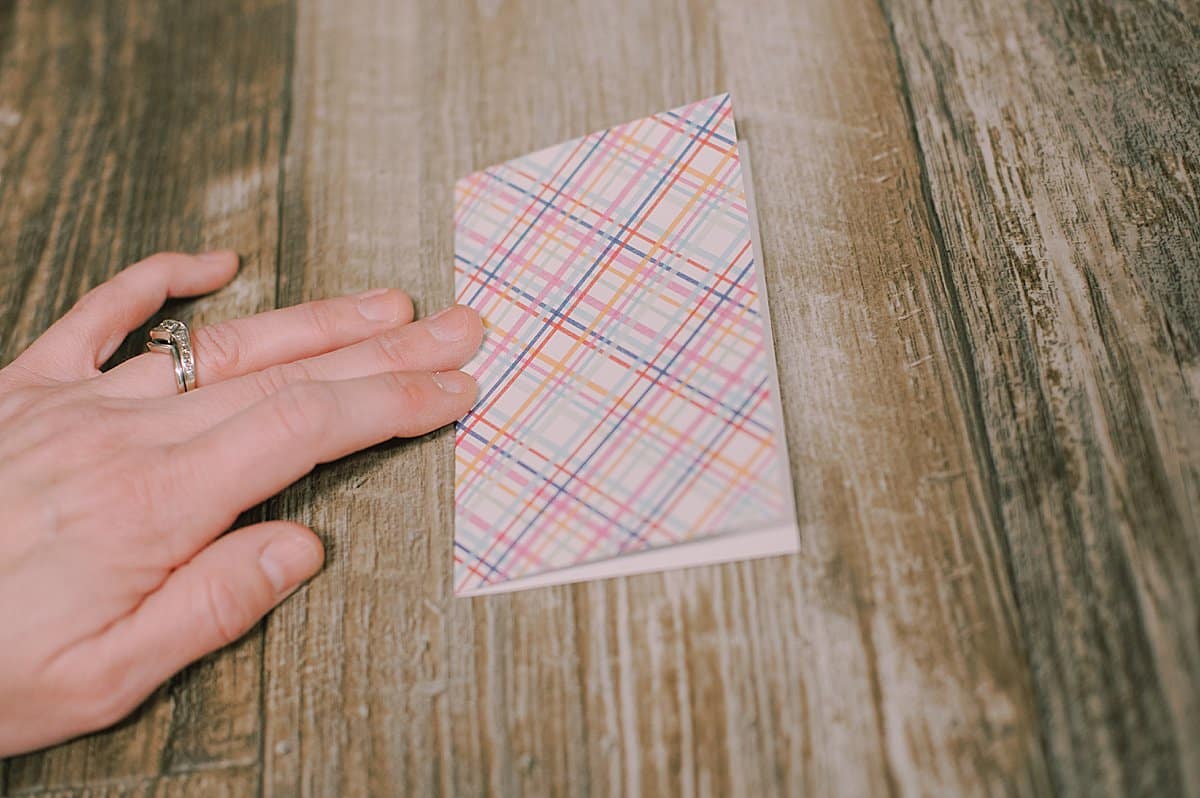
Fold the colored paper in half and crease.
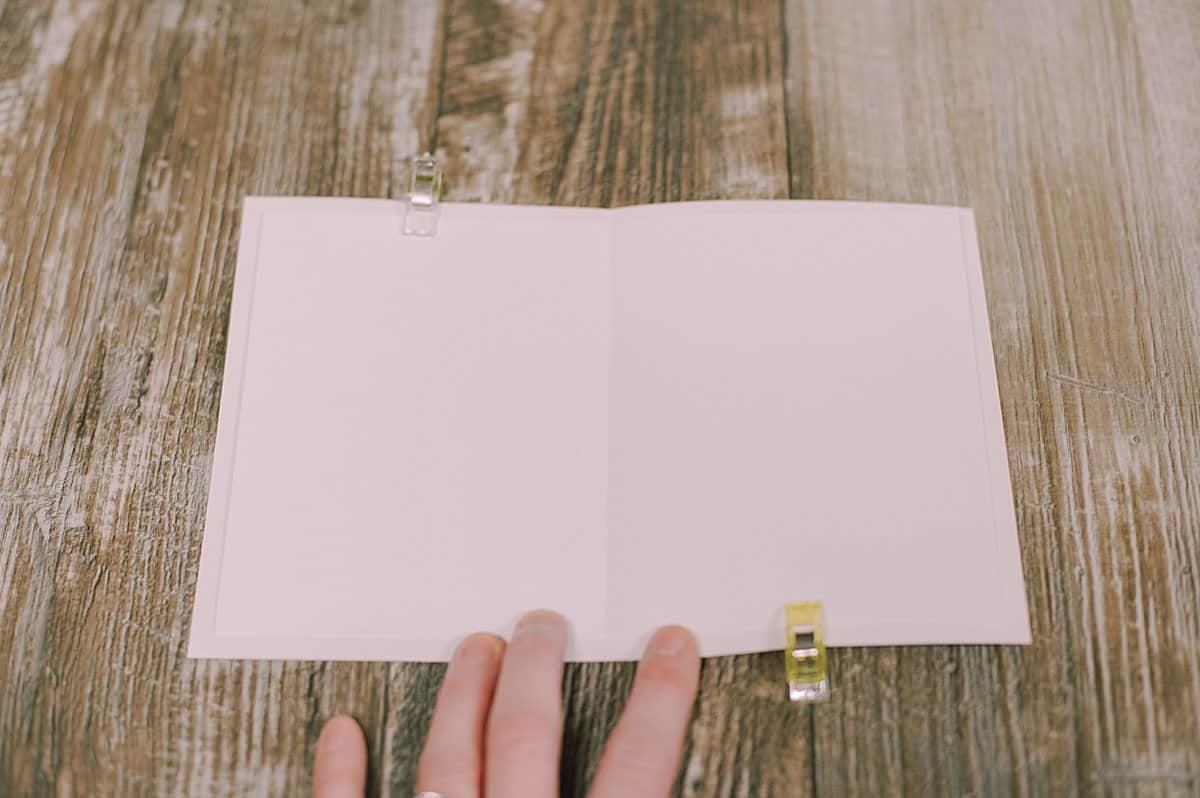
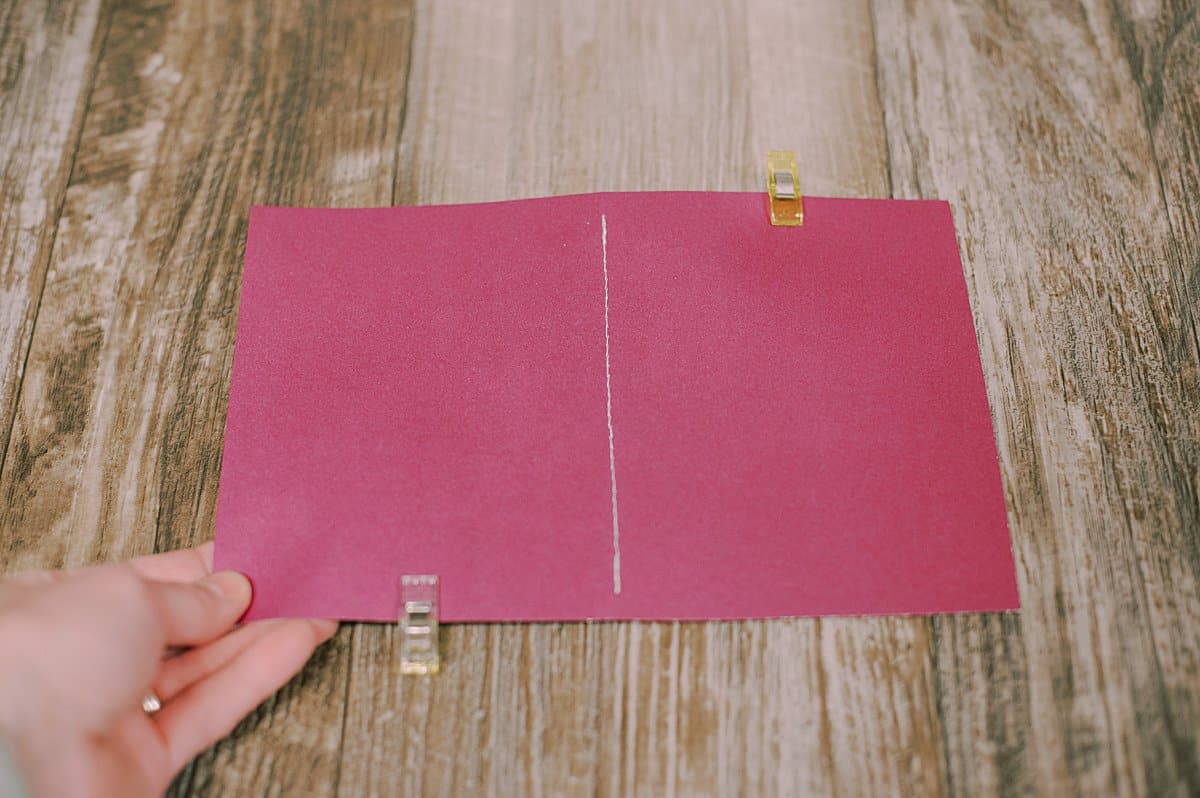
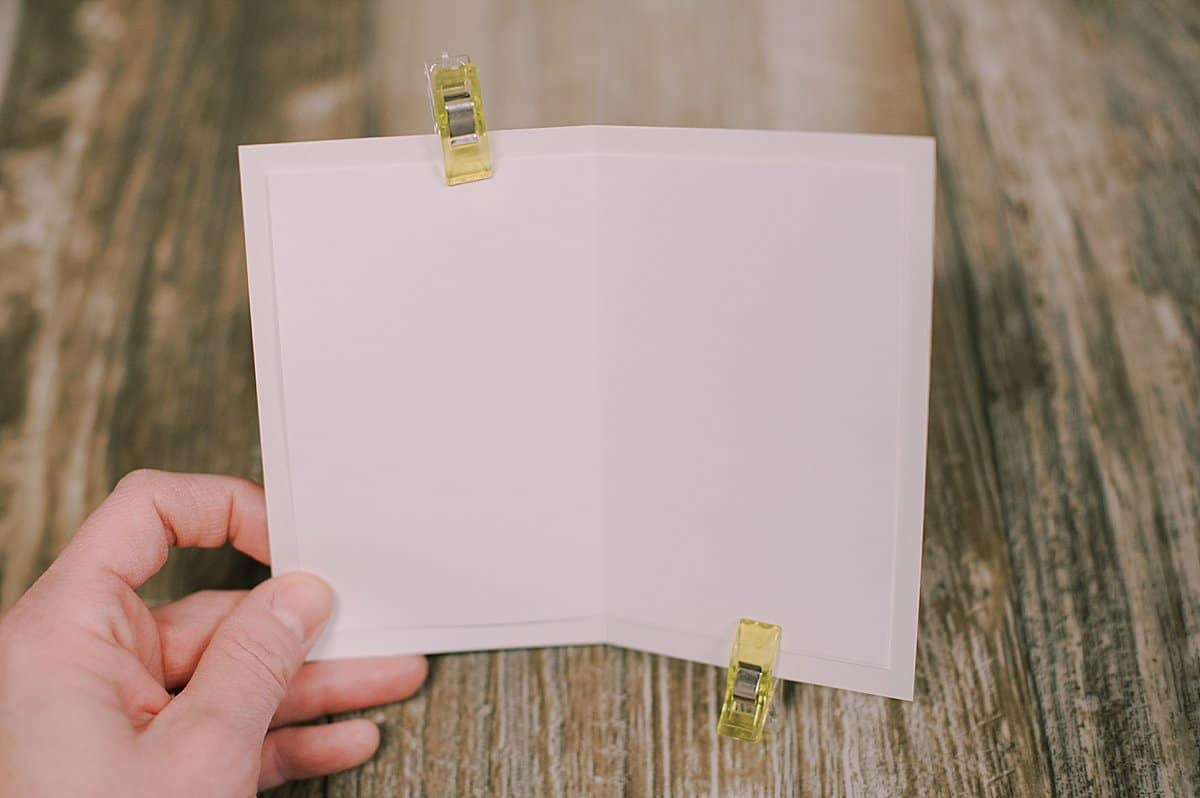
Step 4. Line the interior pages' crease up with the exterior cover's crease.
Clip in place with quilt clips.
Step 5. Sew along either the interior seam of the book pages or the exterior seam of the book cover.
As we discussed in the DIY paper book tutorial, if you sew along the interior seam, it's easier to see and follow but the exterior stitches will appear messier because it's the bobbin stitches.
If you flip it over and sew along the cover's crease, the exterior of your book's binding will look neat and clean. But it can be harder to do because the exterior seam can be harder to see clearly.
It's your choice!
Ultimately, it doesn't matter as long as you sew a straight stitch along the book's seam and make sure to backstitch at the beginning and end so it doesn't unravel.
This time, we are cutting the printer paper in half again, before we repeat the same book-creation process.
The white printer paper goes from 8.5"x5.5" in the previous red book, to half - or 4.25"x5.5" in this version.
Cut the cover to size - either the same size as the book pages or ½" larger on each side.
Fold the interior pages.
Fold the cover.
Line them up, clip them in place, and sew down the middle.
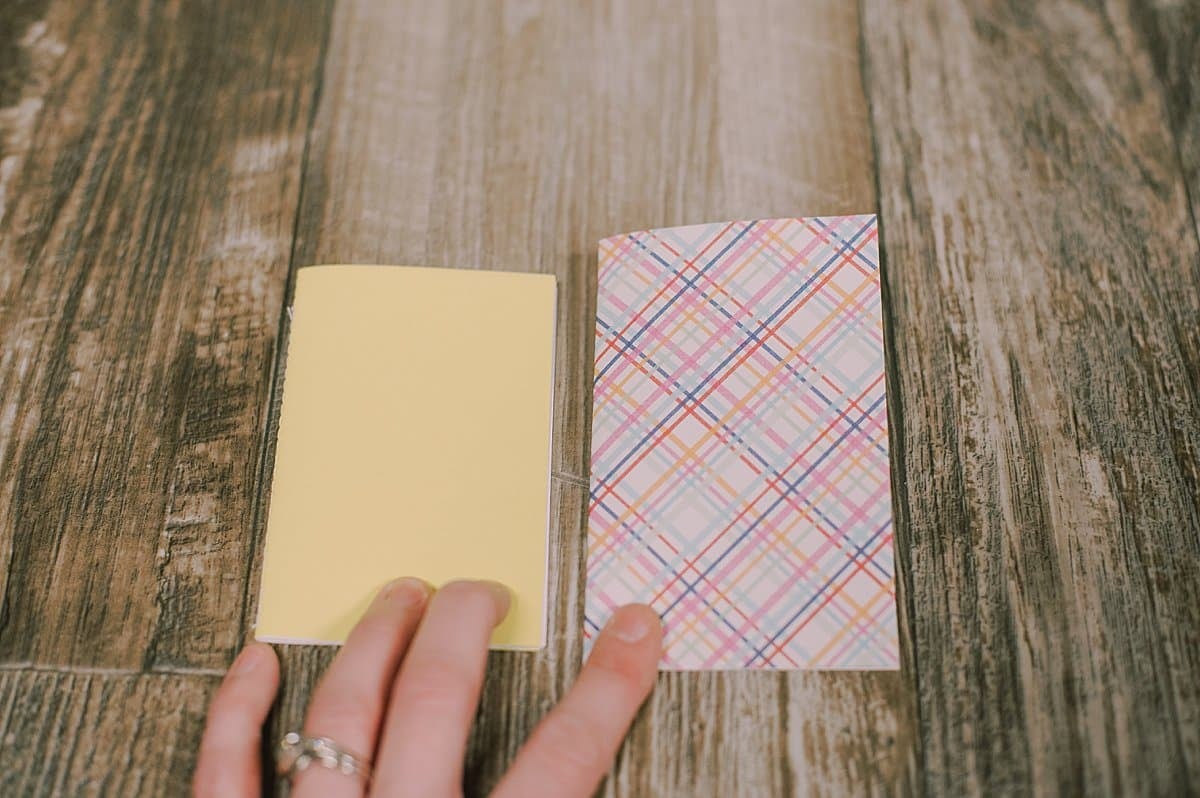
In the next photo, you can see the difference between using a cover that is the exact same size as the interior pages.
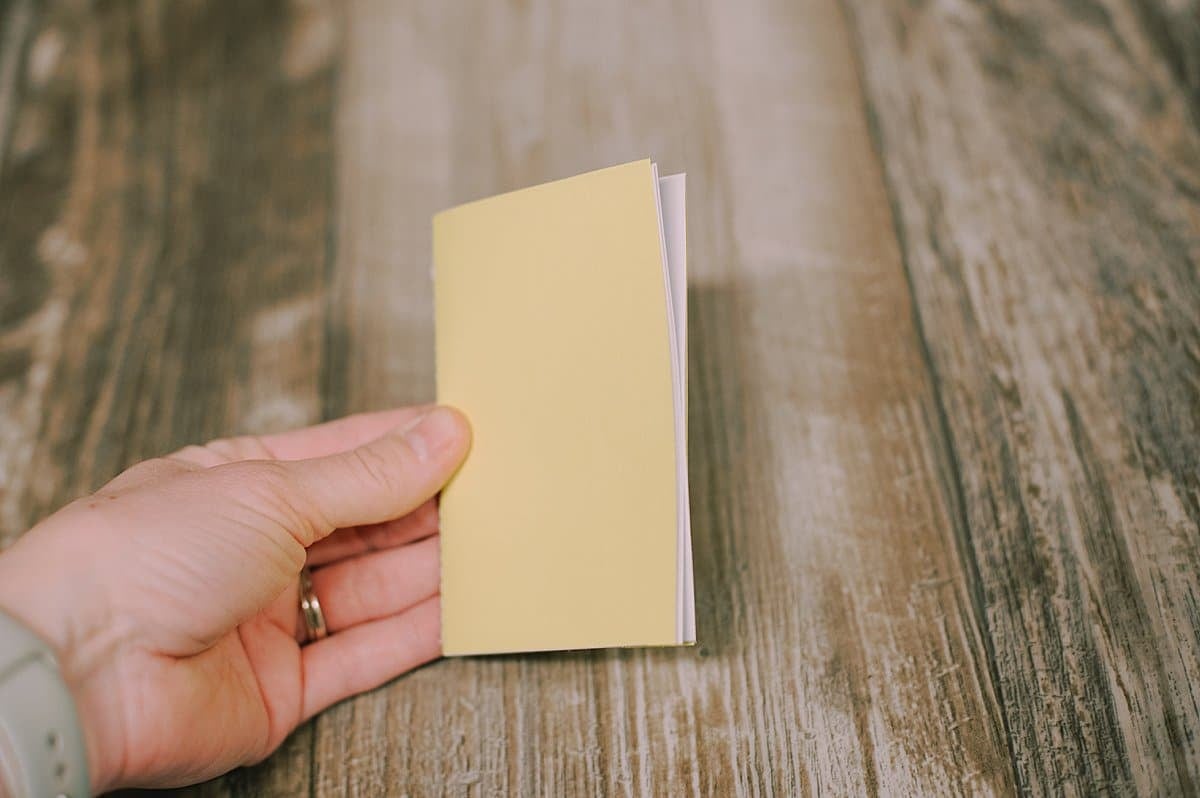
(The yellow-covered book on the left has a cover that's the same size as the interior pages, and has a more "paperback" look.)
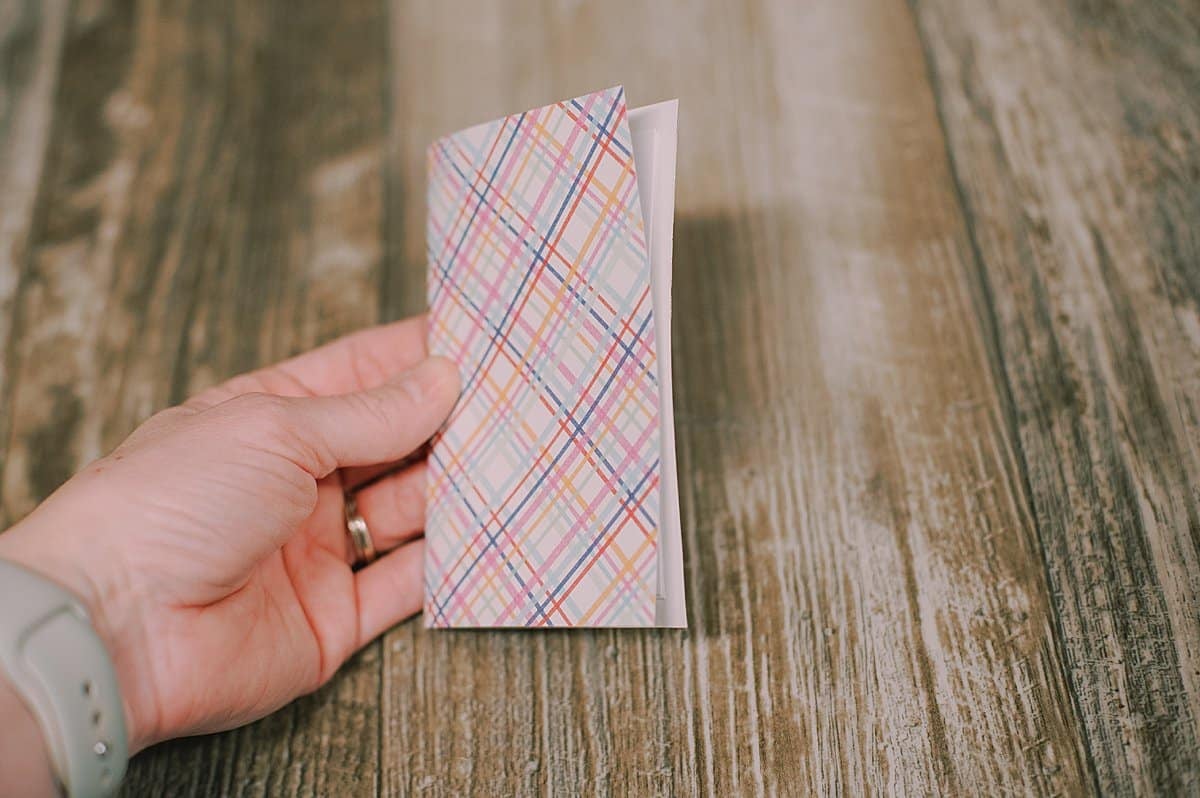
(The multi-colored book on the right has a cover that is ½" wider and ½" taller than the interior pages, and has a "hardcover" look.)
We are going to cut the printer paper pages in half again to make teeny, tiny paper books this time!
The 4.25"x5.5" paper of the previous version gets cut in half, to 4.25"x2.75".
The interior paper gets folded in half, and the cover paper is cut to size and folded down the middle.
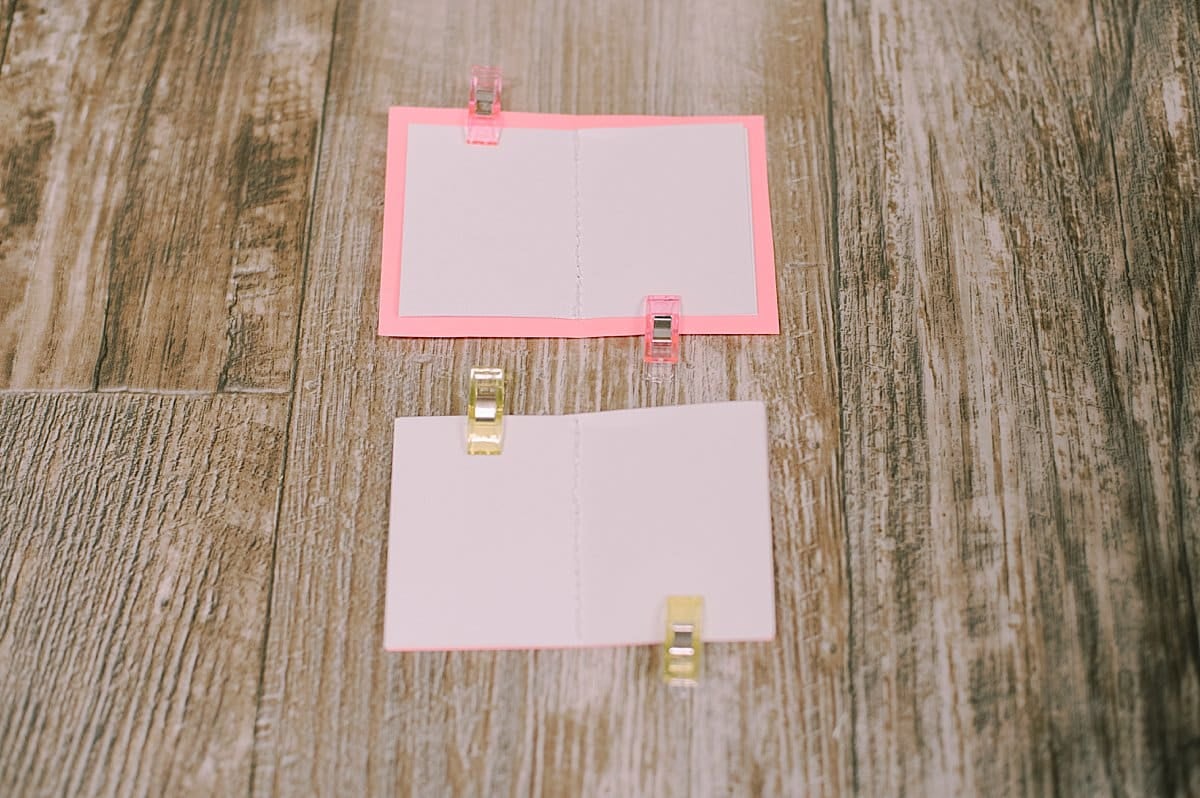
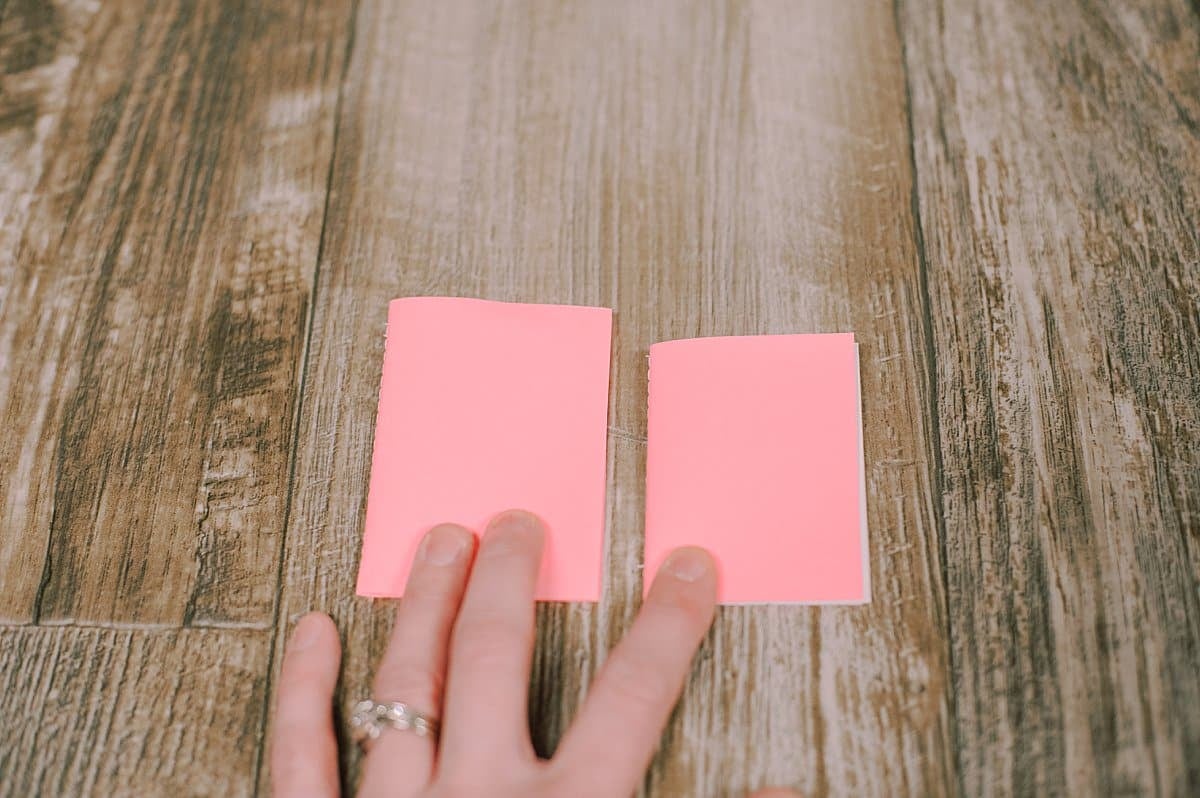
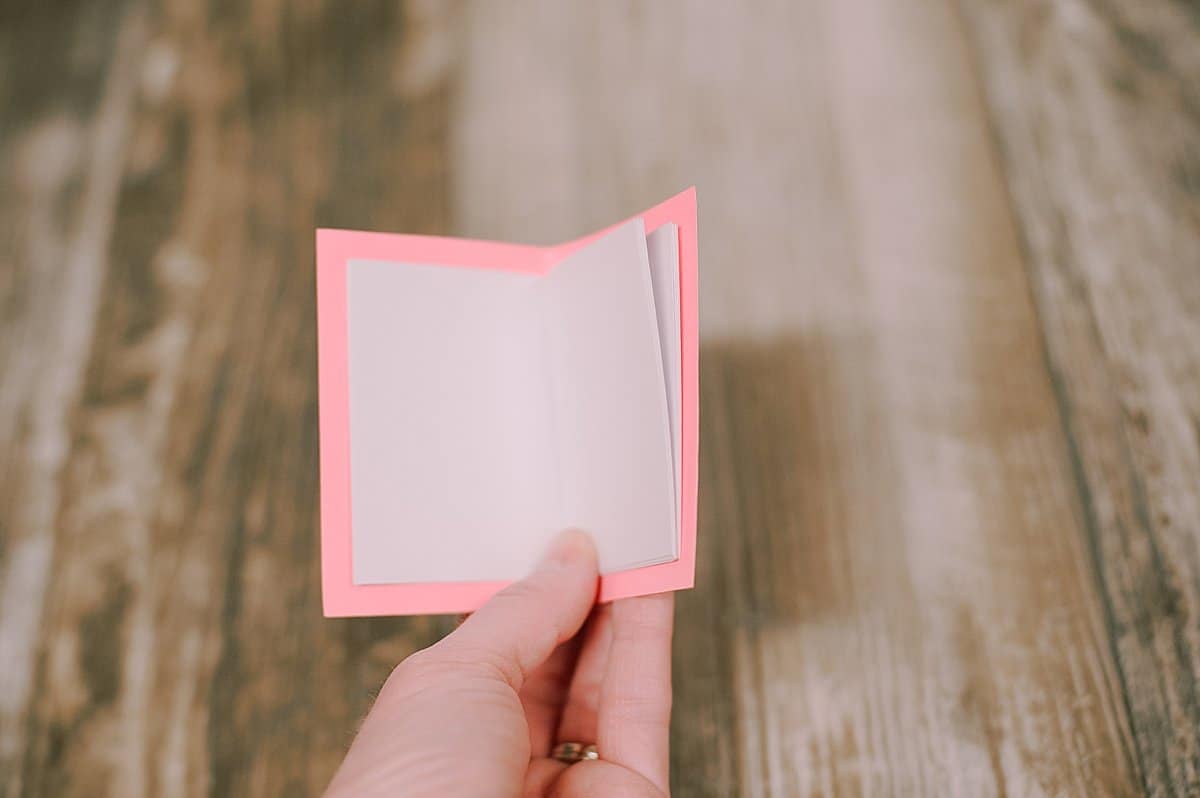
Clip the interior pages and covers together, and sew down the middle.
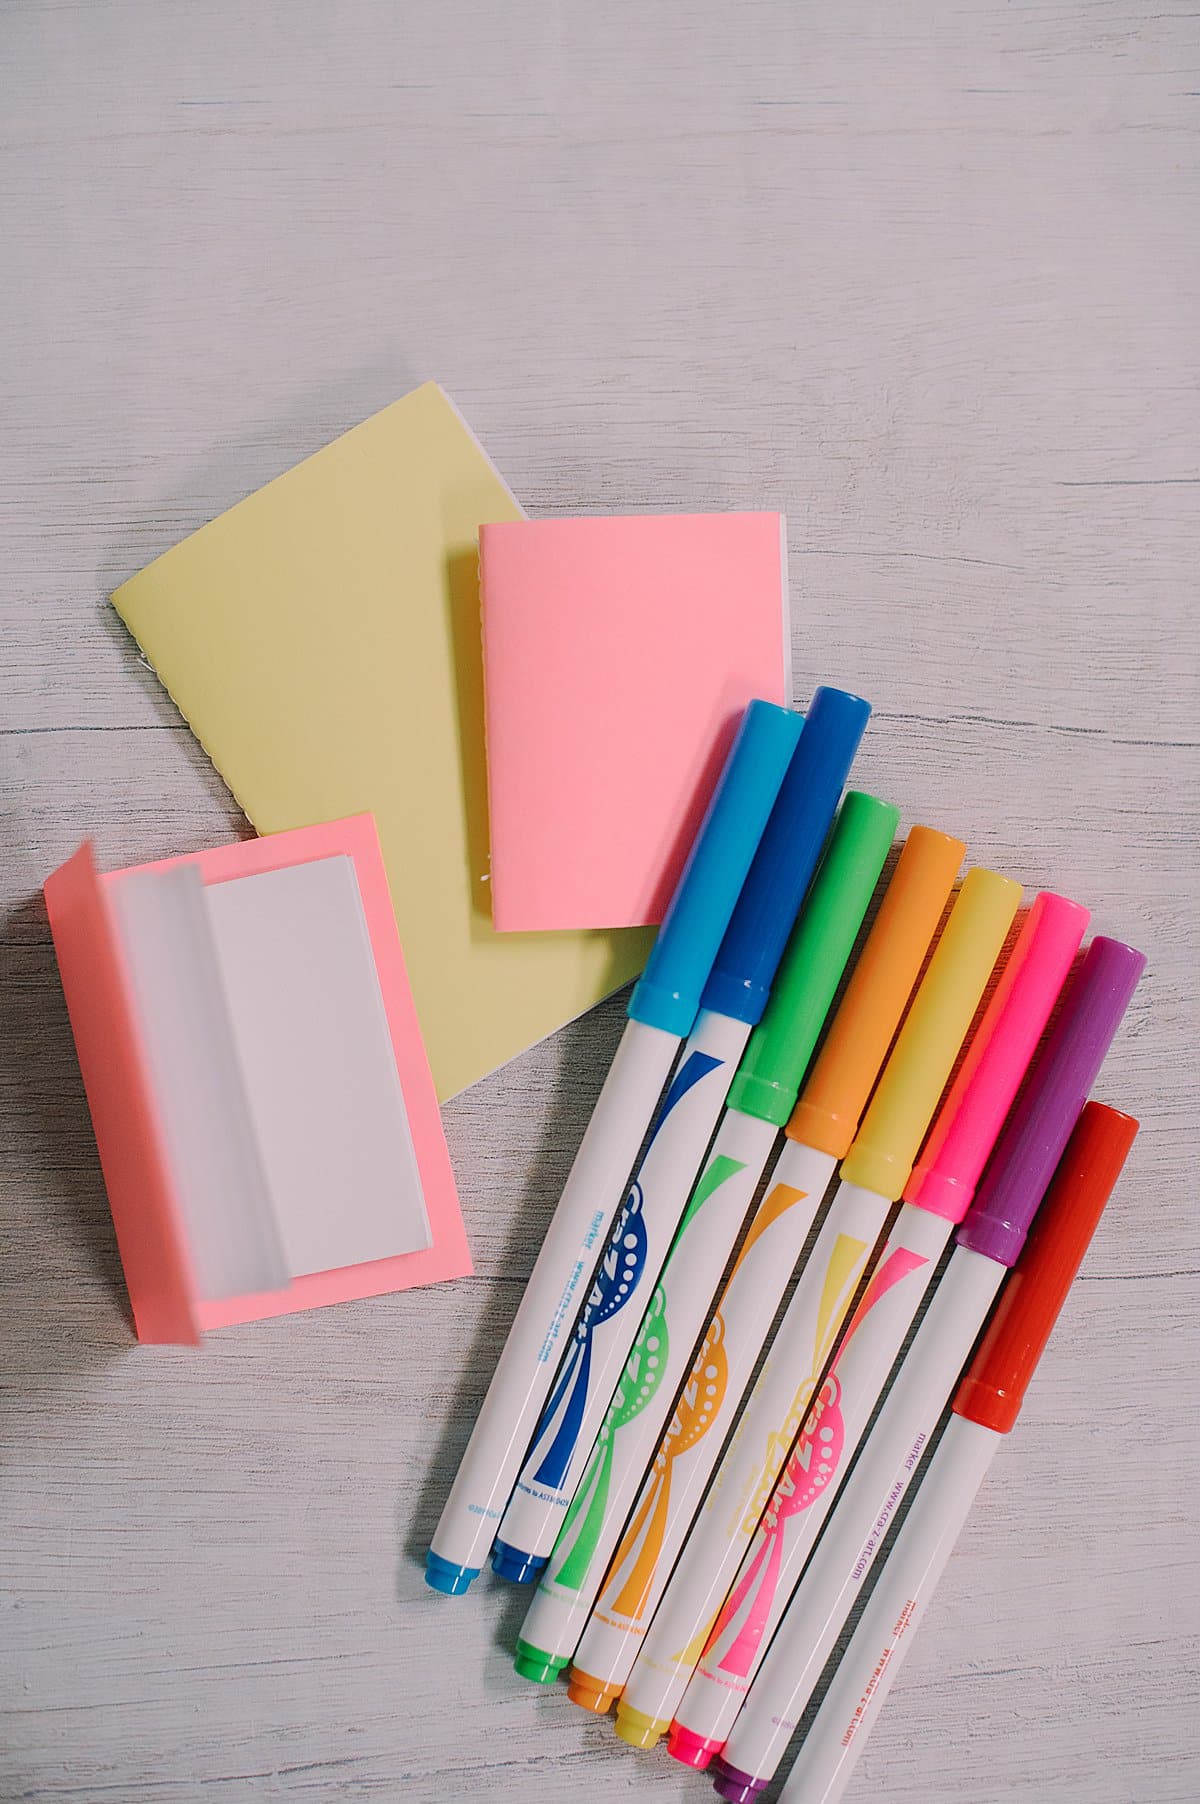
(The photo below shows the "hardcover" version on top with the pink cover ½" wider and ½" taller than the book pages inside.
The bottom book has a pink cover that is the same size as the interior pages, and looks more like a "paperback.")
That's it!
The exact same process can be used to make blank paper books of any size!
We could have even made a smaller version by repeating the process - cutting the paper in half again (this time, 2.125"x2.75") and then folding and sewing it to create a REALLY little book.
I think it would be perfect for a doll house or for Barbie play.
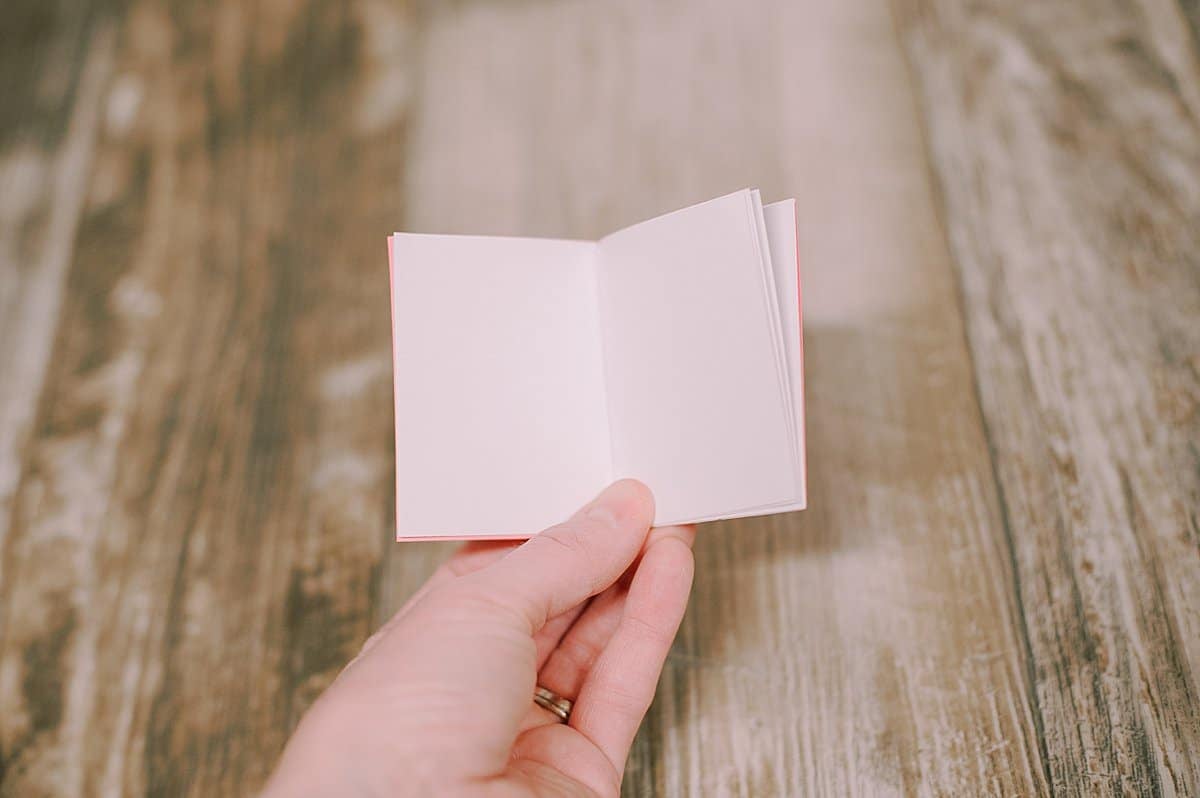
My kids loved these mini blank books.
They loved coloring in them, and carrying them around, and I'm finding them tucked into pockets and backpacks all over the house.
Once kids get old enough to use a sewing machine, this is a very easy project they could take the lead on and even make themselves!


Leave a Reply