Learn how to make an easy yarn and sock gnome for Christmas decor in this step-by-step tutorial. It's a no-sew gnome for the holidays!
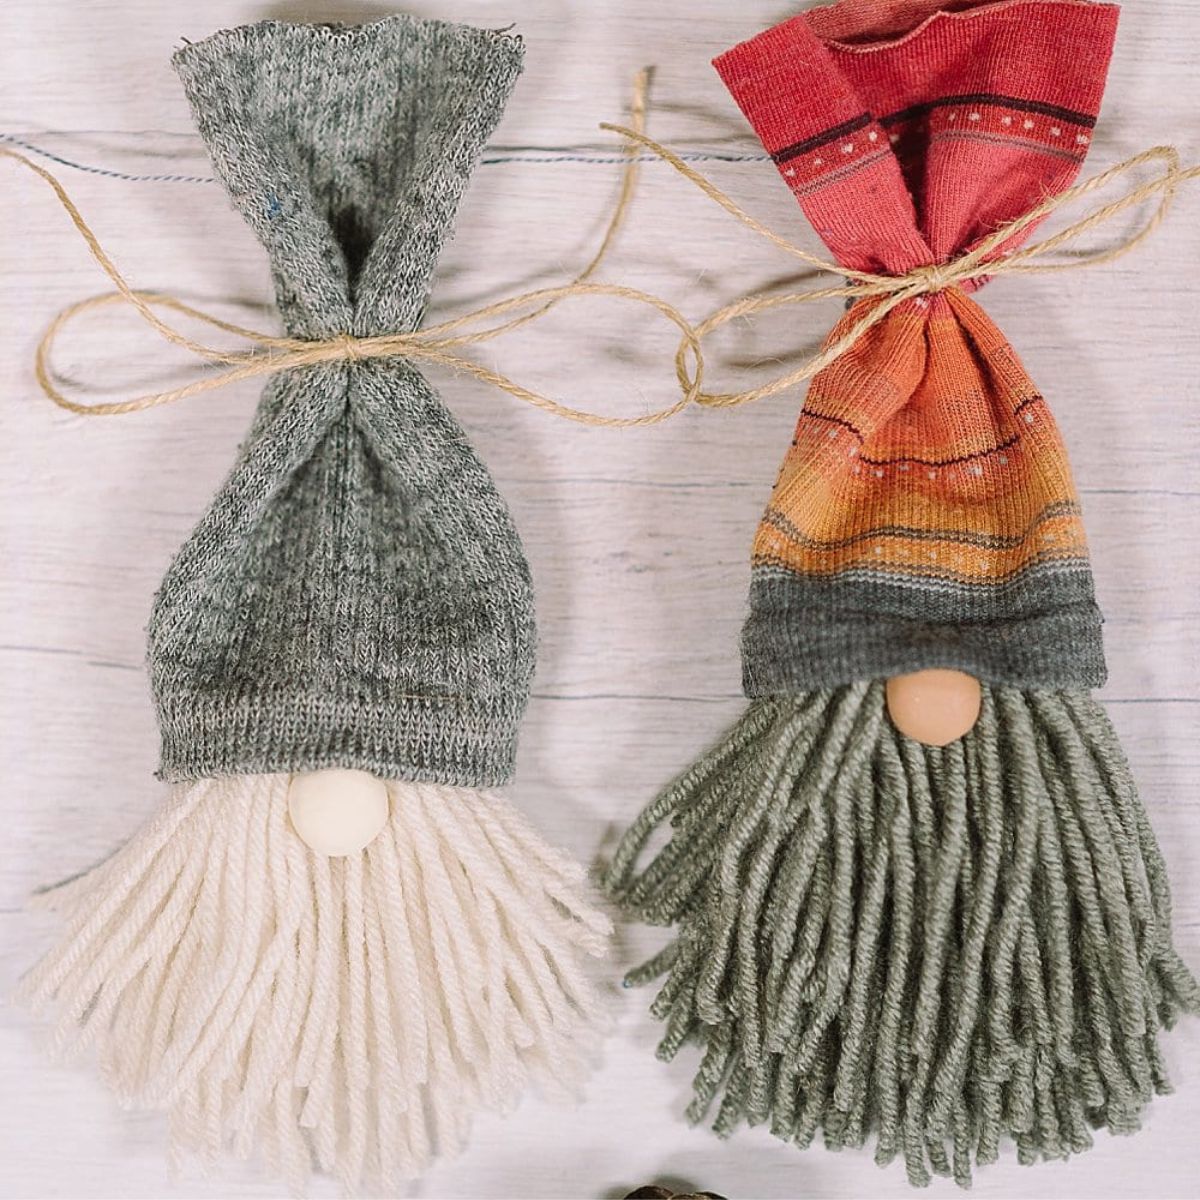
Gnomes have become a staple of holiday Christmas decor. They're super cute, generally easy to make, and can be made in all kinds of different ways.
Today, we are going to make incredibly easy gnomes out of yarn and socks!
Jump to:
Why You'll Love This Craft
- These cute DIY gnomes use yarn tassels as their base, which is awesome because yarn tassels are fun and easy to make!
- Yarn and sock gnomes use the tube of a sock for the hat, so this craft is the perfect opportunity to upcycle old socks that have holes in the feet or toes!
- After you make a few yarn and sock gnomes, you can string them together to make a ridiculously cute gnome garland you'll LOVE!
Craft Supplies Needed
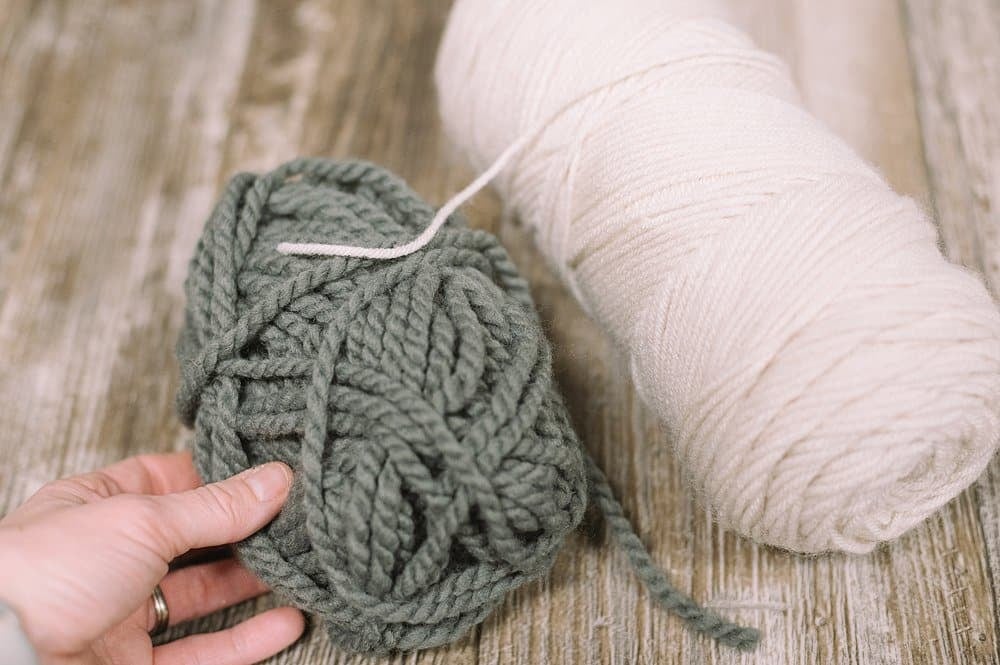
- Yarn - Any type of yarn will work. I used both medium-weight and thick yarn for these gnomes!
- Wooden Balls or Modeling Clay - These will be the gnome's noses! If you use wooden balls, ½-inch or 1-centimeter balls are a good size. If you make your own nose balls using modeling clay, make them about that same size.
- Paint (optional) - Depending on the color of the modeling clay, you may want to paint the noses a different color.
- Old Socks - Save your old hole-y socks, or pick some up from a thrift store or garage sale! Look for tall socks - you will use the tube of the sock (not the foot part, so ankle socks aren't good for this project.)
- Hot Glue Gun and Glue and Scissors - Craft room staples!
- Twine - This adds visual interest to the gnomes and helps turn the sock into a hat. You can use any string or strip of fabric but I love twine!
How to Make a Yarn and Sock Gnome
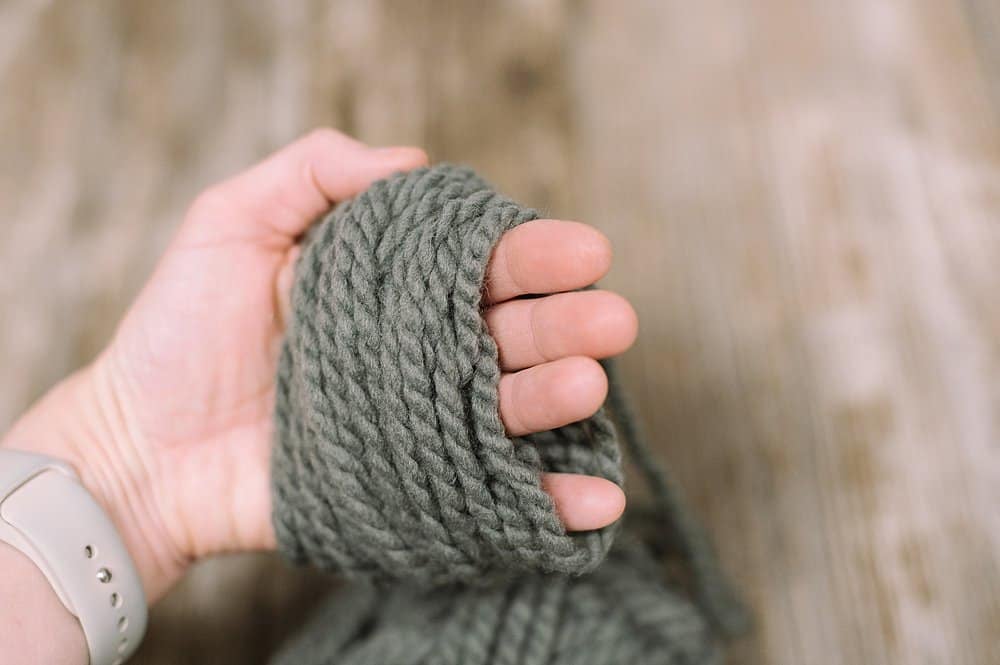
Step 1: Make a yarn tassel using this method.
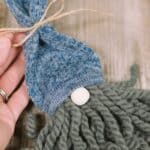
I wrapped this thick yarn around my hand 50 times, but I could have wrapped less, (maybe 40 times) because it was so thick.
For the medium-weight yarn, 50 times was a perfect number.
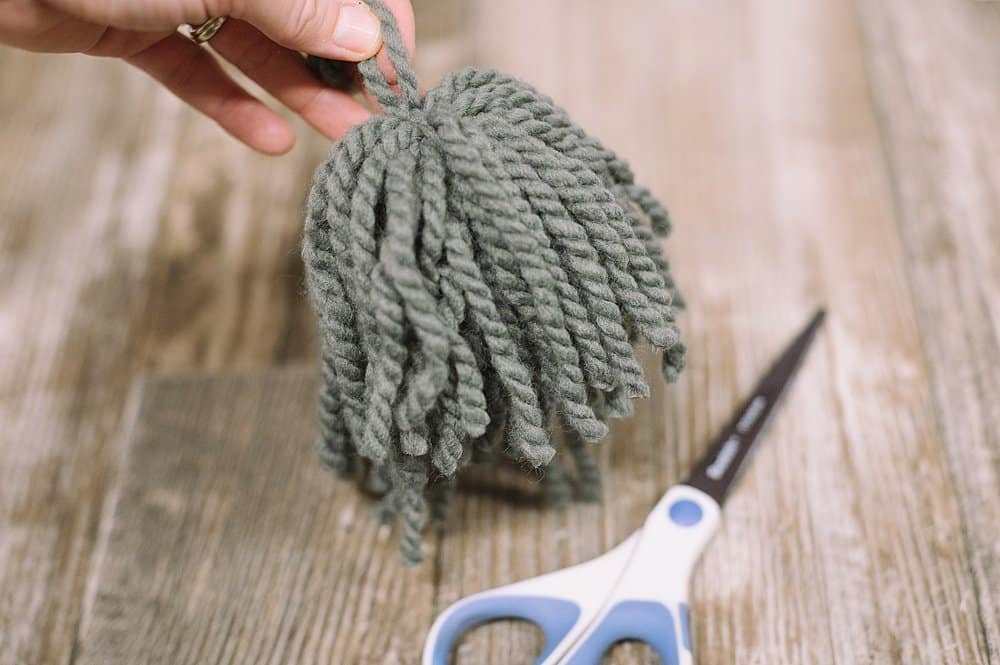
Step 2. By following the tassel tutorial, you'll end up with a yarn tassel like this.
You don't need to tie anything around the neck of the tassel or trim it yet.
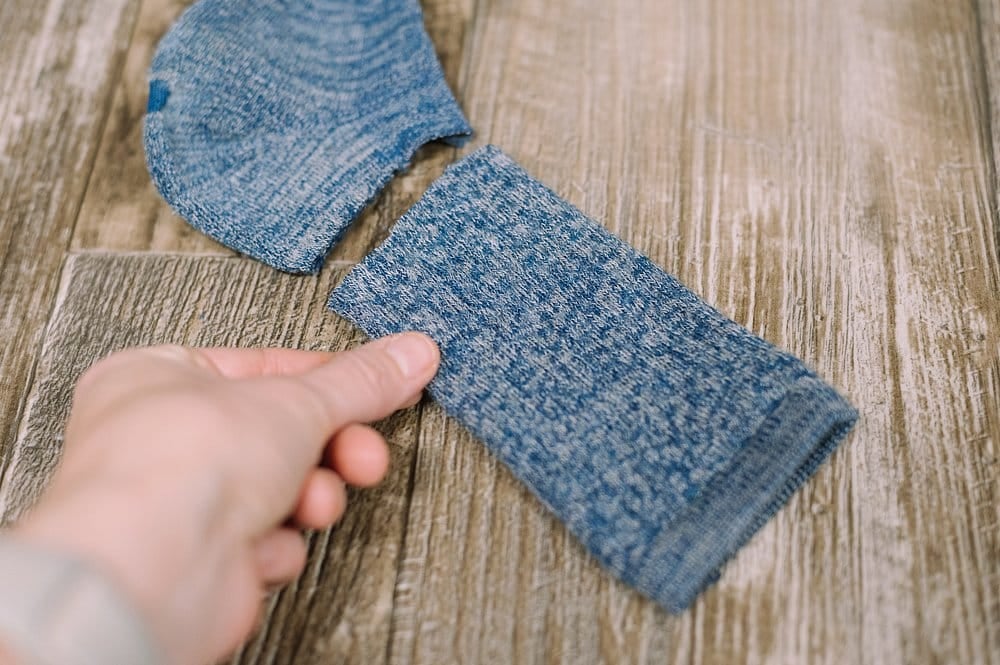
Step 3: Cut the top off an old sock.
This tube will become the gnome's hat!
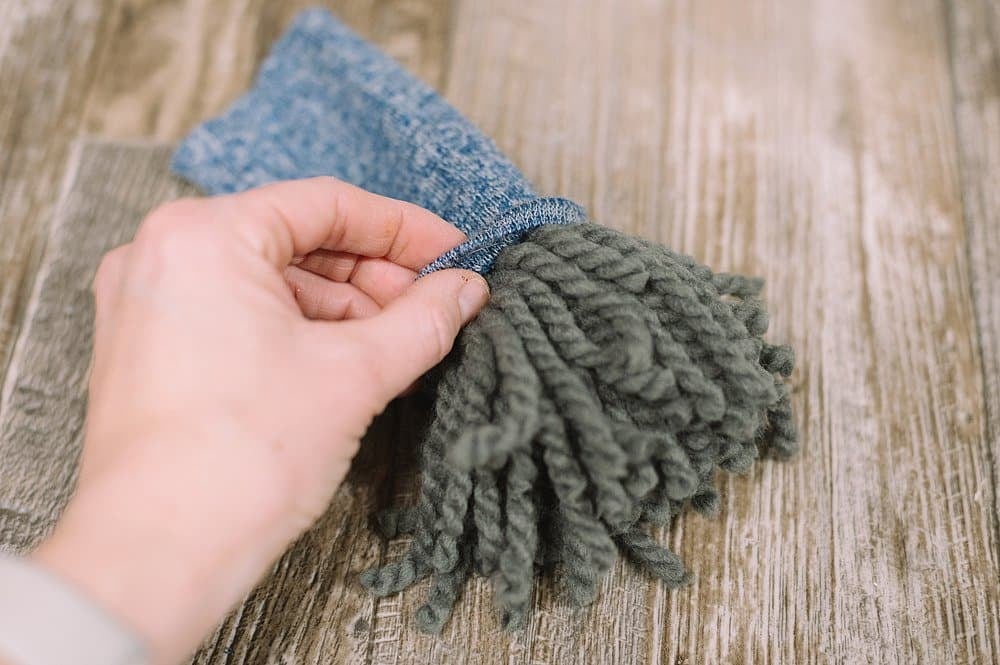
Step 4: Slide the sock down over the tassel, cuffed edge first.
This gives the brim of the hat a clean edge.
The edge of the sock you just cut will be up on the top of the hat.
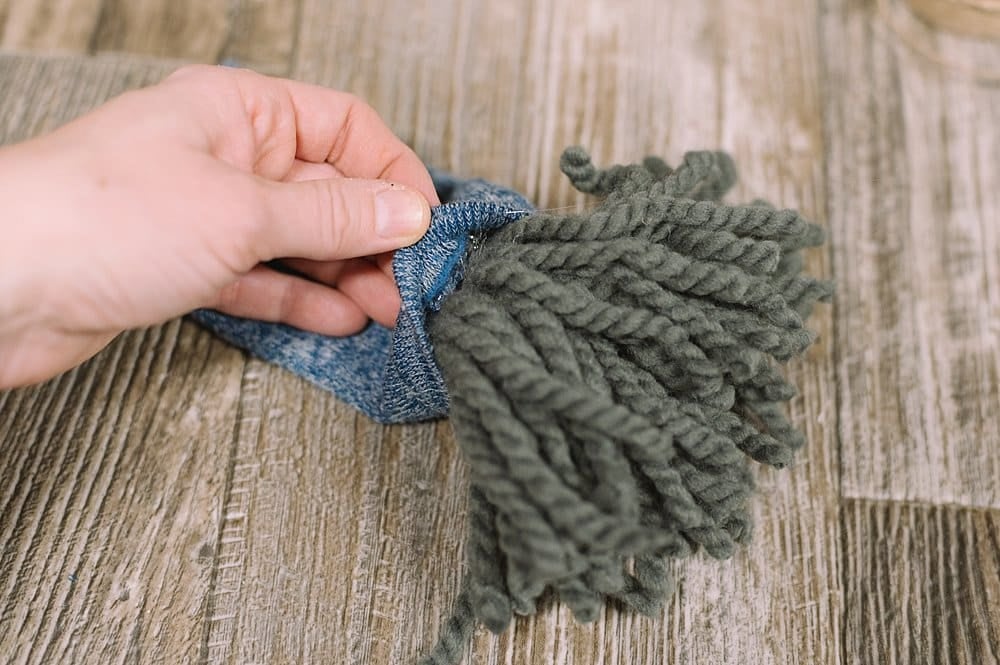
Step 5. Add a dab of hot glue up inside the front edge of the hat and press it into the yarn to secure it.
Repeat, gluing the back, left, and right sides of the hat to the yarn gnome beard with small dabs of hot glue.
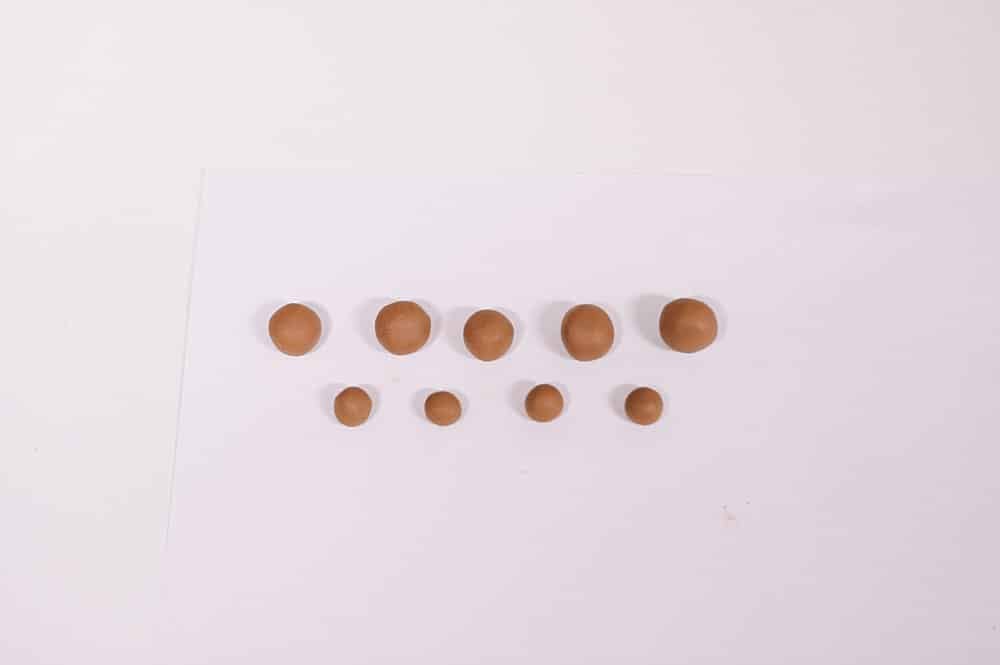
Step 6: Make a small ball of clay for the gnome's nose, or use a wooden ball.
I used air-dry modeling clay and rolled it into balls the size of marbles for the noses. They are roughly 1 centimeter or 0.5 inch in diameter.
Clay works well for all different shapes of noses, like the "carrot" noses for these DIY cork snowman ornaments.
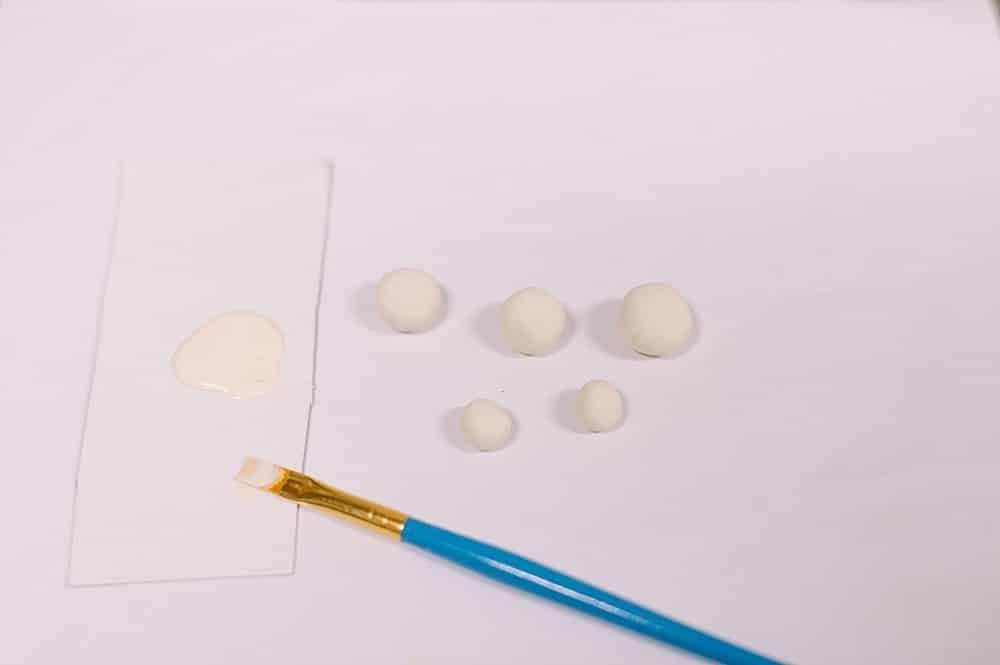
Step 7. I left some noses the original brown clay color, and I painted a few of the noses with cream craft paint.
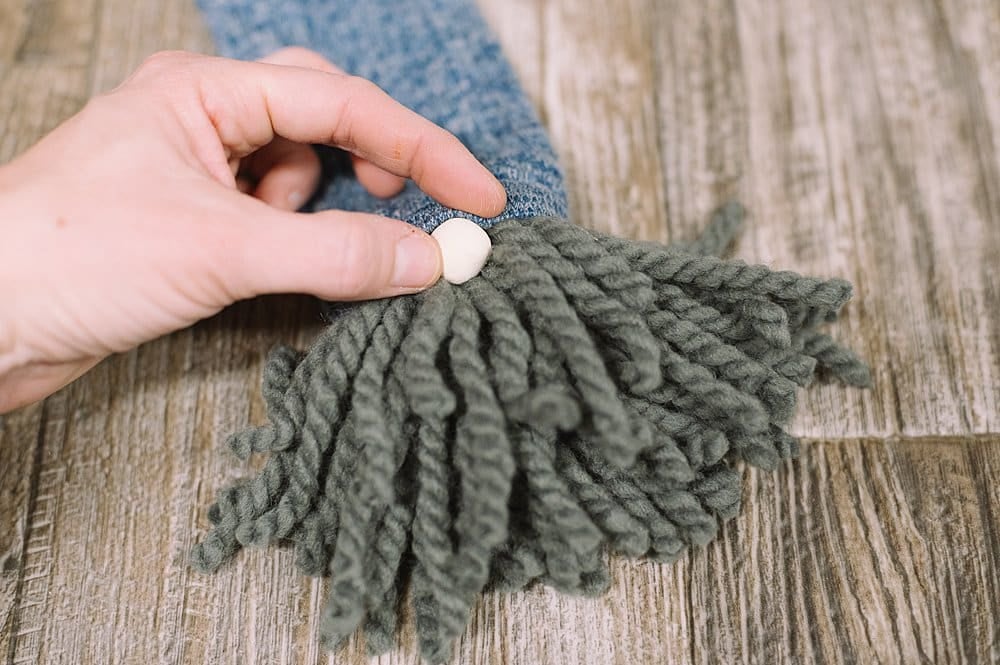
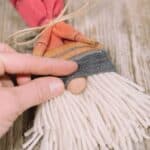
Step 8: Hot glue the back of the nose to the gnome's yarn beard.
Add a tiny bit of glue to the top of the nose, and secure the sock band to it too.
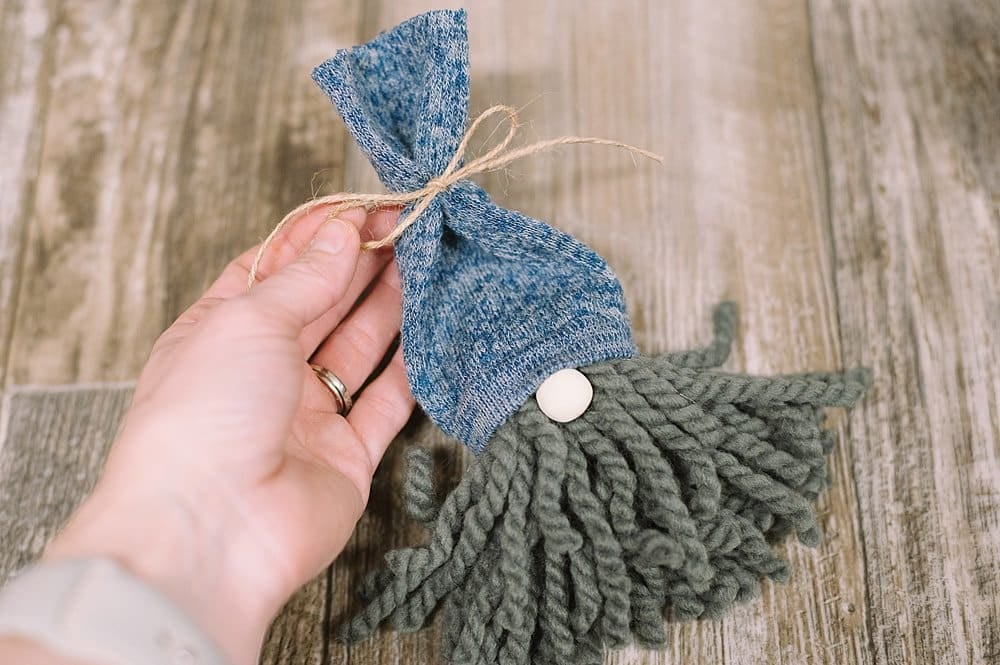
Step 9: Tie the top of the sock hat with twine, and make a bow.
Trim the gnome's yarn beard if needed.
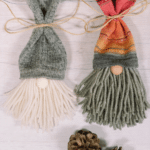
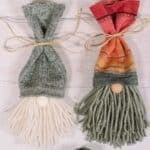
Your yarn and sock gnome is finished!
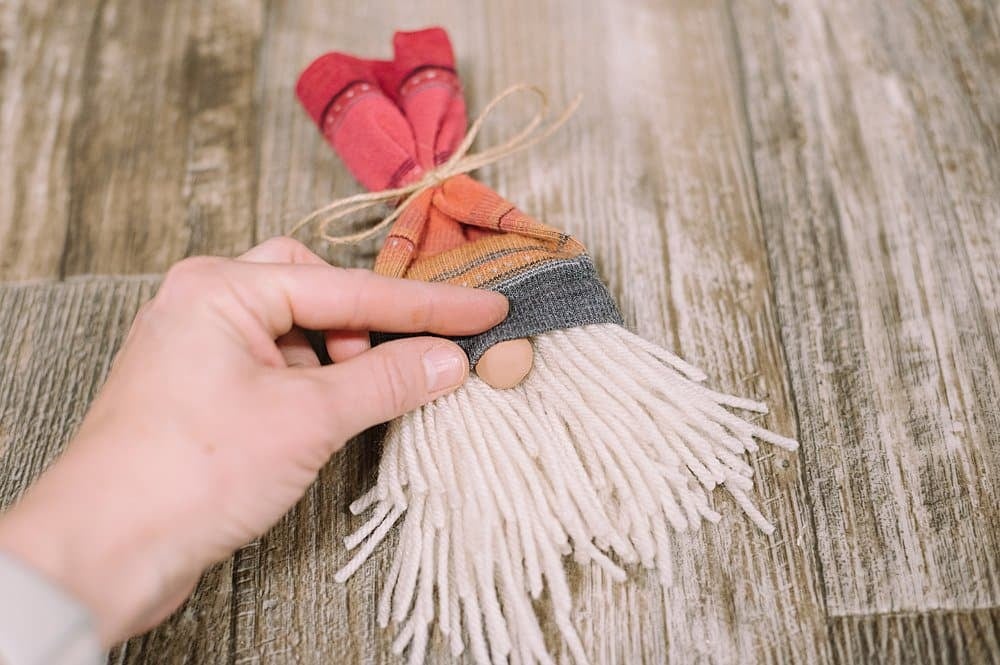
Step 10. You can use different colors and types of yarn to make different beards for the gnomes.
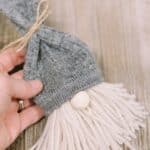
Here is a beard using cream-colored medium-weight yarn, and this time, I used a natural clay-colored nose.
Common Questions
You can use any type of yarn to make the beard for your gnomes. In this tutorial, I showed gnomes with beards made of thick yarn and medium-weight standard yarn. You can use any type and color yarn you want; the choice is yours!
After making a handful of gnomes, my preference is medium-weight yarn. I think it makes great-looking beards, and it's easy to work with.
Even if you don't have any spare socks at home, check out your local thrift stores or garage sales for cute tube socks you can use as gnome hats.
You can also try using sleeves from shirts; they will have a cuff on one end that you can use for the hat brim.
Fabric can also be sewn into a tube and hemmed along one edge to make a gnome hat too.
The best options for gnome noses are wooden balls (without holes in them - don't use wooden beads or you'll see the holes) and balls made of modeling clay.
I used clay balls for my DIY gnomes. I like that you can adjust the size of the clay balls, and you can also paint them any color you want!
These gnomes are so fast and easy to make and are SO CUTE.
I also love that it's a way to use up old socks, especially pretty ones!
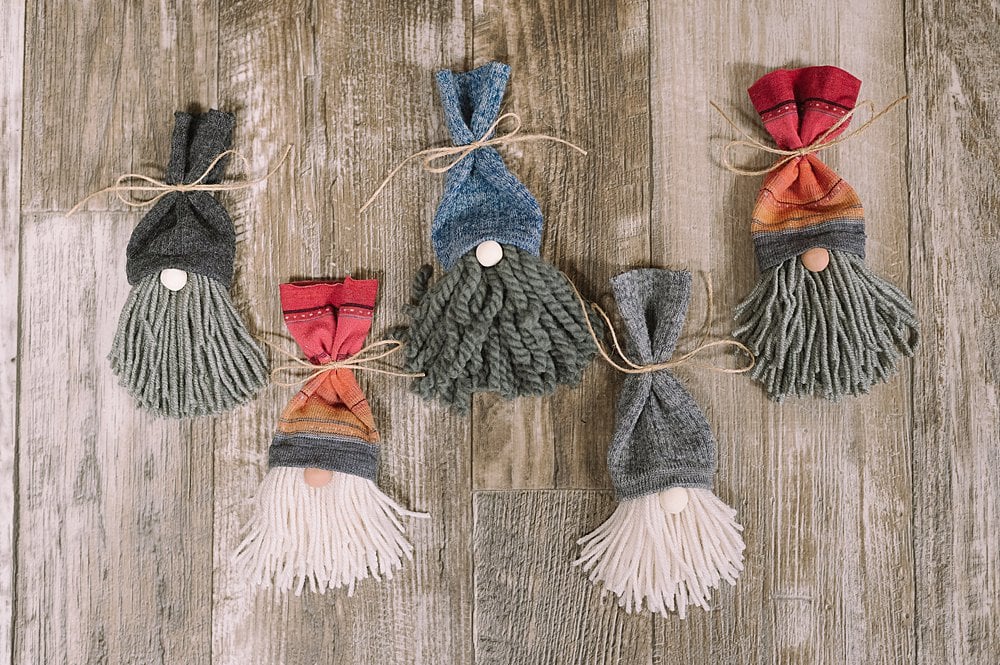
Making your own yarn and sock gnomes is simple; all you need is yarn, an old sock, twine, hot glue, and something to use for the nose - either a wooden ball or clay.
In just a few minutes, you can make darling Christmas gnomes that work great as stand-alone holiday decor, and even better as ornaments!
You can even string several together and make a yarn and sock gnome garland that will have everyone asking you about it!
More Yarn Crafts You'll Love
---
⭐️🧶 Did you enjoy this craft and want to see more like it? ✂️ Join our FREE email community and get inspiring craft ideas sent right to your inbox! 🧵 ⭐️
---
How to Make a Yarn and Sock Gnome
Materials
- Yarn
- Wooden Balls or Modeling Clay ½ inch or 1 centimeter balls work great.
- Paint
- Old Socks Tall socks - you will be using the tube part.
- Hot Glue Gun, Glue, and Scissors
- Twine
Instructions
- Make a yarn tassel using this method.I wrapped this thick yarn around my hand 50 times, but I could have wrapped less, (maybe 40 times) because it was so thick.For the medium-weight yarn, 50 times was a perfect number.
- By following the tassel tutorial, you'll end up with a yarn tassel like this.You don't need to tie anything around the neck of the tassel or trim it yet.
- Cut the top off an old sock.This tube will become the gnome's hat!
- Slide the sock down over the tassel, cuffed edge first.This gives the brim of the hat a clean edge.The edge of the sock you just cut will be up on the top of the hat.
- Add a dab of hot glue up inside the front edge of the hat and press it into the yarn to secure it.Repeat, gluing the back, left, and right sides of the hat to the yarn gnome beard with small dabs of hot glue.
- Make a small ball of clay for the gnome's nose, or use a wooden ball.I used air-dry modeling clay and rolled it into balls the size of marbles for the noses. They are roughly 1 centimeter or 0.5 inch in diameter.Clay works well for all different shapes of noses, like the "carrot" noses for these DIY cork snowman ornaments.
- I left some noses the original brown clay color, and I painted a few of the noses with cream craft paint.
- Hot glue the back of the nose to the gnome's yarn beard.Add a tiny bit of glue to the top of the nose, and secure the sock band to it too.
- Tie the top of the sock hat with twine, and make a bow.Trim the gnome's yarn beard if needed.Your yarn and sock gnome is finished!
- You can use different colors and types of yarn to make different beards for the gnomes.Here is a beard using cream-colored medium-weight yarn, and this time, I used a natural clay-colored nose.
Notes
- You can use any type or thickness of yarn for the gnome's beard, but I found medium-weight yarn (the cheap stuff!) worked the best!
- Don't use wooden beads for the gnome's nose because you won't be able to hide the bead's hole. Use either a solid wood ball or you can make a clay ball for a nose.
- Check thrift stores or garage sales for cute socks to repurpose into your yarn and sock gnomes. Look for thick wool socks, cute patterned socks, or anything that would make a cute hat for a DIY gnome!




Maggie
What size wooden balls would you recommend?
Laura
Hi Maggie! The wooden balls (and clay balls) I used were maybe 1cm in diameter, I'd say. That seemed to be a good size for the gnome! (I'll add that info to the tutorial; thanks for pointing it out!)