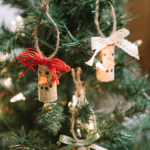
Learn how to make a cork snowman ornament for Christmas this year, using wine corks, modeling clay for a nose, ribbon, and paint!
Crafts that use recycled materials are a great way to combine a love for DIY with trying to do something good for the environment.
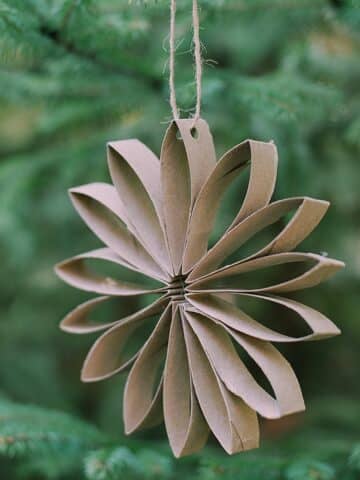
There are lots of projects you can make from recycled toilet paper tubes like these toilet paper flower ornaments, and wine corks are another item that can be made into awesome crafts.
We have made cork angel ornaments, cork planter magnets, and pompom cork trees.
Today, we are going to use wine corks to make super cute DIY cork snowman ornaments! We gave these as teacher gifts last year, and they were a huge hit.
Here's how to make them!
How to Make a Cork Snowman Ornament
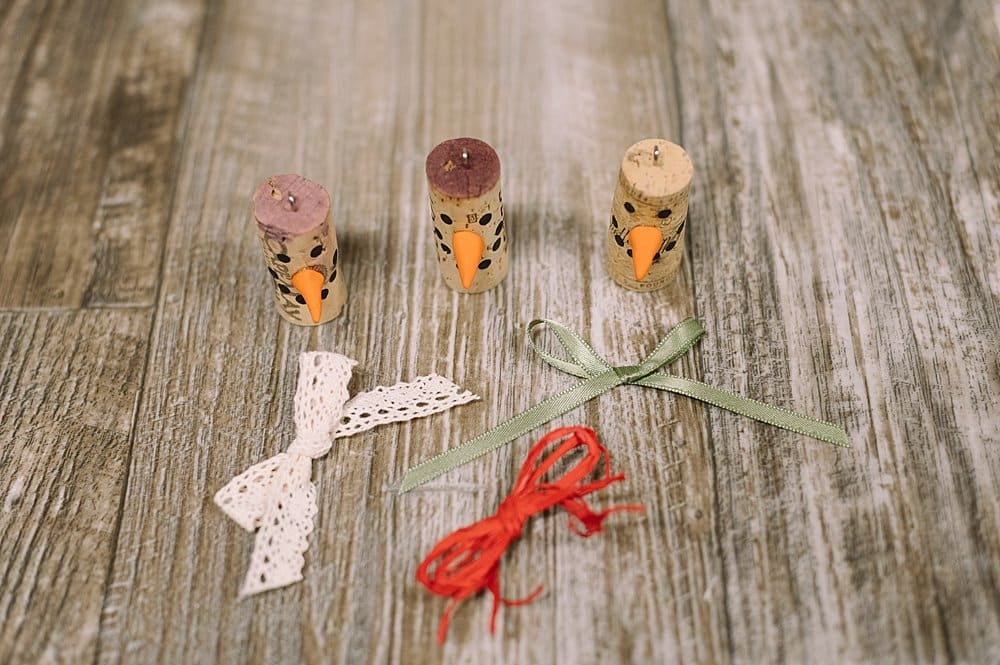
Step 1: Gather Supplies
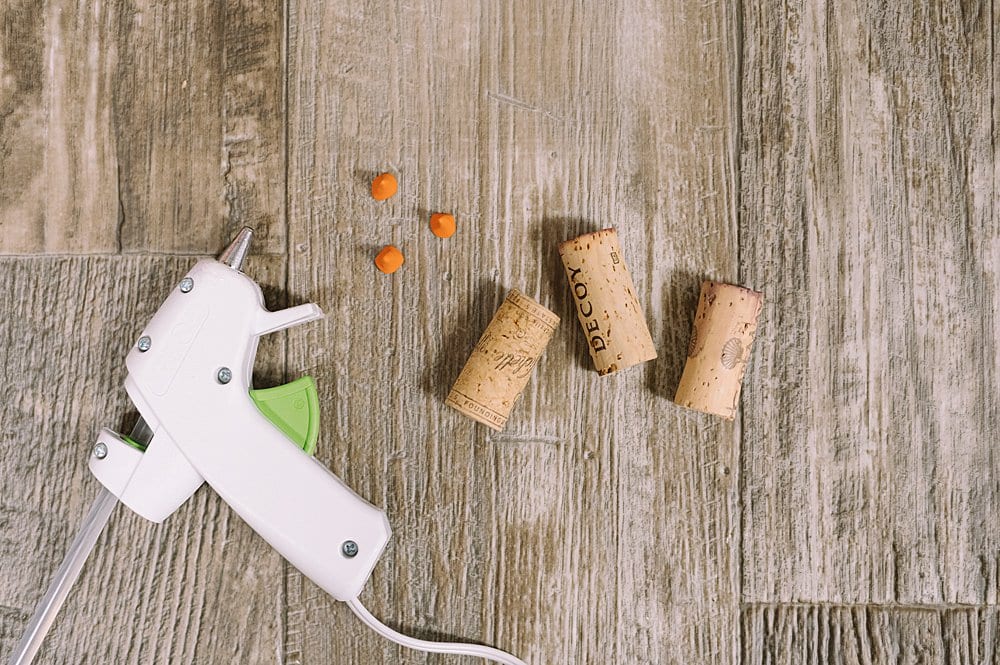
Supplies Needed:
- Wine Corks
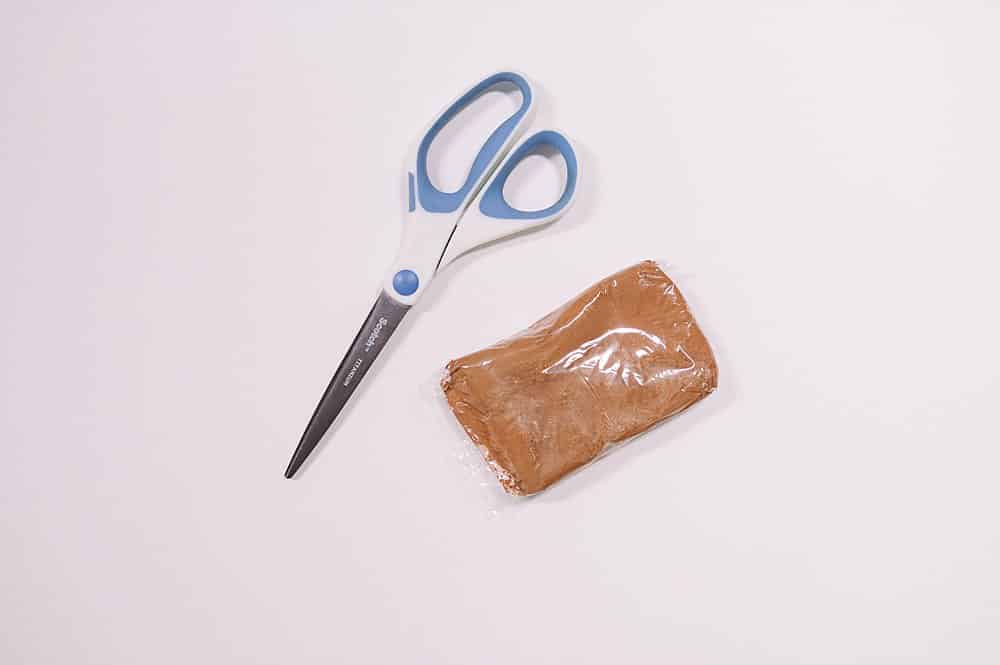
- Modeling Clay - Air Dry or Oven Bake
- Orange Paint - only needed if the clay is not orange.
- Black Paint
- Paint Brush with flat base
- Hot Glue Gun and Glue
- Ribbon, Raffia
- Twine
- Metal Screw Hooks - available on Amazon (the ones I ordered are slightly larger than these, but aren't available anymore)
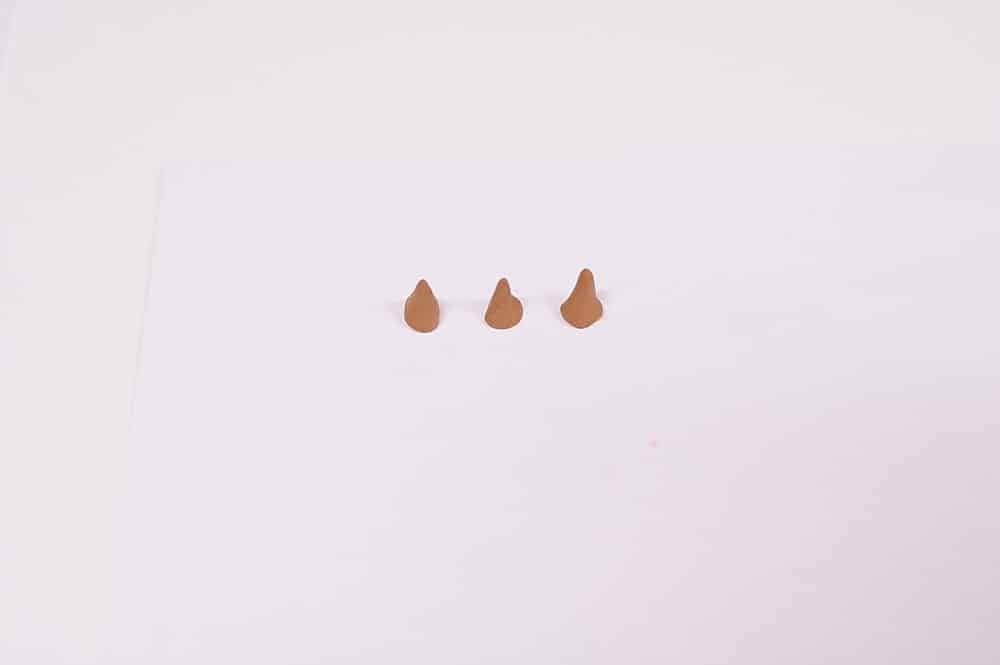
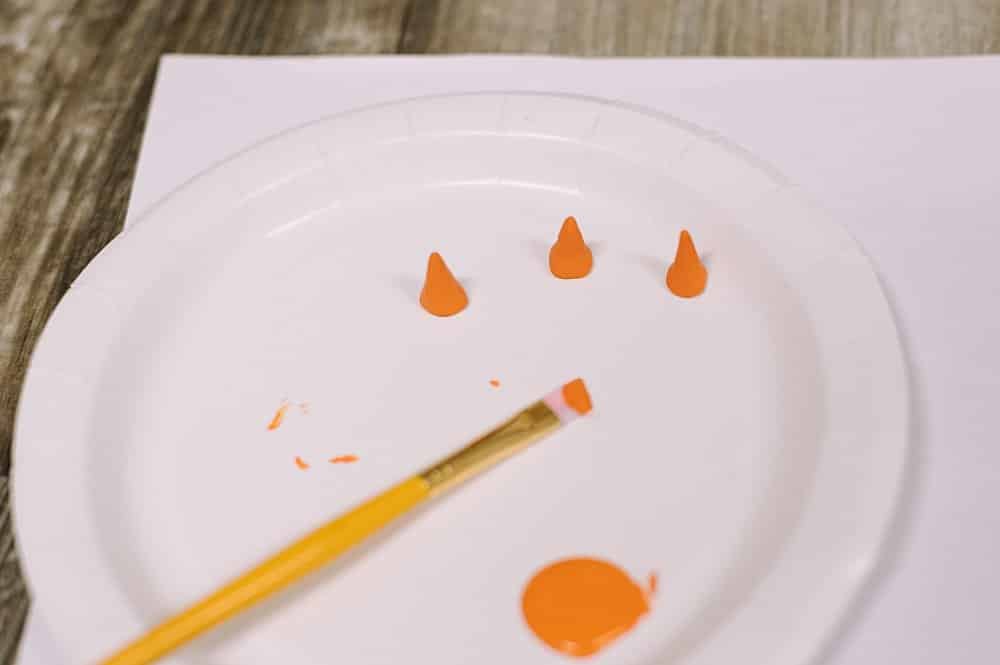
Step 2: Roll modeling clay into small cone-shaped noses.
These will be the "carrots" for the snowman's nose.
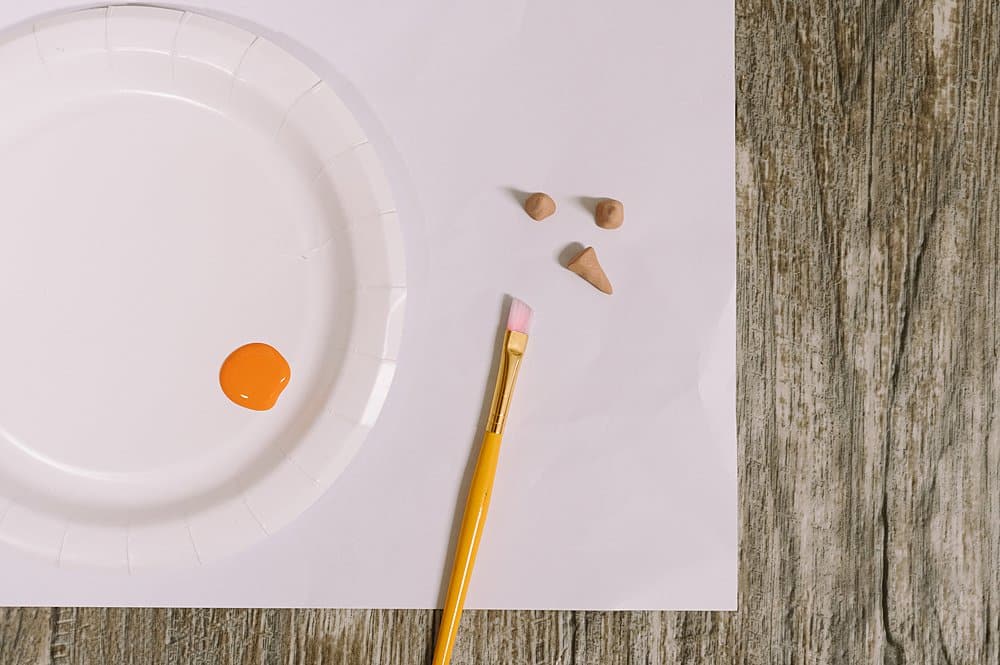
Step 3: Paint "carrot noses" orange.
If your clay is orange, you don't need to paint them.
I used brown air-dry modeling clay and then painted the hardened noses orange.
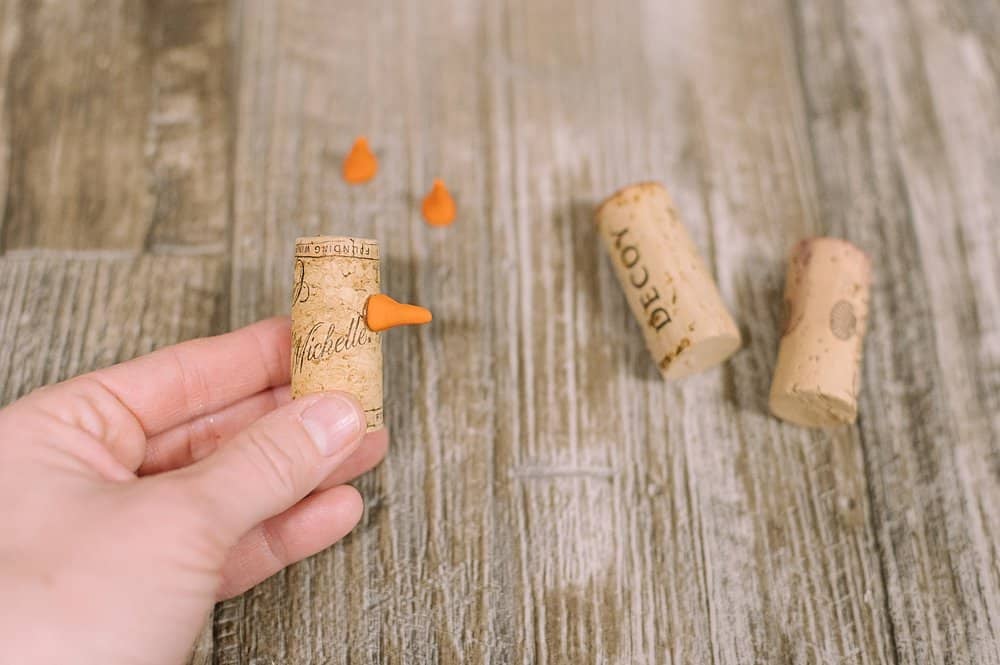
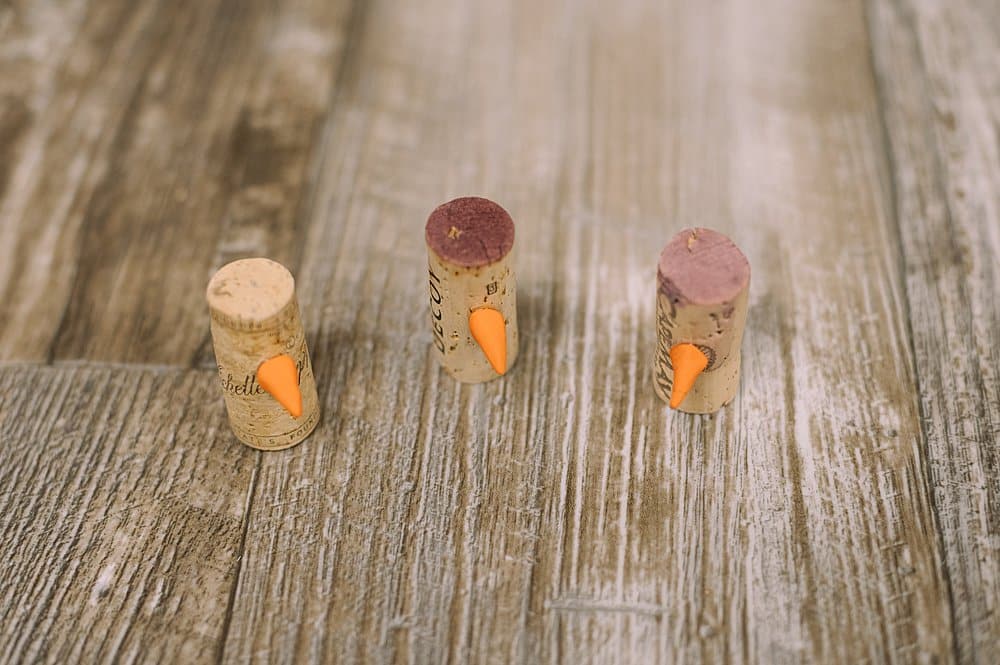
Step 4: Hot glue a carrot nose onto a wine cork, slightly above the middle of the cork.
To make sure there is enough room to paint eyes and a full smile, I glued the nose slightly above halfway up the wine cork.
Repeat for all of your corks.
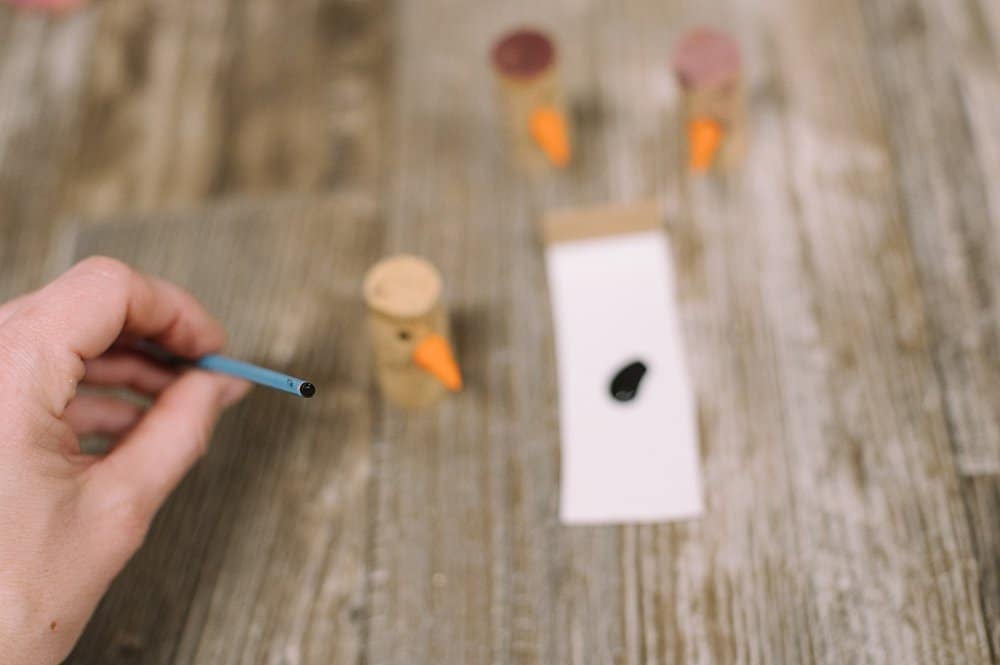
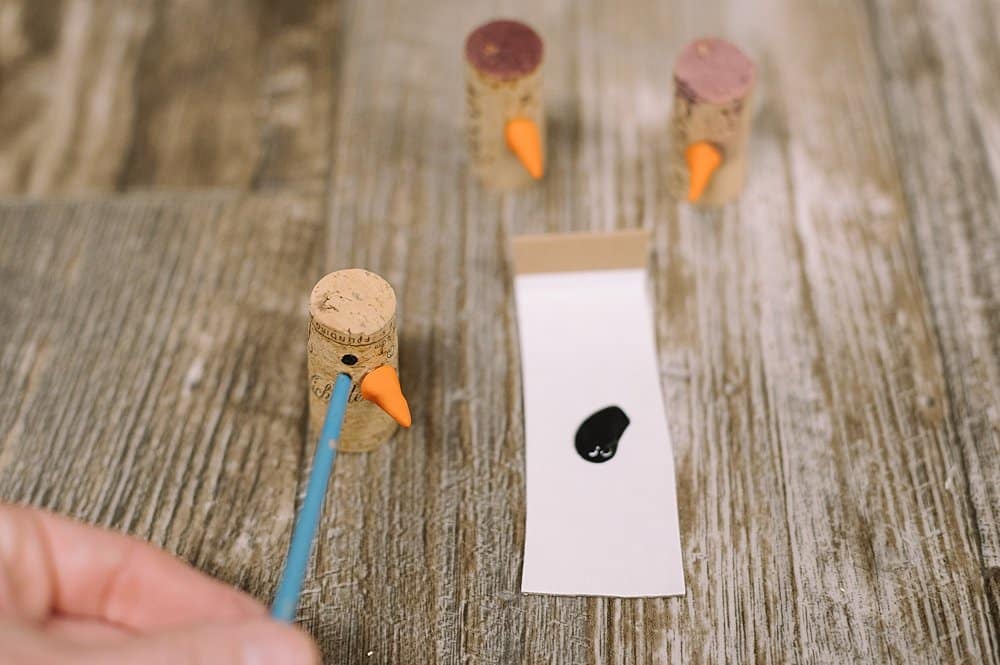
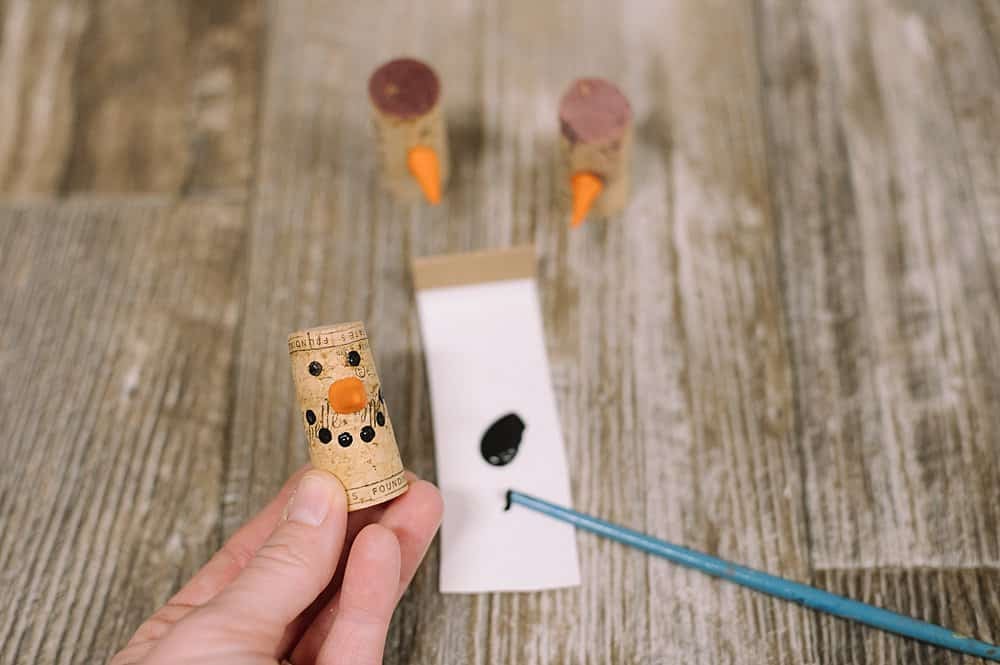
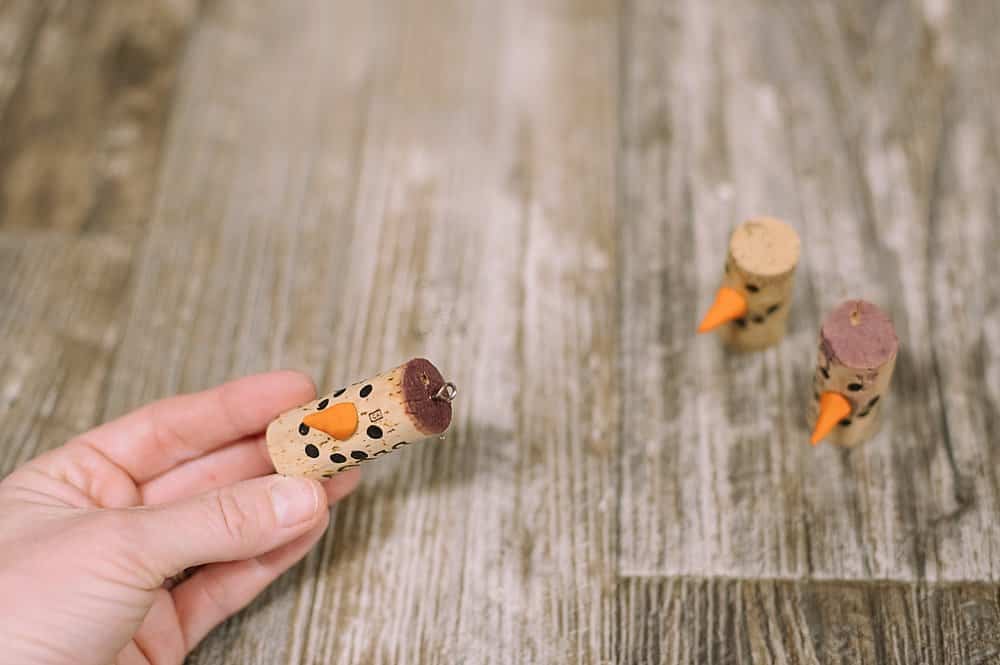
Step 5: Use the base of a paintbrush to paint black eyes and a smile onto the cork snowman.
Dab the end of the brush (not the bristles) into the black paint.
Paint two eyes above the orange nose.
Dab a smile below the clay nose.
Six dots (aka coal pieces) make a perfect smile.
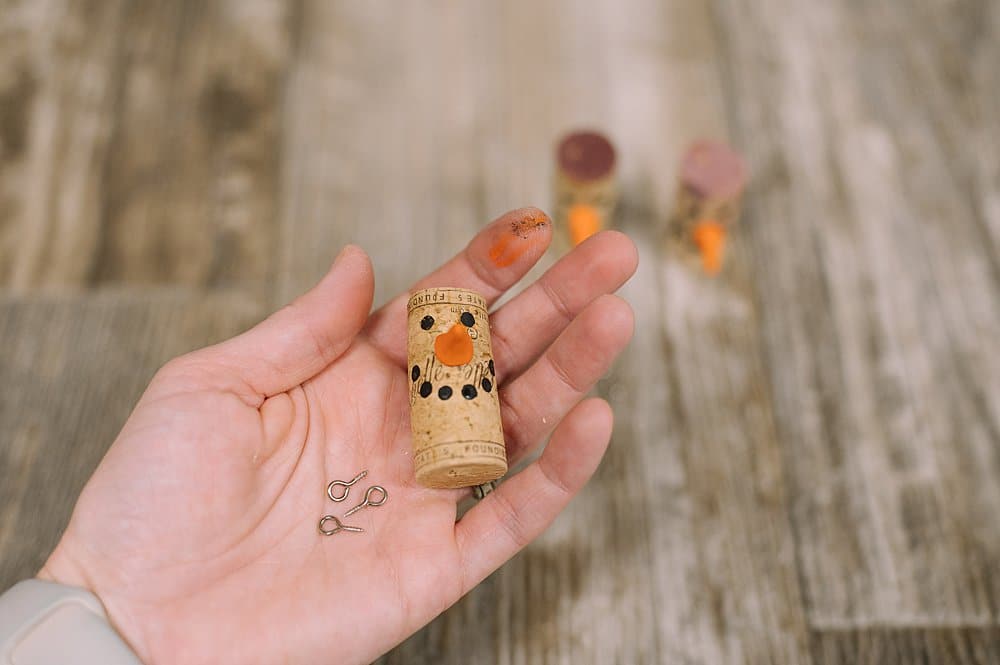
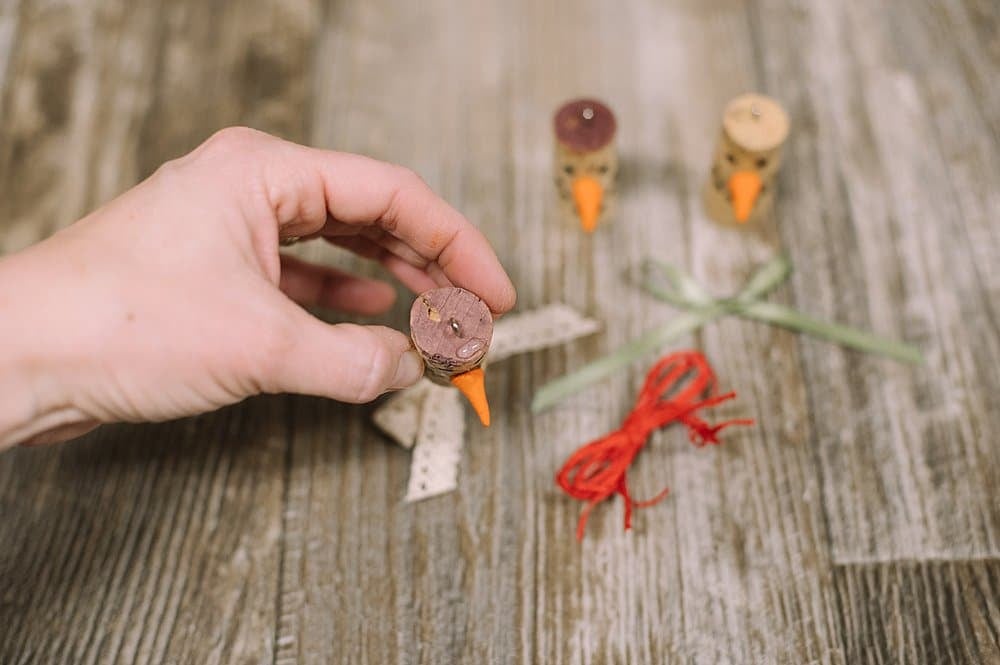
Step 6: Screw one small metal eye loop into the top of the cork.
Position the metal eye so it points to the front and back of the snowman (not the left and right sides.)
This will make it hang correctly on your Christmas tree.
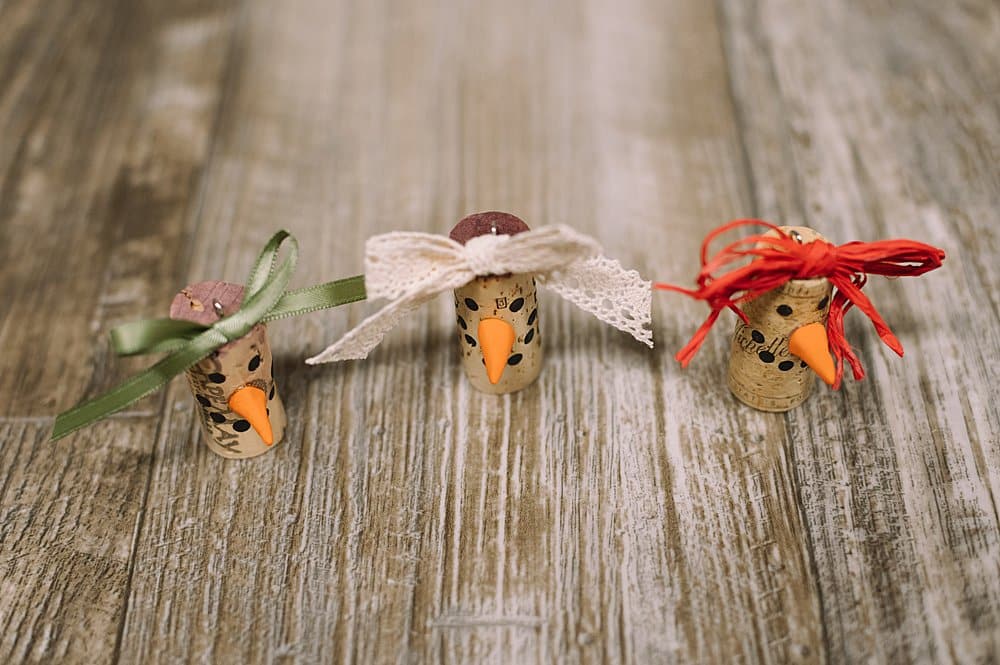
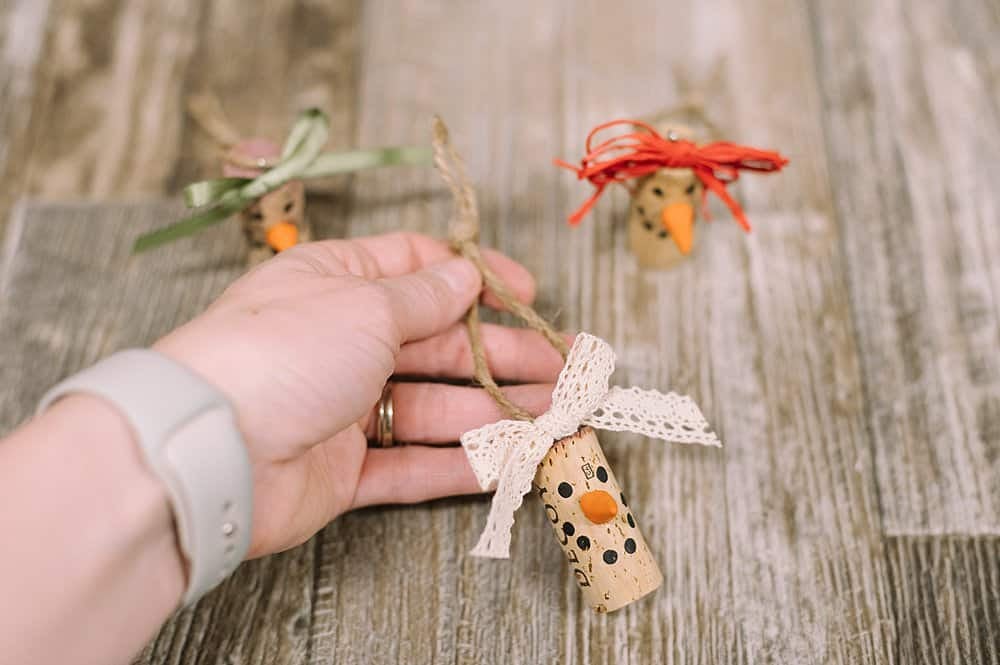
Step 7: Glue a small bow using ribbon or raffia onto the snowman's head.
Put a dab of hot glue in front of the metal eye loop.
Add a bow on top of each snowman.
Step 8: Add a section of twine through the metal eye, and knot it at the top.
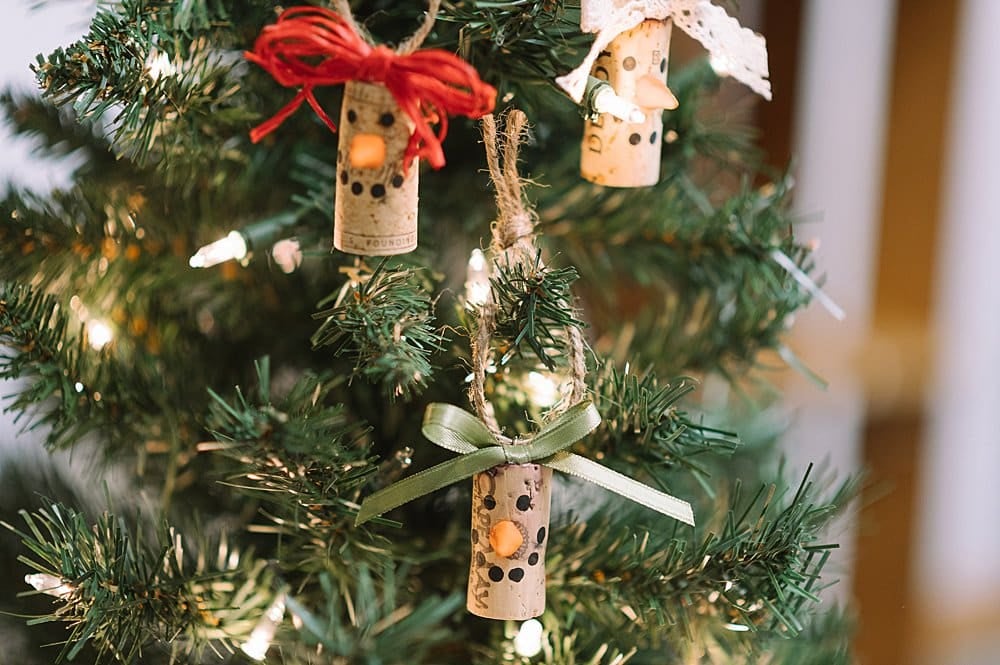
This is the hanging string, to hang it up on the tree.
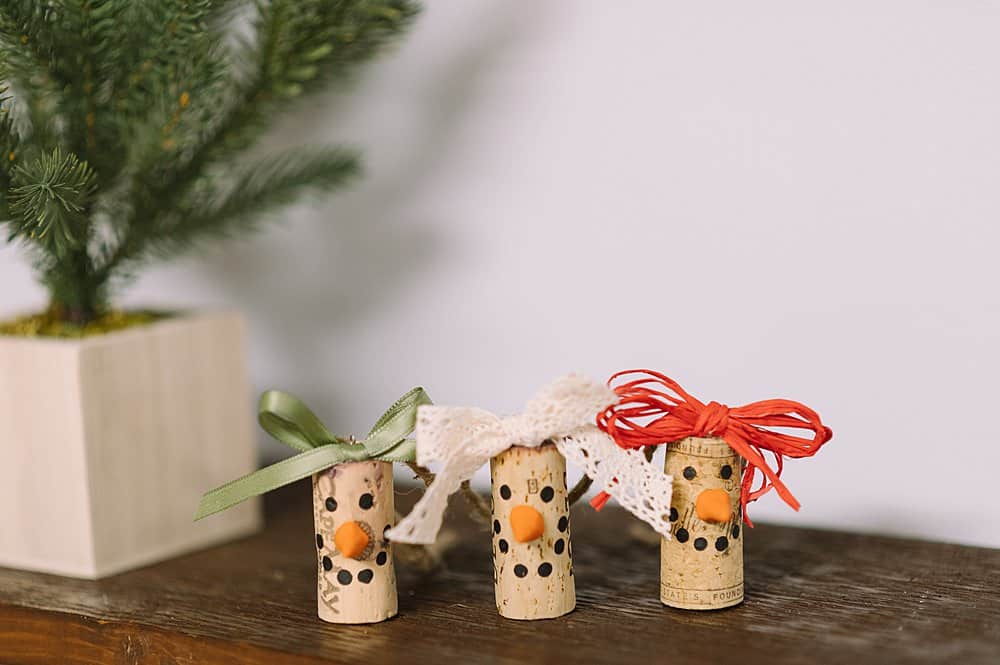
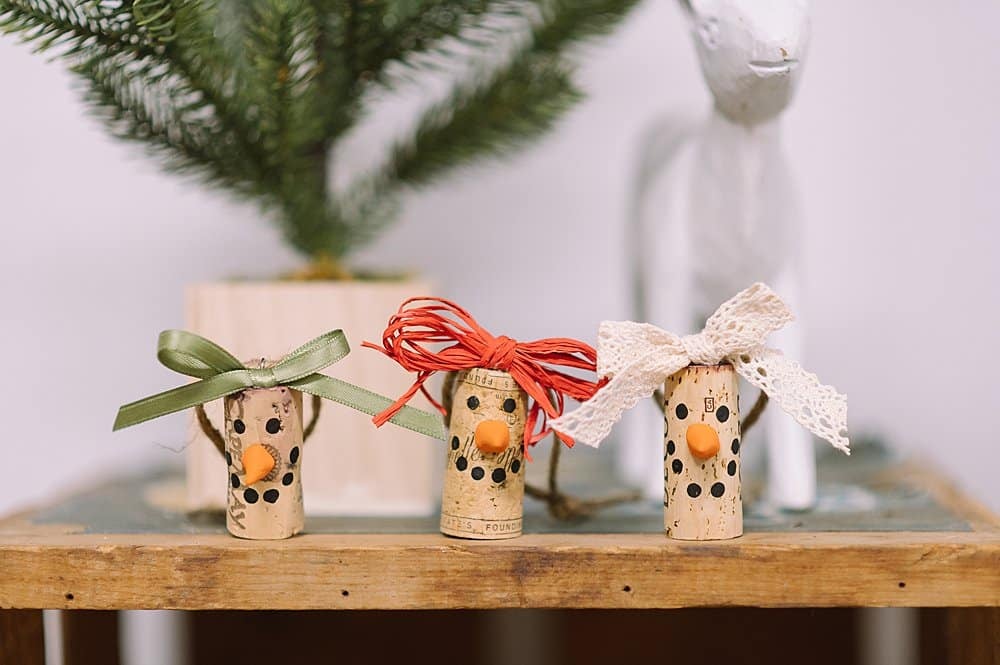
They are all finished! Aren't they cute??
You can customize these cork snowmen by picking fun ribbons to use on top. For our teacher gifts, we used buffalo plaid ribbon and it turned out so cute!
These are so easy; they make awesome Christmas crafts for kids.
And they don't take many supplies, so it's easy to make a dozen or two for all of the special people on your list!



Leave a Reply