LEARN HOW TO MAKE DIY POM POM TREES IN CORK PLANTERS USING HANDMADE DIY YARN POM POMS, REAL STICKS, AND WINE CORKS!
Sometimes, the most simple craft supplies make the best projects.
Wine corks helped me make many crafts such as cork snowman ornaments, cork pompom trees, and one of my all-time favorite crafts: cork planter magnets.
Yarn is one of the most versatile craft supplies too, and we've been on a yarn pom pom kick lately.
We've made everything from pom pom Christmas ornaments to pom pom ice cream cone garlands, and we're just getting started.
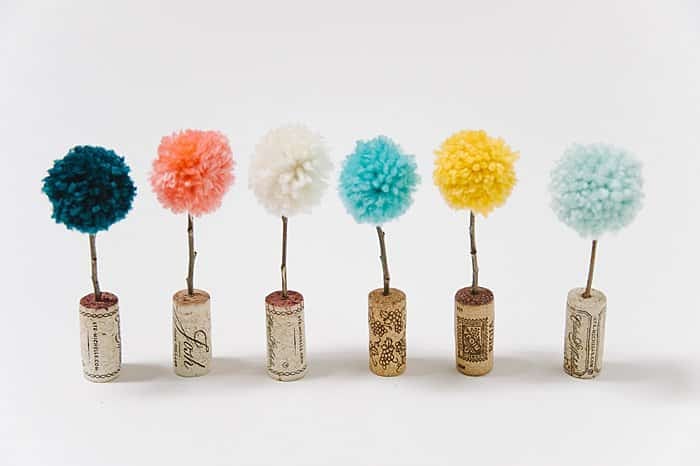
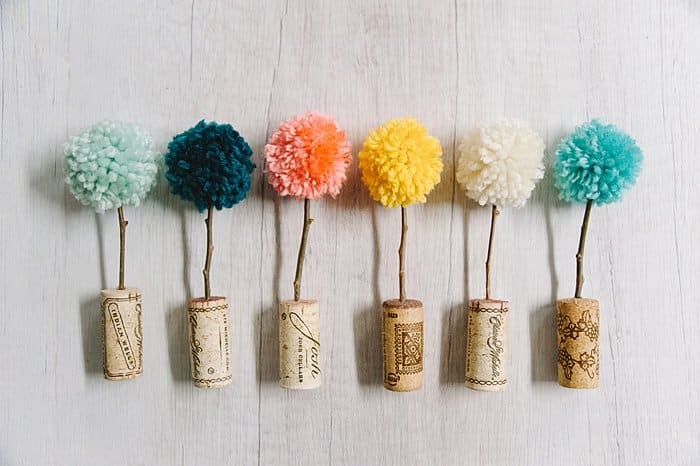
Today, we’re going to combine handmade yarn pom poms with wine corks and sticks to make adorable pom pom trees you're going to love.
Here’s how to make them!
DIY Pom Pom Trees in Cork Planters | Easy Pom Pom Crafts
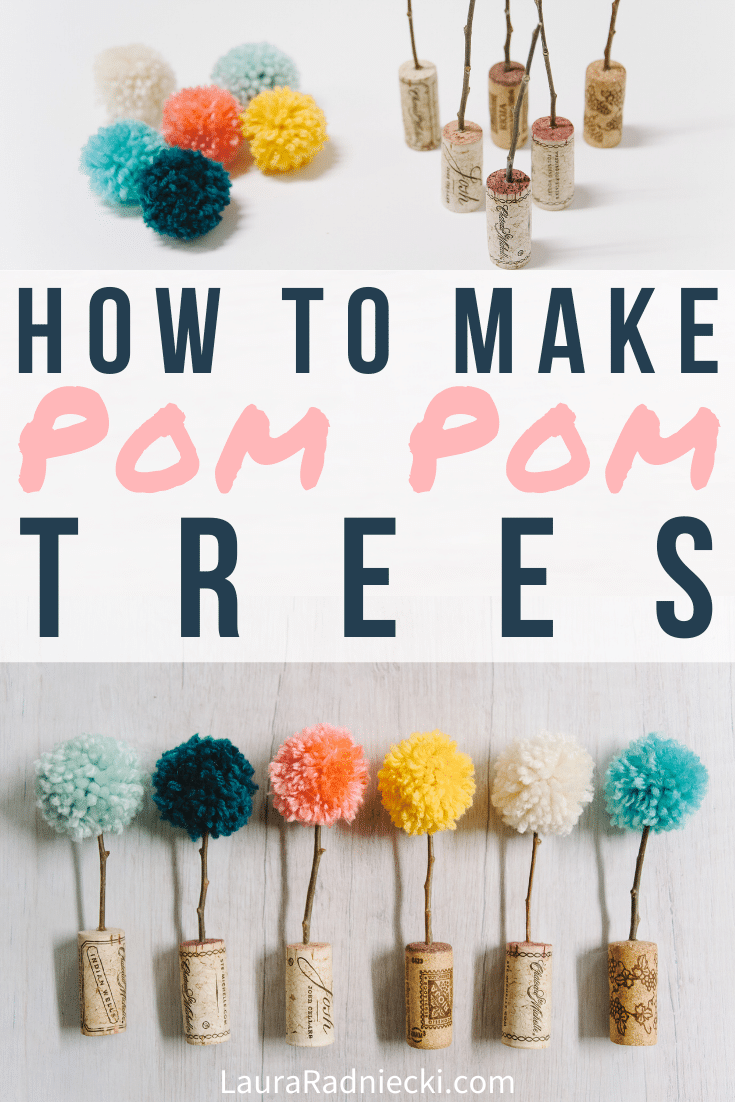
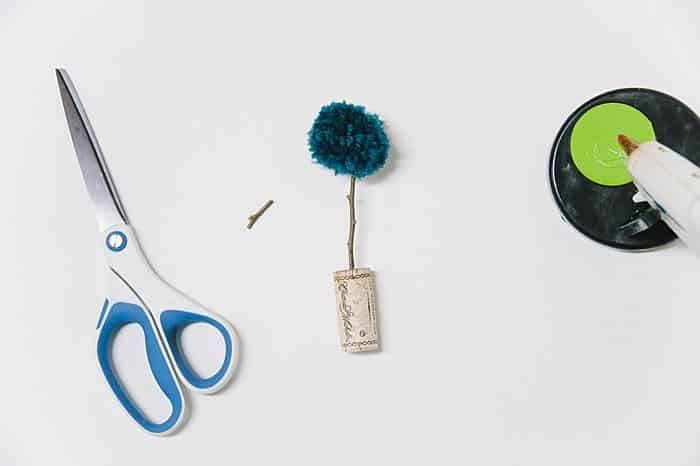
Step 1. Gather Supplies.
Supplies Needed:
- Yarn
- Scissors
- Sticks
- Wine Corks
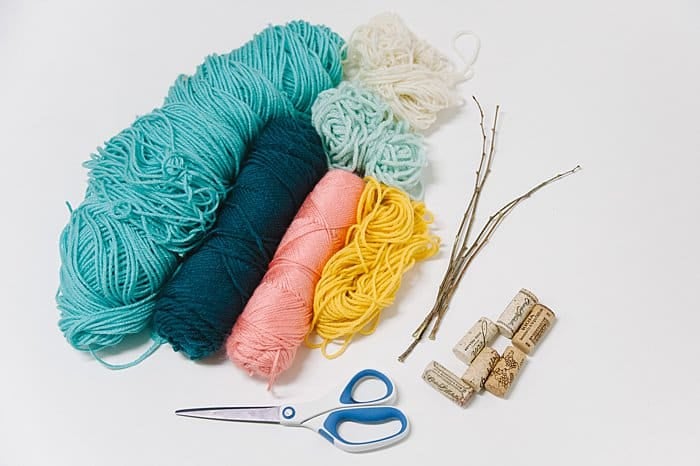
- Screw, Nail, or Drill (to make a hole in the wine corks.)
- Sandpaper (optional, in case cork bottoms aren't flat.)
- Hot Glue Gun and Glue
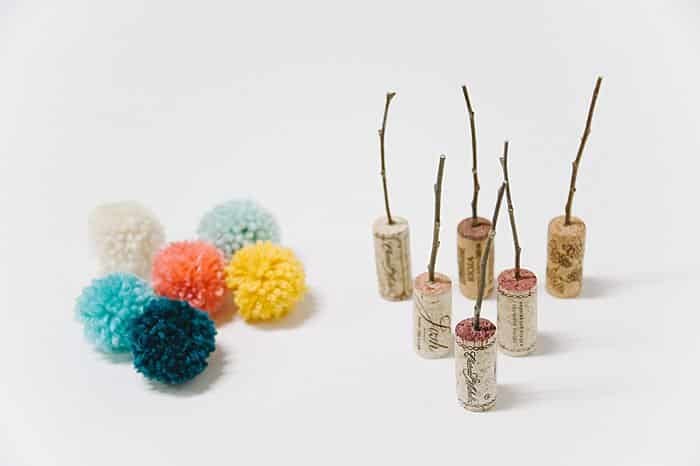
Step 2. Make yarn pom poms in desired colors.
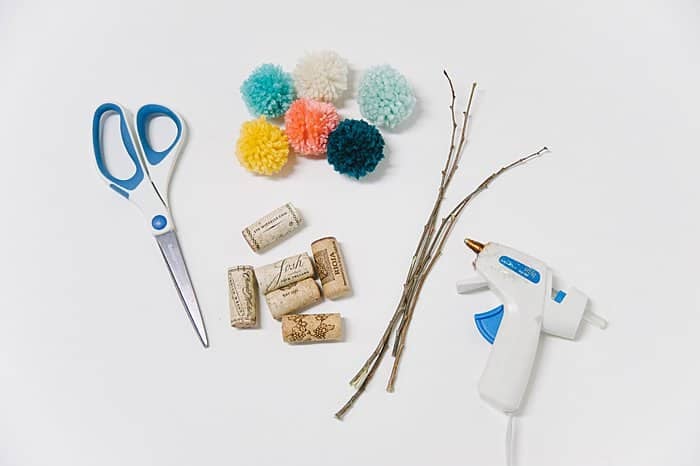
Using my extensive handmade yarn pom pom tutorial here, make small pom poms in your favorite colors.
These poms poms are made with standard thickness yarn in my colors of choice, and are made by wrapping the yarn around two fingers of my hand 50 times.
**Read my post on how to make pom poms by hand to learn how to make the perfect pom poms.**
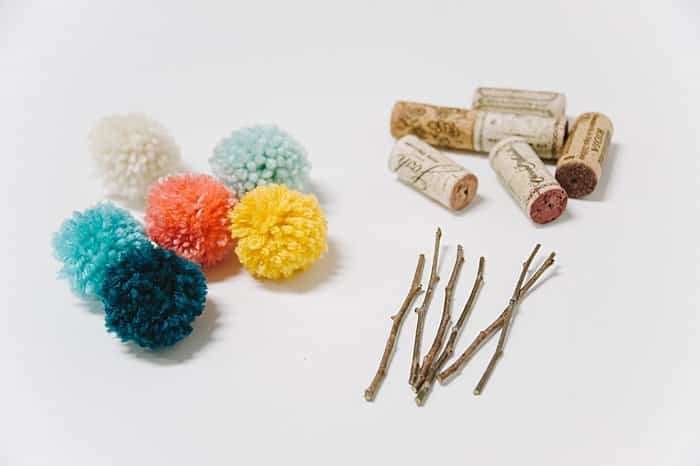
Step 3. Cut sticks into small sections.
Cut the sticks into small sections, using a scissors.
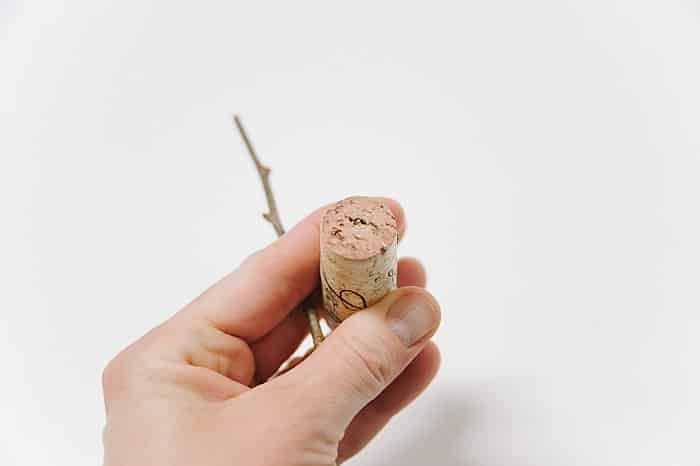
Step 4. Make a hole in each wine cork.
Using a drill, screw or a nail, make a hole in each wine cork.
The hole needs to be big and deep enough for the stick to fit into it and be hot glued.
Poke the hole into whatever end of the cork is NOT the flattest.
This will allow your finished cork tree to stand up on the other flat side of the cork.
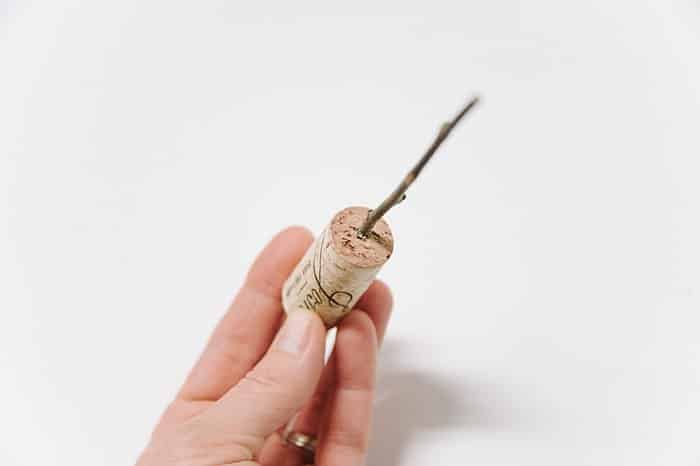
Step 5. Hot glue the stick into the hole in the cork.
Squirt a little bit of hot glue into the hole you made in the wine cork.
Insert the stick, and wipe away any glue that spills out of the hole.
Repeat for all of the wine corks and sticks.
Make sure the sticks are secure before continuing.
Step 6. Assess stick length and trim before adding pom pom.
WITHOUT GLUING YET, simulate what the pom pom tree would look like by laying the pom pom on top of the stick.
See how they look.
When I did this, the sticks seemed a little bit too long. The trees would end up a too gangly for my taste.
Trim the stick to your preferred length.
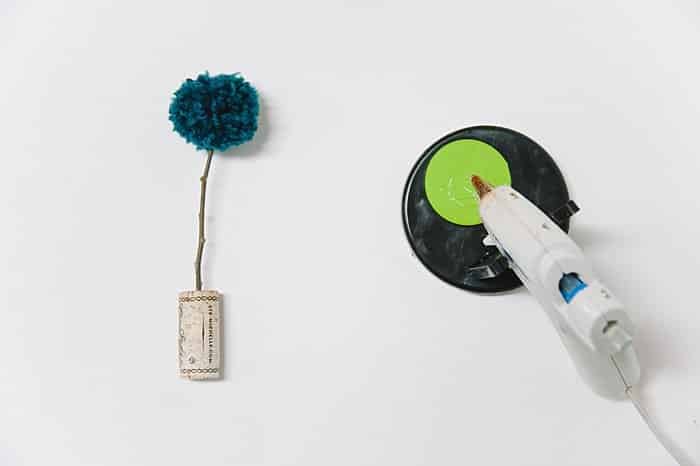
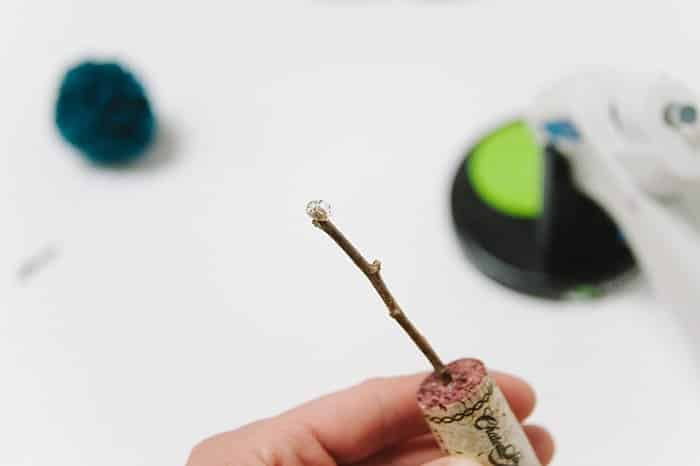
Step 7. Hot glue pom pom onto the top of the stick.
Put hot glue on the end of the stick, and add the pom pom.
Hold in place until the glue dries, and test to see how secure the pom pom is.
Add more glue and hold in place until it's dry and secure, if needed.
Repeat for all of the pom pom cork trees.
Step 8. Sand the bottoms of any corks that won't stand up on their own.
Test the cork trees and see if they will stand up on their own.
All of mine stood up by themselves, except for one.
Turns out I poked my hole in the wrong end of the cork, and the other end was already uneven from the corkscrew.
I used a little sandpaper and sanded the bottom of the cork until it was flat again.
Now it stands up on it's own too!
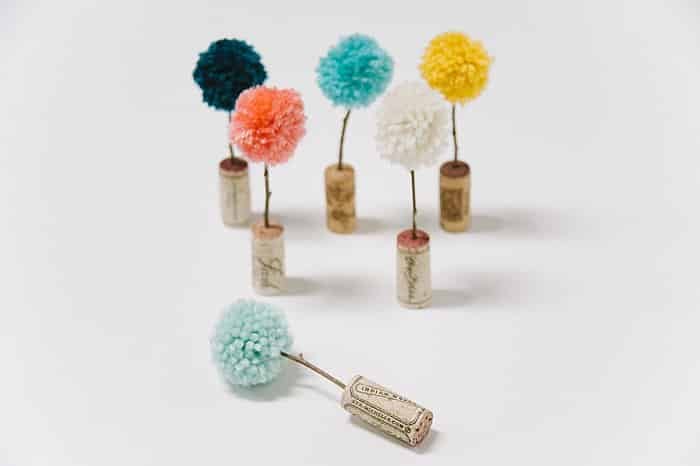
Inspect all of the yarn and cork pom pom trees, trim if needed, and you are DONE!
Aren't these pom pom trees the CUTEST thing you've ever seen?
I LOVE how they turned out!
The rustic wine corks and sticks from my woods, combined with the quirky pom poms in some of my favorite colors... I adore them.
Right now, they're perched on my book shelf in my living room; a home decor piece by themselves.
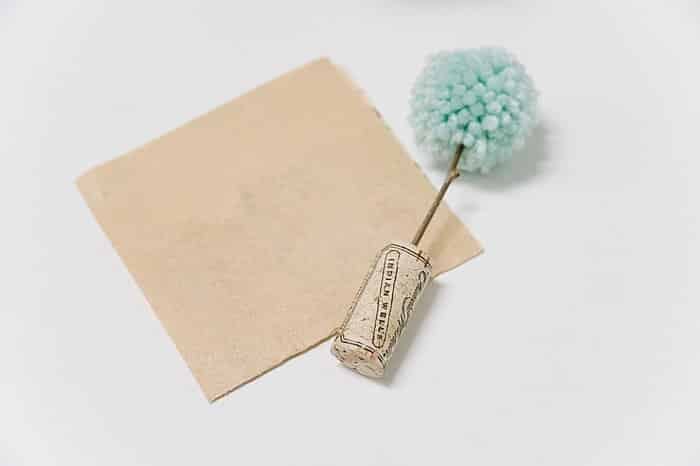
I also thought about hot gluing magnets to the back of them like I did with the cork planter magnets; they would make beautiful magnets for the refrigerator too!
- - -



Leave a Reply