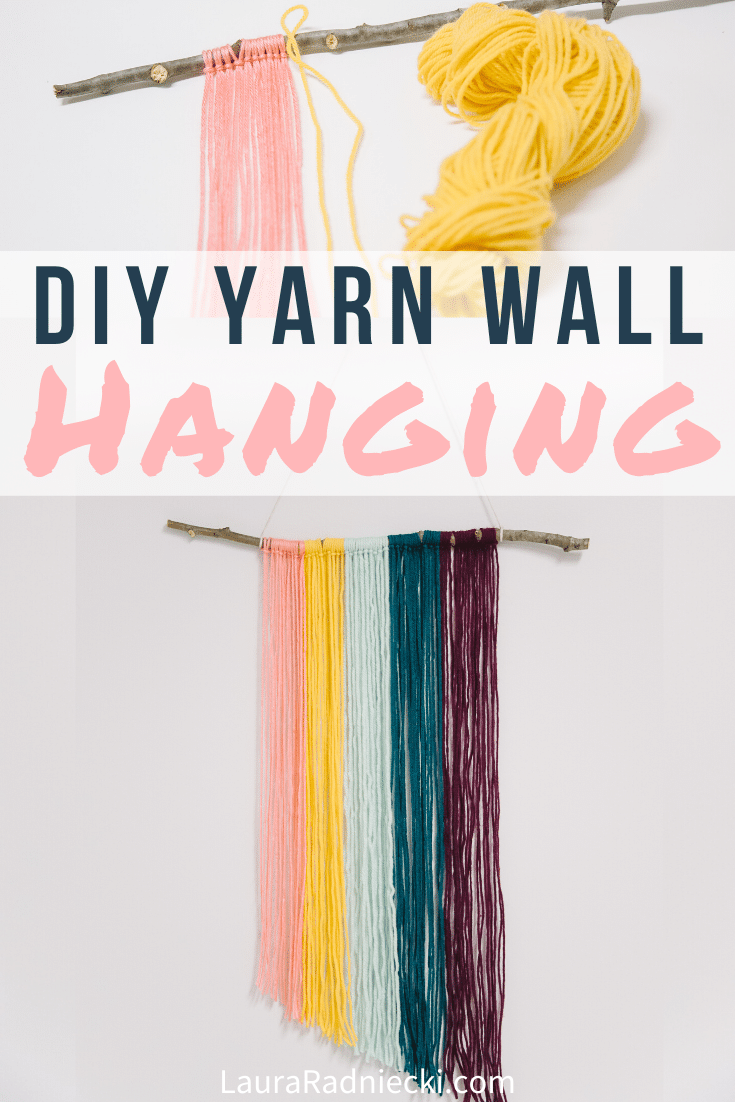
LEARN HOW TO MAKE A DIY YARN WALL HANGING USING A STICK, YARN, AND SCISSORS!
Walls are meant to be decorated, and what better way to decorate the walls of your home than with crafts you have made?
Whether it's a painting, photograph, fabric flower letter, stenciled sign, ocean wall-hanging, or some other DIY craft, there's nothing better than looking at something pretty on your wall, knowing that YOU made it.
That was the inspiration behind today's yarn wall hanging project.
Bare wall space, lots of yarn in pretty colors, and the perfect stick found while exploring in the backyard... that sounds like the beginnings of a DIY yarn wall hanging if you ask me!
Here's how to make your own!
How to Make a DIY Yarn Wall Hanging | Easy Yarn Crafts Idea
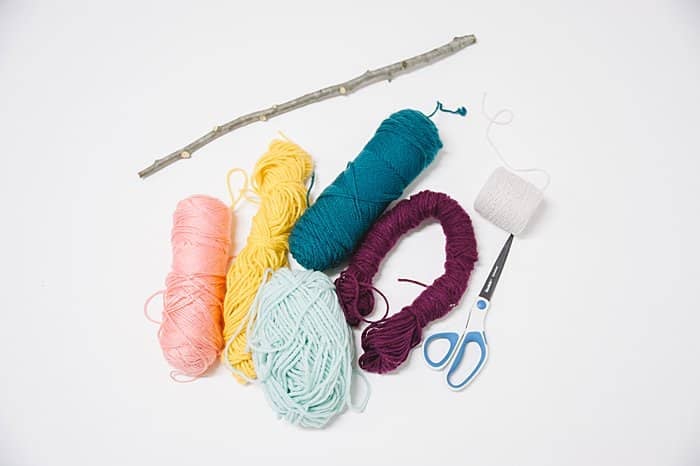
Step 1. Gather Supplies.
Supplies Needed:
- Yarn
- Stick (or Dowel etc)
- String, Twine or Yarn for hanging it up
- Scissors
Step 2. Cut a section of yarn TWICE as long as you want your finished wall hanging to be.
Think about how long you want your finished wall hanging to be; maybe you want the yarn to hang 3+ feet down from your stick?
Then you need to cut a piece of yarn twice as long as that.
For my project, I cut my yarn pieces about 6+ feet long.
It's better to make them too long because you can always trim it later, but you can't add length.
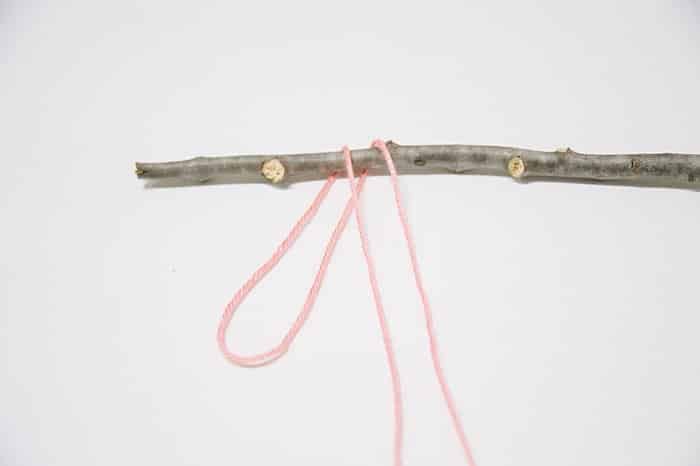
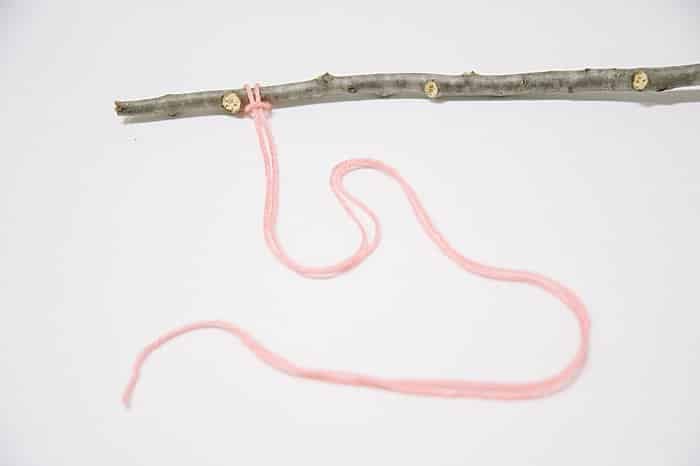
Step 3. Fold the yarn in half, and loop the yarn around your stick to secure.
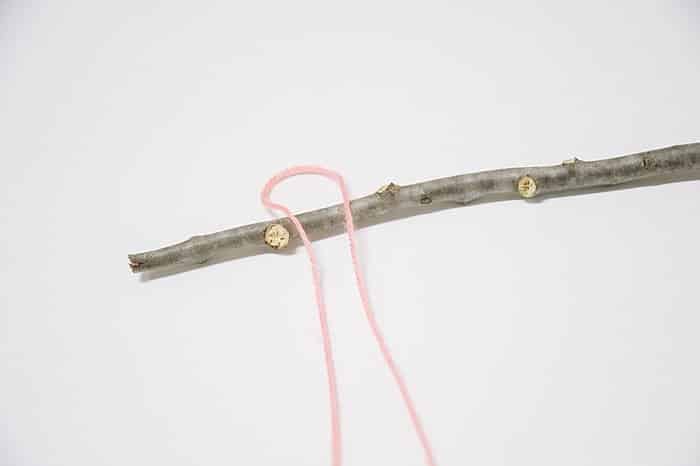
A) Fold the piece of yarn in half.
B) Lay the loop over your stick.
C) Bring the loop back behind the stick.
D) Bring the loop toward the front, and tuck the two long ends of yarn into the loop.
E) Pull the two long ends of yarn to tighten.
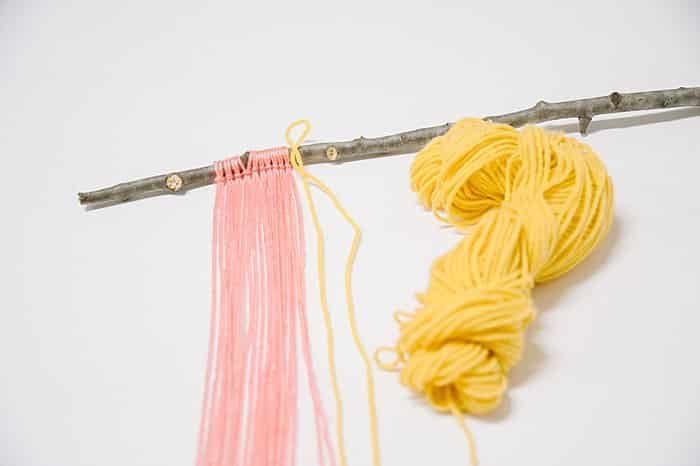
Step 4. Continue looping and tightening yarn pieces onto the stick, switching colors as desired.
Cut pieces of yarn in the various colors you'd like for your yarn wall hanging, and continue the previous process.
Loop and tighten the folded pieces of yarn onto the stick one at a time, changing colors when desired.
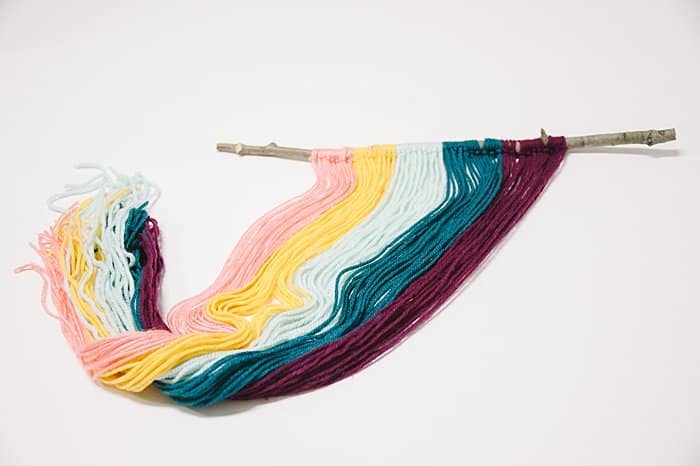
Continue until all of the colors have been added.
Step 5. Tie a hanging string to the ends of the stick.
Cut a section of the string, twine, or yarn you plan to use as a hanging string. (I cut about 3 feet of string, and then adjusted when tying.)
Knot one end of the string to the outer edge of the yarn section.
Determine how long you want the finished hanging string to be, and knot to the outer edge of the yarn on the other side.
Trim off any excess.
Step 6. Hang it up, trim the bottom and enjoy!
The bottom of the yarn section will be a mess of uneven, straggly pieces.
You'll need to give it a trim.
Hang it up so you can see how the yarn falls. Then, you can determine the type of trim it needs.
It can be cut straight across, at an angle, in a centered V shape, in an off-centered V, or any other type of shape you can dream up.
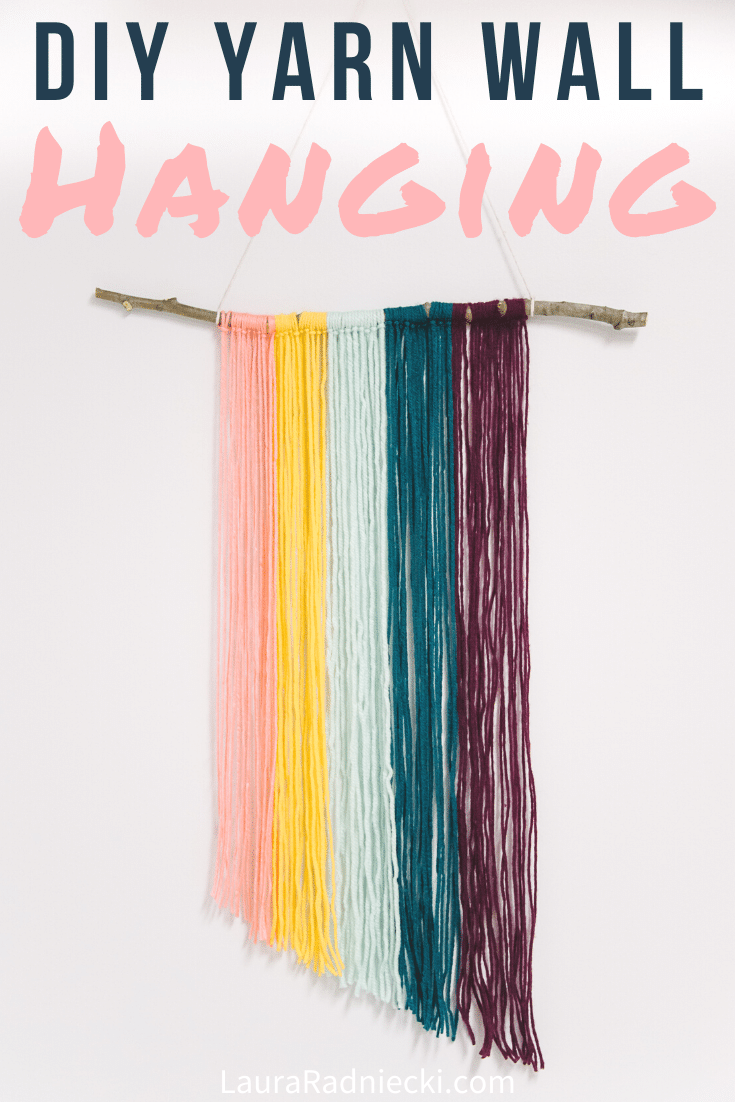
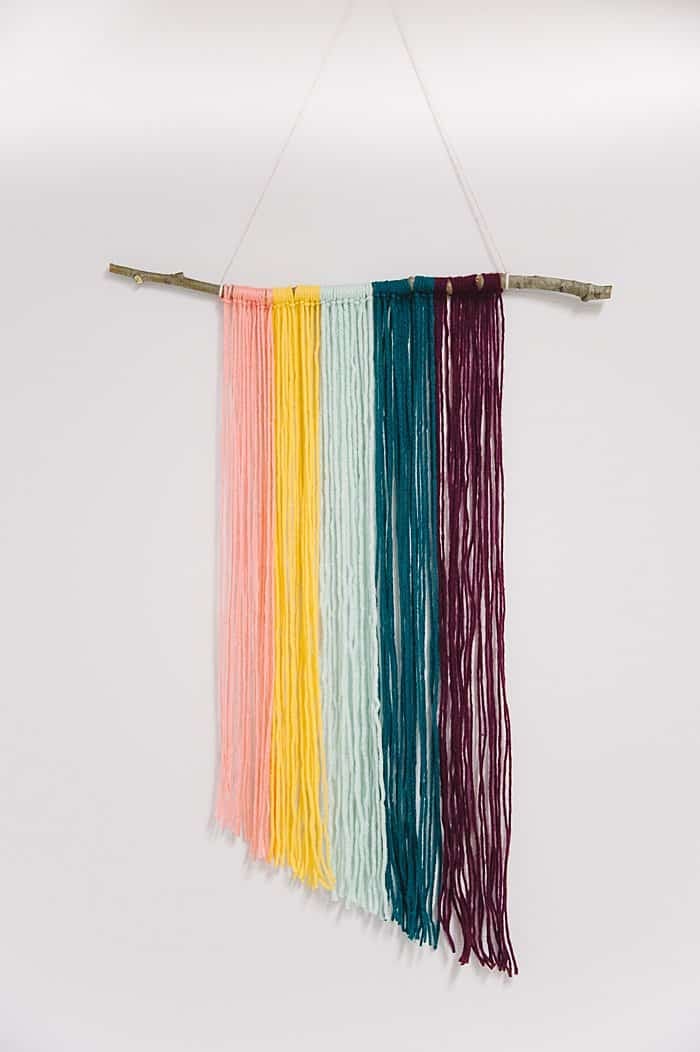
I have now made three of these giant wall hangings, and in the one pictured here, I cut it at an angle from left to right. The other two have been cut in a centered V and an off-centered V.
Once you're done trimming, it's display-ready!
If you're a crafter, chances are you have yarn in excess.
With a stick (or dowel etc), scissors and yarn in your favorite color(s), all it takes is a little time to make a beautiful statement art piece for your wall.
You can customize it to your home decor color scheme and embellish it further by adding beads or braiding sections of the yarn.
There are so many options! You can even make a miniature ornament version of this wall hanging.
You'll never look at a stick the same again; you'll always be thinking, "Hmm... that would be great for a new wall hanging!"
You've been warned!





Leave a Reply