LEARN HOW TO EASILY STENCIL LETTERS ON WOOD TO MAKE A BEAUTIFUL DIY WOOD SIGN.
Stenciling is a fantastic skill to have; it allows you to make all sorts of customized crafts like stenciled canvas prints or stencil tote bags.
You can even make your own stencil using vinyl adhesive or buy one from a company like Stencil Revolution which has hundreds of different options.
Today, we’re using alphabet stencils to make a custom wooden sign. Just like the kinds you see in boutiques all over town!
Here’s how to make one!
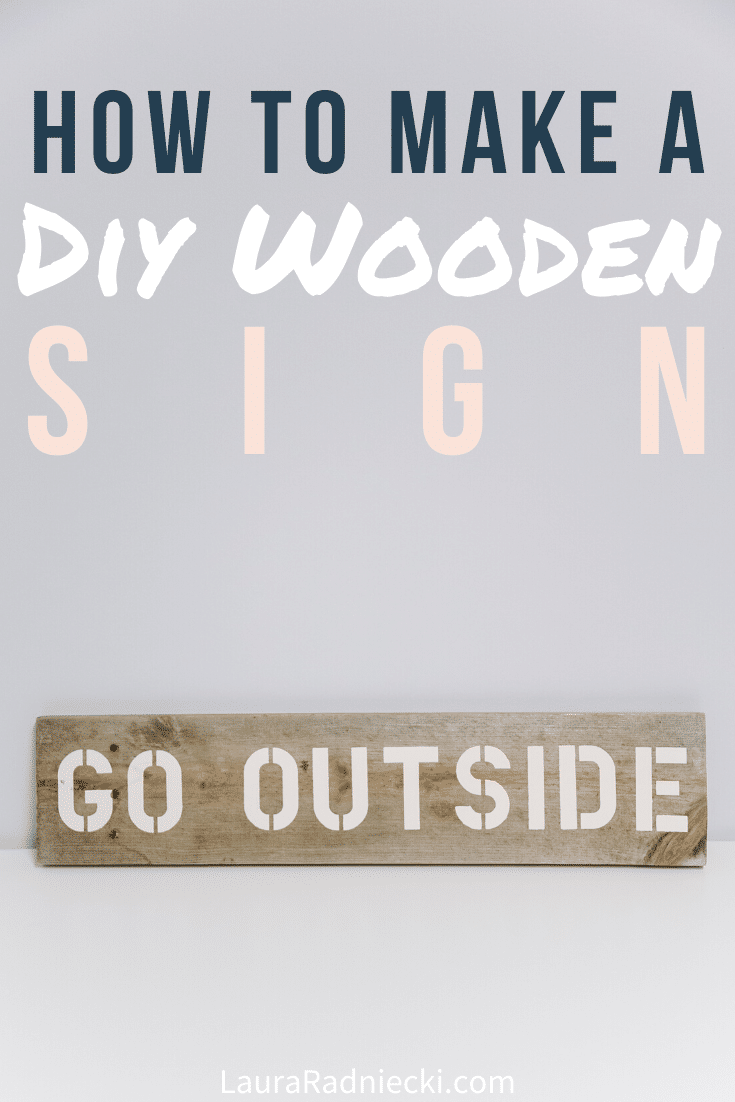
How to Stencil Letters on Wood to Make a DIY Wood Sign
Step 1. Gather Supplies.
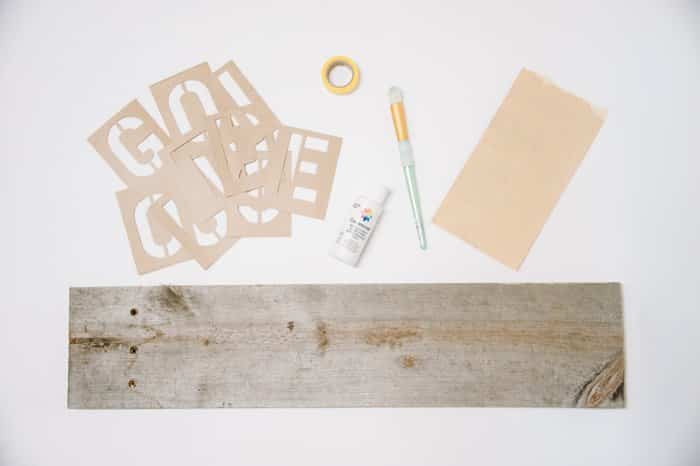
Supplies Needed:
- Wood
- Sandpaper
- Alphabet Stencils
- Tape
- Paint
- Stencil brush
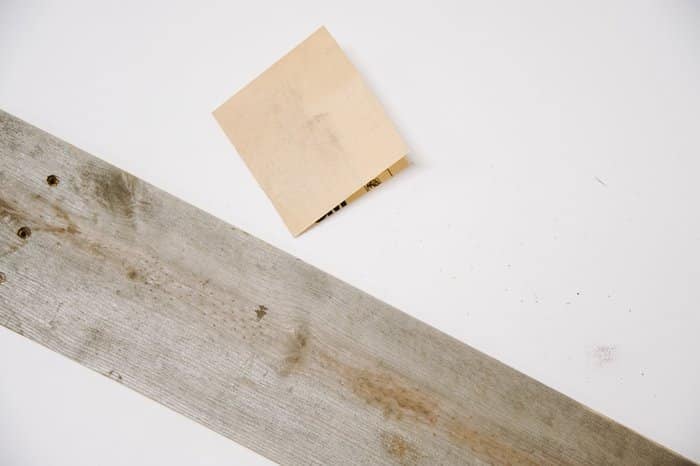
Step 2. Sand wood if needed to prepare for painting.
If needed, give your piece of wood a once-over with sandpaper.
You want a smooth, clean surface to stencil on.
This will help you get the least amount of paint bleed and the best looking end result.
Step 3. Determine letter spacing for stencils and tape in place.
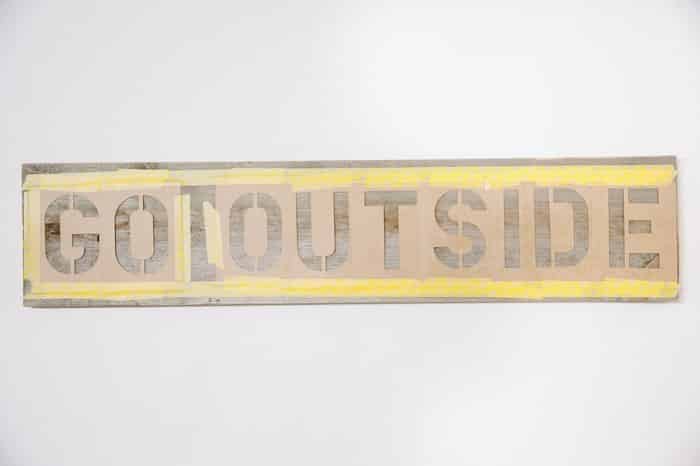
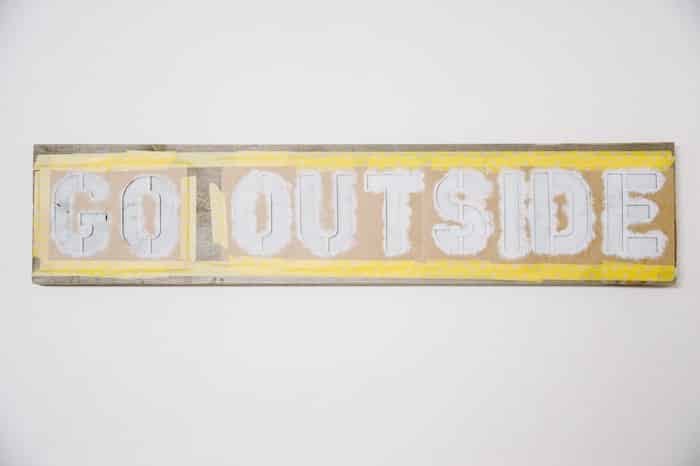
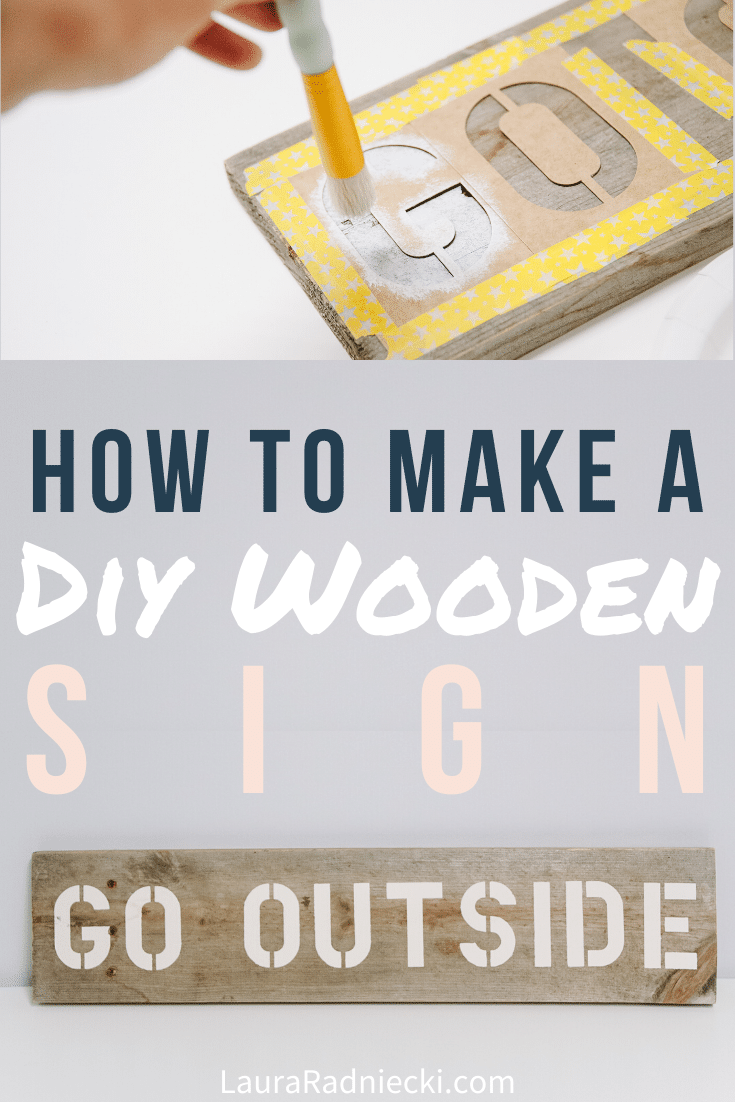
Depending on the type of alphabet stencils you have and the word or phrase you are stenciling, you may be able to lay it out like I did below.
I was able to spell my whole phrase out, and tape the letters in place.
Some people recommend drawing a line down the middle of the board to use as a reference for positioning your stencils.
I eyeballed everything, and used the top and bottom edges of my board as my guides.
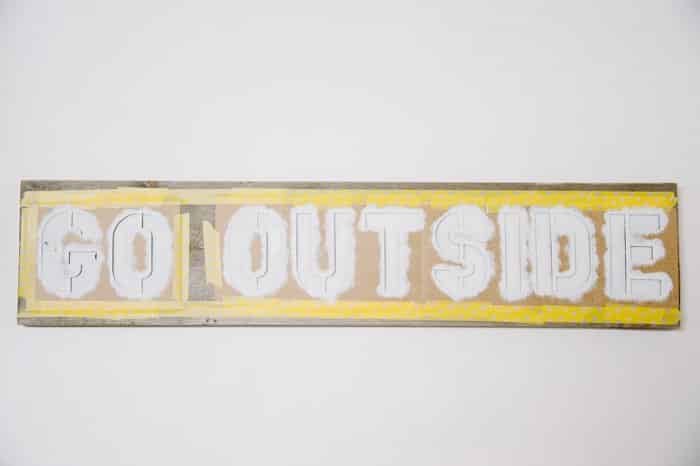
Step 4. Stencil first coat, pressing down on stencil as you go to decrease gaps and paint bleed.
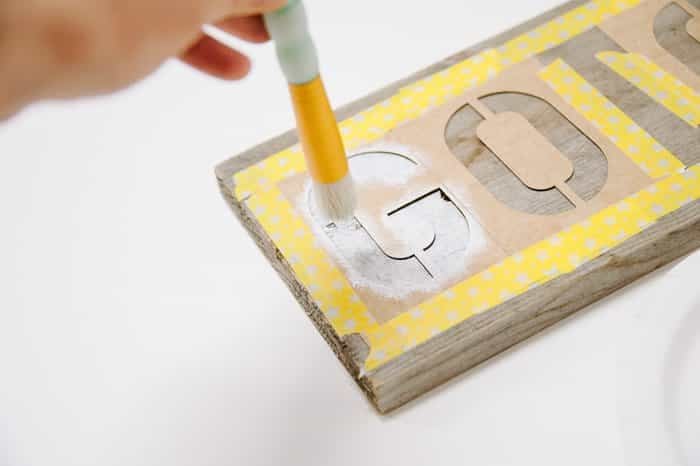
Using the stencil method I outline in detail in my how to stencil the right way post, apply your first light coat of paint.
Dab in an up and down motion with very little paint on the brush.
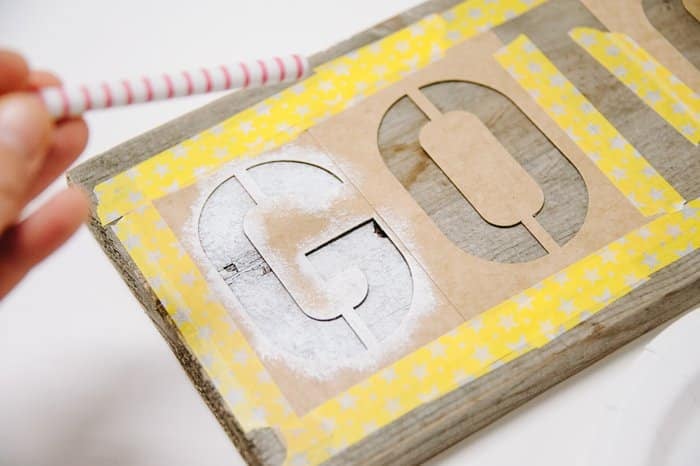
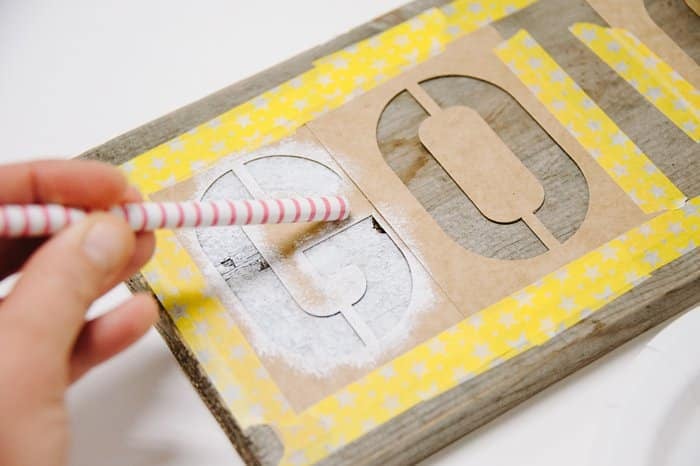
Make sure to press down on the stencil with your finger or an object like a pencil to help minimize gaps and prevent paint bleed.
Continue painting the first coat, and let dry.
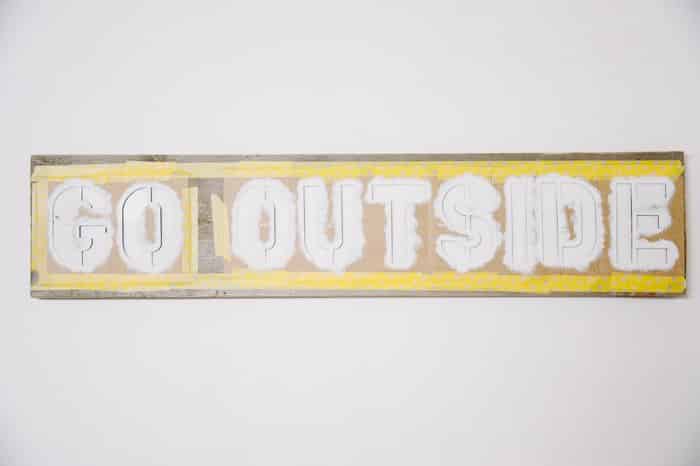
Step 5. After dry, repeat a second light coat of paint.
Repeat with a second coat of paint.
The stenciled letters will gradually get more bold as you do another layer of paint.
Step 6. After dry, paint a light third coat to ensure coverage.
Depending on the color of paint you choose and the surface you are stenciling on, it might require a third coat to ensure coverage.
Step 7. Let dry, then remove stencil.
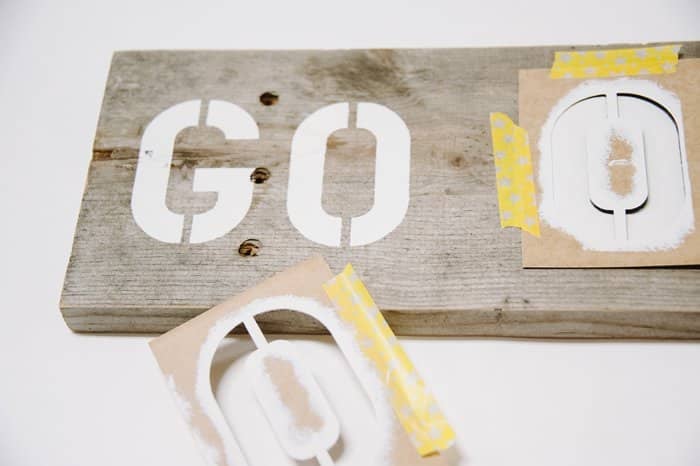
Once the paint is completely dry, carefully remove the tape and the stencils.
Your letters will be revealed as you go!
Step 8. Inspect and display!
Once you have removed all of the stencils, your sign is ready for display!
If you want an extra rustic sign, you could lightly sand the surface to roughen up the letters a bit.
I did not do anything to my sign once I finished removing my stencils. It's displayed as is!
Like I've mentioned before, stenciling is addicting.
It doesn't take very many stencil projects before you're looking around your house wondering, "Hmm... what else can I stencil on?"
With a set of alphabet stencils, some paint and a stencil brush, you can learn how to stencil letters on wood and turn any piece of wood into a custom sign!
- - -




Leave a Reply