I am a huge fan of stencils; I love how easy they make it to do projects that look so good, they could be sold in a store!
I also love how easy it is to create your own stencil; all you need is a little vinyl and a shape you'd like to turn into a stencil.
We’re on Day 26 of The 30 Days of Ornaments Project, where we are making 30 handmade ornaments in 30 days.
Today, we are going to use the shape of Minnesota that I printed onto computer paper, as well as some sticky vinyl, and we are going to stencil onto burlap fabric before turning it all into a DIY stencil embroidery hoop Christmas ornament!
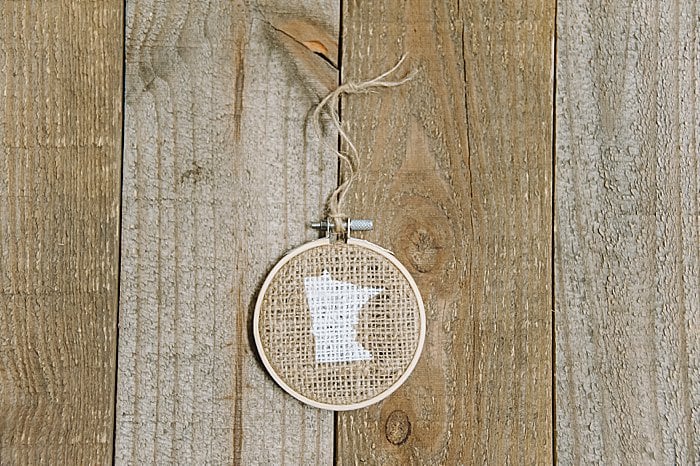
Here is how to make a DIY stencil Christmas ornament!
Day 26: How to Make a MN Stencil Embroidery Hoop Ornament
DIY Stencil Christmas Ornament
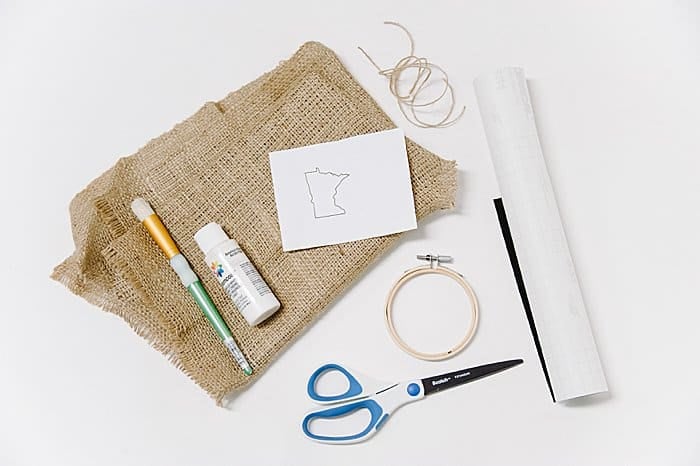
Step 1. Gather supplies.
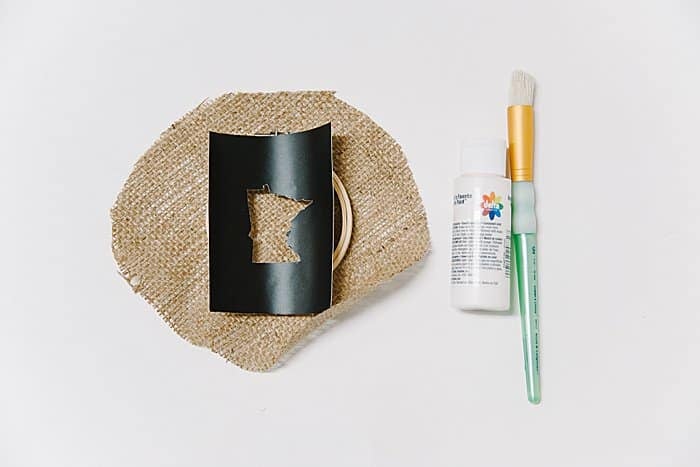
Supplies needed:
- Printed paper shape or stencil
- Vinyl
- Pencil
- Burlap Fabric
- 3" Embroidery Hoop
- Acrylic Paint
- Stencil Brush
- Twine
- Scissors
- Hot Glue Gun and Glue
Step 2. Cut a 12" section of twine to use as a hanging string, and set aside.
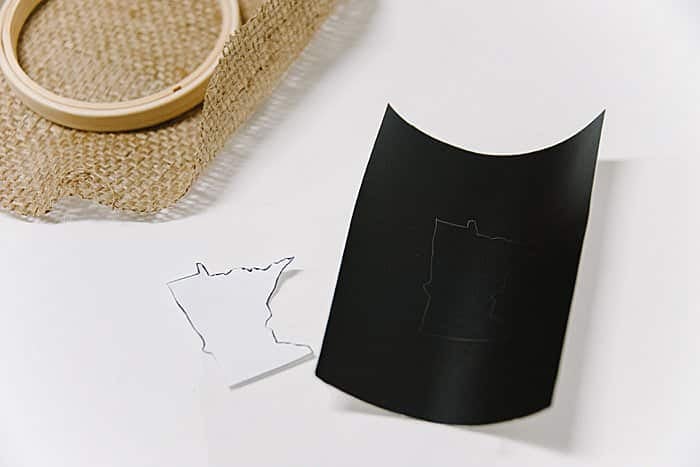
Step 3. Cut out the shape you want to stencil onto the ornament. (In my case, it's the state of MN that I printed out on computer paper.)
Step 4. With a pencil, trace the shape onto a section of vinyl that is larger than the embroidery hoop.
Step 5. Use a scissors and starting on the INSIDE of the shape, carefully cut out the shape from the middle. You want to end up with the piece of vinyl in tact, with your shape cut out from the center.
Step 6. Cut a circular piece of fabric several inches larger than your embroidery hoop. Peel off the sticky back of the vinyl, and firmly and carefully press it onto the middle of your fabric. Make sure you press firmly around all of the inner edges of your shape, to decrease any paint bleed when you paint stencil.
Step 7. Stencil your shape using this best method for stenciling. Using a stencil brush, put a very small amount of paint on your brush, dab off any excess, and then dab in an up and down motion, adding paint inside your shape. Let dry and repeat with several light coats.
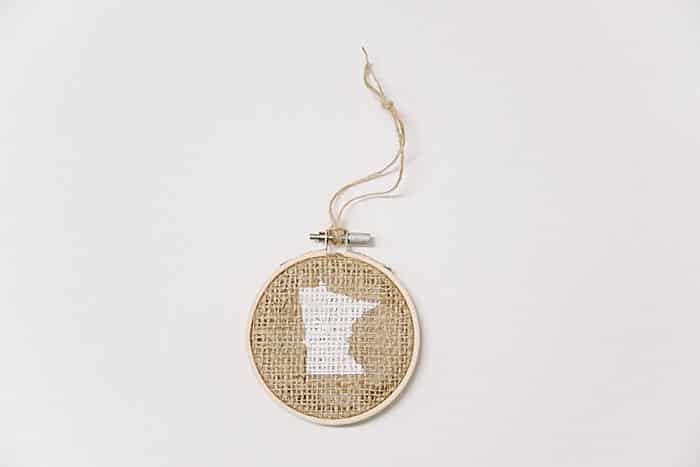
Step 8. Once the paint is dry, carefully peel the vinyl off, leaving your stenciled shape behind!
Step 9. Loosen the screw on the top of the embroidery hoop, take off the outer hoop, lay the fabric centered onto the inner hoop, and then lay the outer hoop on top. Slide the outer hoop down onto the fabric and inner hoop, and the fabric should pull taut as you do this. Tighten the screw at the top once the outer hoop is on and everything is tight.
Step 10. Cut the excess fabric to about ¾" around the edge of the hoop. Use hot glue, and glue the excess fabric to the inside of the hoop in the back to finish it off.
Step 11. Add the hanging string to the metal screw on top, inspect, and hang up the MN stencil Christmas ornament!
I love projects involving the state of Minnesota (one of my favorite projects ever is the MN state embroidery I did for my living room wall), and I also love anything stenciled.
Combining the two in order to create a DIY stencil Christmas ornament was a no brainer!
This same idea and technique can be used with any type of stencil imaginable.
And you don't even have to use a store-bought stencil; with a little bit of vinyl, you can make your own unique stencil in minutes!
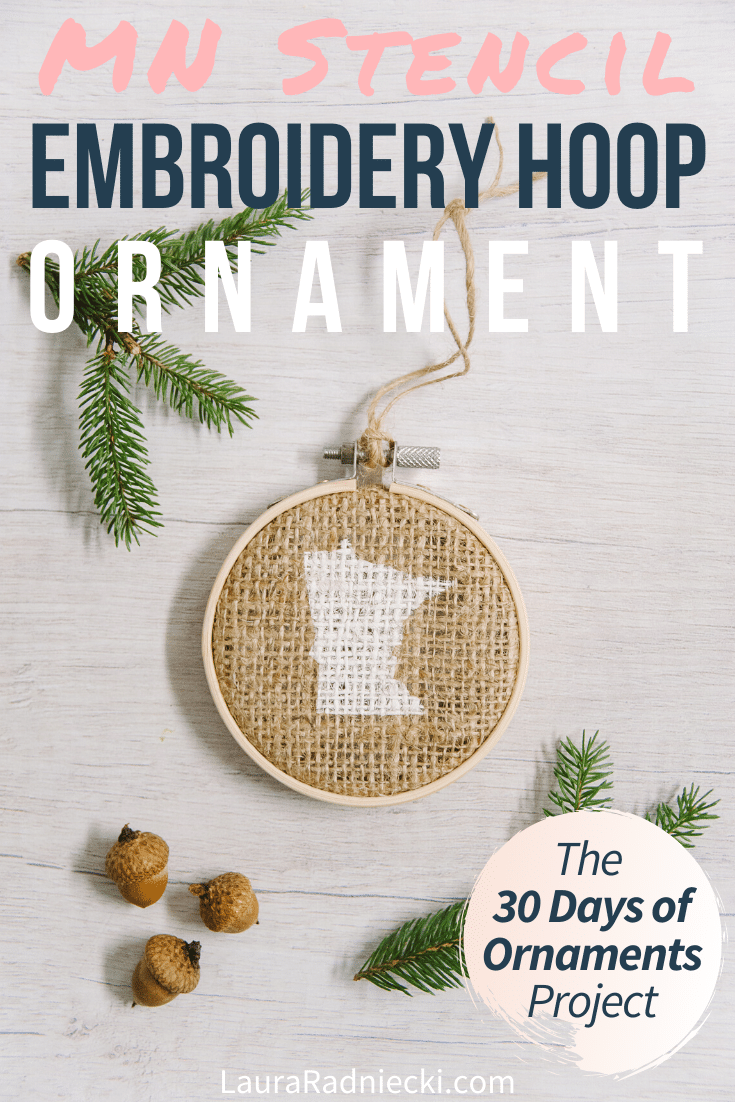
Save the idea for later by pinning the photo below to Pinterest!
. . . . . . .

Leave a Reply