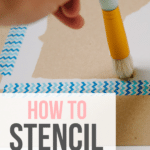
Learn how to stencil the right way with this tutorial that shows the stencil basics for crafts. Awesome tips for stenciling to help you master your projects!

Learning how to stencil seemed like a piece of cake to me. And then I tried it...
My first attempt at stenciling was a complete failure. So bad in fact, that I am not going to show you any photos.
What went wrong?
I used spray paint, applied it WAY too thick, and didn't let it dry in between coats. Yikes. Lesson learned.
I decided to try again using a stencil brush and acrylic paint, and I'm happy to report my results were MUCH better.
If you want to learn how to stencil, I'll save you the headaches and project failures. I'm here to teach you the right (and best) way to stencil! Let's do it!
Jump to:
Why You'll Love This Craft
- Stenciling is one of those craft techniques that seems self-explanatory but a few tweaks make a big different in the quality of the finished product. These tips will help you stencil like a pro.
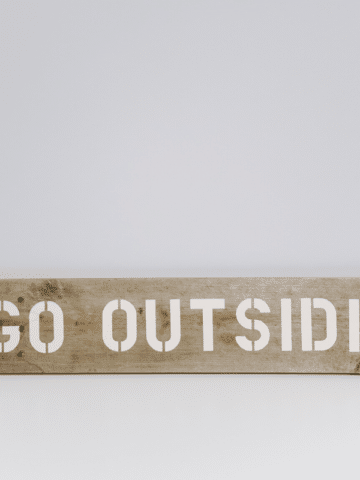
- Once you learn how to stencil properly, you can make so many fun customized crafts! You can stencil on cards, add designs to tote bags and clothing, and make custom decor like banners for Valentine's Day or a cute stenciled wooden sign.
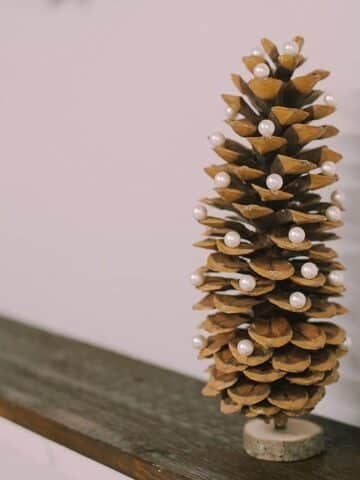
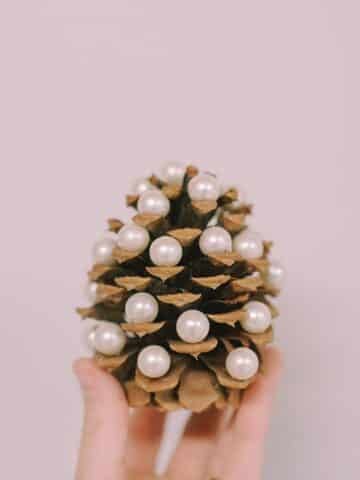
- Handmade gifts are a win-win for the crafter and the receivers, and there aren't many gifts people like more than stenciled projects! One of my favorites is this beautiful stenciled ornament!
Craft Supplies Needed
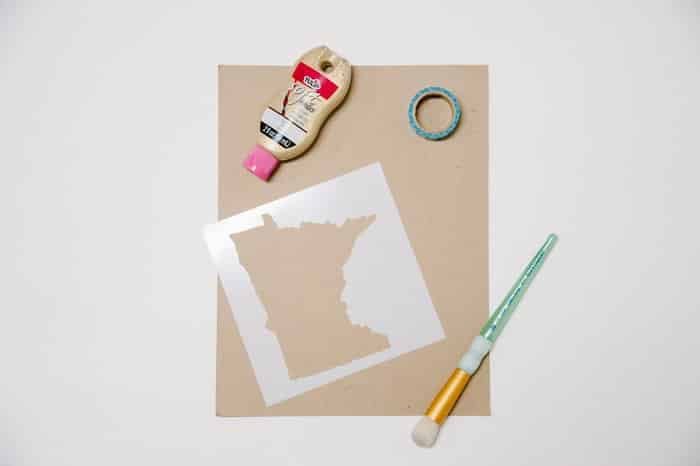
- Stencil - Stencil Revolution has a TON of options at awesome prices. That's where most of mine come from.
- Tape - Washi tape, masking tape, or painter's tape works well.
- Stencil Brush - You want a brush that has semi-rigid bristles so you can dab the paint on.
- Acrylic Paint - So many colors to choose from!
- Paper Towel or Paper Plate - To dab excess paint off of your brush as you begin stenciling.
- (Optional but Recommended) - Repositionable Stencil Spray Adhesive. If you have a ventilated space to spray or can go outside to do it, using a repositionable adhesive makes things a lot easier and will give cleaner edges to your project. But I often skip this step because I don't have a properly ventilated space to work in.
How to Stencil the RIGHT Way
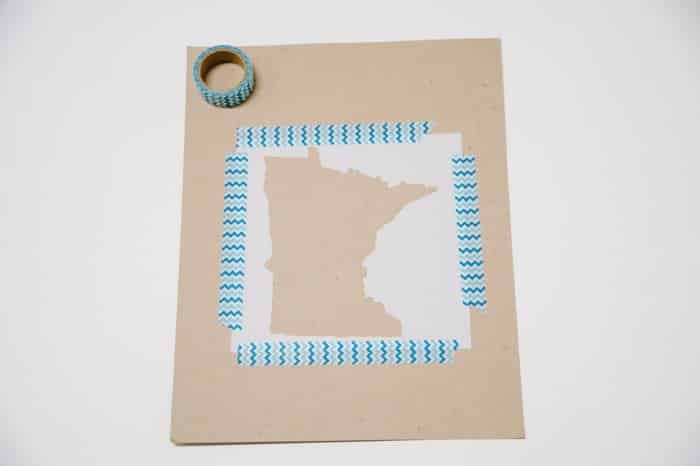
Step 1. Using repositionable spray adhesive or tape, decide where you want to place your stencil and anchor it.
You don't want it to move around while you're stenciling.
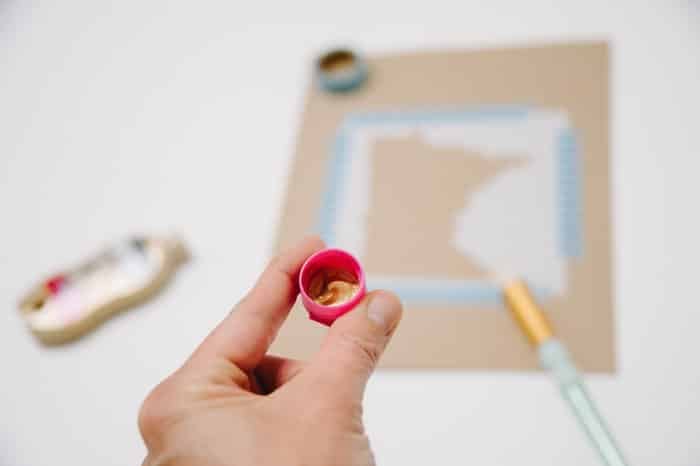
Step 2. Add a small amount of paint to your stencil brush.
This is the KEY to stenciling and is the difference between a successful or failed project.
You do not want to use too much paint at one time. Too much paint will cause it to seep and bleed underneath the stencil.
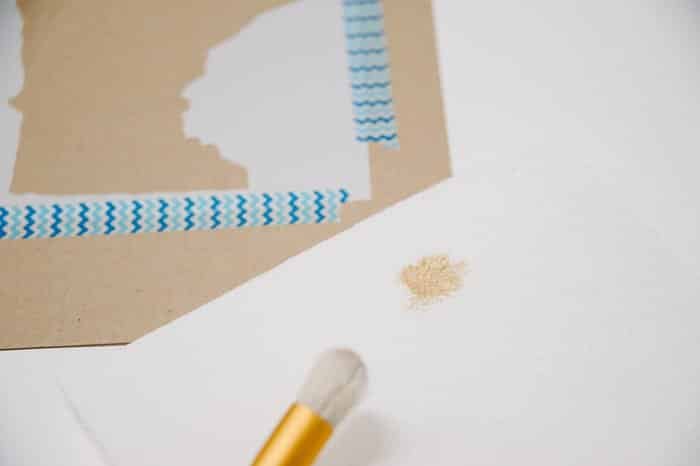
Step 3. Then use a paper plate or paper towel to dab off the excess.
(It's much better to err on the side of less paint than too much.)
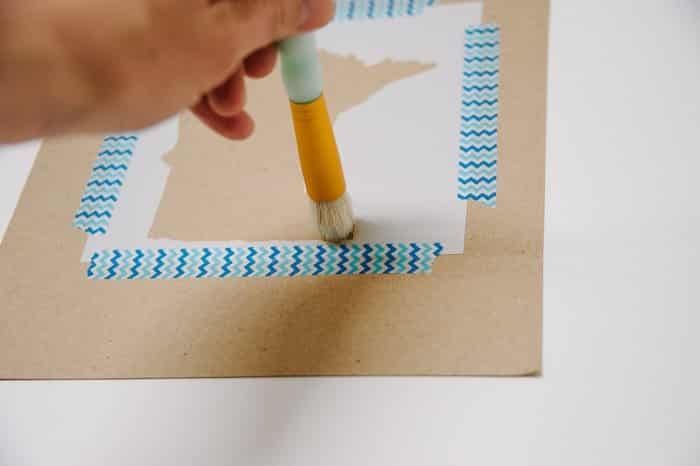
Step 4. Once you've dabbed any excess paint from your brush off onto a paper towel or paper plate, it's time to stencil.
Using an up-and-down vertical dabbing motion, you want to dab paint into the stencil area.
Go slow, reapplying paint to your brush as needed.
Every time you add new paint to your brush, dab it onto the paper plate or paper towel before you touch it to the surface you are stenciling.
Make sure you are dabbing in an up-and-down vertical motion, NOT sweeping side to side. You don't want to push any paint underneath the edge.
Step 5. Continue dabbing paint vertically onto your surface until it's all covered.
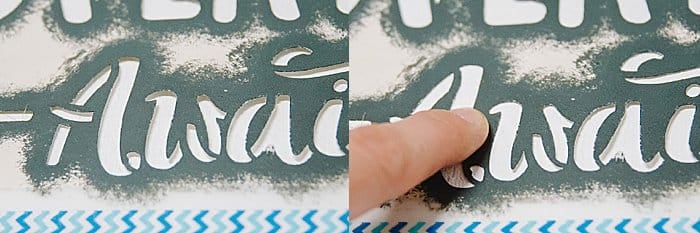
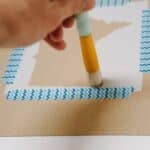
PRO TIP: As you go around the stencil's edges, it helps to push down on the stencil's edge with your finger so the paint doesn't go underneath. This might not be necessary if you use an adhesive spray, but if you use tape, pressing down on the edge will help you get clean, crisp edge lines.
(In the photo on the left, the "A" and "w" from "Awaits" are not flat against the canvas. But when I press on it with my finger on the right photo, they are now flat against the canvas. As I go along, I press on each section's edges as I work to decrease any paint seepage.)

Step 6. You should be stenciling with very little paint each time, so you will have to do multiple coats to cover everything well.
I often end up doing three coats of paint, letting them dry in between.
Resist the urge to put too much paint on at one time to go faster. I made this mistake and my end result looked sloppy because so much paint seeped underneath the stencil.
The key to a great stencil is to use very little paint at once, and do multiple coats to build up to the look you want.

Step 7. Once the paint is dry, peel off the tape, and remove your stencil.
If you used adhesive spray, carefully peel the stencil off. If any adhesive remains on the surface, you can remove it with your finger or a piece of tape to help pull up the sticky residue.
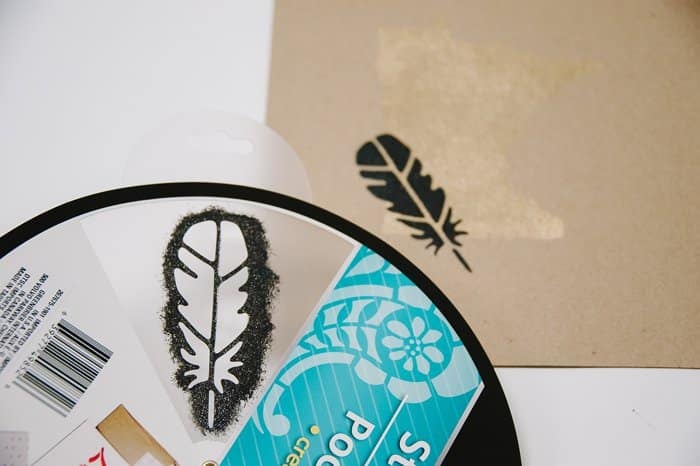
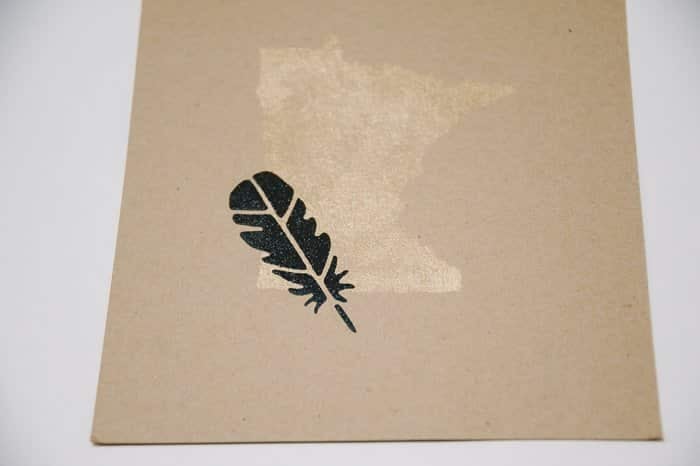
Step 8. You can also layer stencils on top of each other, once the bottom layer is dry.
Here's a black feather on top of the gold state of Minnesota.
Stenciling is such a fun way to experiment and customize a variety of items.
Once you try it, I guarantee you'll be thinking, "Hmmm... what else can I stencil on now??"
The important steps to remember as you learn are to anchor your stencil, use only a little bit of paint at a time, dab in a vertical up-and-down motion, and do multiple coats to build up your color.
A whole range of crafts just opened up to you!
Common Questions
A stencil is a thin sheet of plastic, paper, cardboard, or metal with a cutout shape or design in it. It is used to make a design of the cutout shape onto something beneath it. You can stencil onto fabric, paper, plastic, metal, wood, and many more.
There are stenciling machines or you can stencil by hand like we do in this tutorial.
There are four main tips and tricks to using stencils well. They are:
1. Secure the stencil in place with tape or repositionable stencil adhesive.
2. Use as little paint on your brush as possible.
3. Dab the paintbrush in an up-and-down vertical motion.
4. Let the paint dry in between light paint coats.
If you follow those steps to do multiple coats of light paint, you will have a beautiful stencil project when you're done!
First, make sure you secure the stencil to the surface you are stenciling on, either with repositionable spray adhesive or tape. Next, you want to use very little paint for each coat, and dab in an up-and-down vertical motion. Lastly, press down on the edge of the stencil in each section you stencil, to minimize the amount of paint that might be able to see under the edge. If you do multiple coats of light paint, and follow the rest of these tips, the amount of paint seepage you have should be minimal.
An Important Note About Stenciling
Like everything we do here, perfection is not required. Your project is handmade, not made by a machine. So please don't expect it to be as precise as something machine-made.
My expectations were way too high when I first started stenciling, and every tiny imperfection made me feel like a failure.
But remember: it's handmade!
You are going to be looking at your project from far away, NOT from 3 inches away. Embrace the fact this is a handmade project and perfection is NOT the goal. Look at your projects from a normal distance and I guarantee you they'll look great.
Don't let the pursuit of perfection steal the fun of the project!
More Crafts You'll Love


---
⭐️🧶 Did you enjoy this craft and want to see more like it? ✂️ Join our FREE email community and get inspiring craft ideas sent right to your inbox! 🧵 ⭐️
---
How to Stencil the RIGHT Way
Materials
- Stencil (I love the stencils at Stencil Revolution)
- Tape
- Stencil Brush
- Acrylic Paint
- Paper Towel or Paper Plate
- Repositionable Spray Stencil Adhesive
Instructions
- Using repositionable spray adhesive or tape, decide where you want to place your stencil and anchor it.You don't want it to move around while you're stenciling.
- Add a small amount of paint to your stencil brush.This is the KEY to stenciling and is the difference between a successful or failed project.You do not want to use too much paint at one time. Too much paint will cause it to seep and bleed underneath the stencil.
- Then use a paper plate or paper towel to dab off the excess.(It's much better to err on the side of less paint than too much.)
- Once you've dabbed any excess paint from your brush off onto a paper towel or paper plate, it's time to stencil.Using an up-and-down vertical dabbing motion, you want to dab paint into the stencil area.Go slow, reapplying paint to your brush as needed.Every time you add new paint to your brush, dab it onto the paper plate or paper towel before you touch it to the surface you are stenciling.Make sure you are dabbing in an up-and-down vertical motion, NOT sweeping side to side. You don't want to push any paint underneath the edge.
- Continue dabbing paint vertically onto your surface until it's all covered.PRO TIP: As you go around the stencil's edges, it helps to push down on the stencil's edge with your finger so the paint doesn't go underneath. This might not be necessary if you use an adhesive spray, but if you use tape, pressing down on the edge will help you get clean, crisp edge lines.
- You should be stenciling with very little paint each time, so you will have to do multiple coats to cover everything well.I often end up doing three coats of paint, letting them dry in between.Resist the urge to put too much paint on at one time to go faster. I made this mistake and my end result looked sloppy because so much paint seeped underneath the stencil.The key to a great stencil is to use very little paint at once, and do multiple coats to build up to the look you want.
- Once the paint is dry, peel off the tape, and remove your stencil.If you used adhesive spray, carefully peel the stencil off. If any adhesive remains on the surface, you can remove it with your finger or a piece of tape to help pull up the sticky residue.
- You can also layer stencils on top of each other, once the bottom layer is dry.
Notes
- Use repositionable stencil adhesive if you have a ventilated space to work in, or else tape your stencil down onto the surface you want to stencil.
- Blot off most of the paint from your brush before you stencil. You want very little paint for each coat.
- Dab in a vertical up-and-down motion to avoid pushing paint underneath the edges of the stencil.
- Do multiple coats of very little paint to achieve a beautiful, precise stencil.


Kent
Can you wash off paint off stencil after 3 paint coats ? how do you do that?
Laura
Hi Kent! The paint can usually be washed off easily if it's not fully dry, and even if it's dry, it can be scraped off pretty easily. If it seems stuck, something like mineral spirits or paint thinner should remove it too.