Stenciling is a great way to easily customize nearly anything.
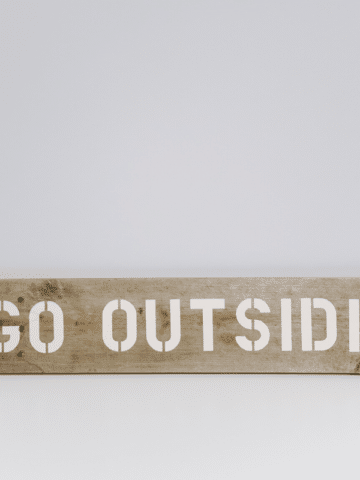
You can use alphabet stencils to make a Valentine's Day banner (or a banner for any holiday or occasion, really!)
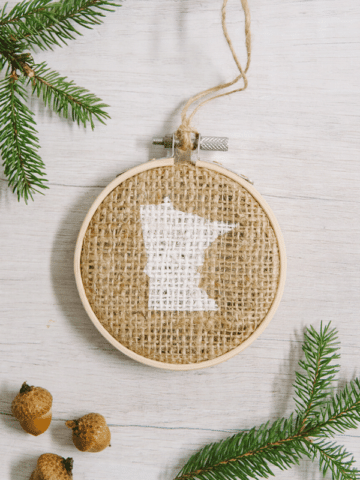
Stencils can also be used to make personalized Christmas ornaments too, like this MN stencil ornament I'm obsessed with.
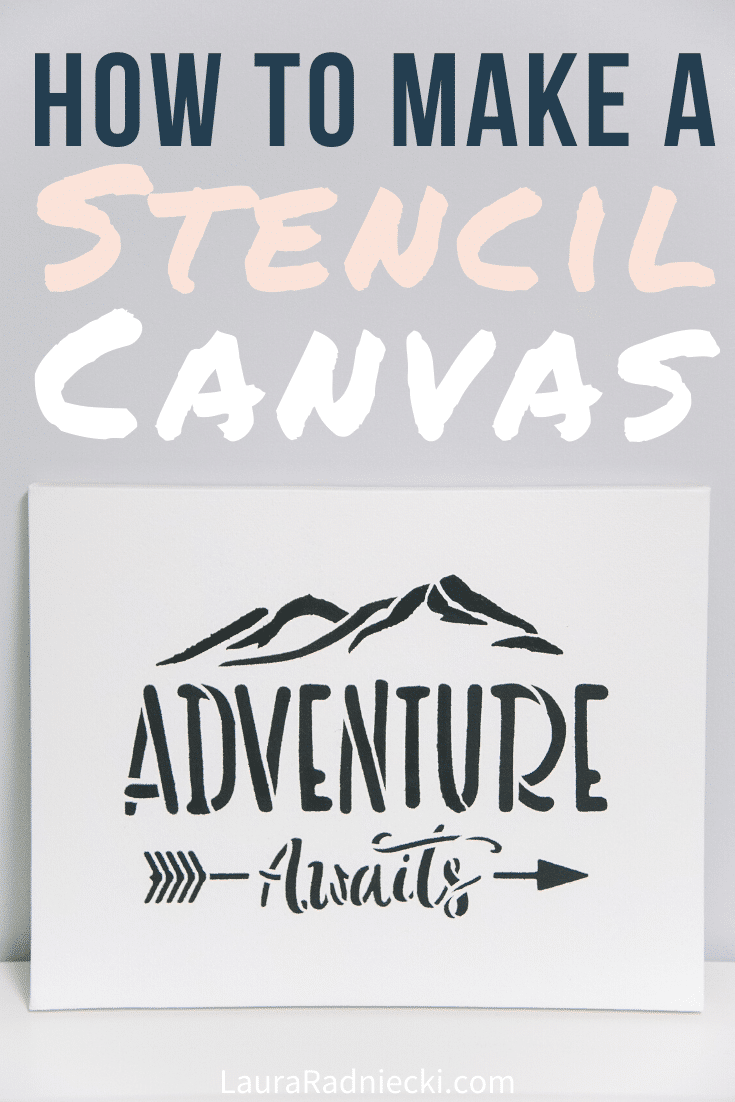
And stencils can be used to make custom wall art as well, by stenciling onto a canvas.
Whether you use a brand new blank canvas, or repurpose an old one by first painting over it, all you need is a canvas, a stencil, some paint, and a brush and you're on your way to making your own statement piece of stenciled wall art!
NOTE: This tutorial follows the steps that are carefully outlined in detail in my How to Stencil the Right Way blog post. Click over to see more specifics on the best way to stencil if you want more details than I include in this tutorial here.
Let's get to it!
How to Stencil on a Canvas
Step 1. Gather your supplies.
Supplies needed:
- Canvas - A blank canvas or an old one that you paint over first
- A Stencil - Stencil Revolution has hundreds to choose from and is where the one I used came from.
- Tape - washi, masking tape, or painters tape
- Stencil brush
- Acrylic paint
- Paper plate to dab off excess paint
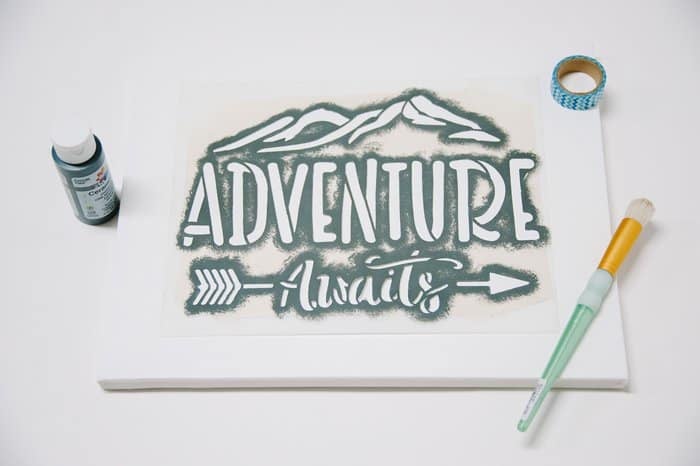
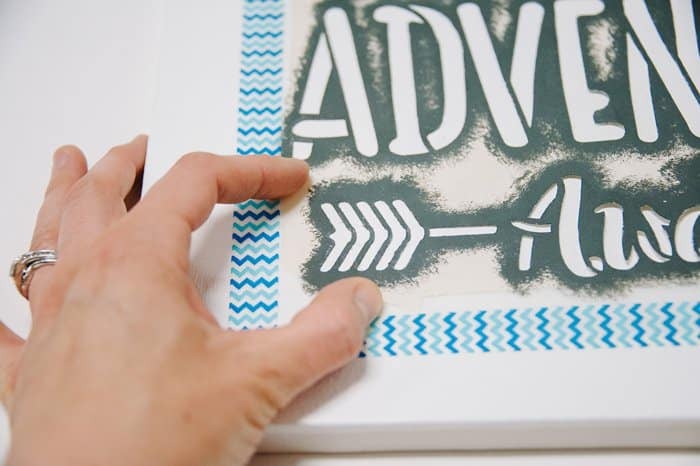
Step 2. Anchor your stencil to the canvas
Decide where you want your stencil to be on the canvas. Then secure it, using the tape.
You can also use repositionable adhesive spray to ensure it won’t move, but that’s optional.
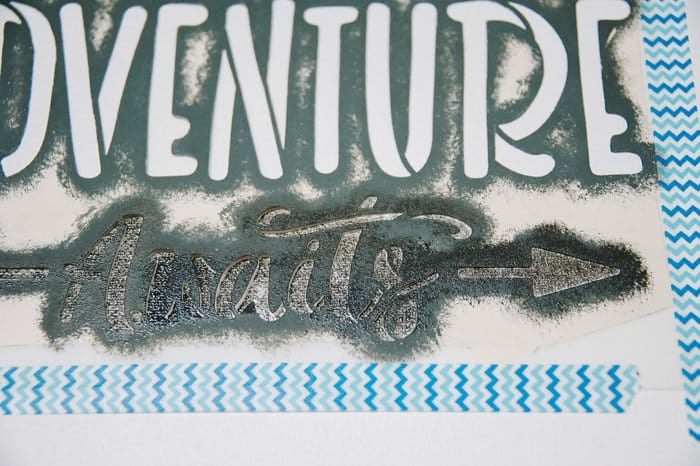
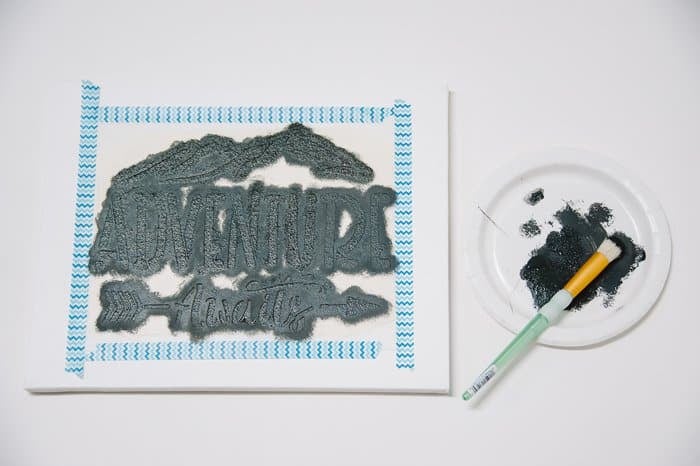
Step 3. Stencil carefully with paint.
First, add a small amount of paint to your paintbrush.
Then dab off any excess.
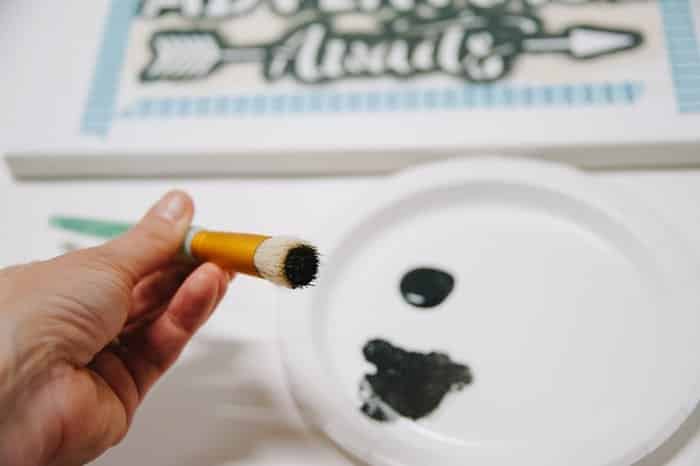
Finally, dab on a LIGHT coat of paint, in an up and down motion, onto the stencil.

PRO TIP: With your finger, push down on the edges of the stencil as you go to help make a good seal. This will decrease paint bleed underneath the stencil.
If you are using an adhesive spray, you won’t need to do this. But if you skip the spray, this step is very helpful in getting a crisp outline to your stencil.
Step 4. Repeat with additional coats of paint.
You will be stenciling with light coats, so you will need to do multiple layers to achieve your desired color.
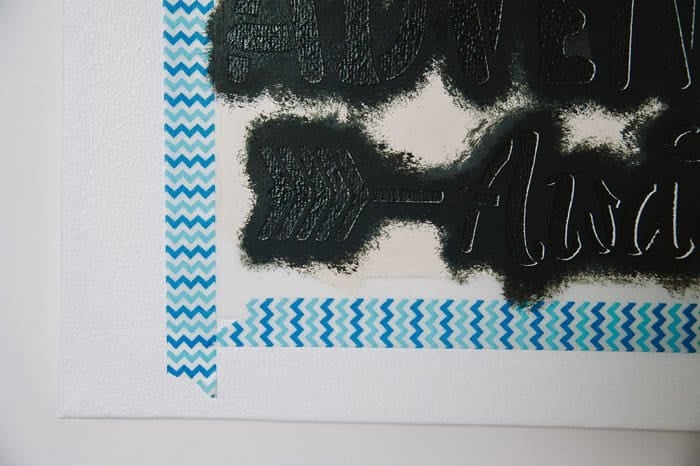
It’s MUCH better to do several light coats than to do one heavy coat.
Heavy, thick paint is how you get bleeding under the stencil.
Step 5. Let dry and remove stencil.
Once it’s all completely dry, carefully remove your stencil.

If you used adhesive spray, you might have some adhesive left over on the surface of your canvas. You can use your finger to rub it off, or you can use a piece of tape to try to get the adhesive off.
Step 6. Hang up your new stenciled canvas print!

Stenciling is one of those craft projects that seems way harder than it actually is.
Using the tips in my post on How to Stencil the Right Way, it's simple and fast to stencil beautiful works of art.
It won't be long, and I guarantee you'll be looking around, wondering what else you can stencil on!
- - - - -
Save this idea for later by pinning the photo below to Pinterest!


Andrea Gengler
Great ideas for my grandkids when they come to visit!
Laura
Yes, they would sure have fun!!
Kathy
Yes, adventure awaits! Such a fun stencil to use on a number of items.
Laura
It is one of my all time favorites!