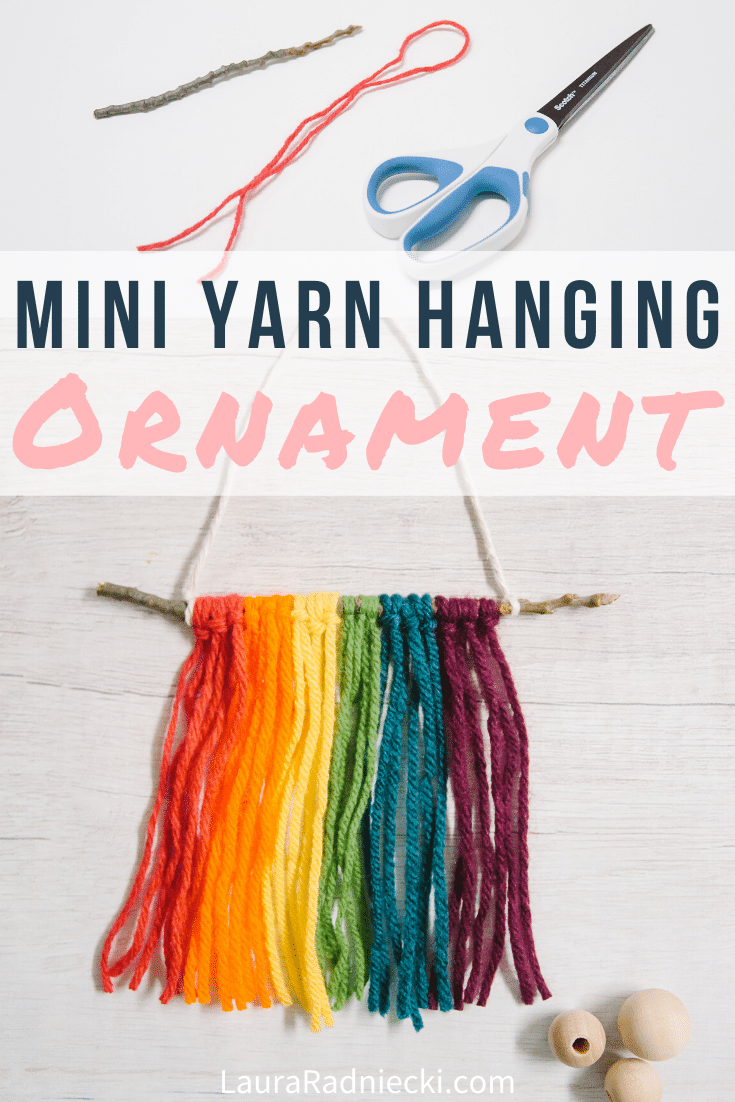
LEARN HOW TO MAKE A MINI DIY YARN WALL HANGING ORNAMENT, USING ONLY YARN, A STICK, AND SCISSORS!
All it takes to make a beautiful wall hanging is a stick, yarn or string, and scissors.
And some patience and time to craft.
You'll end with a statement piece of art for the wall of your home that can be customized to match the look and feel of your space.
The same concept and directions can be followed on a small scale to make a miniature version of the yarn wall hanging.
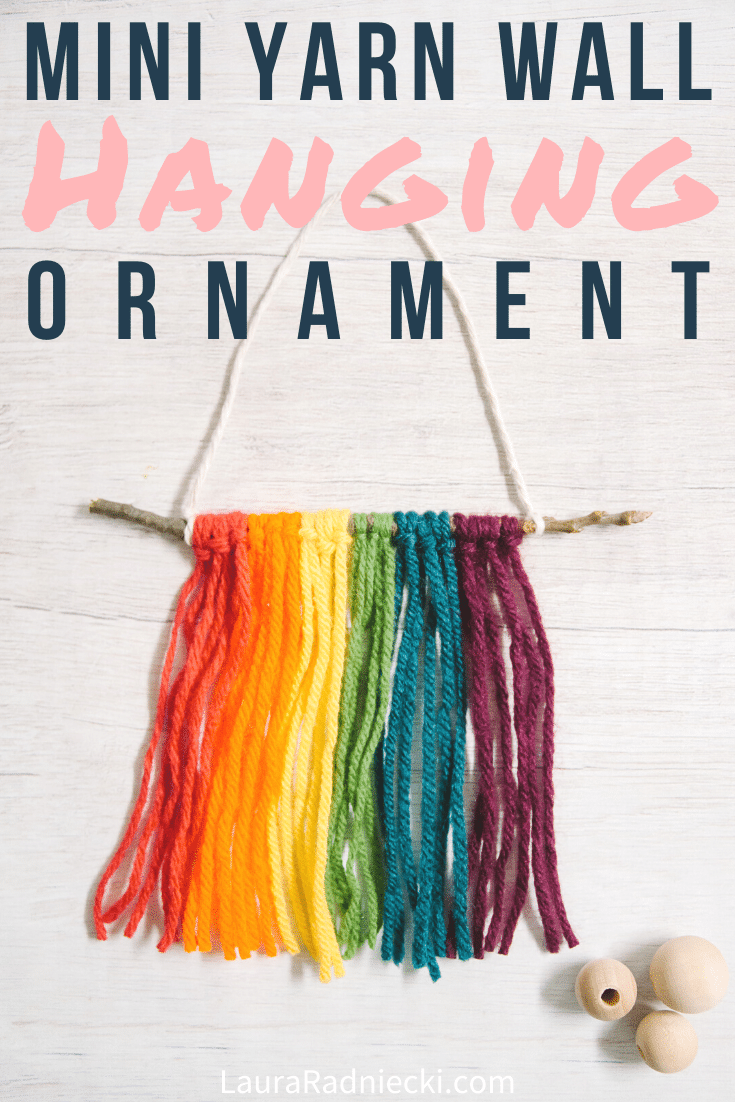
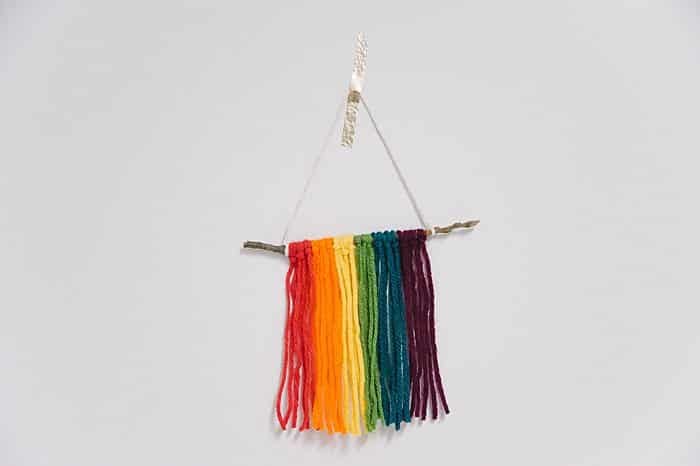
Today, we are using a small twig to make a mini version of the diy yarn wall hanging; an ornament for the Christmas tree!
Here's how to make one!
NOTE: We are following the same instructions and process we used to make this diy yarn wall hanging; we're just making it on a much smaller scale.
Mini DIY Yarn Wall Hanging Ornament
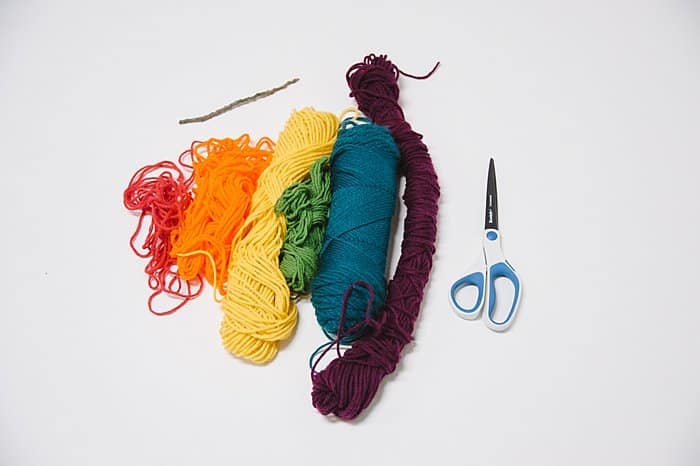
Step 1. Gather Supplies.
Supplies Needed:
- Yarn
- Stick
- Scissors
- String, Twine, or Yarn for the hanging string
Step 2. Cut a yarn piece twice as long as you want the finished ornament length to be.
First, cut a piece of yarn that's twice as long as you want the finished ornament to be.
If you want your ornament to be 8" long, then you want your yarn piece to be at least that long. (And preferably a little longer to allow for trimming at the end.)
I cut my yarn section about 2 feet long.
Step 3. Fold, loop and tighten the yarn around the stick.
Following the same steps outlined in the DIY yarn wall hanging tutorial, wrap the yarn piece around the stick.
A) Fold the yarn piece in half.
B) Lay the loop on top of the stick.
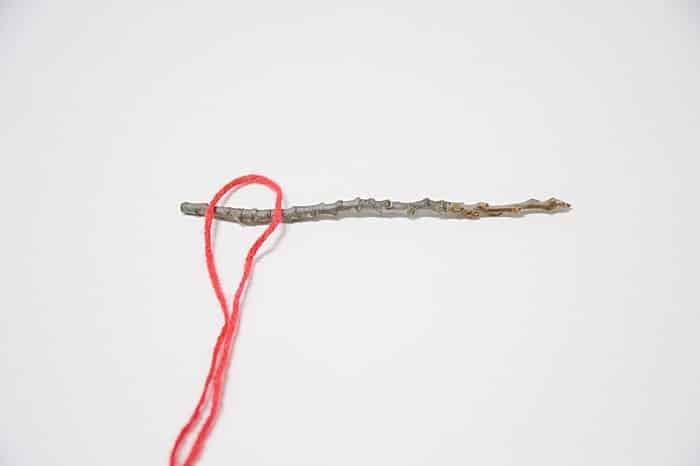
D) Bring the loop toward the front, and tuck the two ends of the yarn piece into the loop.
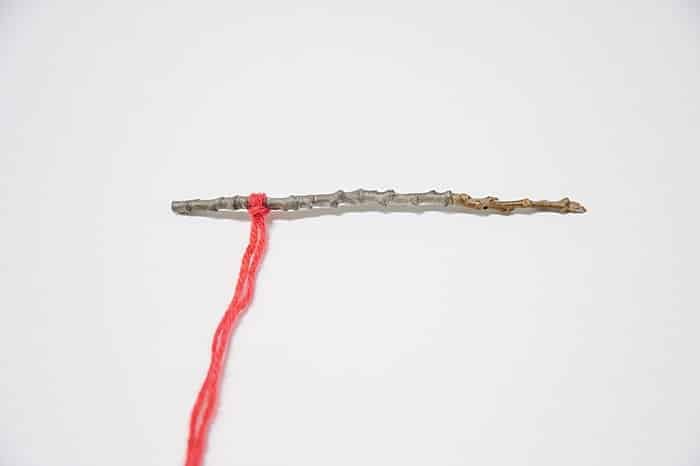
E) Pull the two ends to tighten the yarn up toward the stick.
NOTE: If you need more detail about this looping step, there are more photos on the tutorial for the big diy wall hanging.
Step 3. Repeat process to add yarn in all of your desired colors.
Continue adding yarn in the color yarn you're working with now, and then switch to a new color as desired.
Keep adding and tightening yarn onto the stick until you've used all of the colors you want to include and you're happy with how it looks.
(The ends will be scraggly and uneven. It's not done yet!)
Step 4. Cut and tie on a hanging string.
Cut a section of string, twine or yarn for a hanging string.
Tie one end of the piece of string to the outer edge of the yarn.
Decide how high you want your hanging string to be, and then tie to the other outer edge of the yarn.
Trim any excess.
Step 5. Hang up the ornament, and trim the bottom of the yarn pieces.
Tape up or hang the yarn ornament by the hanging string, to see how it looks.
Next, you'll want to trim up the disheveled yarn ends.
You can cut it straight across like we did for this ornament here.
Or, you can do something fun like cutting at an angle like this big yarn wall hanging.
I've also made projects where I cut it into a centered V or an off-centered V.
You could even go crazy and try a curved edge or a zigzag! The choice is yours!
Lots of things are just better when they're mini, and this yarn wall hanging is one of them!
(Although I really love full sized wall hangings made with yarn and other string too.)
By using a tiny twig and just a few strands of each color of yarn, you're able to make a miniature version of the wall hanging; perfect size for a Christmas tree!
- - -







Leave a Reply