Wooden beads are one of those insanely versatile craft supplies that can be used to make a variety of different projects.
DIY teething jewelry, kids crafts, embellishments on a dreamcatcher... wooden beads can do it all.
We’re on Day 18 of The 30 Days of Ornaments Project, where we are making 30 handmade ornaments in 30 days.
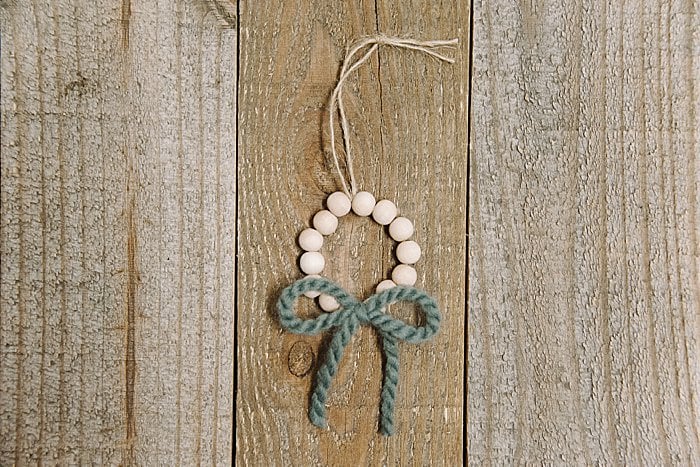
Today, we are going to combine wooden beads with some twine and a bit of chunky yarn to make a simple, beautiful DIY wooden bead wreath ornament!
Let's get to it!
Day 18: How to Make a Wooden Bead Wreath Ornament
DIY Wooden Bead Wreath Christmas Tree Ornament
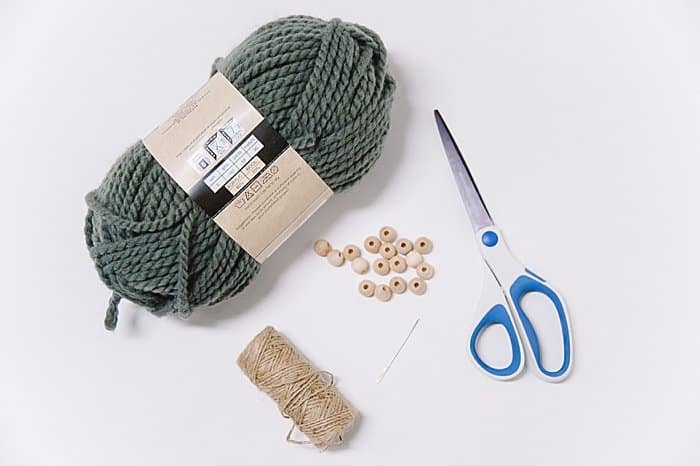
Step 1. Gather supplies.
Supplies needed:
Step 2. Cut a long section of twine; 18"-24" is a good place to start.
Step 3. Thread on wooden beads, using the needle if it's needed.
Step 4. Tie the ends of the twine together and watch your wreath take shape. If it's more oval-shaped than you'd like, remove a few beads and tie the ends together again to see if that helps round it out more.
Step 5. Once you've created your desired wreath shape, tie the twine into a tight knot to keep the wreath round. The more slack in the twine, the more oval the wreath will become.
Step 6. The two twine tails will now become your hanging string, so tie a knot with the two tails 4" above the wreath and trim the ends off.
Step 7. Tie yarn onto the wreath into a bow, or hot glue on a pre-tied yarn bow as embellishment.
Step 8. Inspect wooden bead ornament and hang!
This wooden bead wreath ornament uses the most basic supplies and is SO easy; it comes together in just a minute or two.
But the result is a classic, beautiful ornament that will look great on your Christmas tree (or on the tree of whoever you gift it to!)
Try these other wreath ornaments too, like a felt ball wreath ornament, acorn bell ornament, and pearl wreath ornament.
Save the idea for later by pinning the photo below to Pinterest!
. . . . . . .





Leave a Reply