
I came across the idea of wooden bead teething necklaces recently while looking around online and loved both the look of them and the practicality of them.
They serve as something for babies to hold on to while nursing or being held, and when they enter the teething stage, it gives them something to chew on that is all natural.
Plus, they're cute and are meant to be worn as a pretty necklace for mama too!
Win-win!
They also looked easy to make, so I set out to make a few of my own.
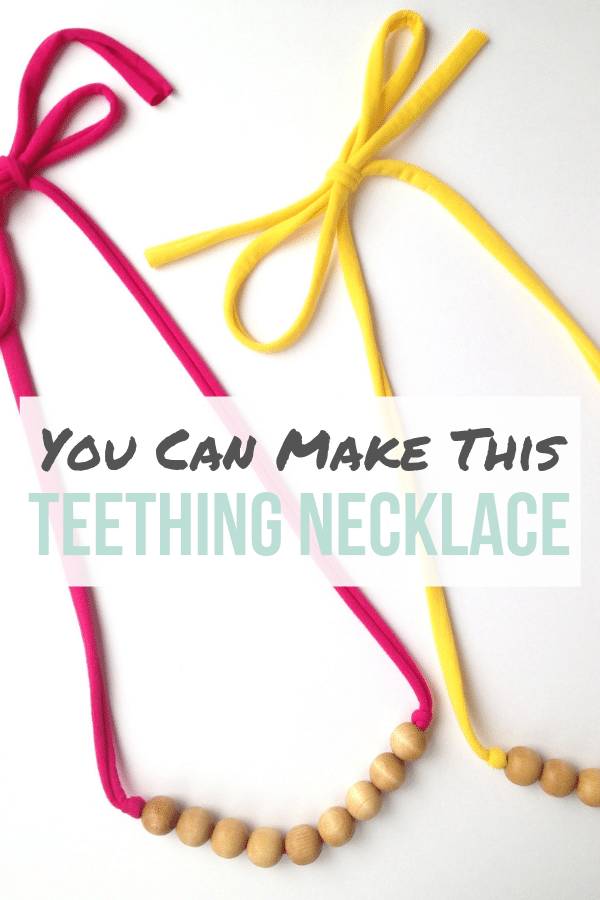
You can use any type of string for these, but I liked the look of the necklaces that used t-shirt yarn.
T-shirt yarn is made of t-shirt fabric, or in my case, strips of jersey knit fabric that I had in my fabric stash.
Supplies Needed to make a teething necklace:
- T-shirt yarn or other string for the necklace
- Wooden beads: I used 20mm unfinished wooden beads.
- Rotary cutter, cutting mat, scissors
- Large needle to thread beads
- Optional organic coconut oil or other natural sealant to seal the beads with.
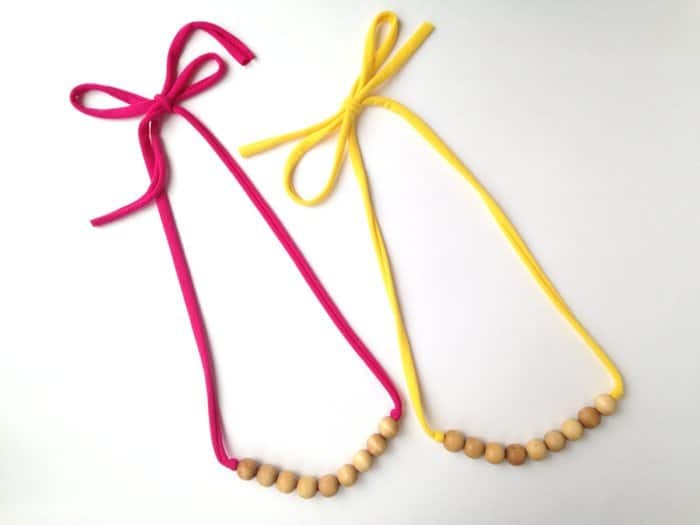
How to Make a Wooden Bead Teething Necklace
(Optional) Step #1. Coat unfinished beads in coconut oil or other sealant.
This is a personal choice, and it depends on whether you like the look of the lighter, unfinished beads or the darker color of the sealed beads.
I debated which I liked better, but I ultimately decided I like the sealed beads better - the color is richer.
I used melted organic coconut oil, and just rubbed a little bit onto each bead.
I let the oil soak in for a little while, and then wiped each bead with a clean paper towel.
Before stringing them onto the necklace, I let the beads sit overnight to further soak in any additional oil. I don't know if that's really necessary or not, but I did it anyway.
The oil will eventually dry out and wear off of the beads, and they'll return to their lighter, natural unfinished look.
You can either leave them like that or re-coat the beads with more oil at that time.
How to Make T-Shirt Yarn:
I found this great tutorial and video, showing how to make t-shirt yarn from strips of t-shirt material or jersey knit fabric.
I had pink and yellow jersey knit fabric on hand from previous projects. I wanted to use that to make the strings for the necklaces.
1. Cut 1 ¾" strips of knit fabric with a rotary cutter and cutting mat.
2. Pull on the fabric in order to cause it to roll in on itself and form the "yarn."
This is where the video comes in handy to see what he does.
He starts at one end, pulling each section of the fabric as tight as it will go. He does this along the whole length of fabric, which starts the process of causing the edges to roll in.
You want the edges to roll in evenly, so you want to make sure you're holding the fabric in the middle of the 13/4" strip and pulling evenly, giving both edges equal opportunity to roll in toward the middle.
Then as he shows in the video, he starts at the opposite end and just pulls it as tight as possible in sections through his hands once more to make sure it's all rolled as tightly as possible.
[If the video I linked above doesn't work, here's another video on youtube that shows a less precise method of pulling the fabric and making it roll into yarn. But the gist is the same. If you watch this video, just do it a second time, starting at the opposite end to make double-sure everything is rolled in all the way.]
And that's all it takes to make t-shirt yarn from jersey knit fabric!
The fabric will naturally want to curl, and it's meant to not fray.
I did notice however that as I was making these, tiny little balls of the fabric would fall off and get all over my pants etc.
I found that if I follow his technique correctly, causing both edges of the fabric to roll in evenly, and I made the second pass across the fabric to really make sure it's as rolled as possible, then it dramatically cut down on the amount of lint balls that came off of my yarn.
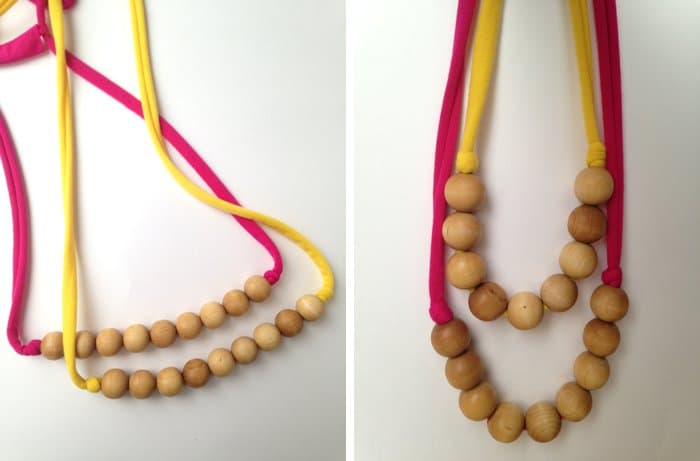
3. Thread beads onto yarn
I used a large needle to do this part.
You can put as many beads onto the string as you'd like; I used 9 for these necklaces.
4. Tie knots at the ends of the beads to secure in place
You can experiment with the beads and knots if you wanted to create new designs. Maybe one variation could be a knot every 3 wooden beads. You can play around with this part.
5. Tie the yarn at the neck to control length of necklace
Depending on how long or short you want the necklace to hang when you're wearing it, you can control that by how you tie the bow.
If you'd rather have the necklace tied in a knot, determine how long you want it to hang and then knot it at the desired length and clip any excess fabric from the ends.
And that's it - that's how to make a wooden bead teething necklace!
Perfectly easy, pretty teething necklaces!
They can also be combined with baby bibs, pacifier clips and zipper pouches to make a wonderful handmade baby shower gift!
- - - - -
NOTE: It should be noted that these are not intended to be toys that babies or kids play with and chew on by themselves, unsupervised.
They are meant to be worn by mom, and then held or chewed on by baby while mom is right there.

thejewelcreation
Thank you for the detailed instructions. its looking amazing!