
Pearl beads are a craft supply that add a bit of sophistication to any project.
Earlier in this series, we combined them with a pine cone to make a pine cone Christmas tree ornament that was a delightful blend of rustic and classy.
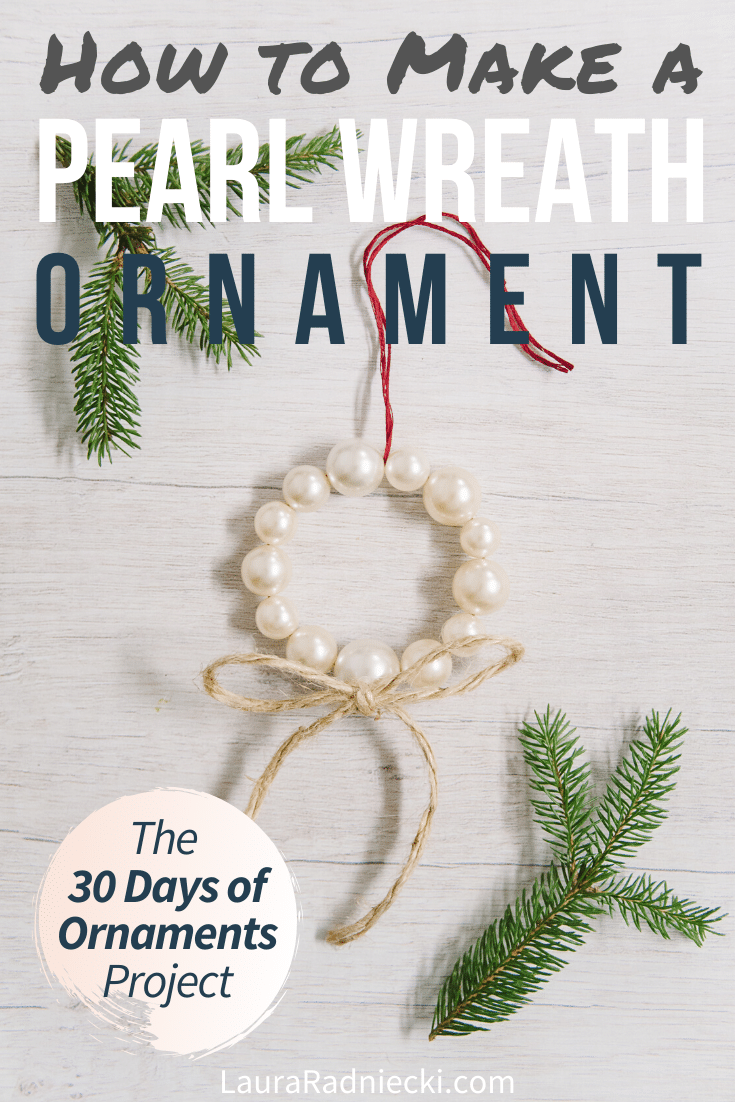
We’re on Day 30 of The 30 Days of Ornaments Project, where we are making 30 handmade ornaments in 30 days.
Today, we are going to use pearl beads and combine them with embroidery floss and twine to make a simple yet sophisticated DIY pearl wreath ornament!
Here's how to make it!
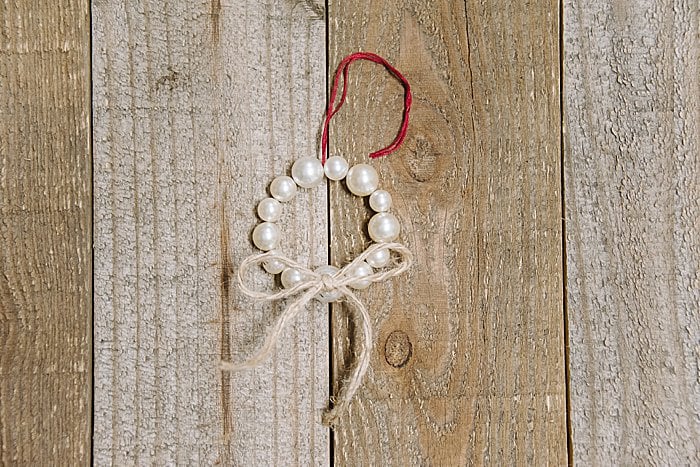
Day 30: How to Make a Pearl Wreath Ornament
DIY Pearl Ornament for Christmas
Step 1. Gather supplies.
Supplies needed:
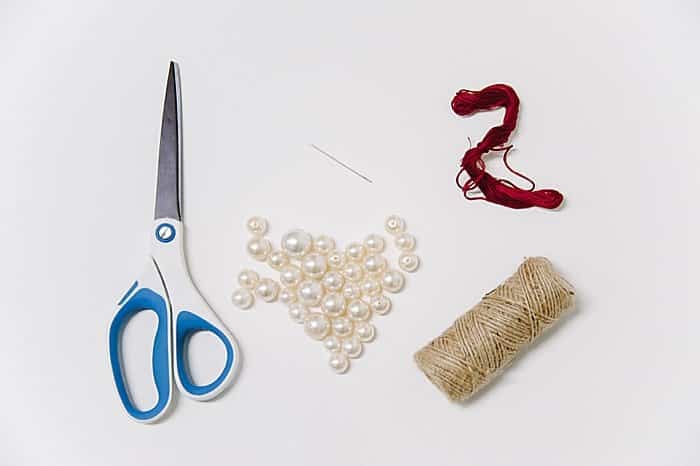
Step 2. Cut a section of embroidery floss, something like 18-24".
Step 3. Thread embroidery floss onto embroidery needle.
Step 4. String on pearl beads, varying the sizes of your pearl beads if they aren't all the same size.
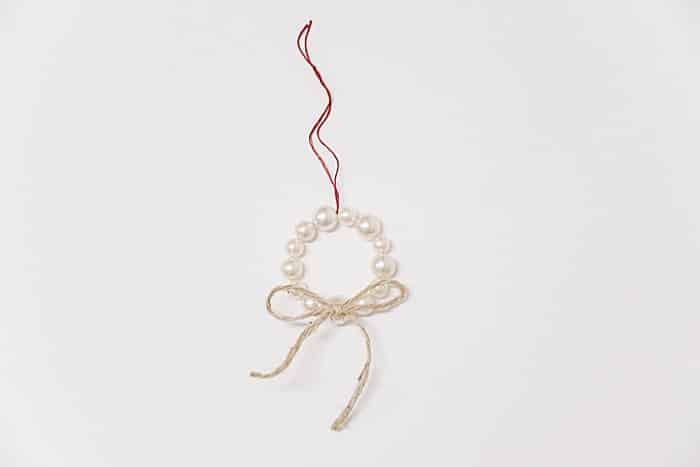
Step 5. Once you've strung on a handful of beads, tie the two embroidery floss tails together to create a wreath. Assess the shape of your wreath.
If it's a circle, you're good to go and can knot the floss. If your wreath is more of an oblong oval shape, try removing a few pearl beads and trying again. This will usually help make the wreath less oval and more circle shaped.
Step 6. Once you have your desired circular wreath shape, knot the embroidery floss together tightly to secure the wreath. Then, tie the two tails of embroidery floss together about 4" above the wreath, to create a hanging section.
Step 7. If desired, you can tie a piece of twine into a bow and hot glue the twine onto the bottom of the wreath as added embellishment.
Step 8. Inspect your pearl wreath ornament and hang!
Just like the wooden bead wreath ornament we made earlier in this series, this pearl wreath ornament is a very fast and simple craft.
It only requires a few supplies and takes mere minutes to make.
But the result is a beautiful, rustic chic ornament that looks so beautiful on the Christmas tree!
Save the idea for later by pinning the photo below to Pinterest!
. . . . . . .

Leave a Reply