Create festive DIY Yarn-Wrapped Cardboard Trees using our step-by-step guide. They are perfect for adding a cozy touch to your holiday decor! All you need is cardboard, yarn, and some sticks or branches.
Yarn can be used to make countless different craft projects - everything from yarn tassel ornaments and mini cone Christmas trees to chunky yarn-wrapped trees, rainbow yarn garlands, pom-pom wreaths, and beyond!
Today, we are going to use chunky yarn and wrap it around cardboard triangles to make rustic yarn trees!
These beautiful yarn-wrapped trees work great as DIY Christmas decor, but they can also stay out after the holidays as pretty winter decor to help brighten your mantel as you wait for spring.
Here's how to make them!
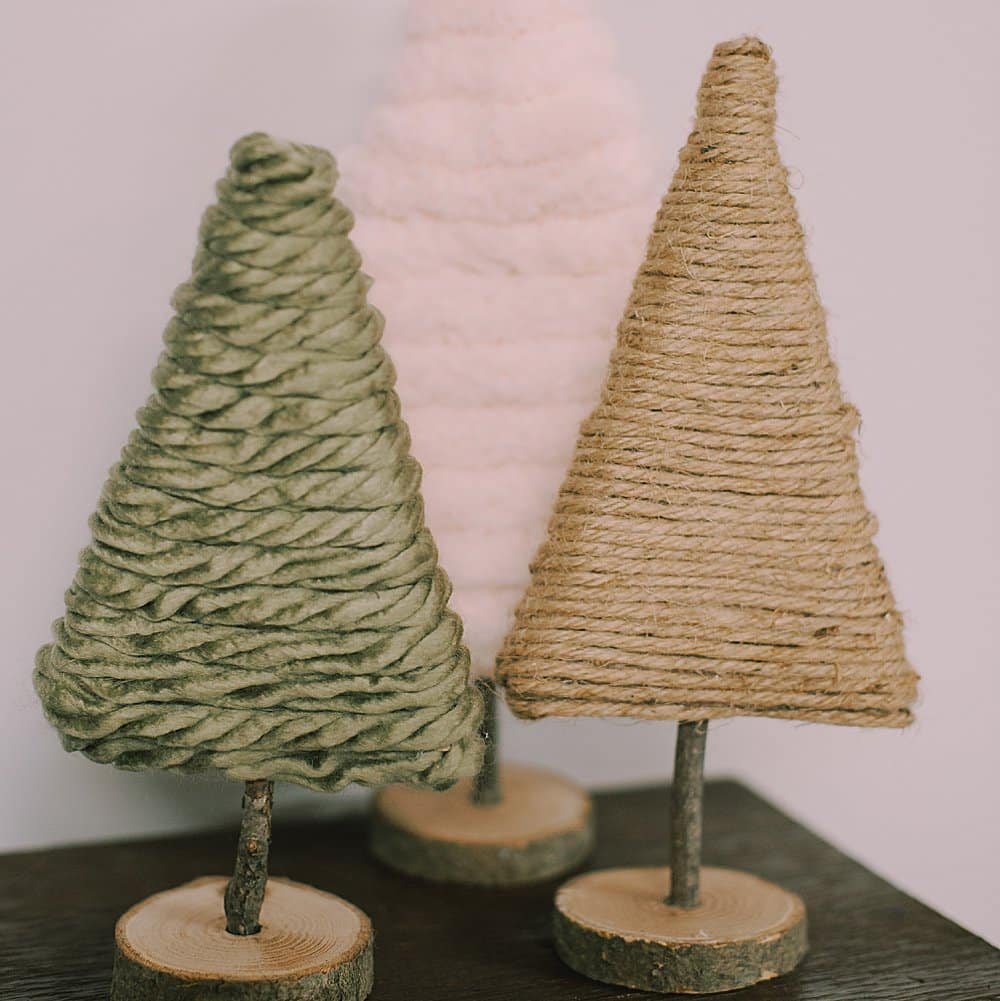
How to Make DIY Yarn-Wrapped Cardboard Trees
Step 1. Gather Supplies
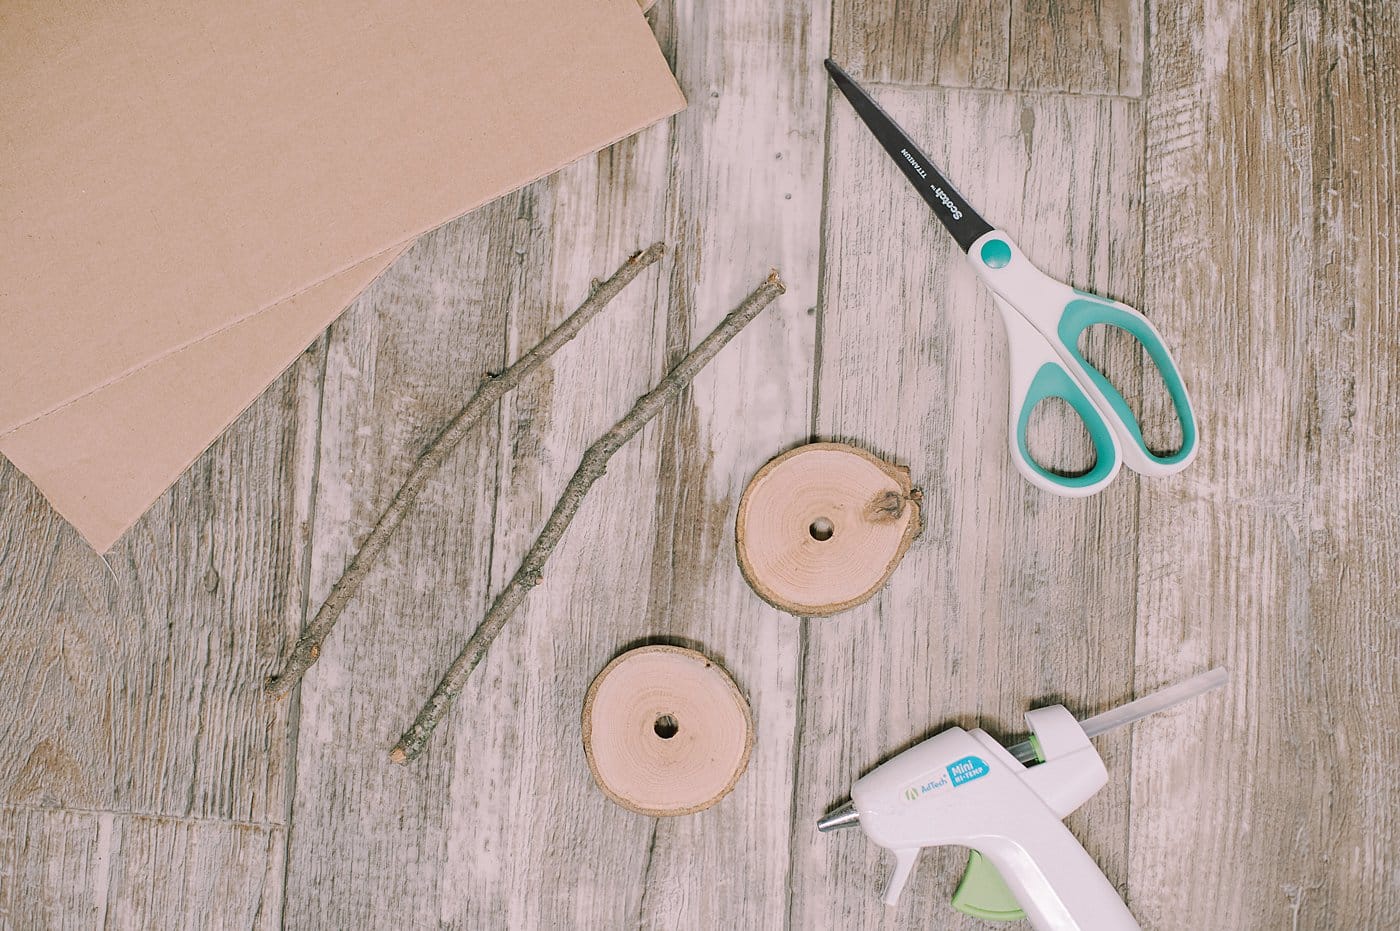
Supplies Needed
- Yarn
- Cardboard
- Scissors
- Hot Glue Gun and Glue
- Sticks
- Wood Discs with a hole drilled in the center for a base
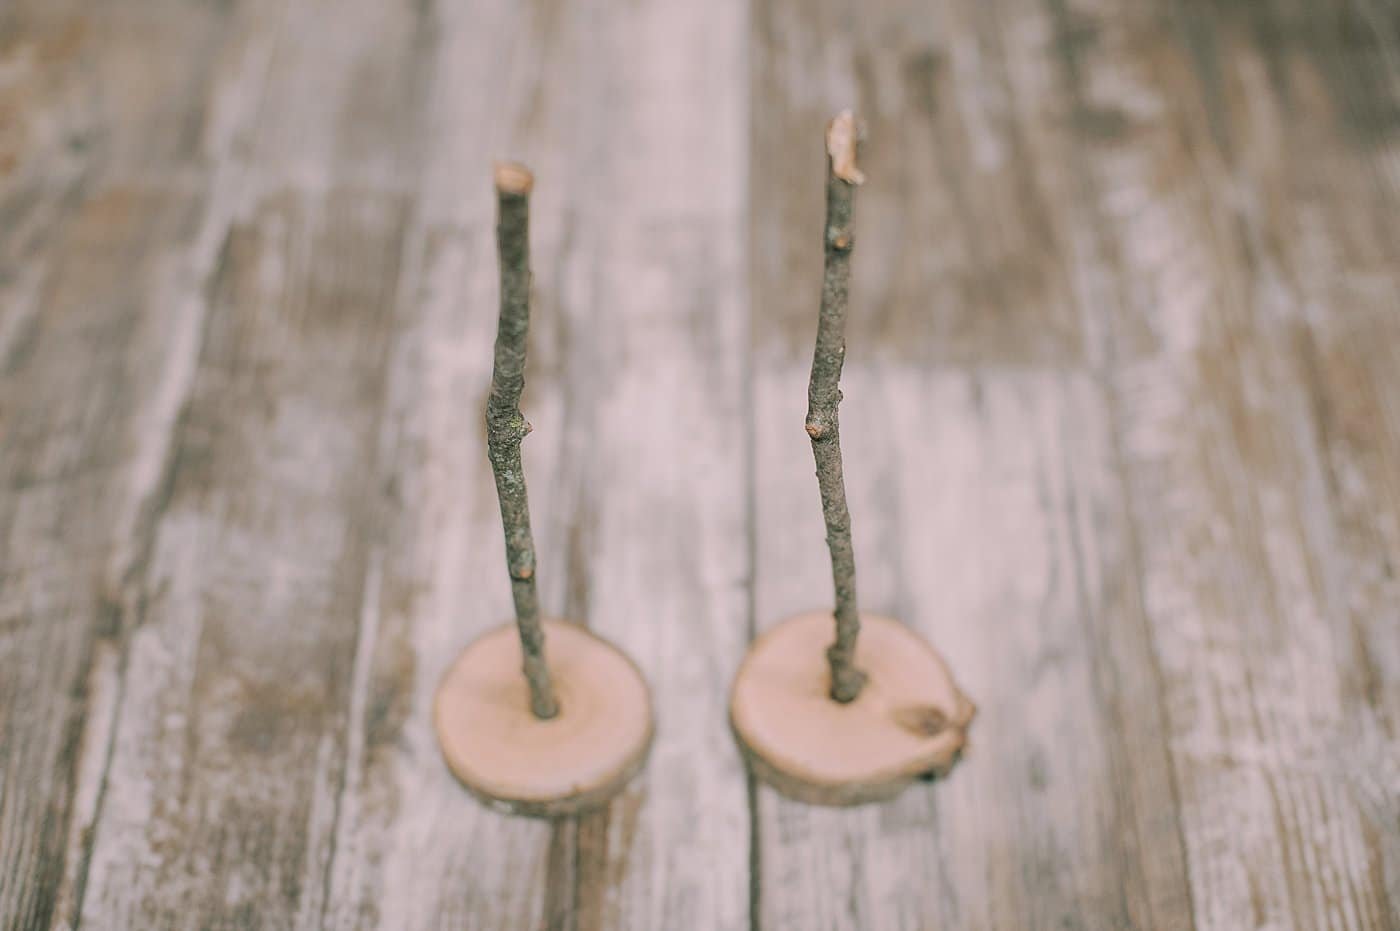
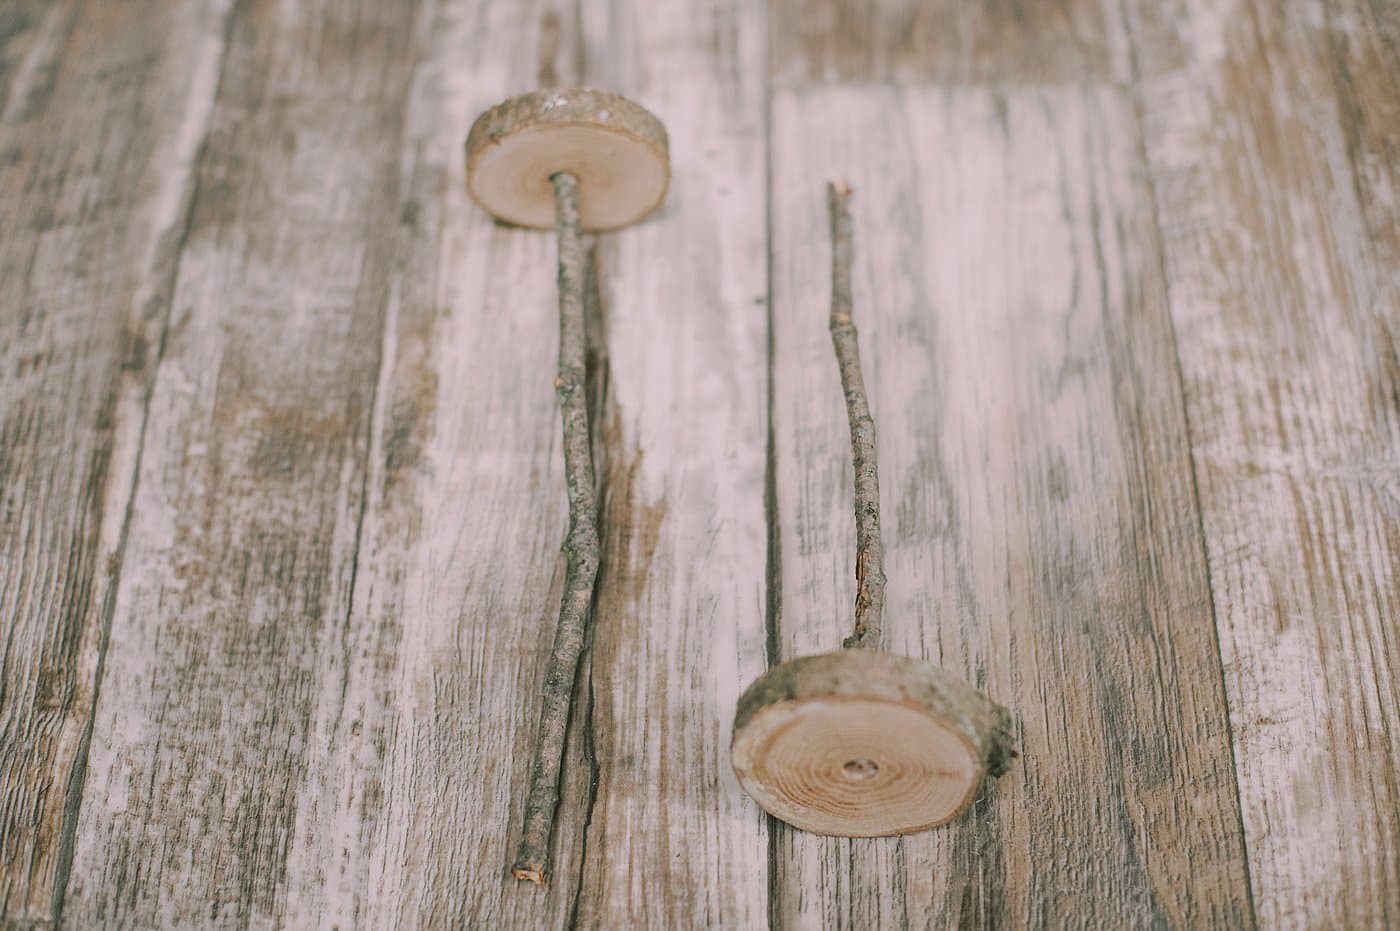
Step 2. Hot glue sticks into the center of the wooden discs and let dry.
These will become the stems or trucks of your cardboard trees.
Each of these sticks is roughly 8-10" long. You can trim them later if they are too tall so err on the side of the sticks being too long at first.
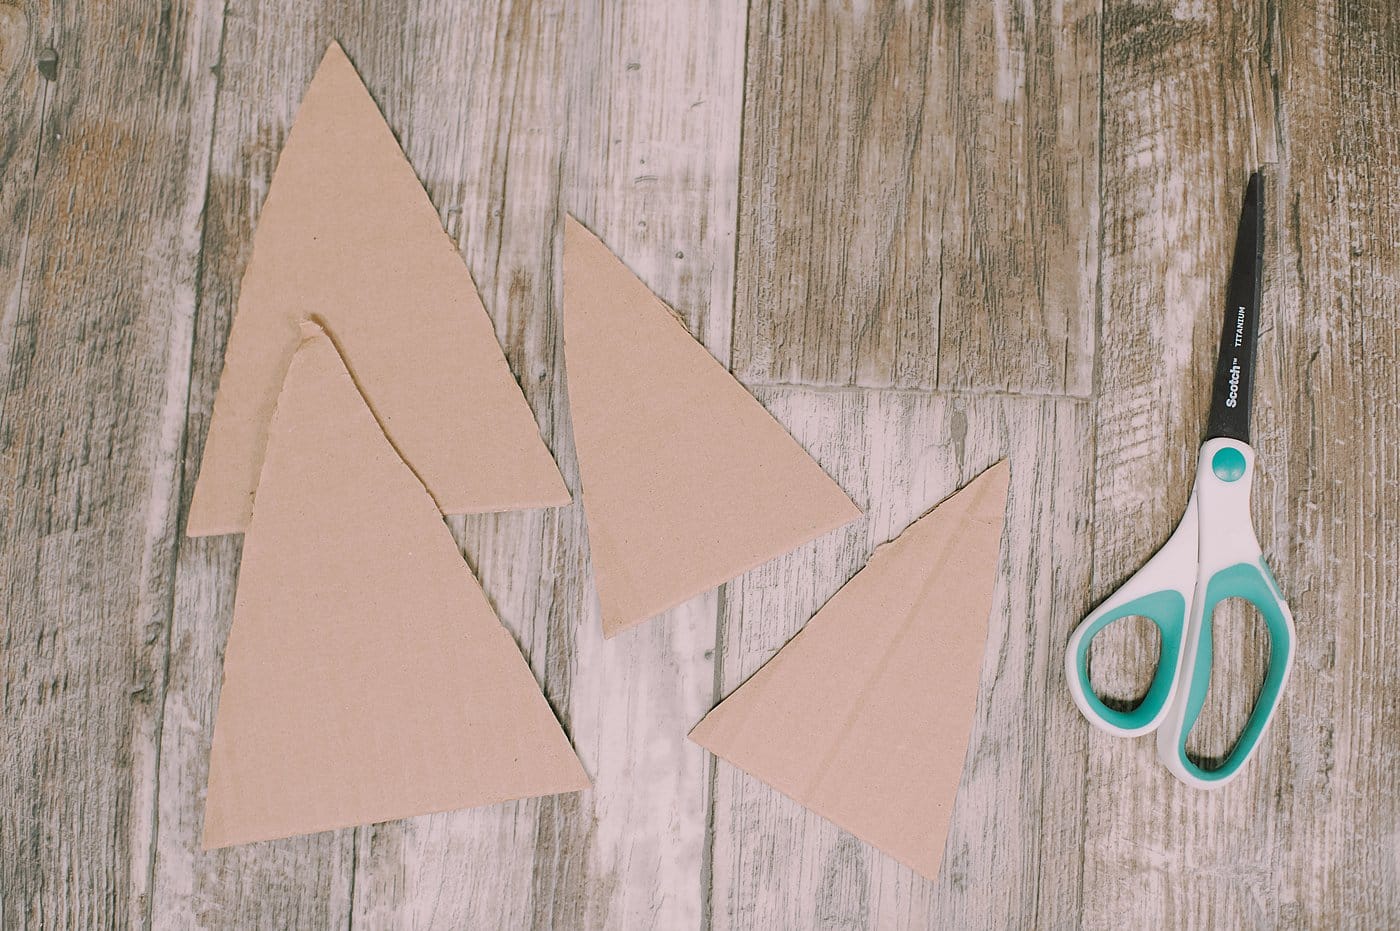
Step 3. Cut cardboard into triangles - you will need two identical triangles per tree.
We cut two larger triangles and two smaller triangles to make two different-sized yarn-wrapped trees.
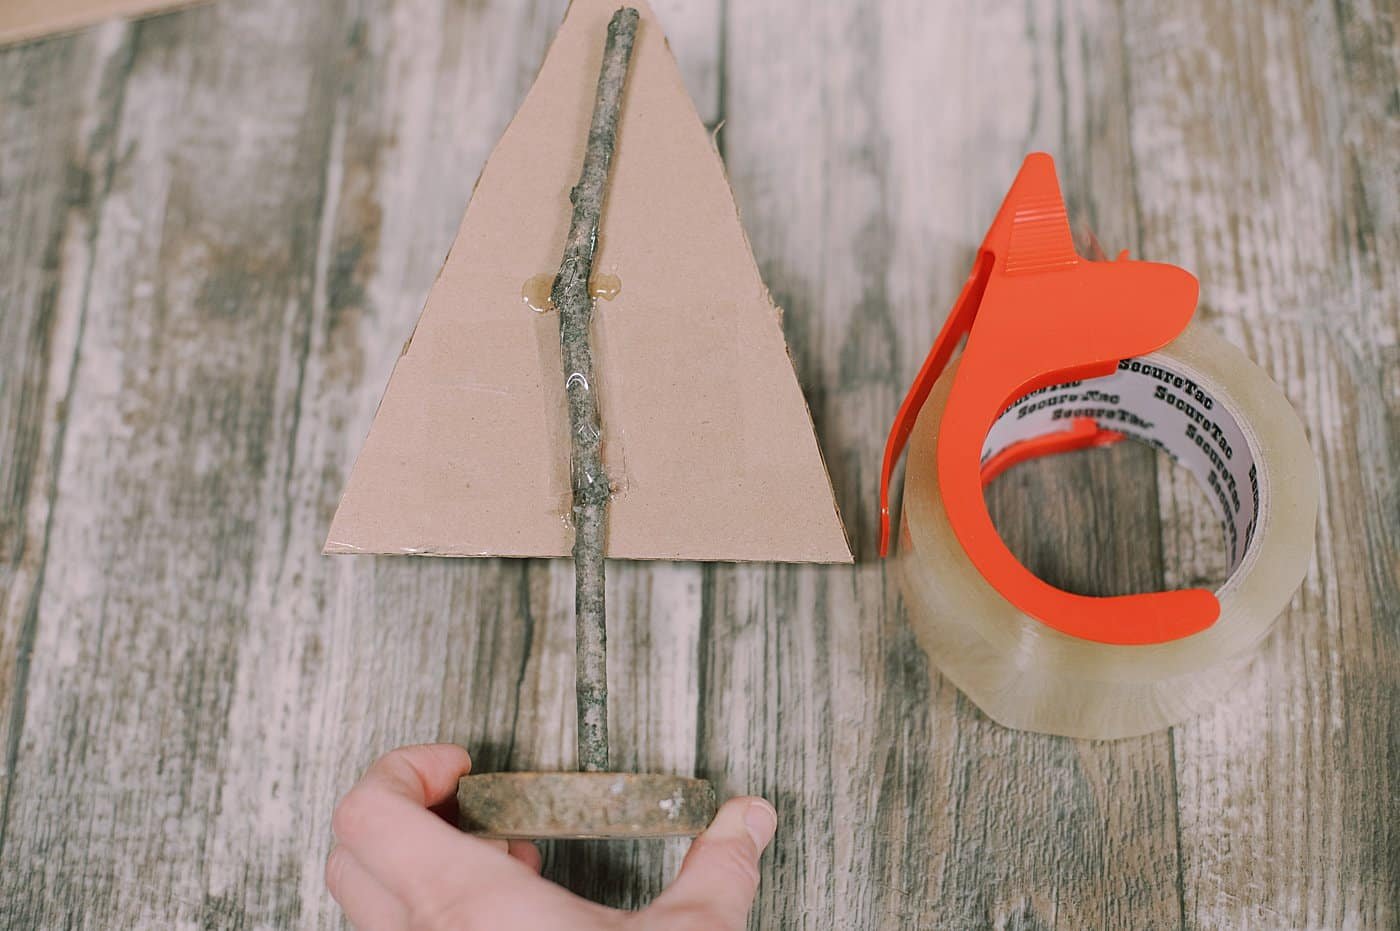
Step 4. Put hot glue in a line down one cardboard triangle and lay the stick stem in the glue.
Let it dry.
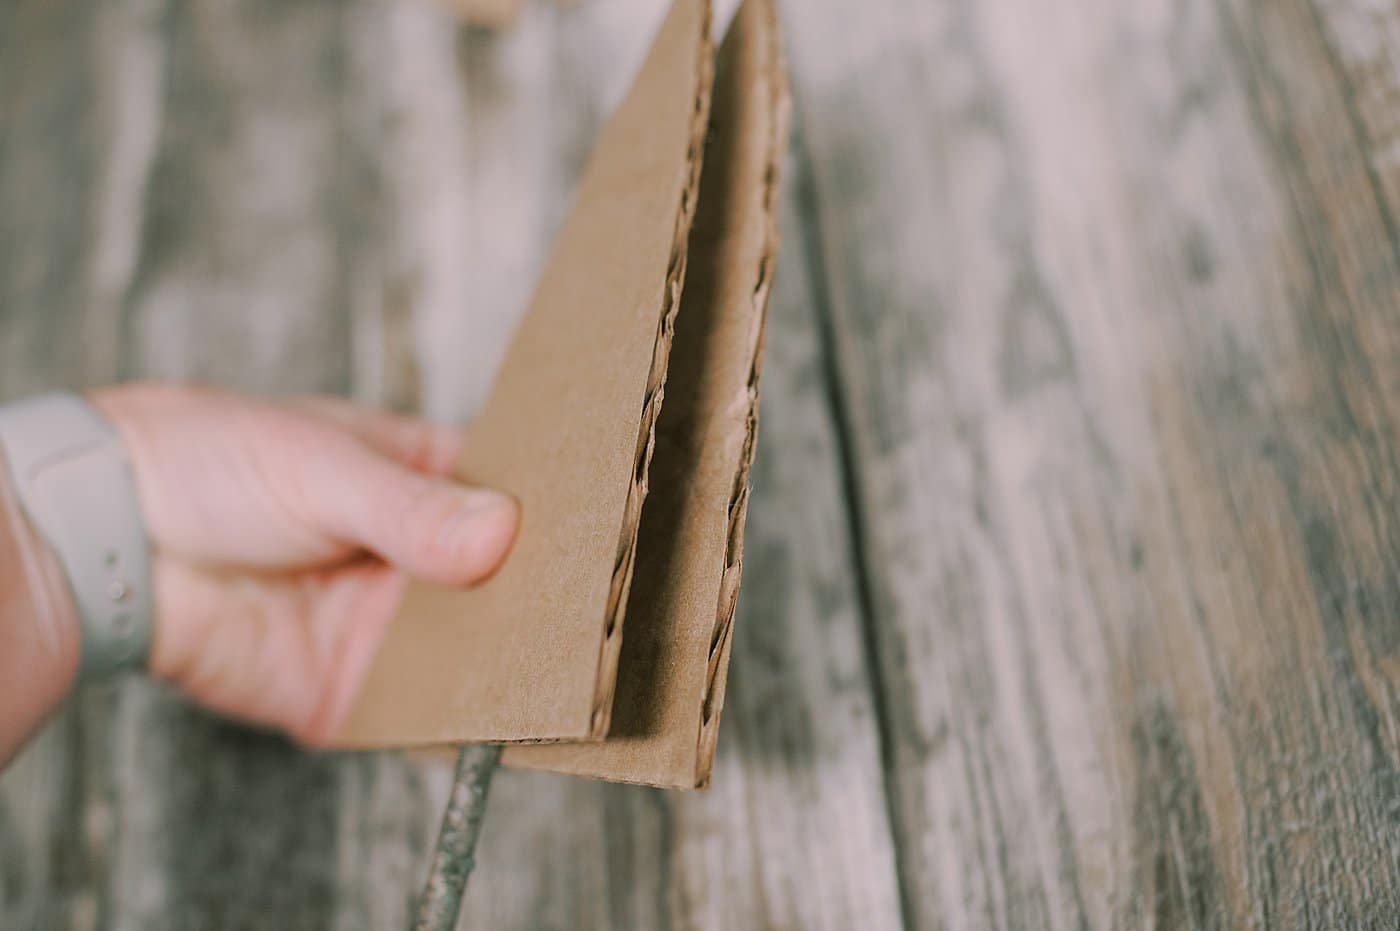
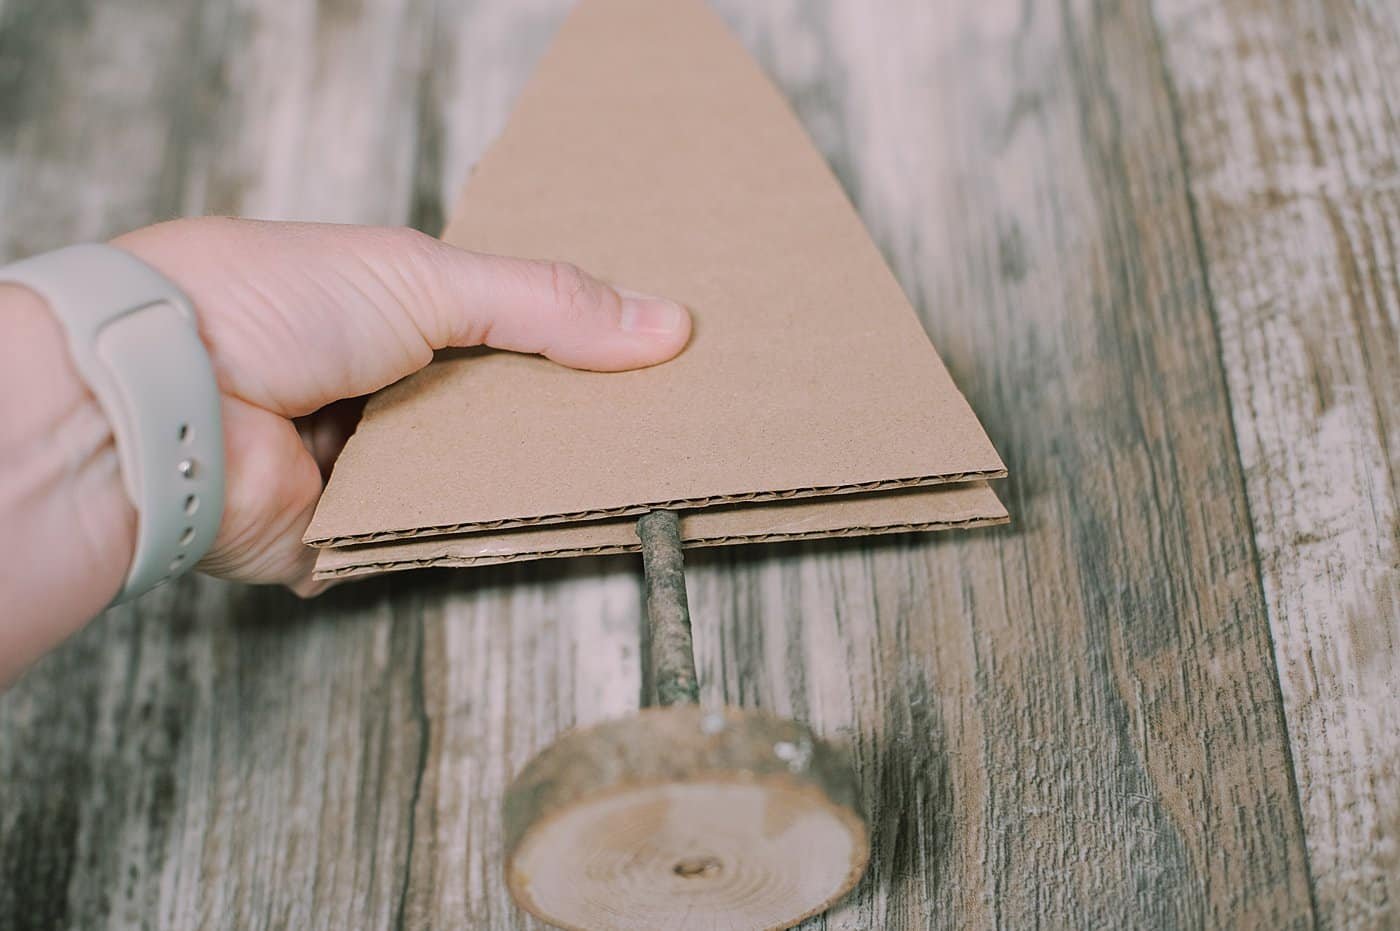
Step 5. Hot glue the second cardboard triangle to the other side of the stick stem.
Let dry.
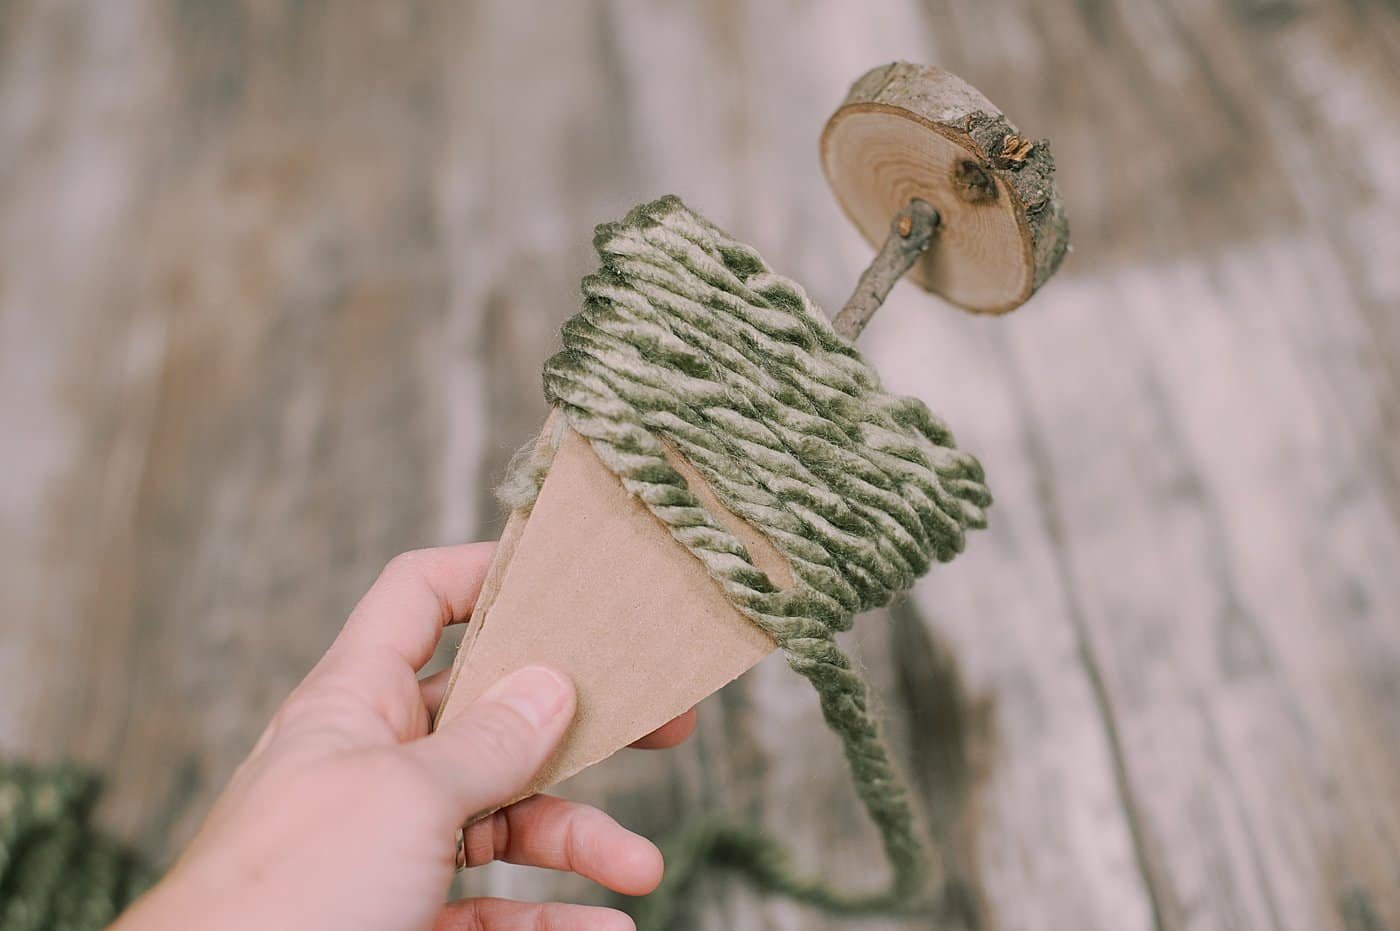
Step 6. Begin to glue the yarn around the cardboard triangles, beginning at the bottom.
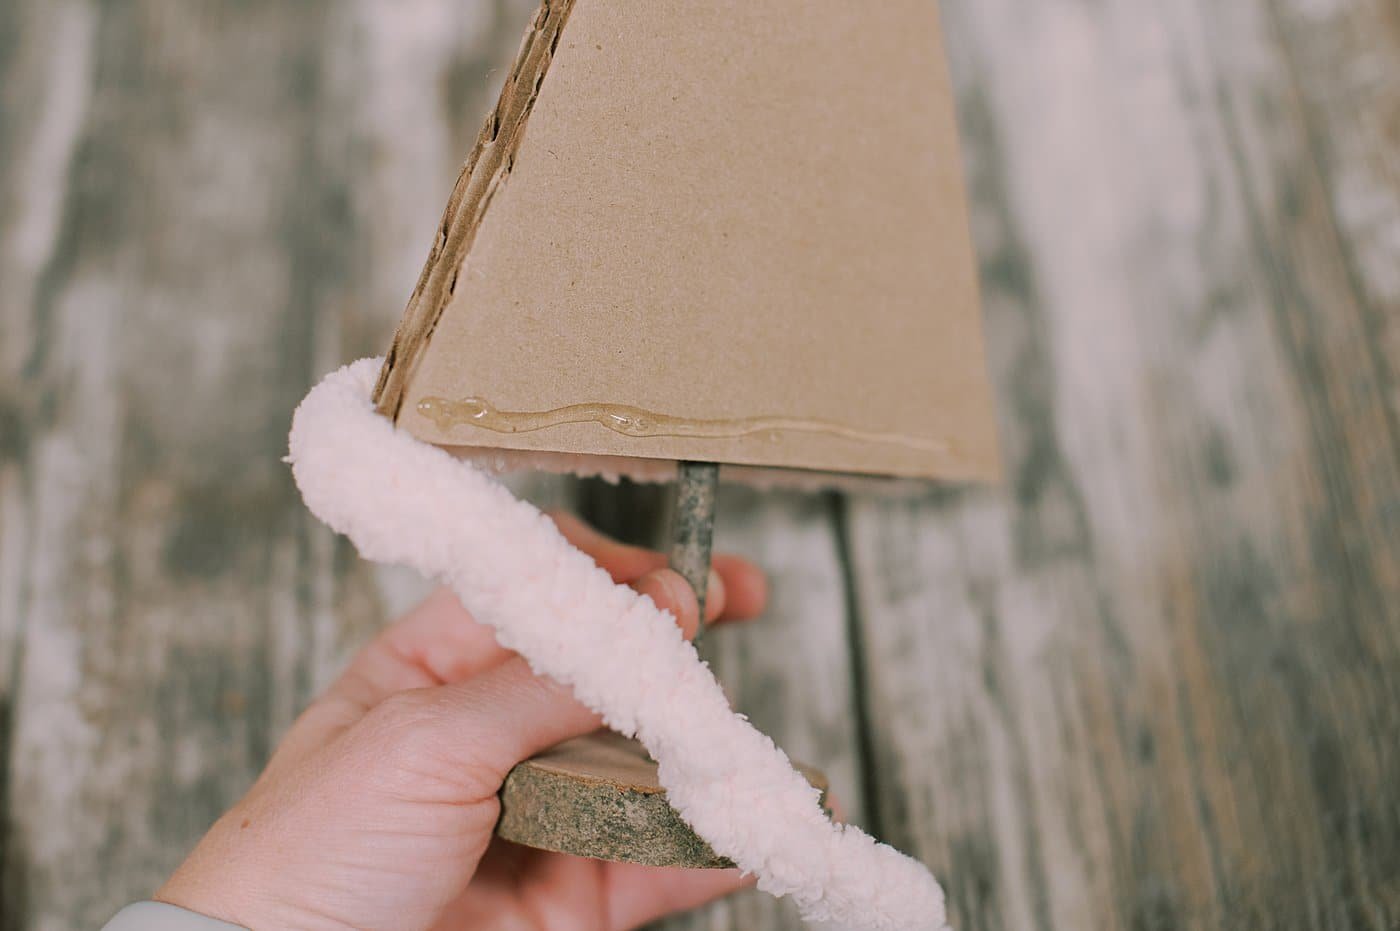
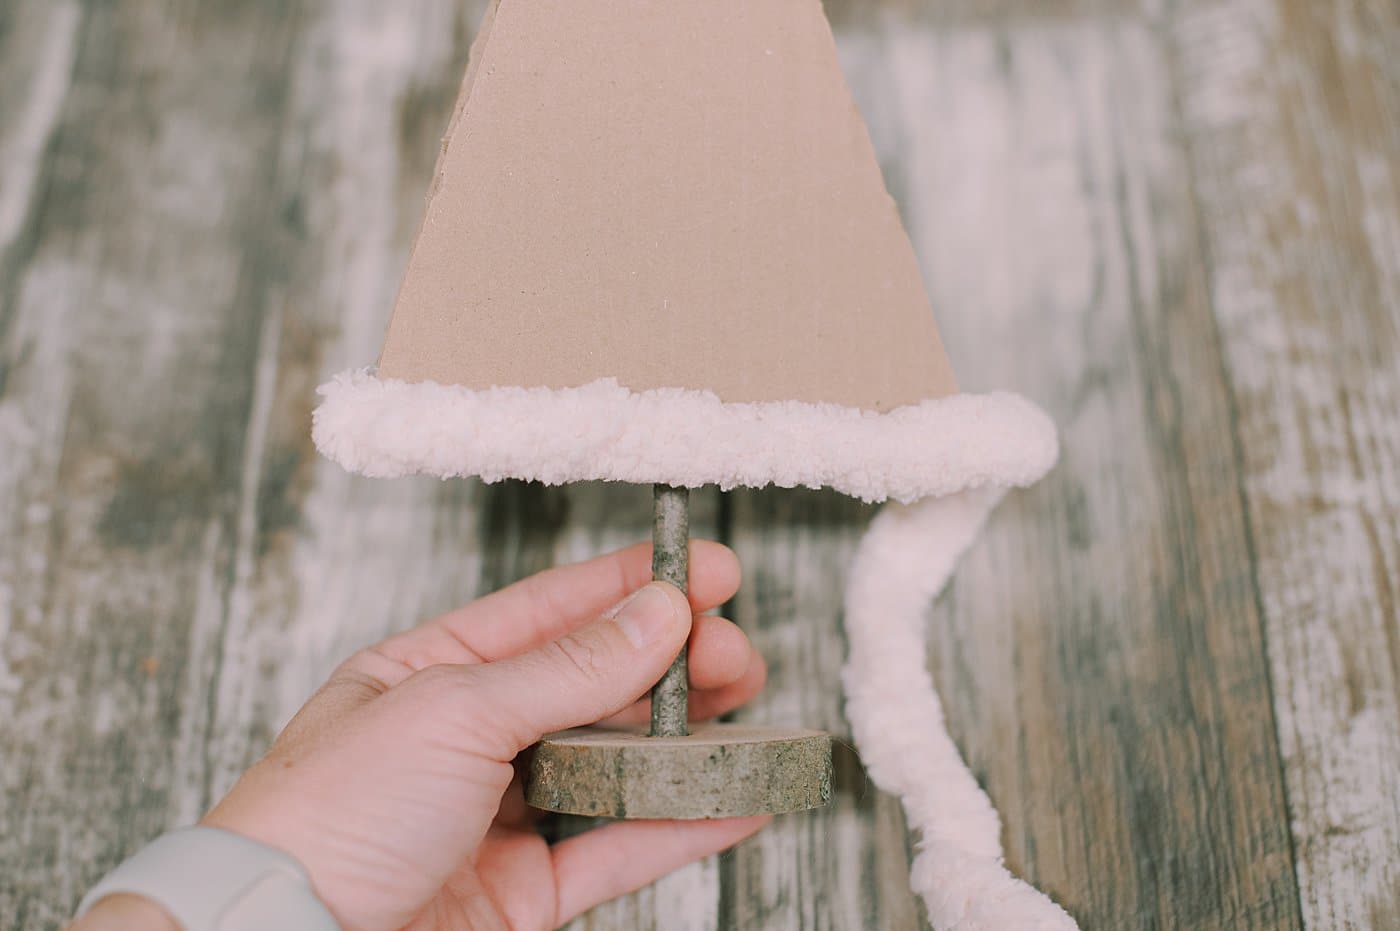
Step 7. Continue wrapping and gluing the yarn around the tree as you work toward the top.

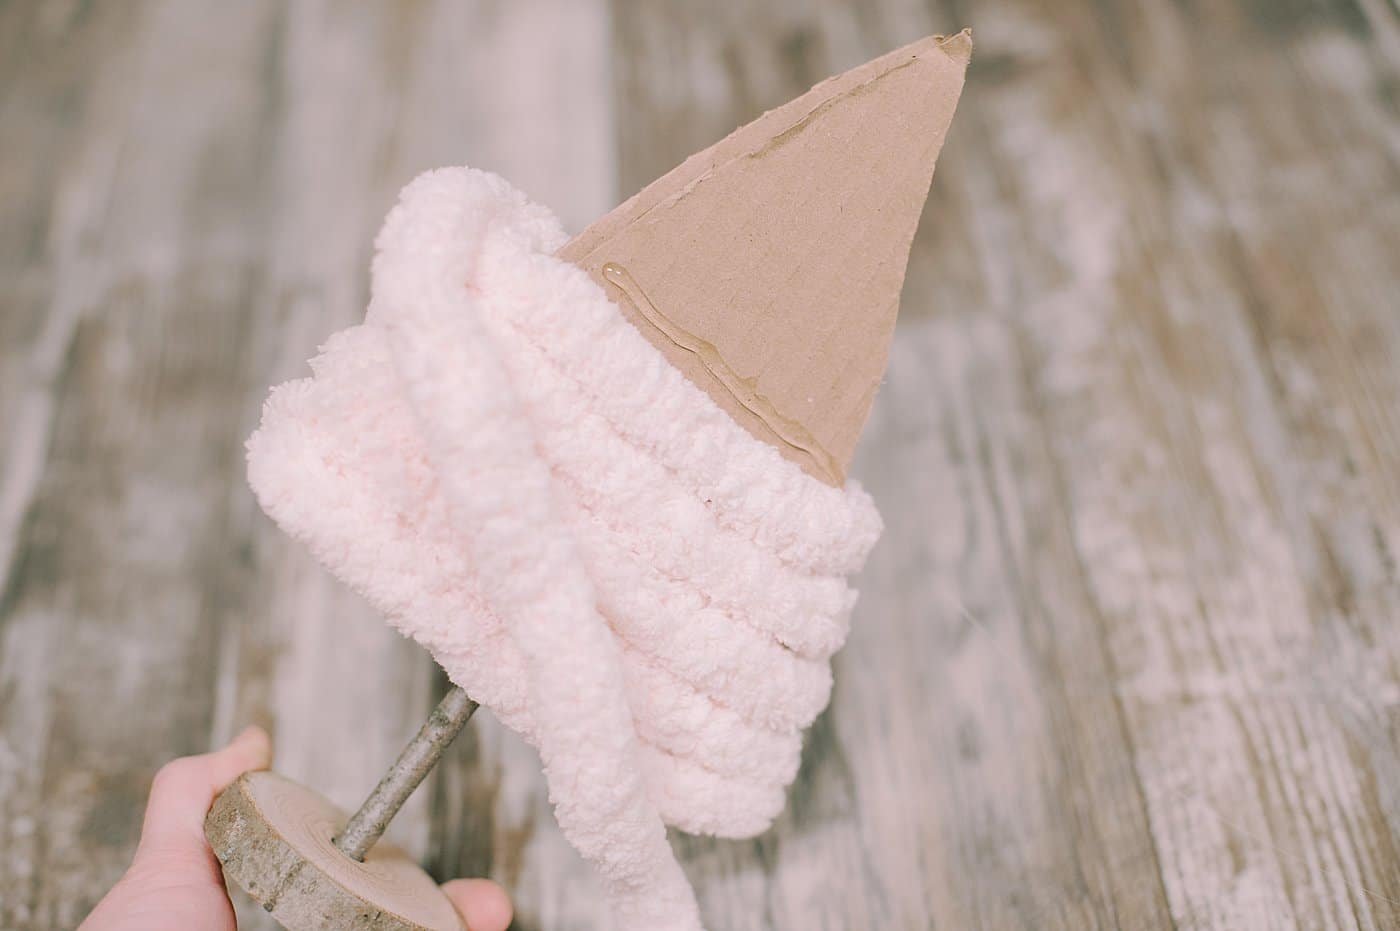
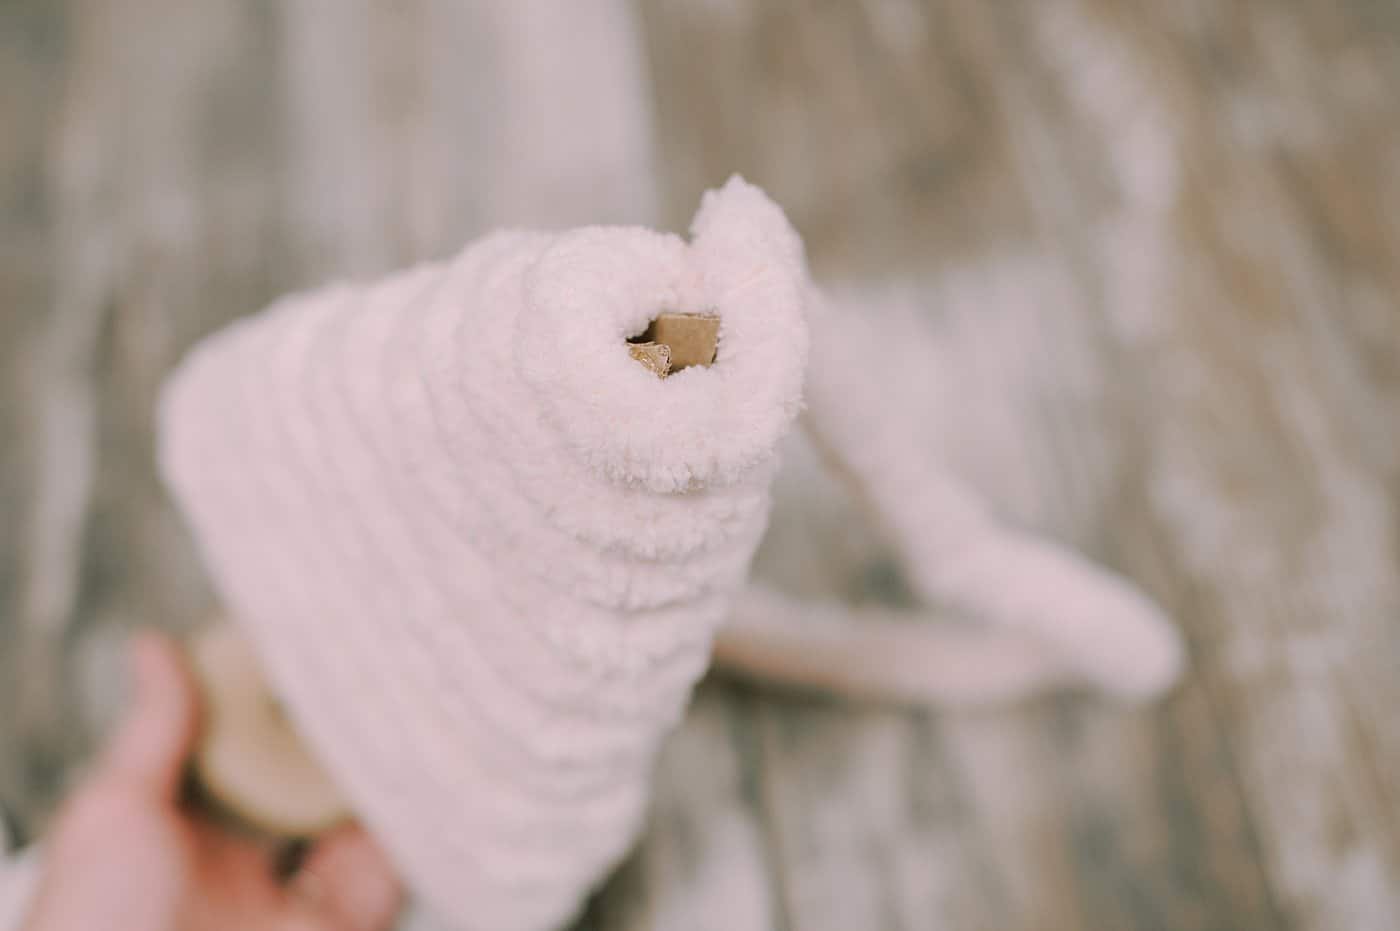
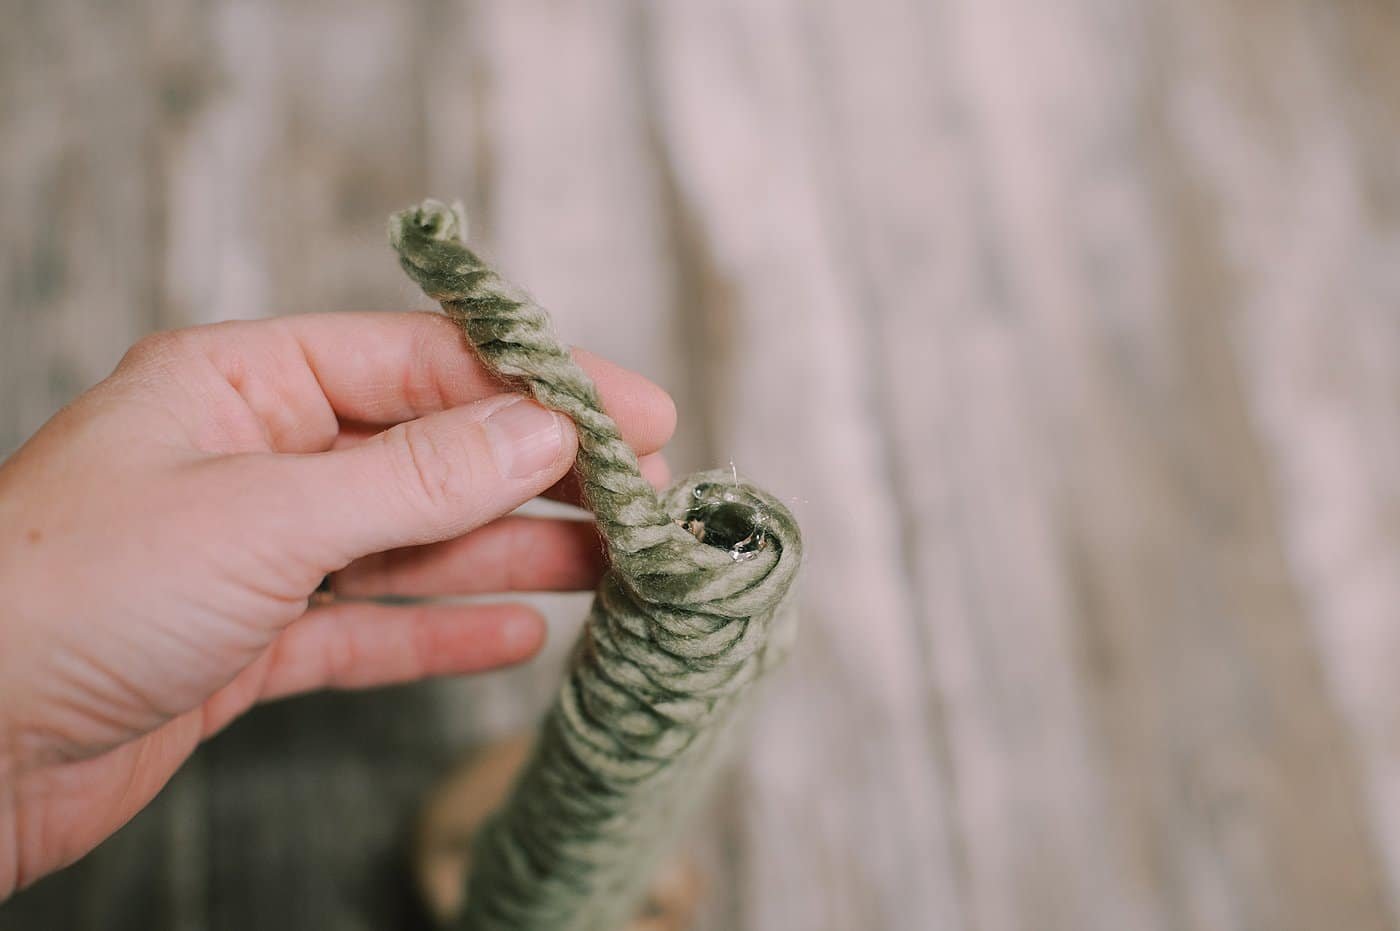
Step 8. When you reach the top of the tree, glue the end of the yarn down in to the top.
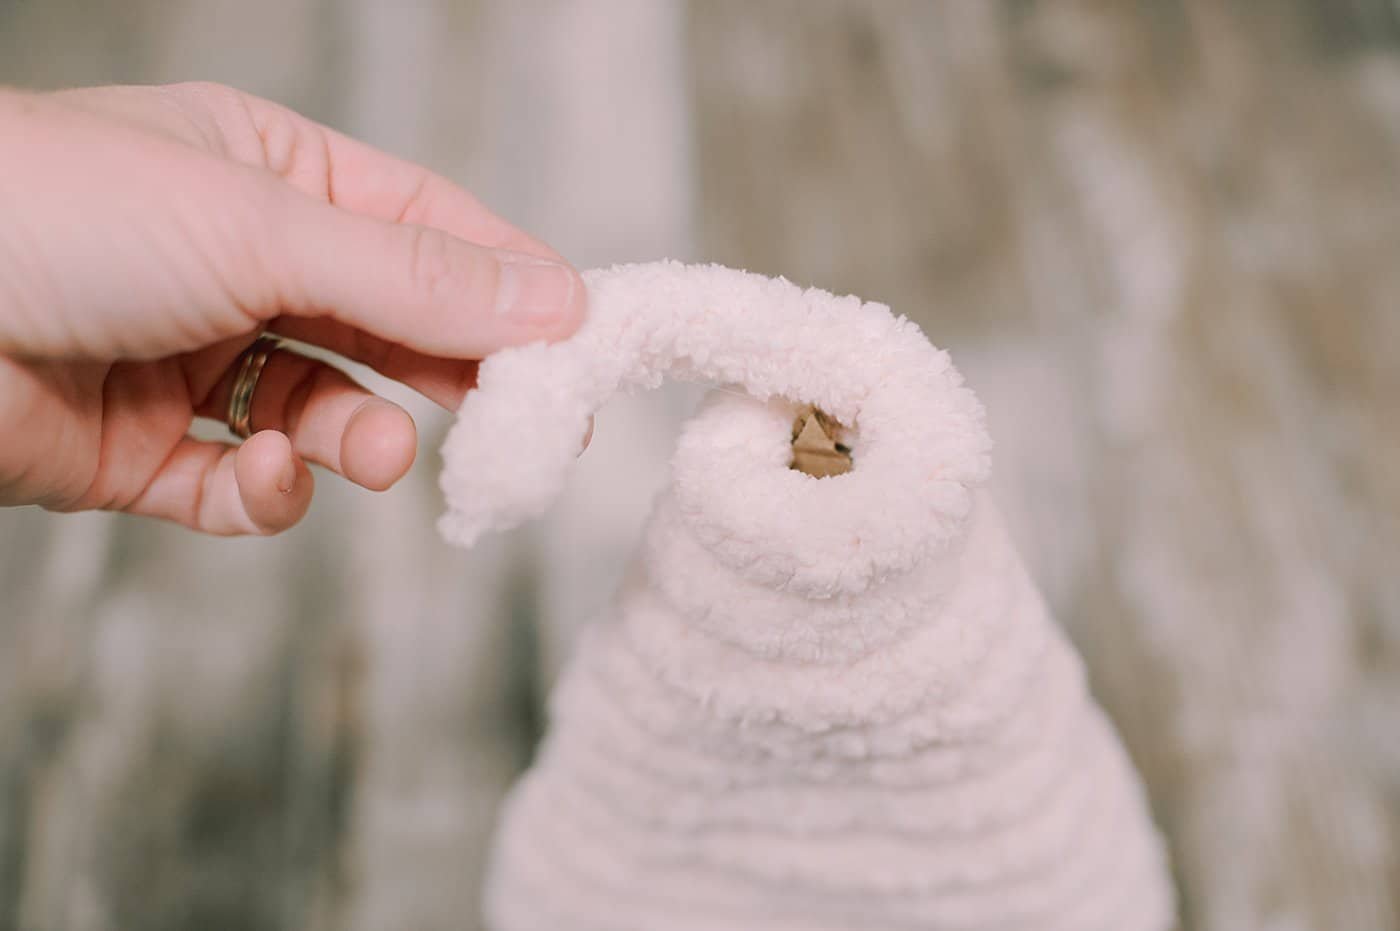

Step 9. Add pieces of yarn to the underside of the cardboard tree to cover up the exposed base.
Tuck in any excess and glue the yarn to secure.
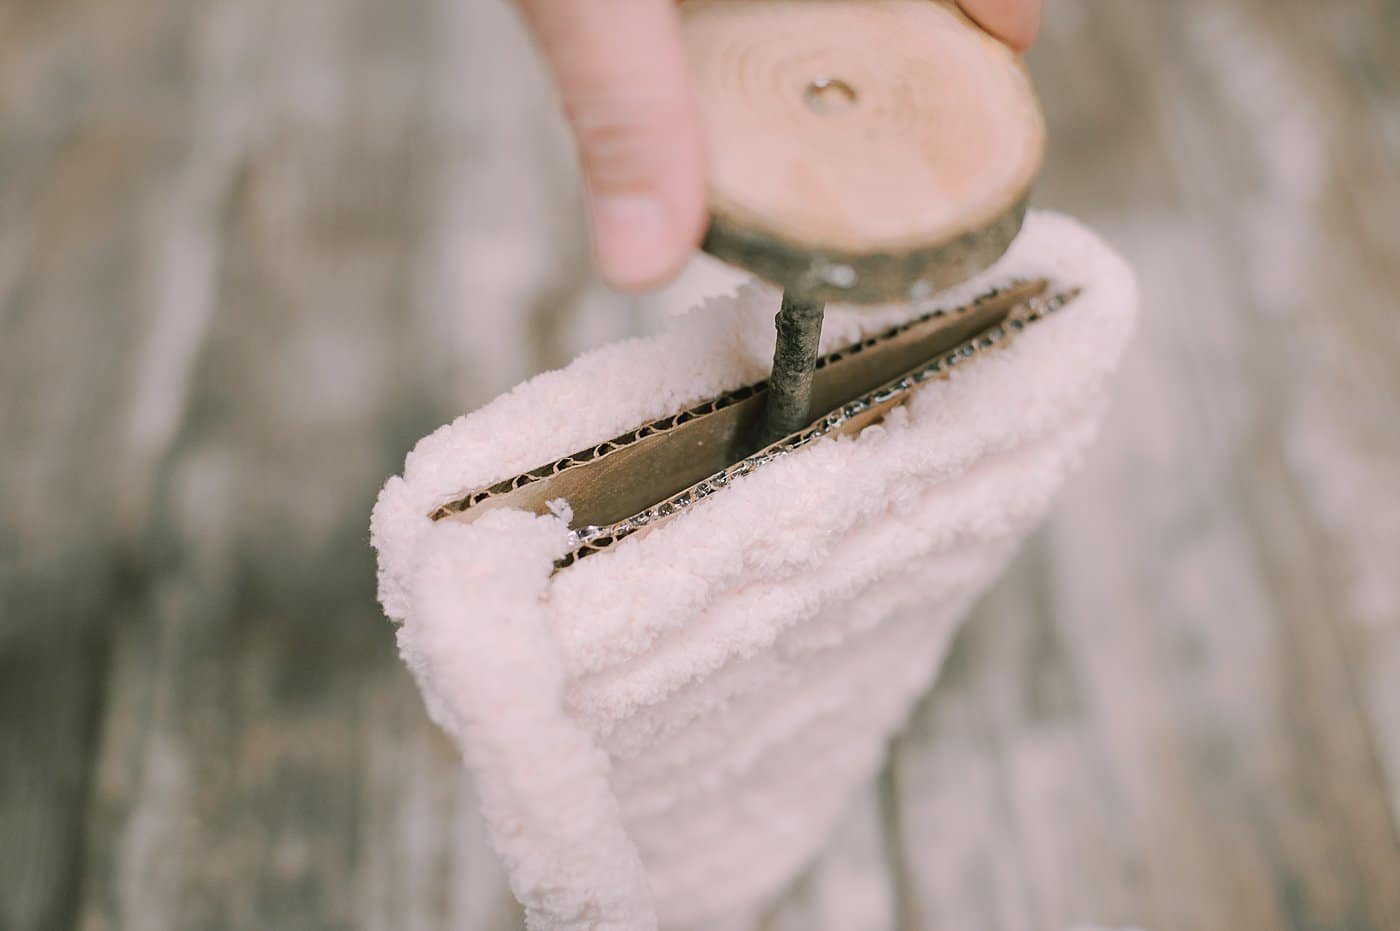
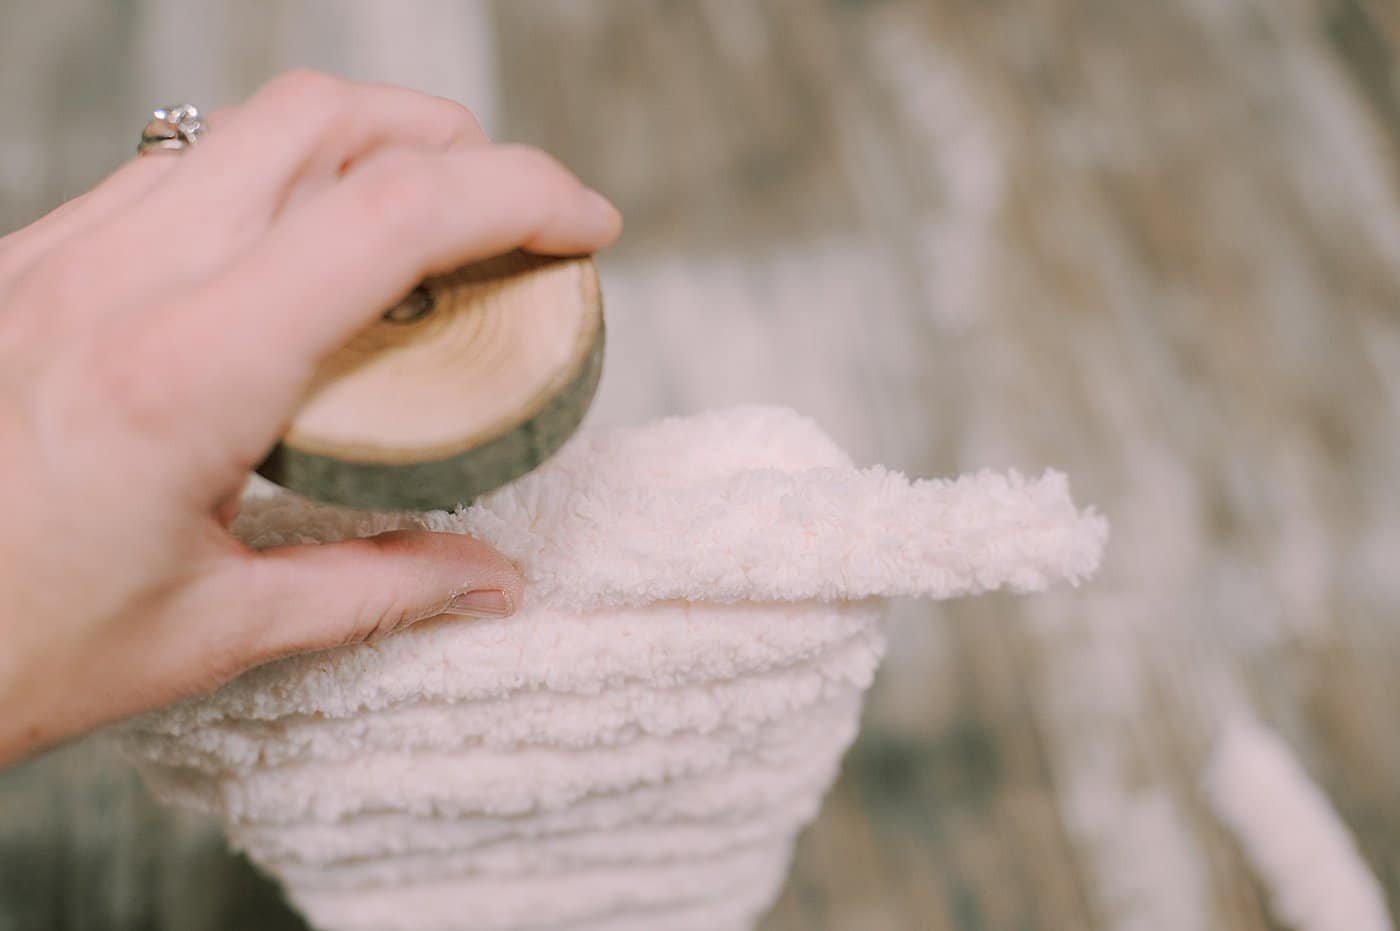
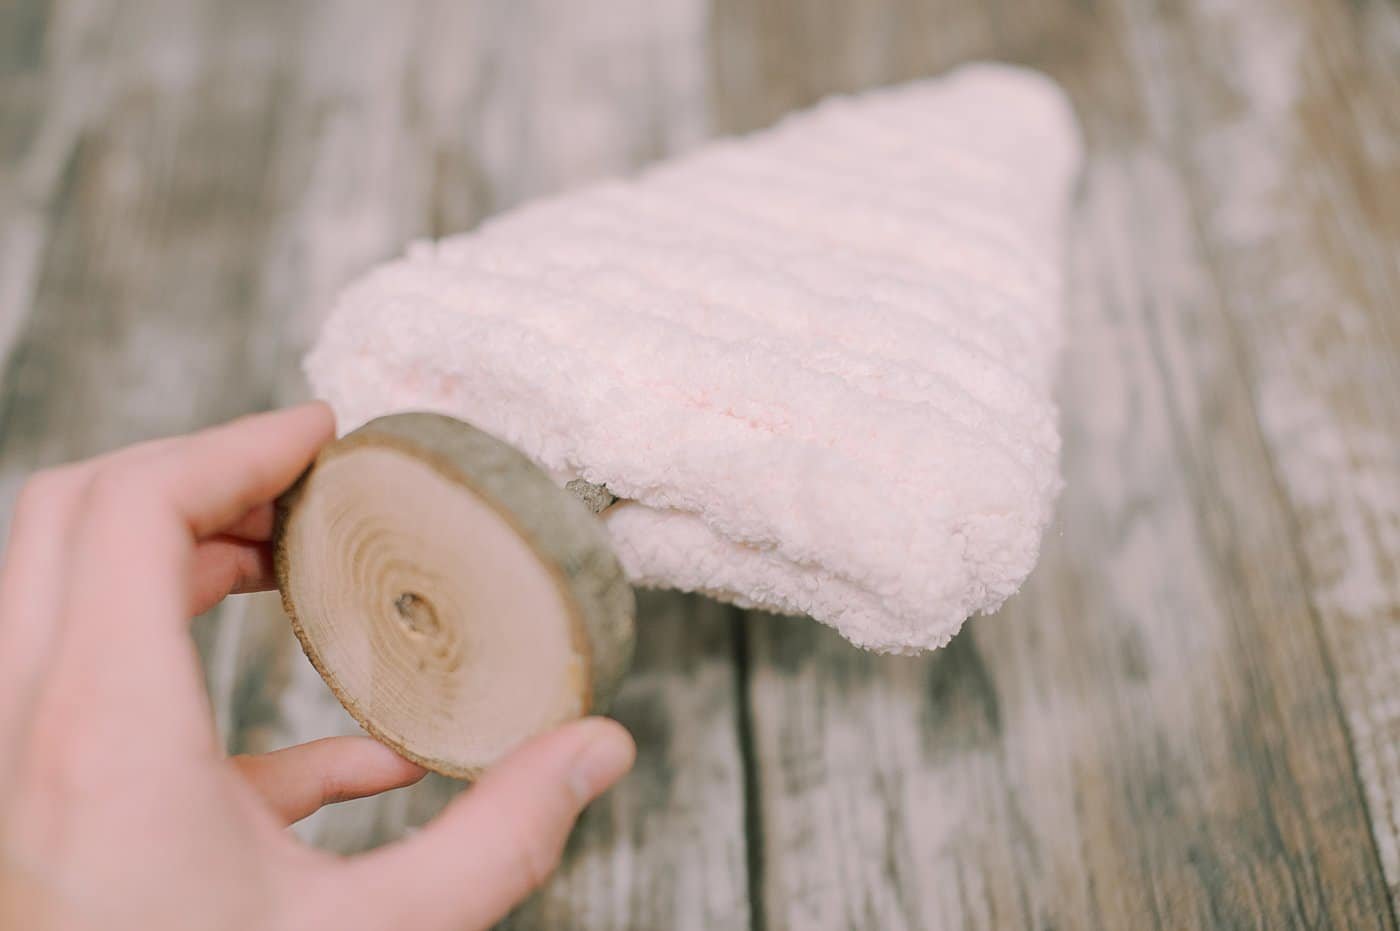
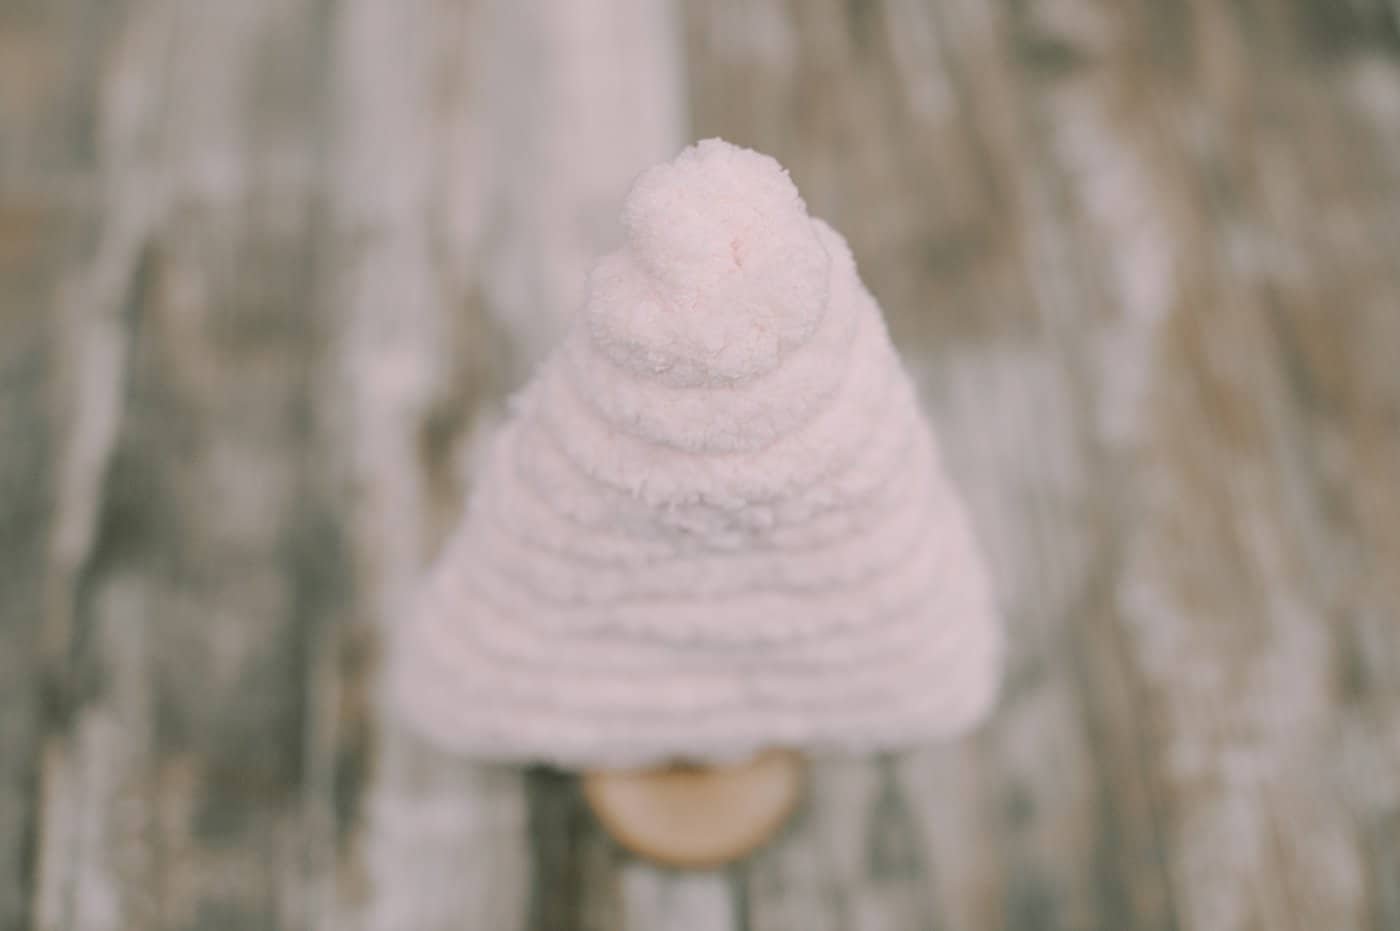
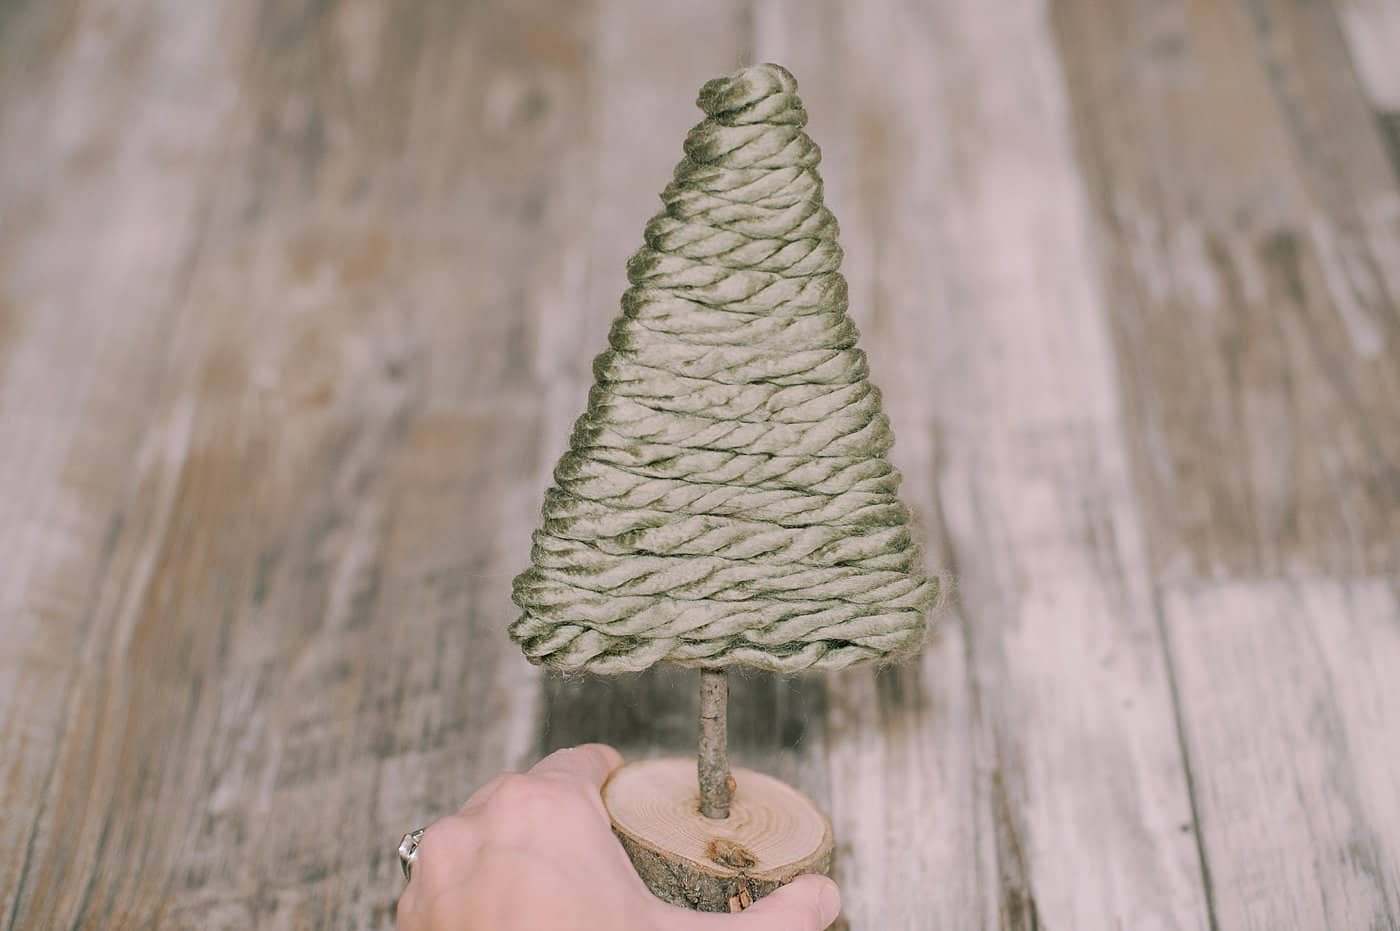
That's it! Your chunky yarn-wrapped Christmas tree is finished!
Isn't it beautiful!?
Option 2: Wrap the base of the yarn tree FIRST.
You can also begin the project by wrapping the underside of the cardboard tree first, as shown in the photos below.
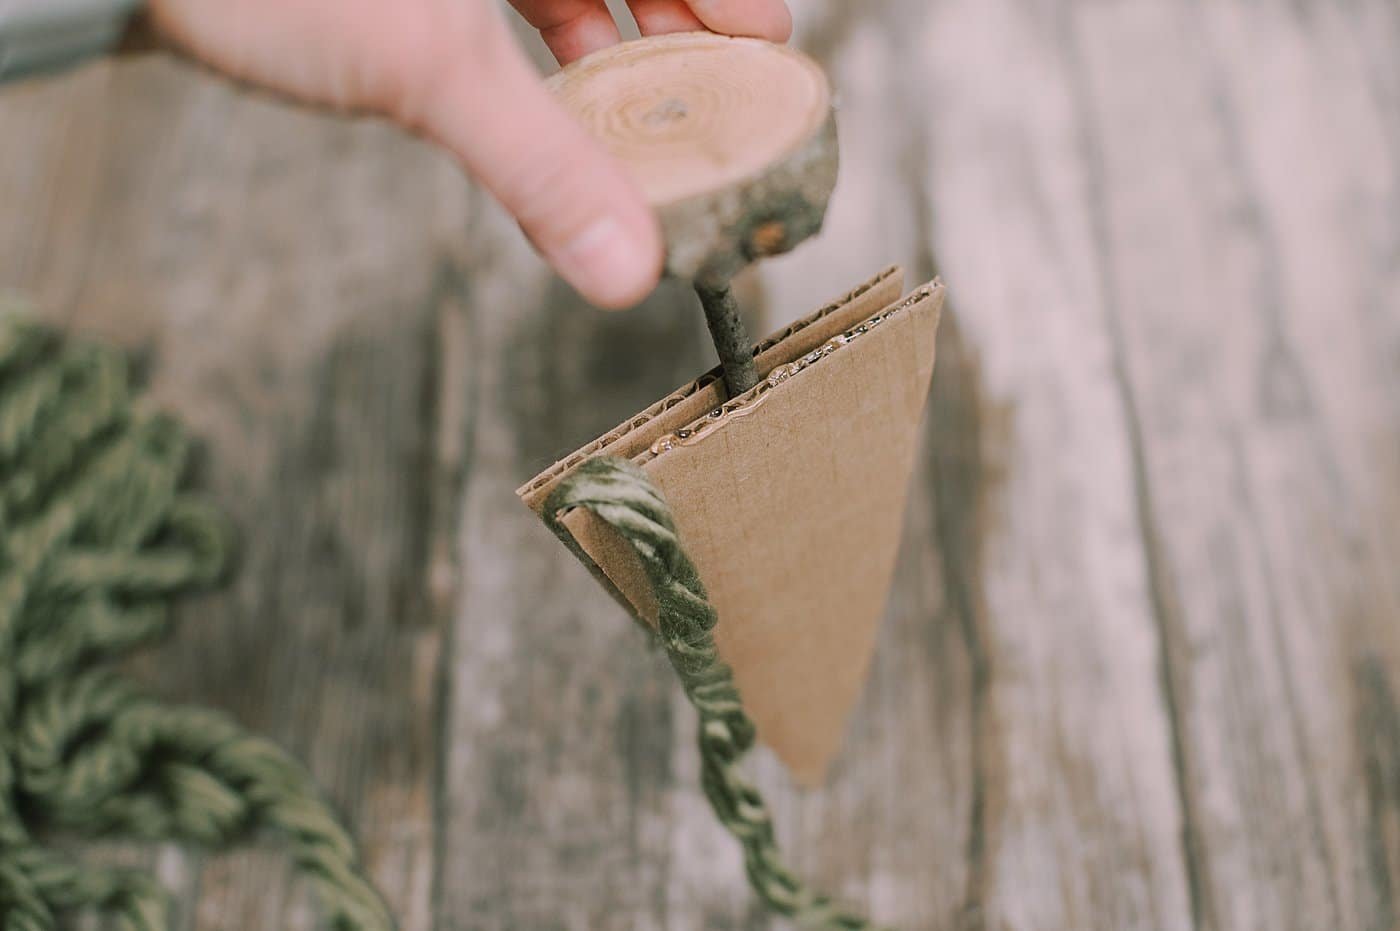
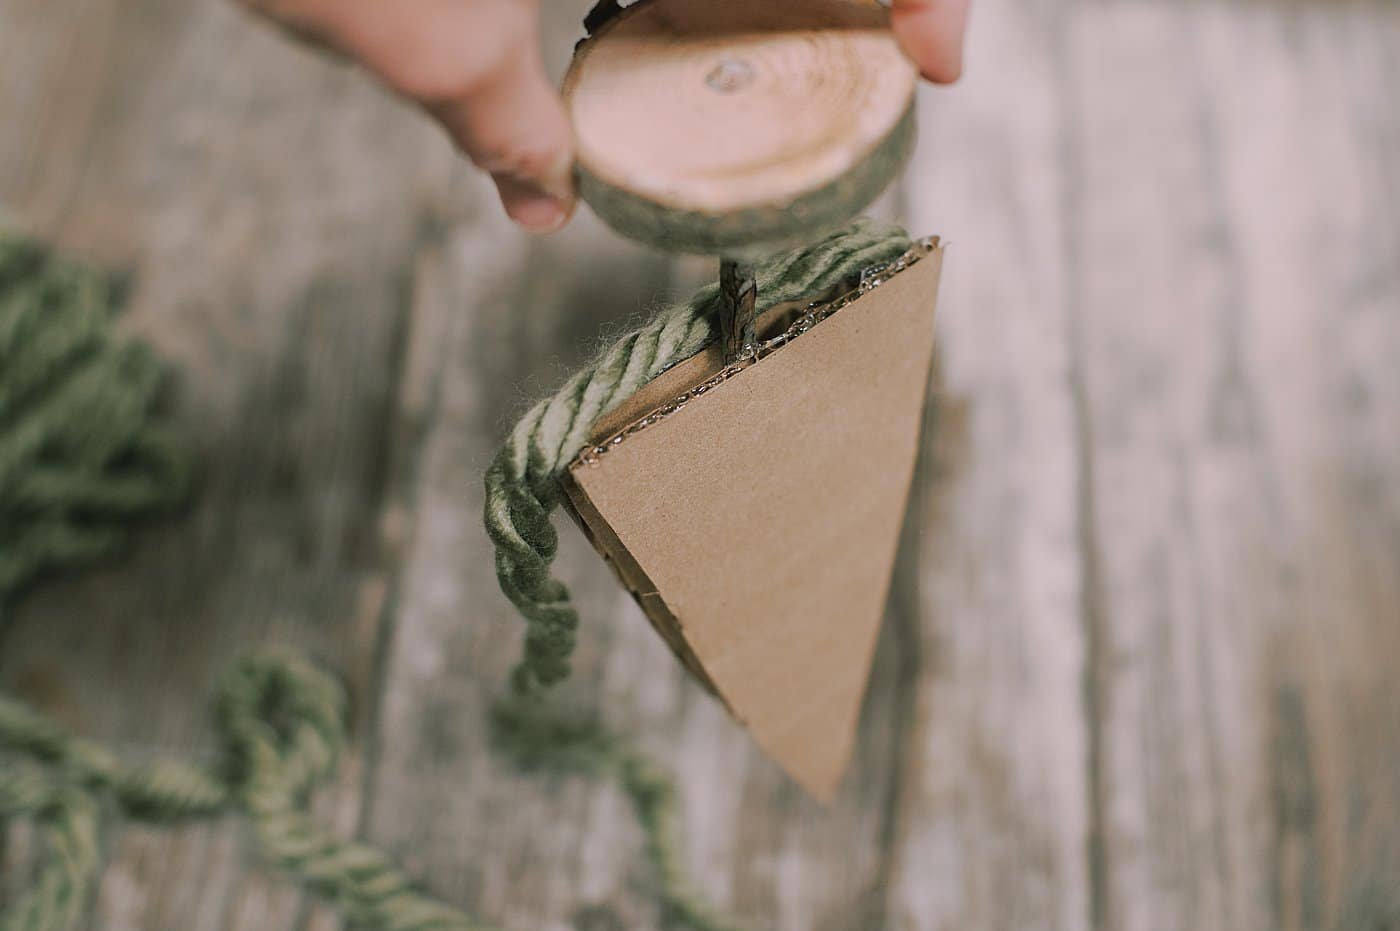
Once the bottom of wrapped and hidden, you can begin wrapping up the sides of the cardboard triangles like we showed earlier in the tutorial.
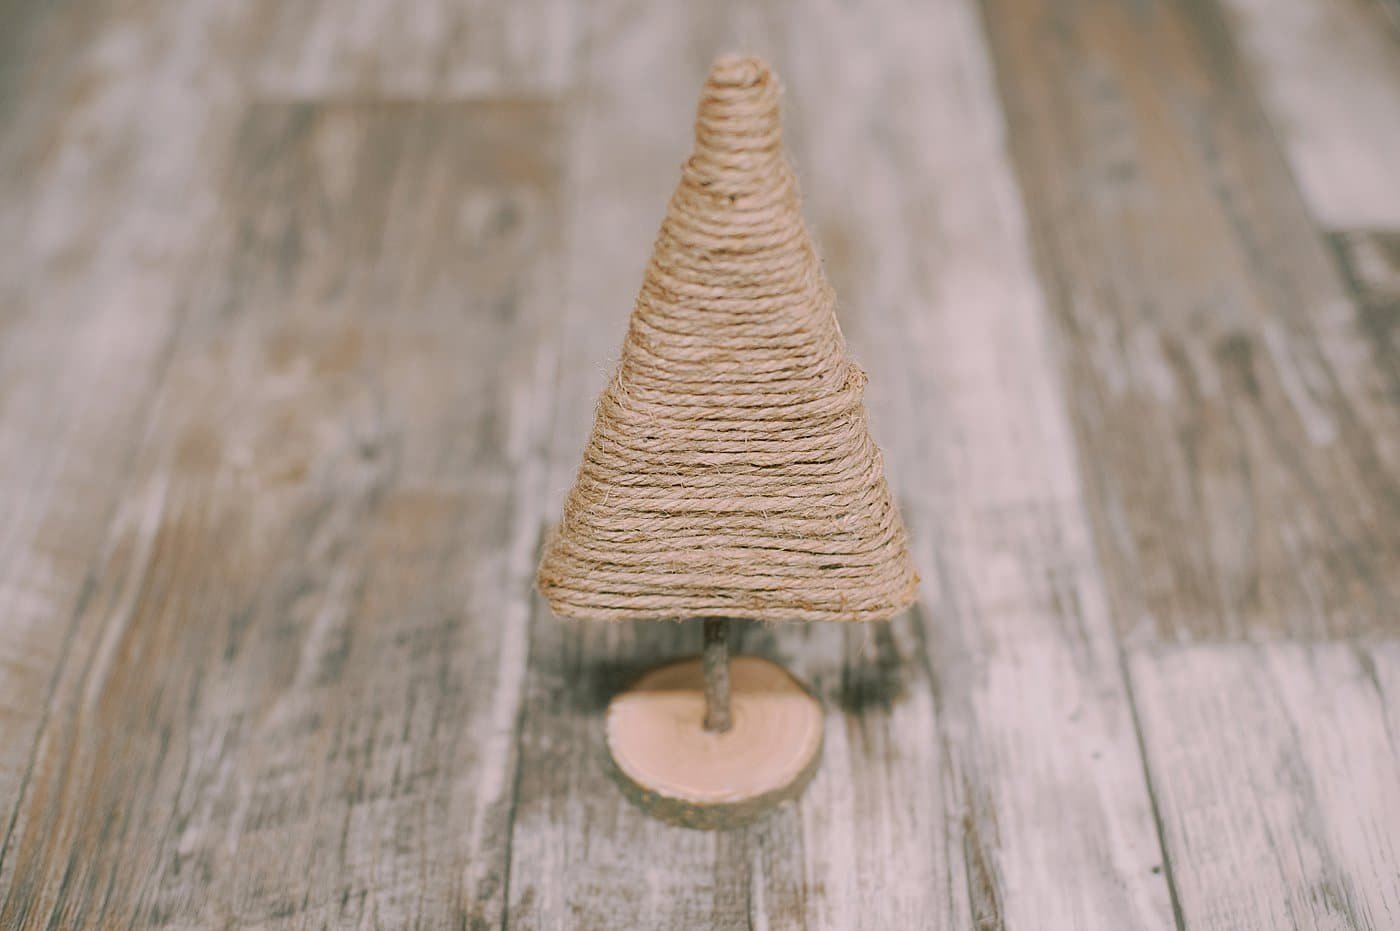
How to Make a Twine-Wrapped Cardboard Christmas Tree
You can use the same process and wrap twine around a cardboard Christmas tree too!
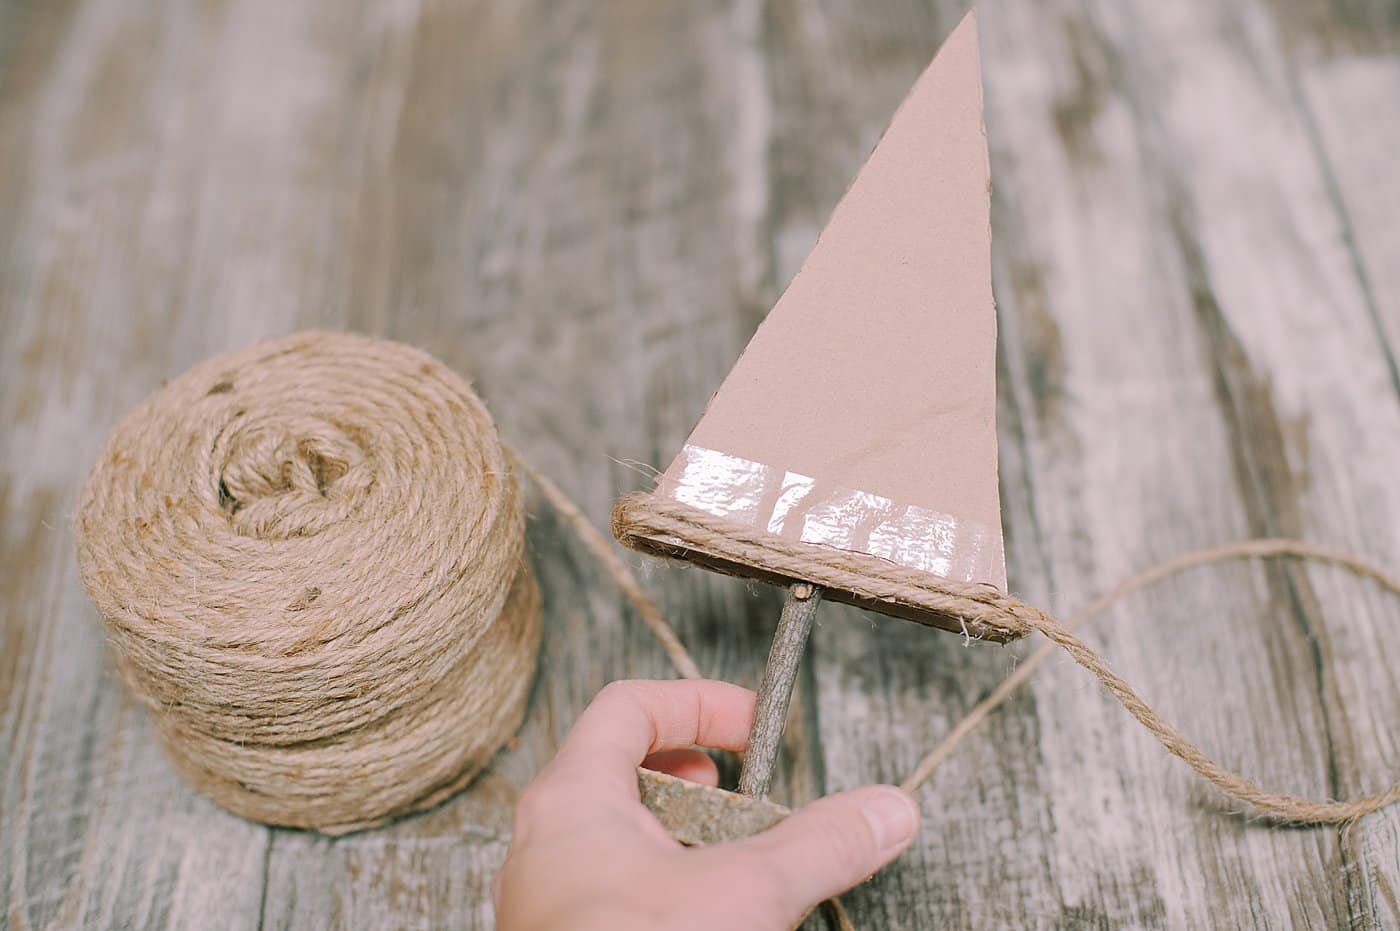
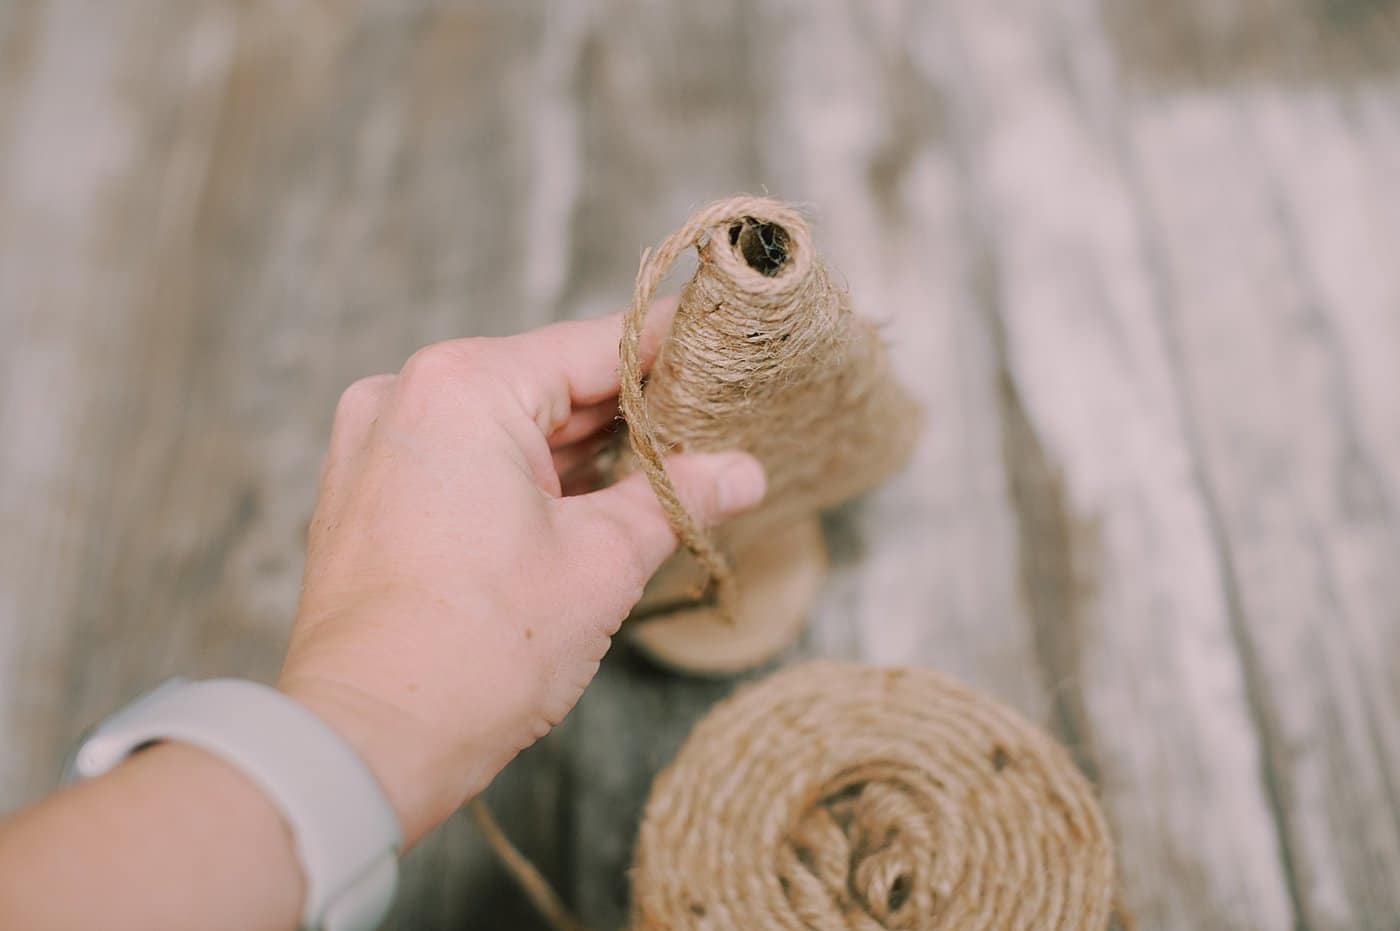
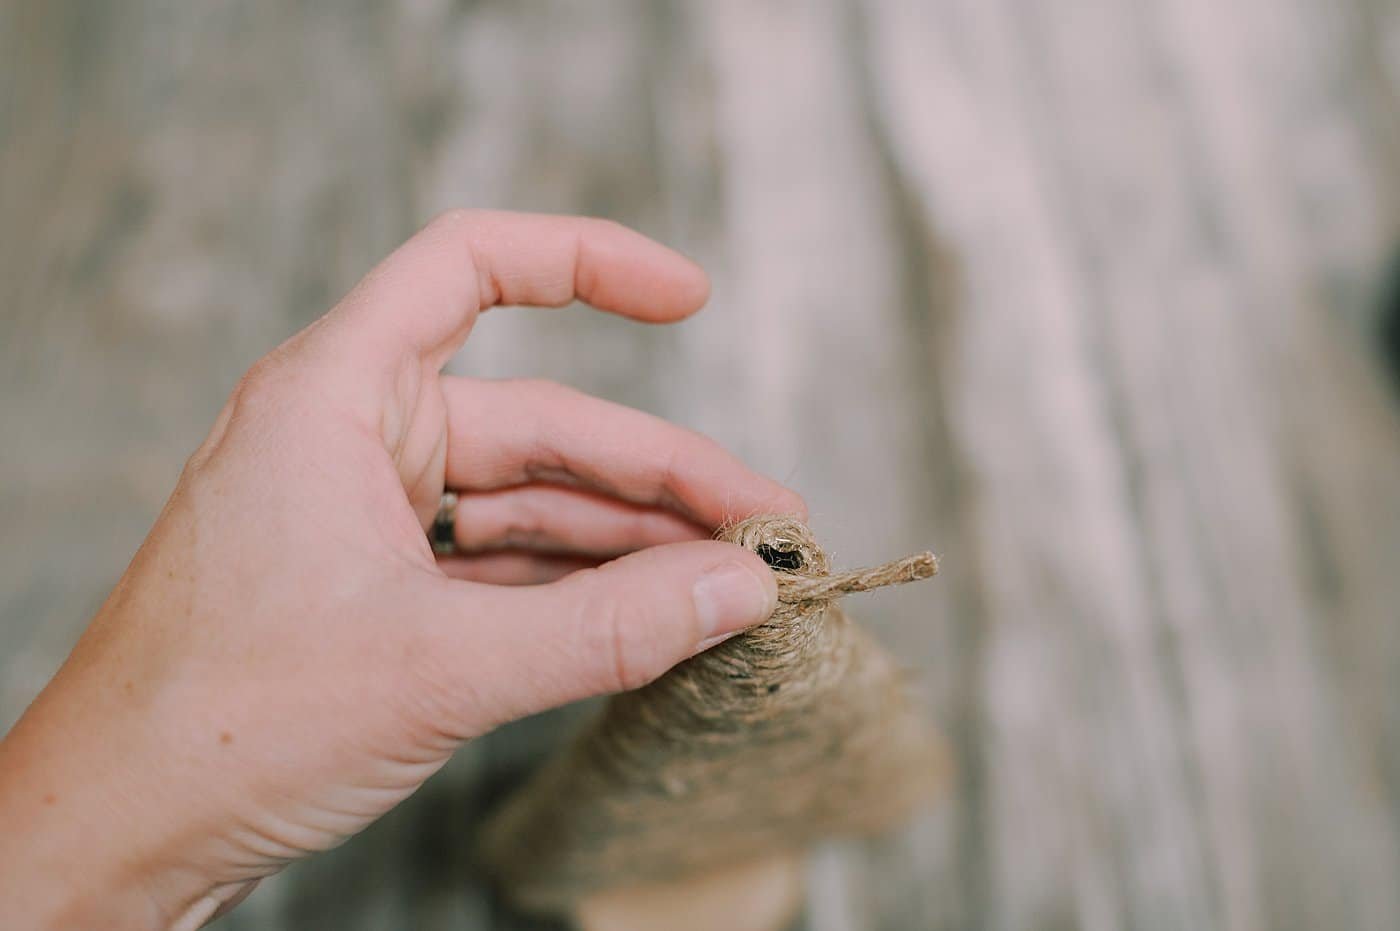
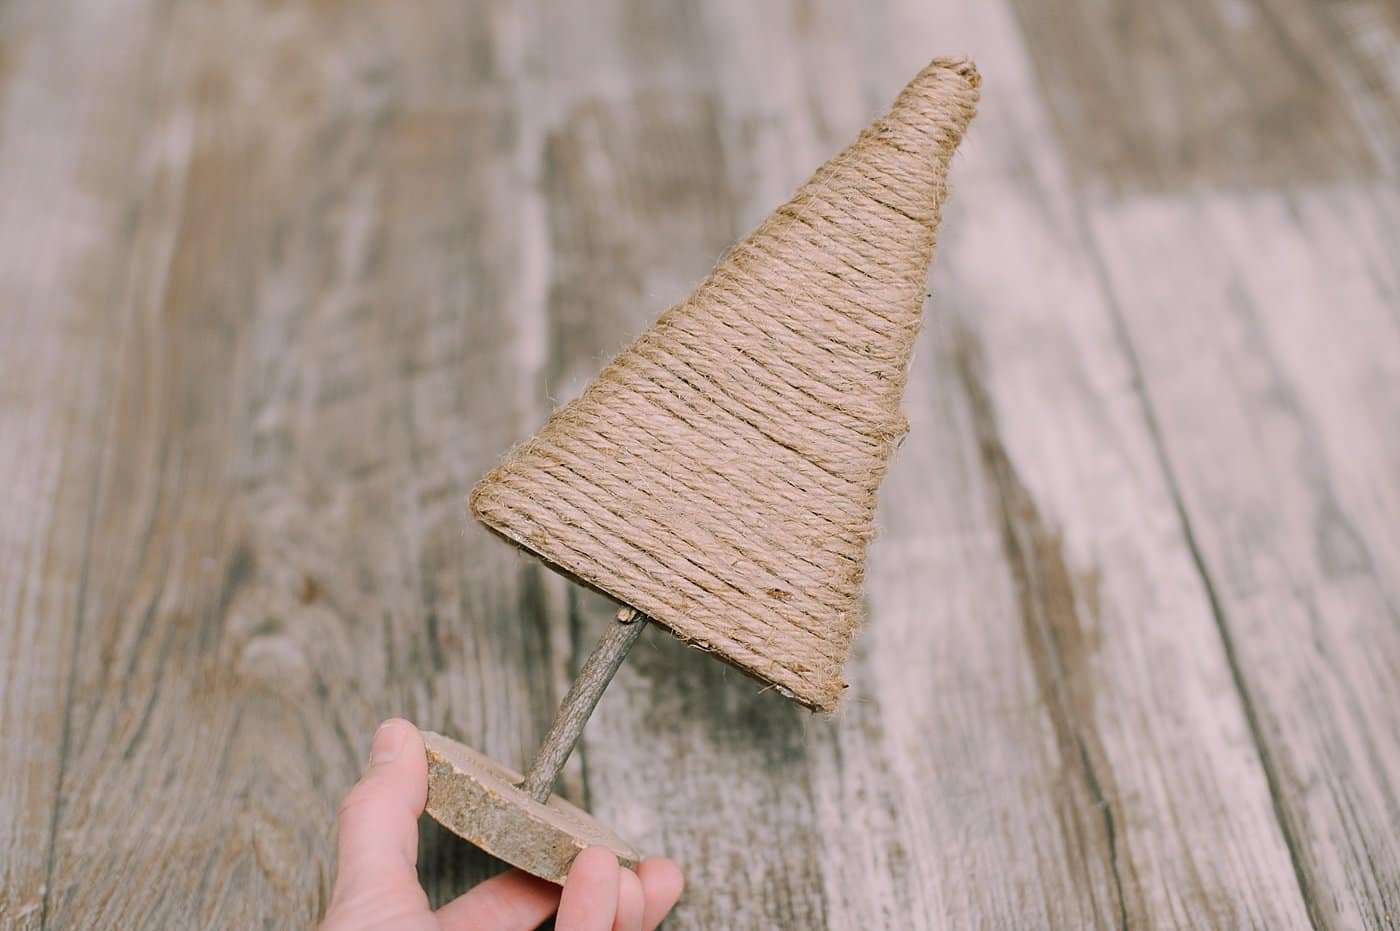
You can try to cover the base up entirely, or just use twine to cover up the exposed cardboard edges like we do in the photos below.
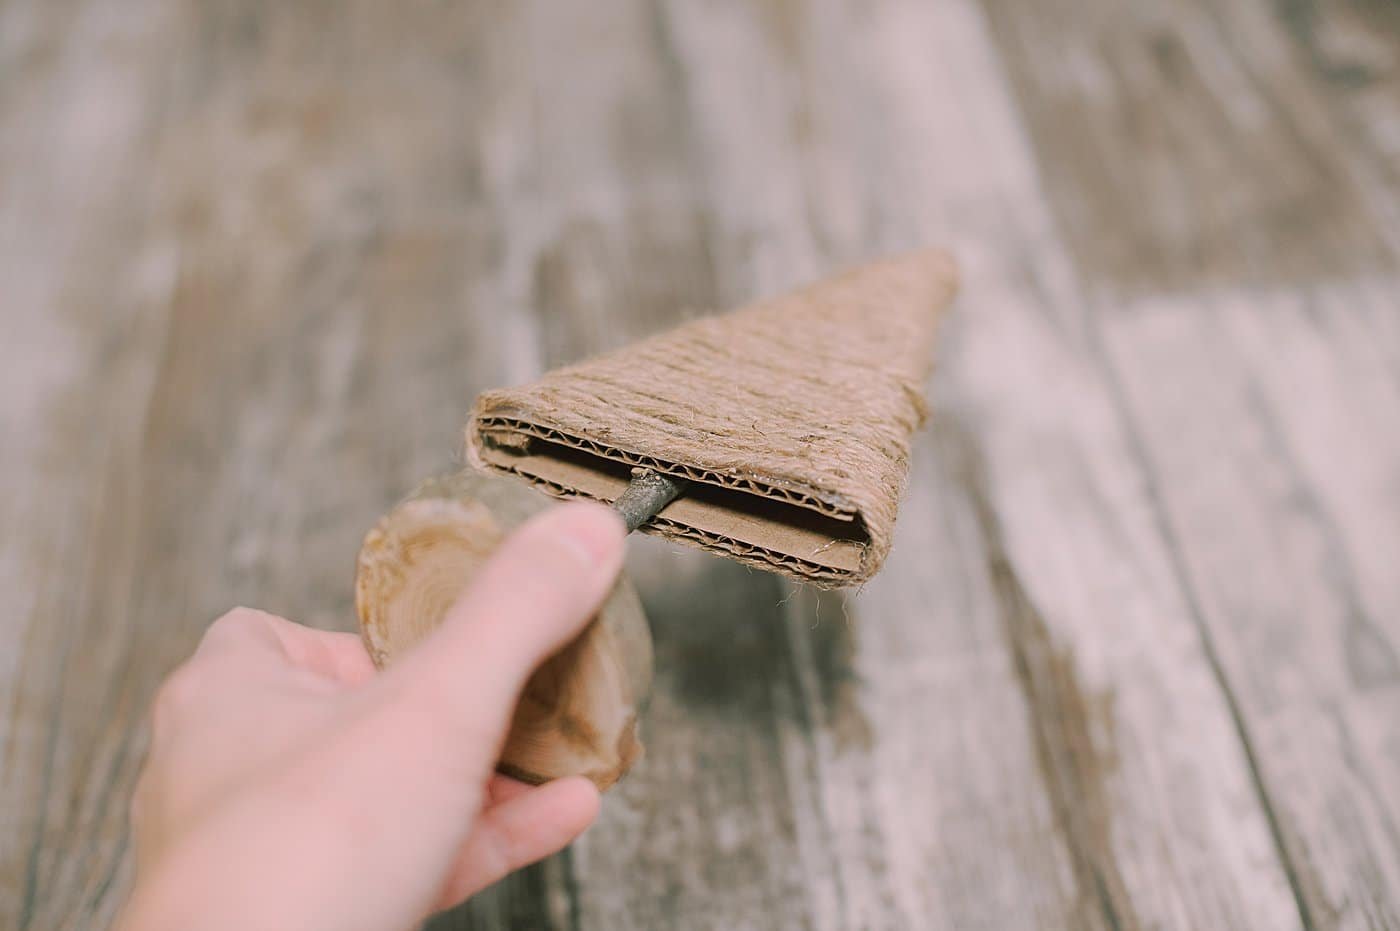
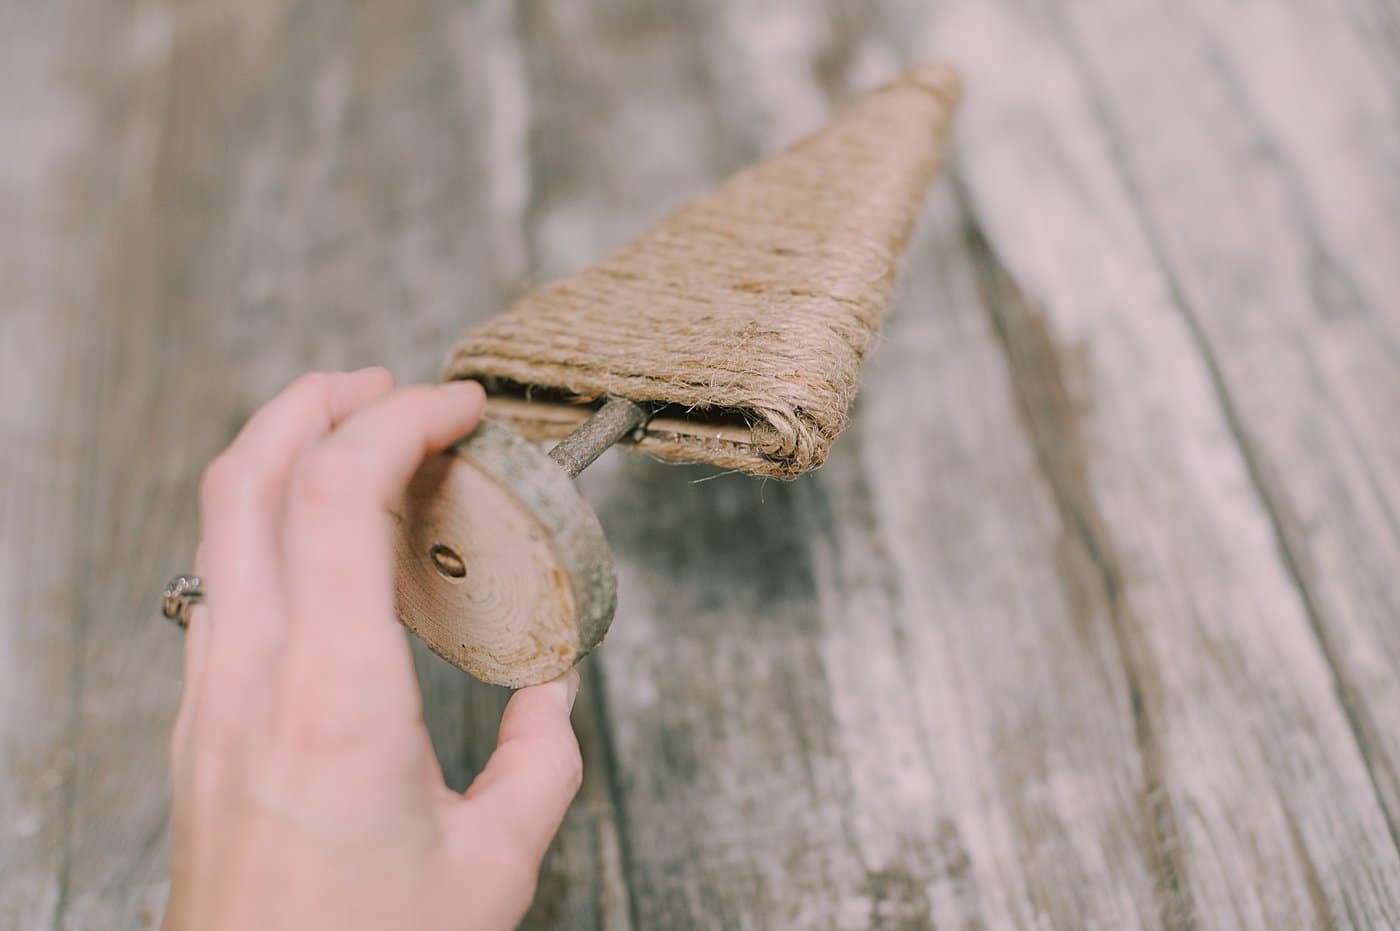
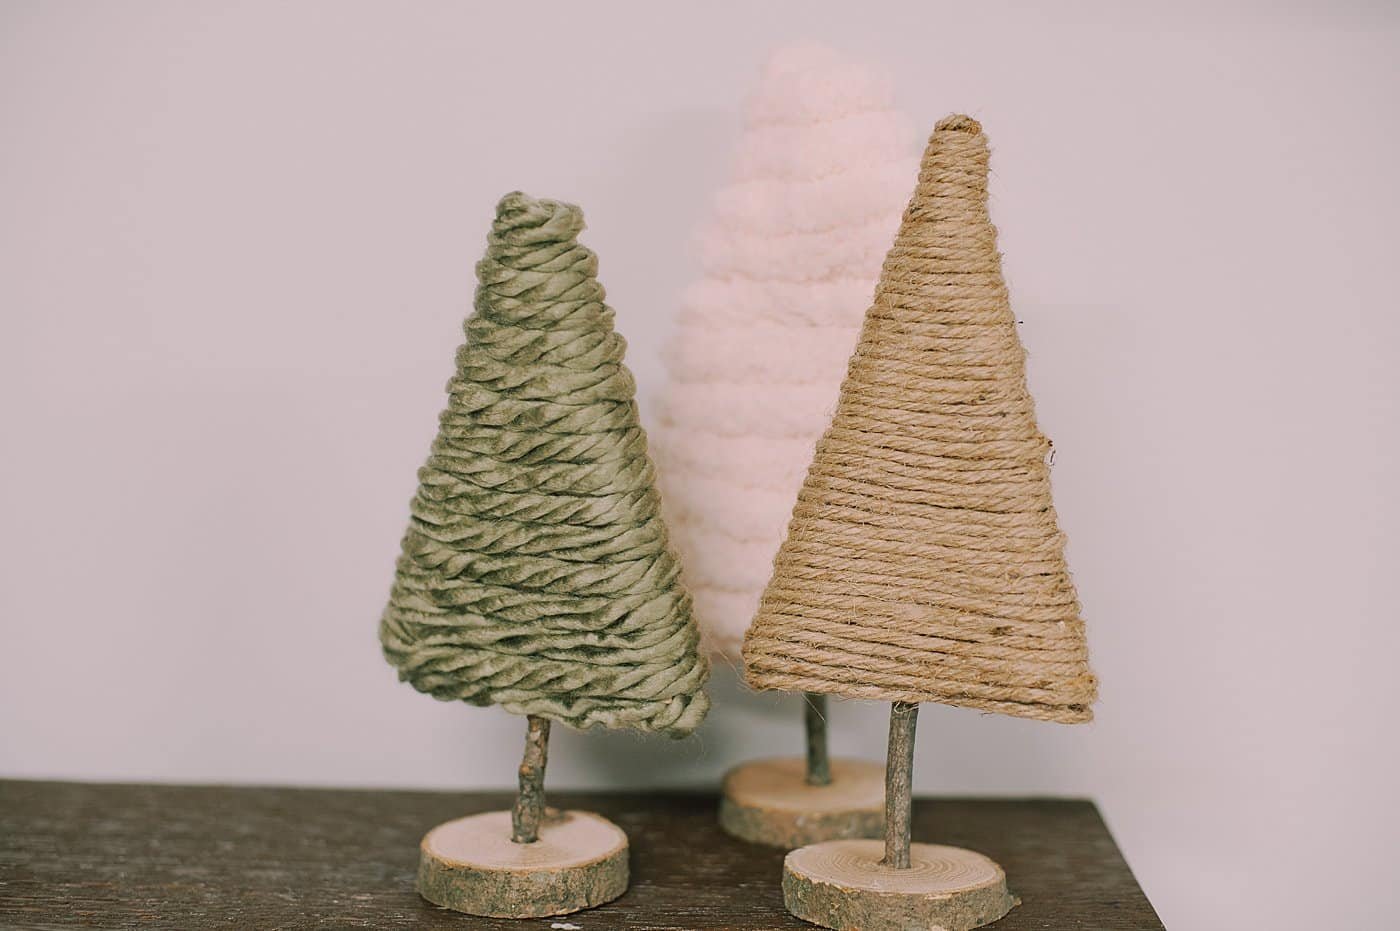
Three DIY yarn (and twine) wrapped cardboard Christmas Trees!


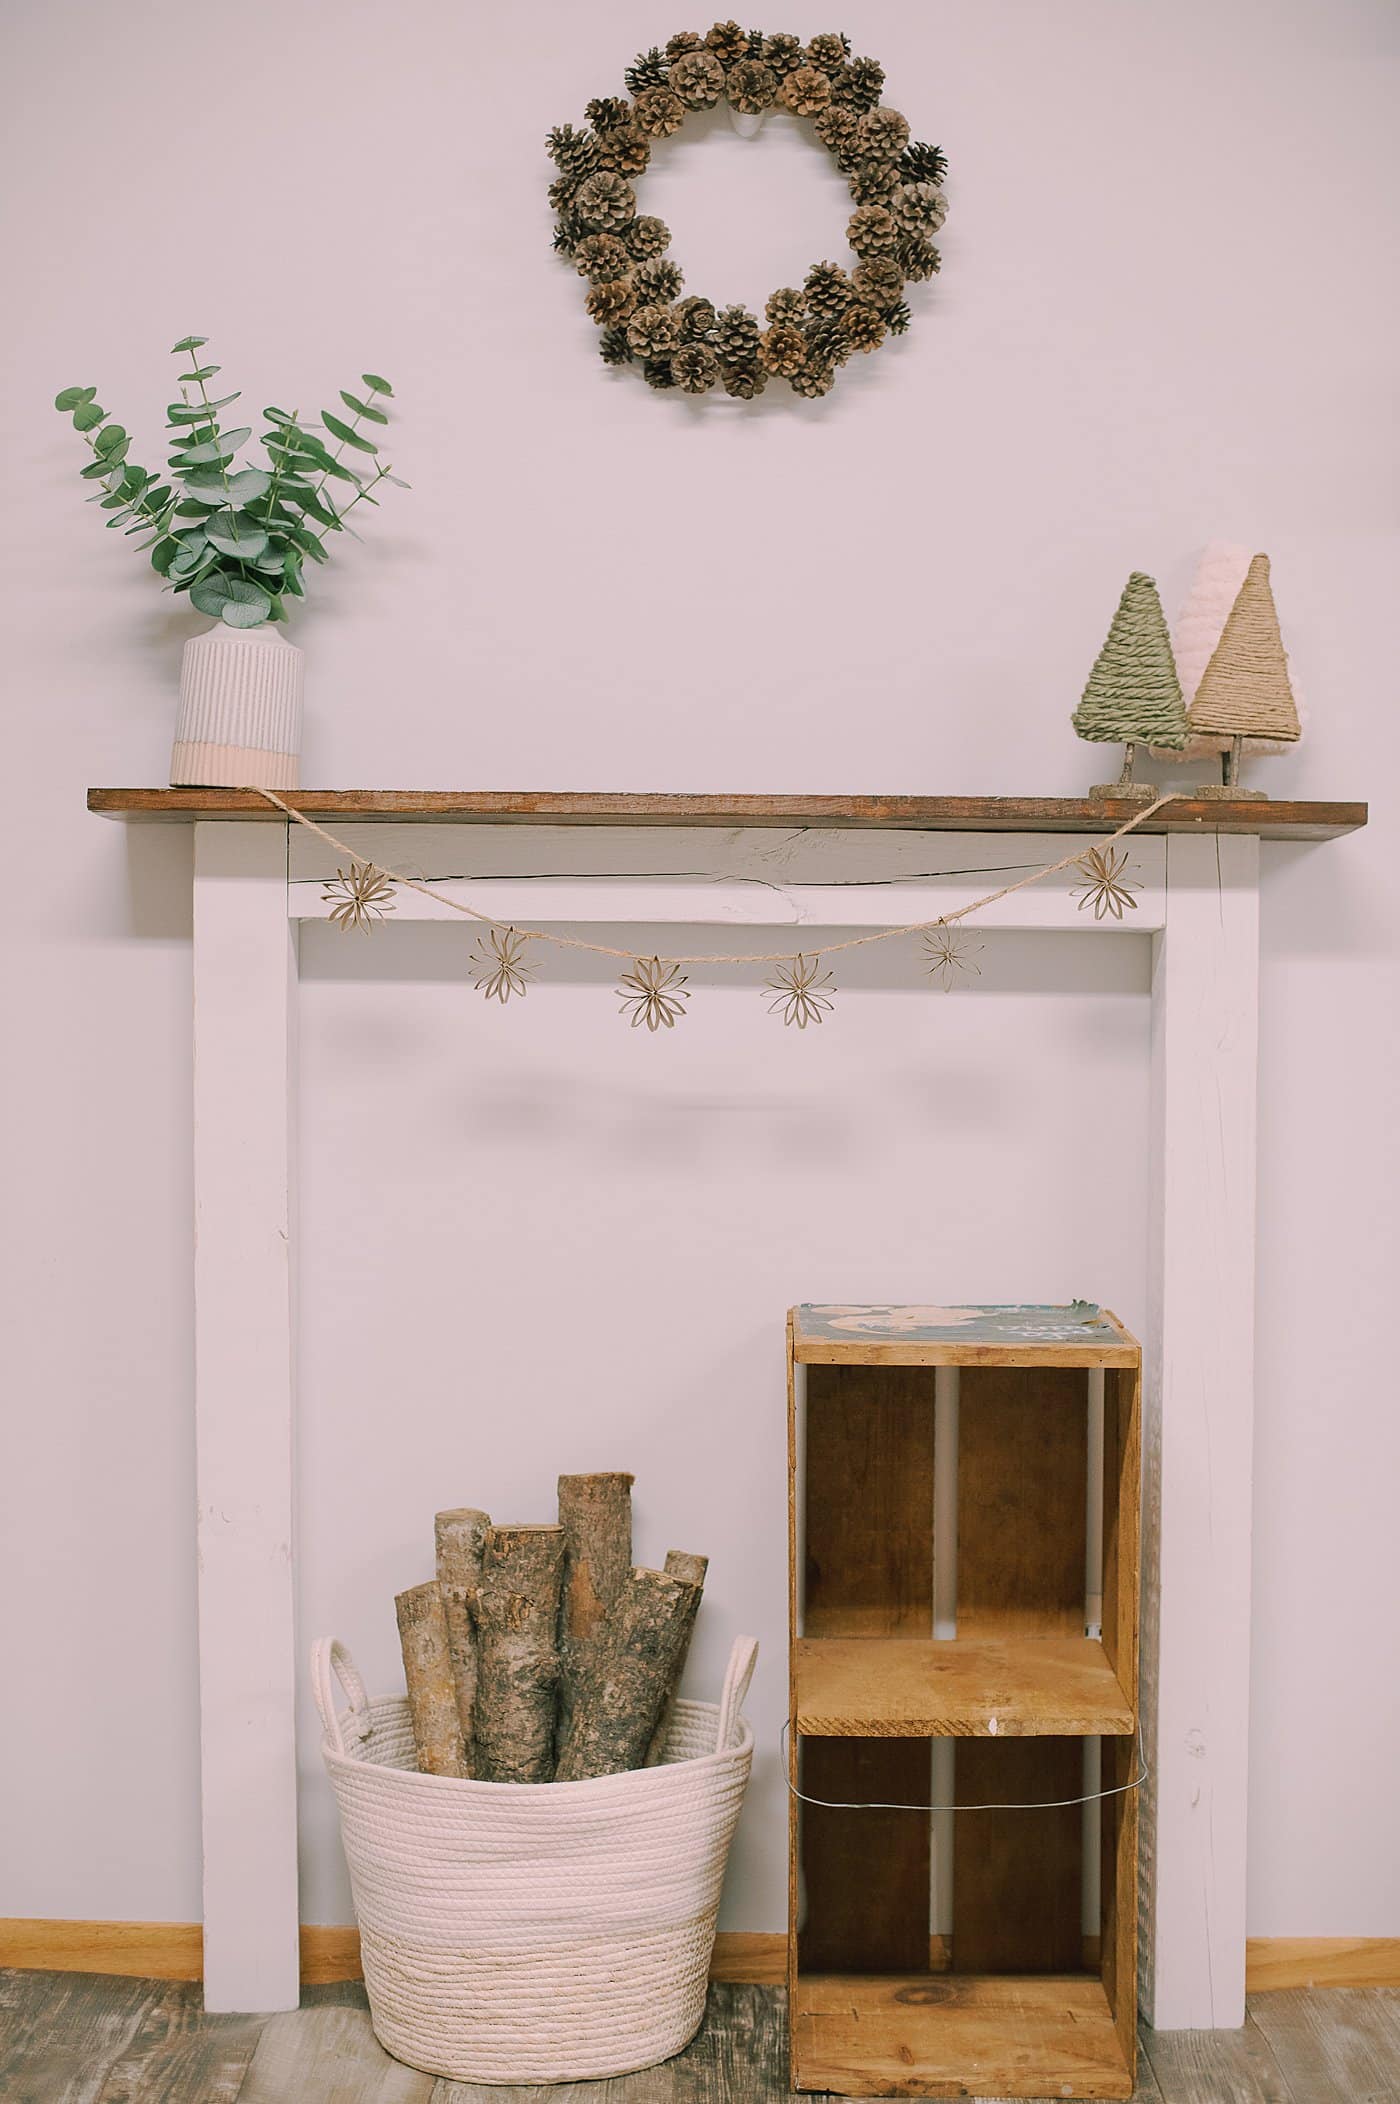
These trees are easy to make, use recycled cardboard which is always a bonus, and can be customized with any color yarn you want.
You could even experiment with this as a kids' craft - either doing the gluing for the kids while they wrap the yarn or using Tacky Glue and letting the kids give it a go themselves!





Cindy Craner
OMG-these are so cute!!! Thank you for all your great ideas!
Laura
Thank you, Cindy! You are so welcome!