Learn how to make bows from burlap ribbon in this easy DIY bow tutorial with step-by-step instructions and photos.
Knowing how to make bows from burlap ribbon (or any ribbon!) is a fantastic craft skill and one that comes in handy in lots of different ways.
Beautiful bows can be turned into everything from bow ties and hair accessories to the perfect wreath bow or bow on a gift box.
Today, we're going to take a look at two different types of burlap ribbons, and how to make them!
Let's get to it!

How to Make Bows from Burlap Ribbon
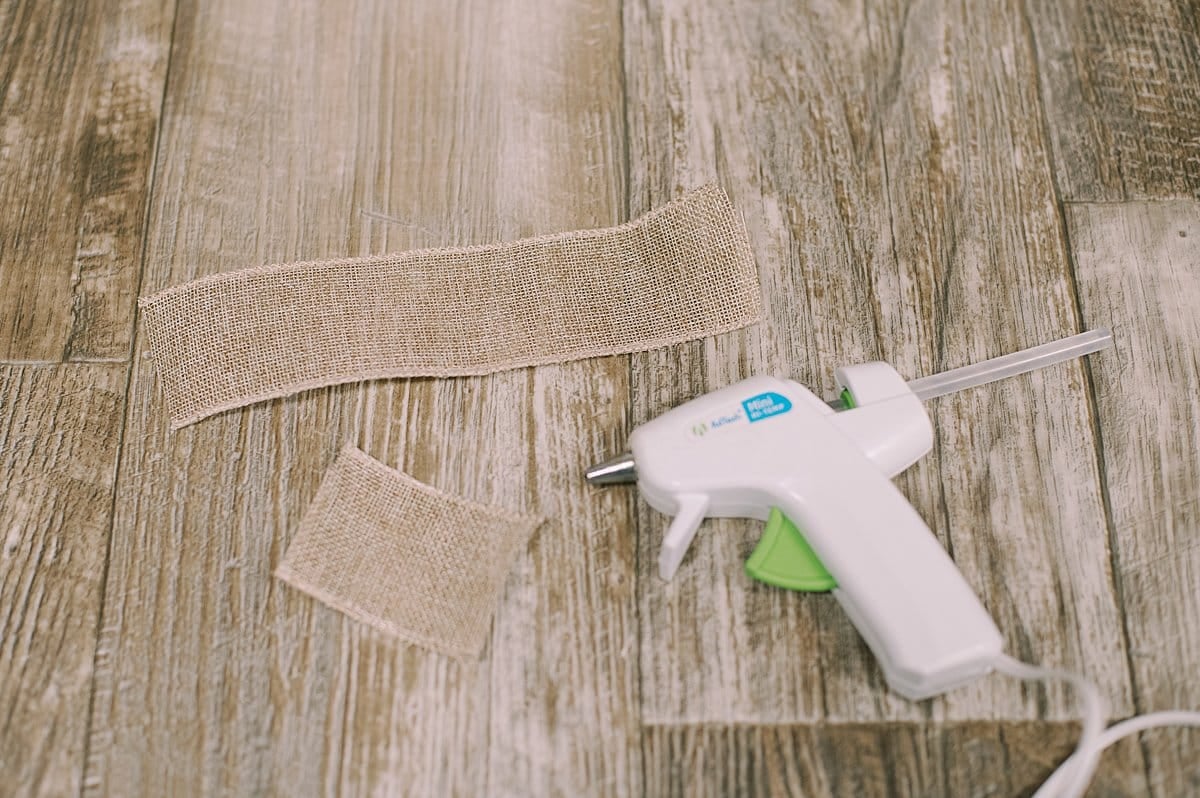
Step 1. Gather Supplies
Supplies Needed:
- Burlap Ribbon
- Wire Cutter (if the burlap ribbon is wired.)
- Scissors
- Hot Glue Gun and Glue
Step 2. Cut the burlap ribbon into two pieces - one longer piece, and one shorter piece.
These two sections and roughly 8" long and 2 or 3" long.
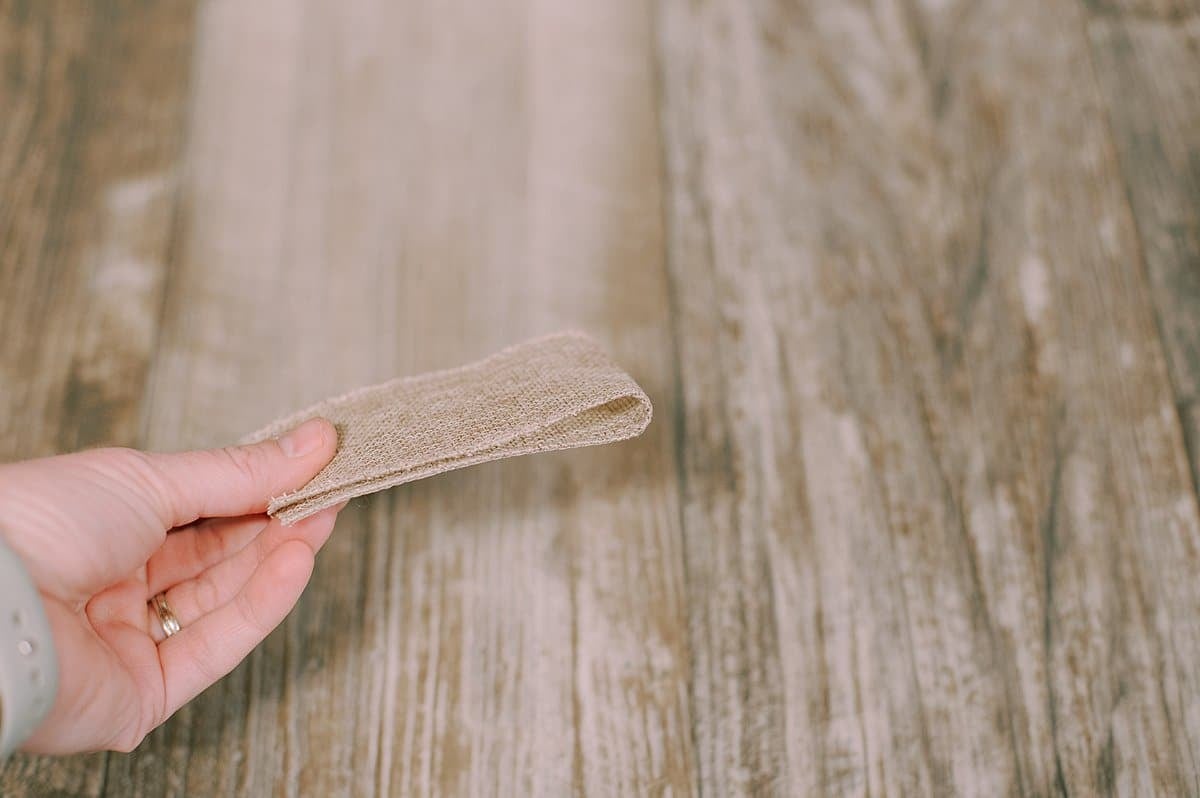
Step 3. Fold the long ribbon in half to create a loose crease in the middle of the ribbon.
Open it back up.
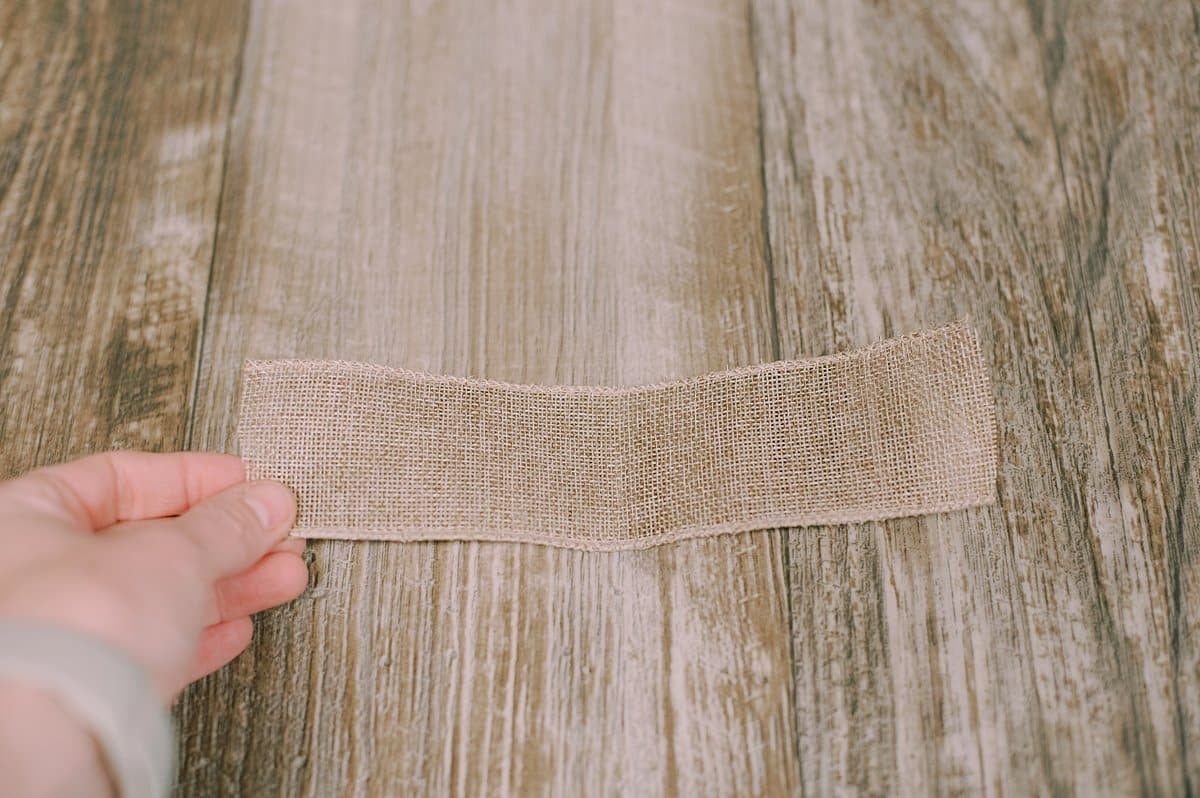
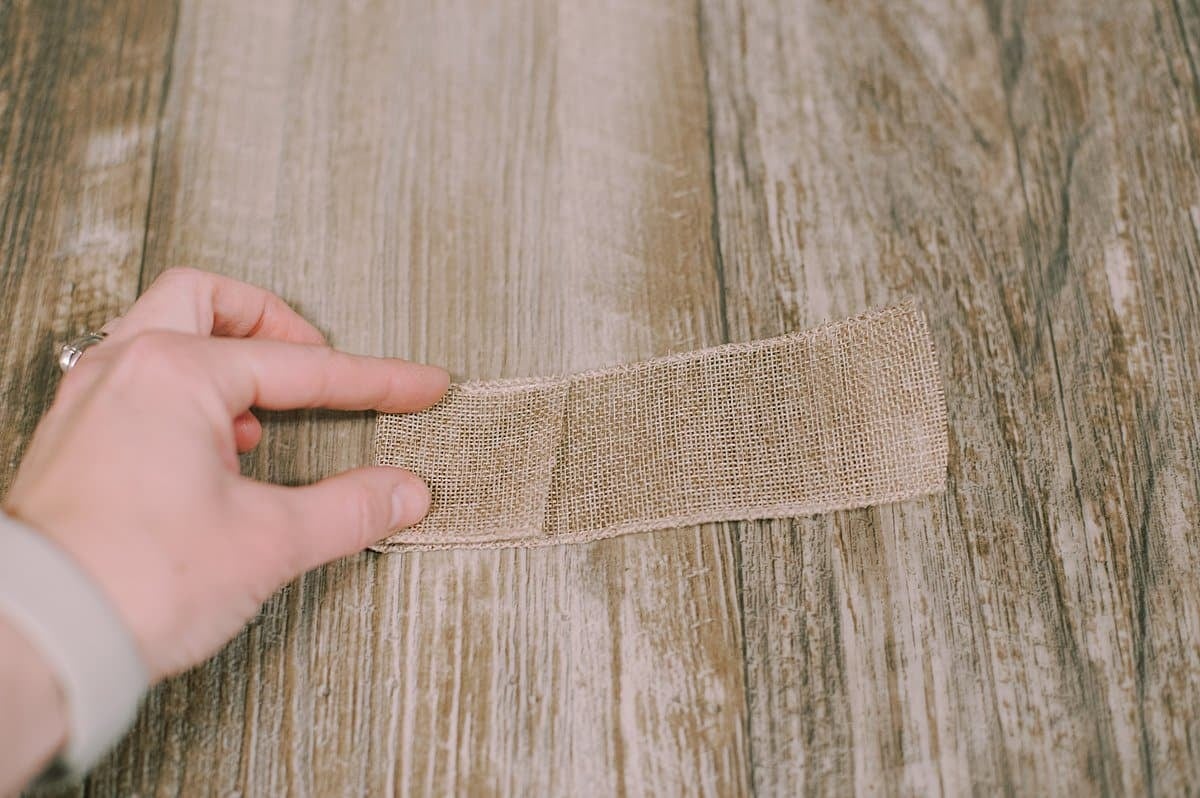
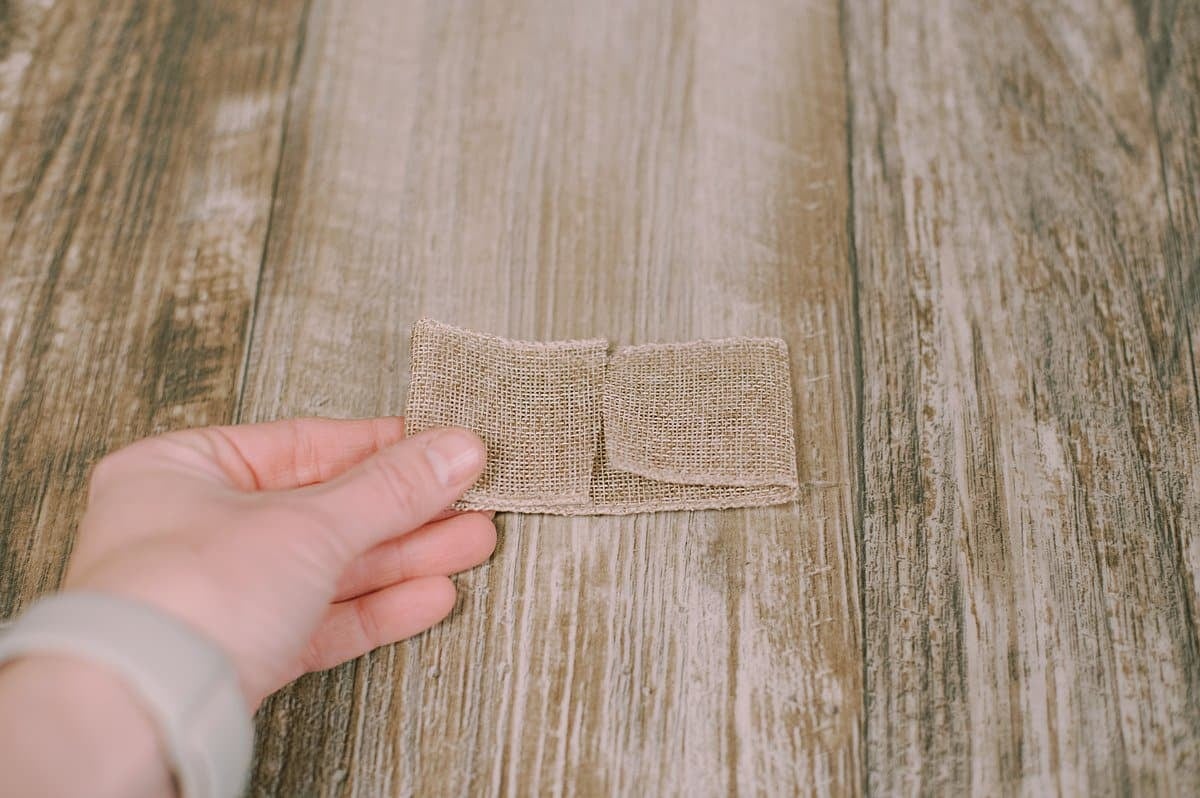
Step 4. Fold the left edge of the ribbon in toward the midline crease you just made.
Step 5. Fold the right edge of the ribbon in toward the midline crease.
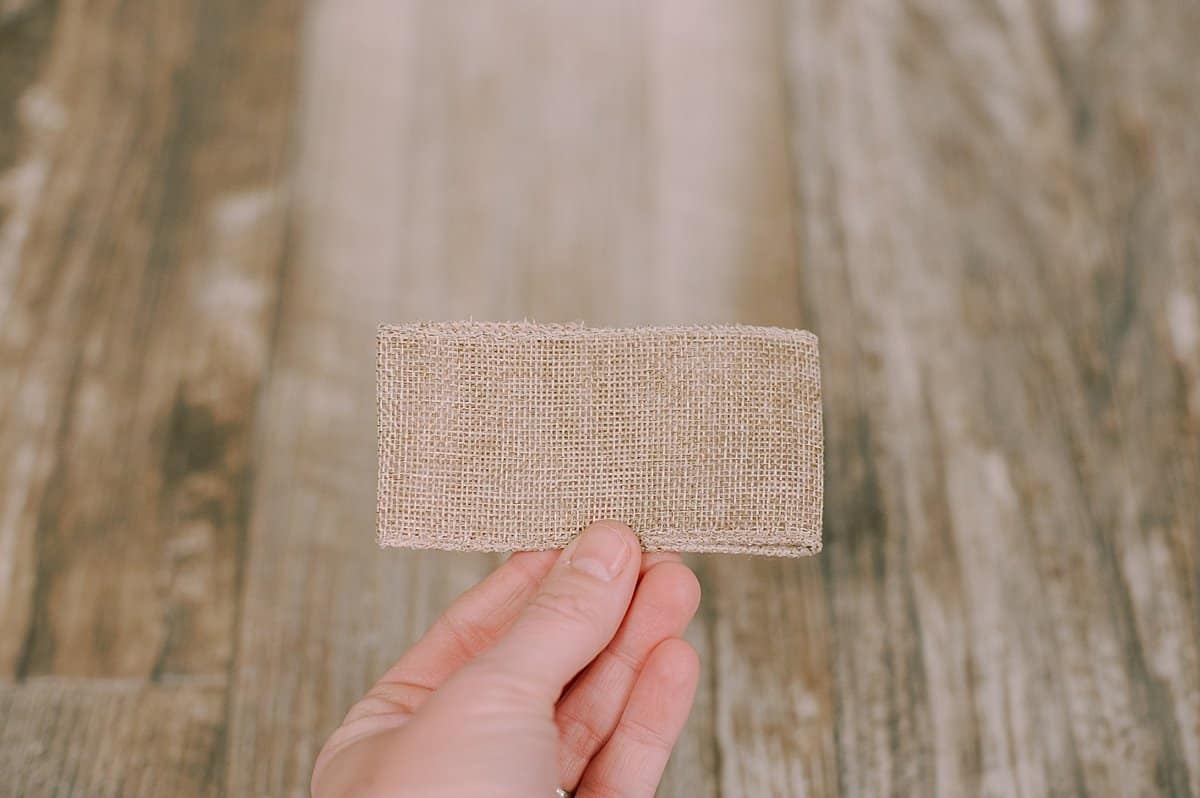
Press the folded ribbon flat.
Step 6. Turn the folded ribbon over.
This is the start of both versions of burlap bows.
Both styles of ribbon will use the same band to wrap around the middle of the bow.
Here's how to make the middle band.
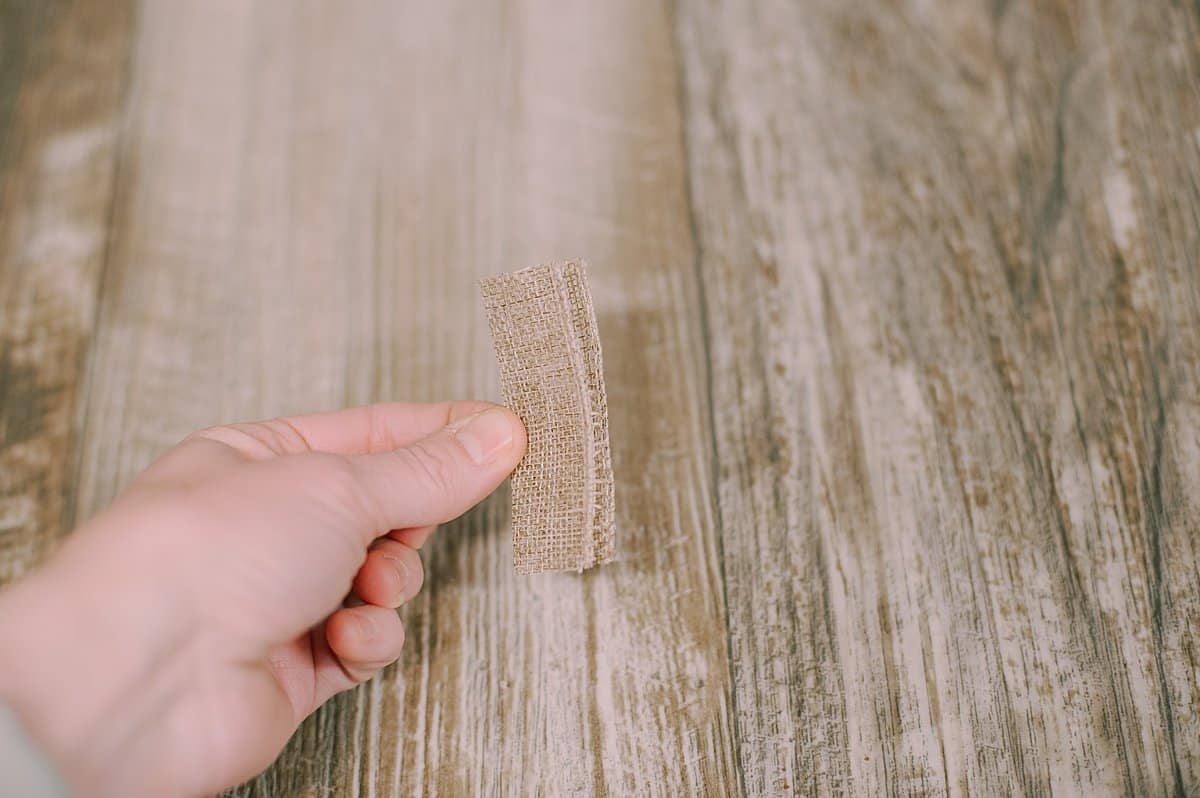
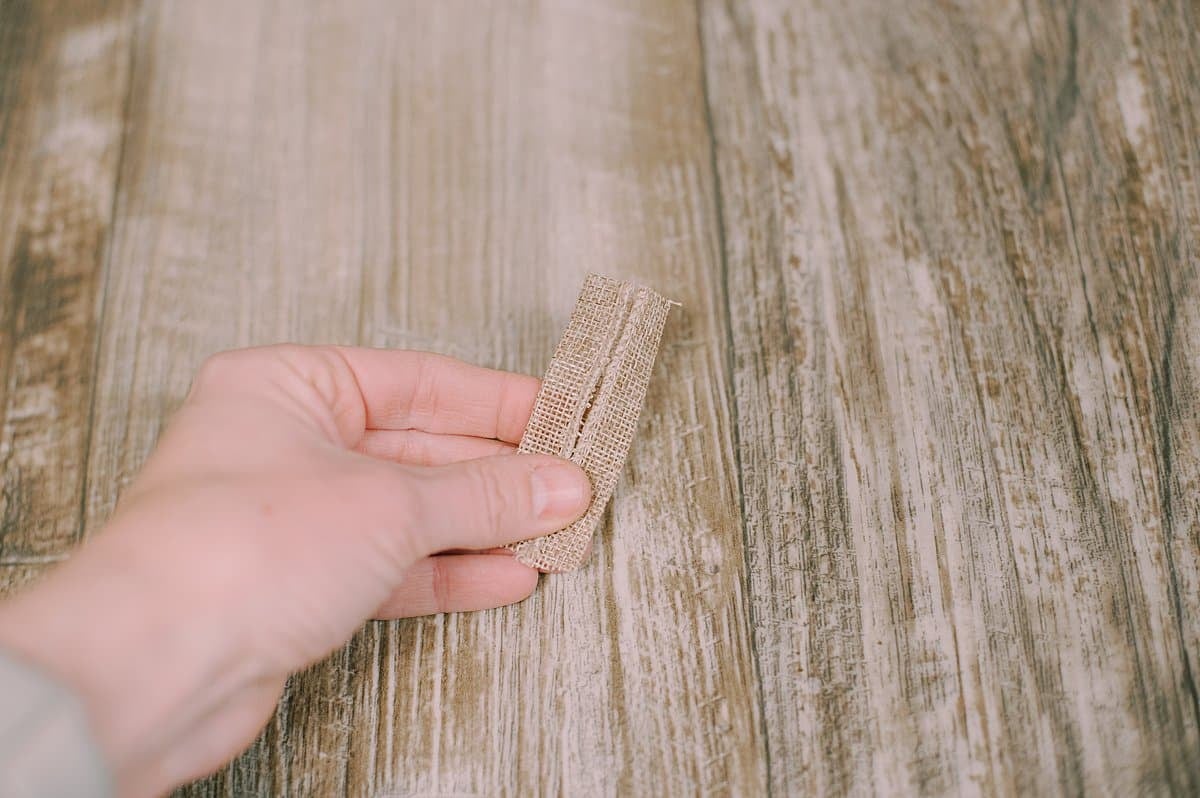
Step 7. Fold the small section of ribbon in half so the two long edges meet.
Open it back up.
You should still see the crease that you just created down the middle.
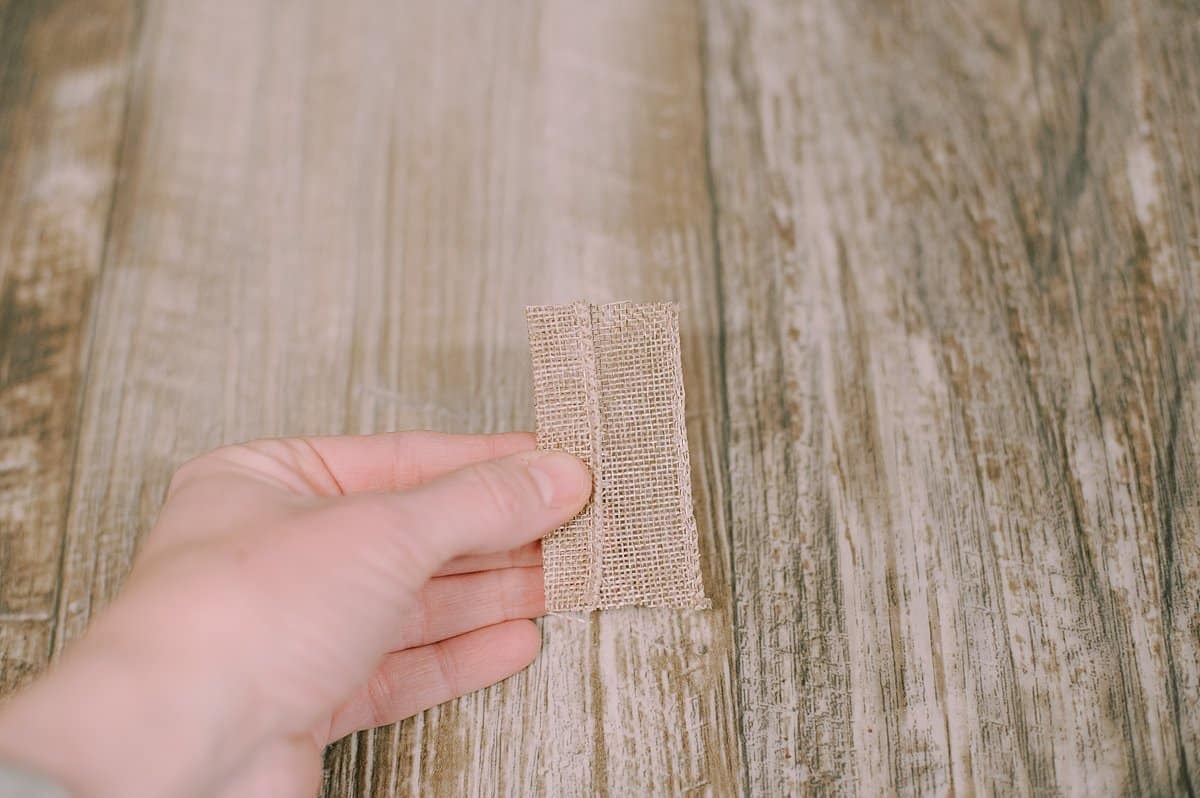
Fold the left edge in toward the middle.
Fold the right edge in toward the middle.
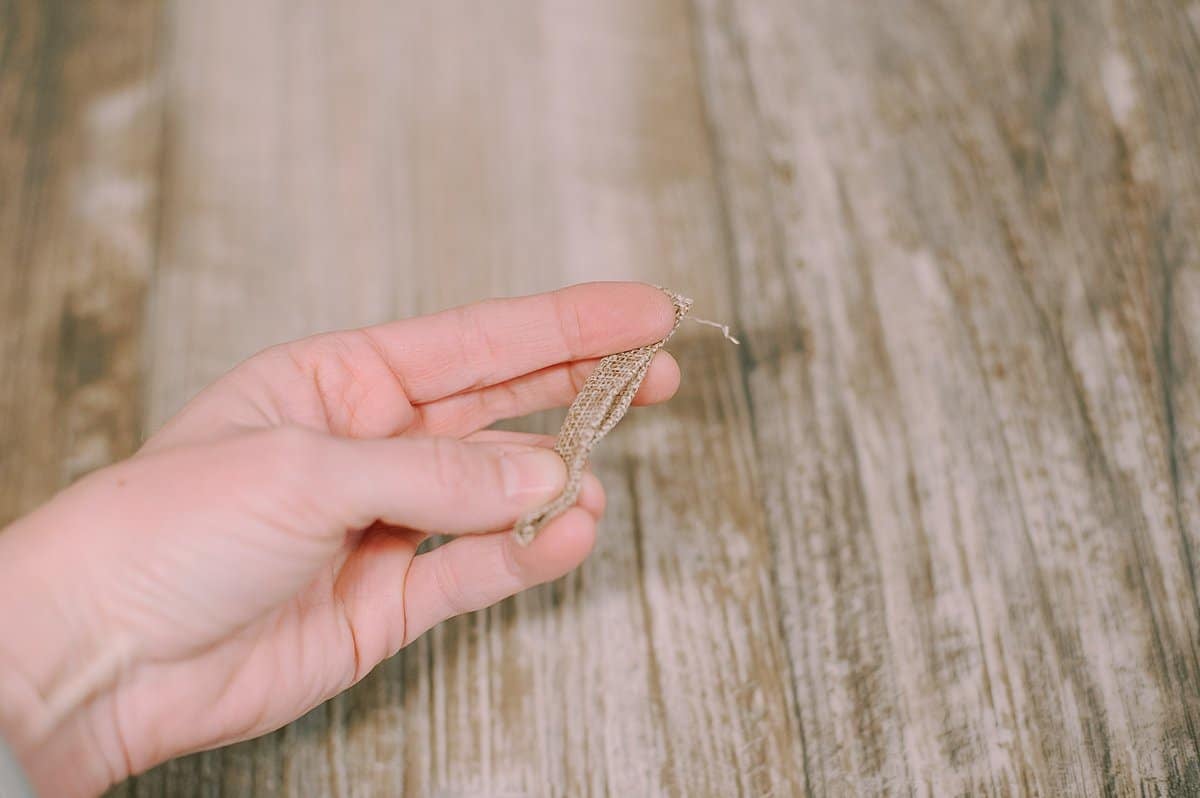
Then fold the strip in half to create a thin strip with smooth, clean long edges.
This is the strip that will wrap around the center of each bow.
Bow Style #1:
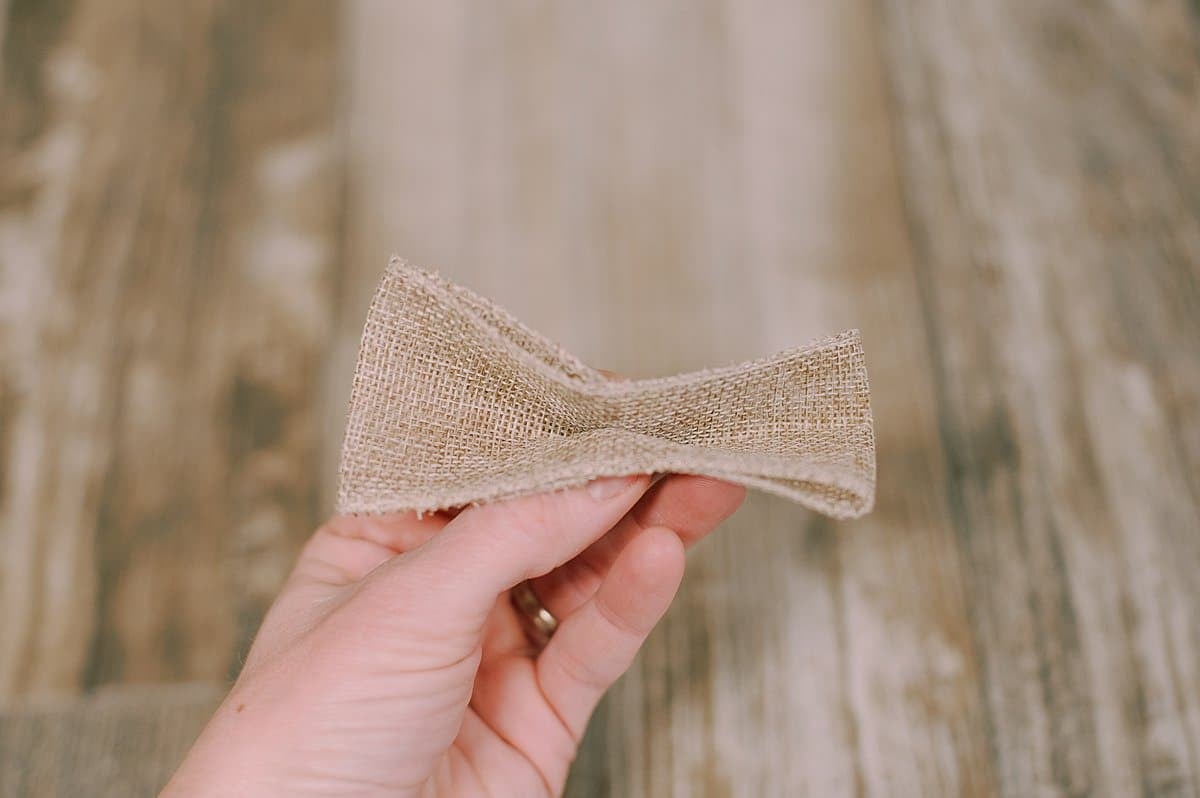
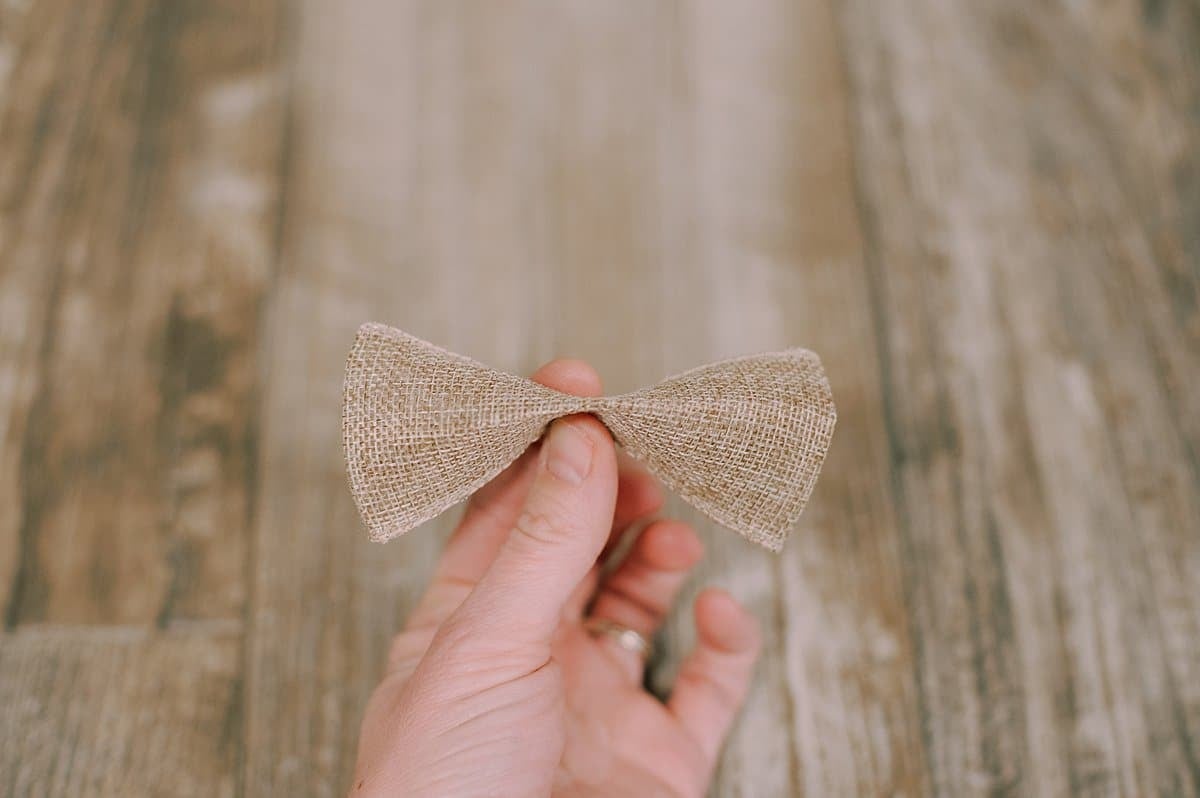
Step 8. Fold the ribbon in half so the middle faces AWAY from you, and the top/bottom edges come TOWARD you.
Step 9. Now, fold the top and bottom edges AWAY from you, while maintaining the middle fold.
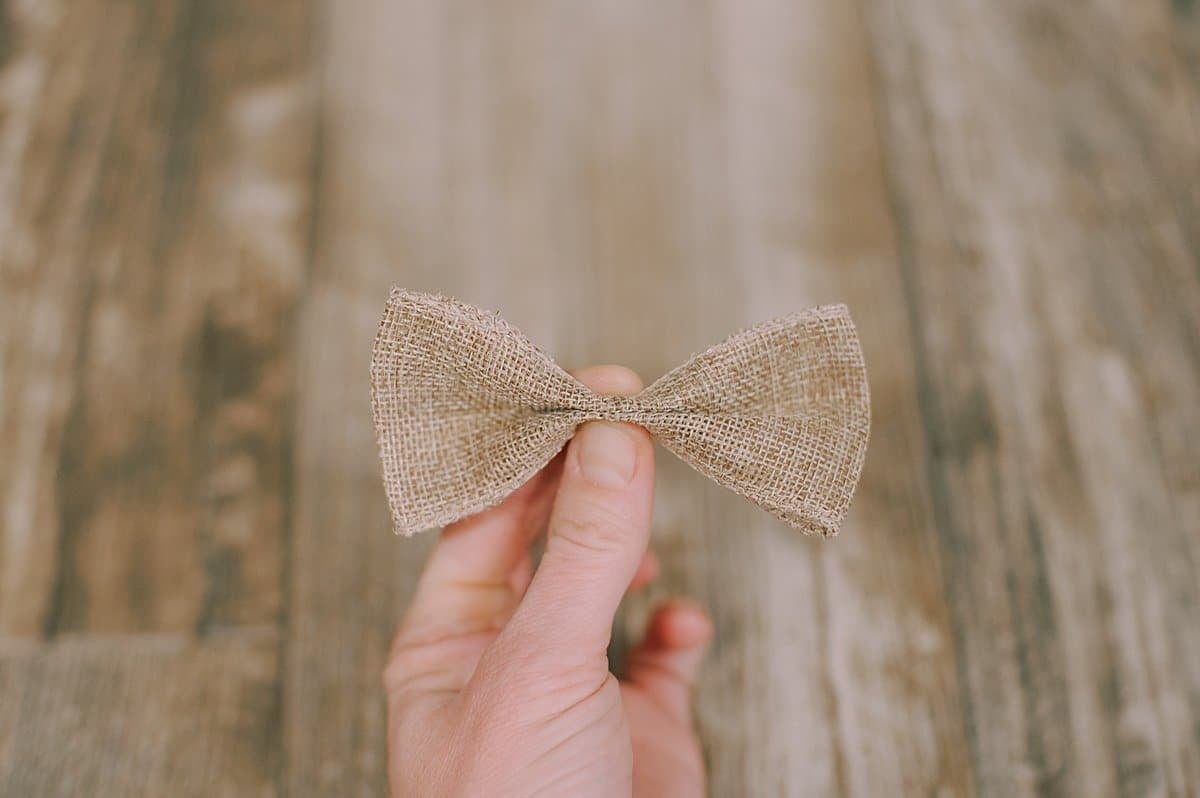
Then, you wrap the band around the center of the bow and hot glue it to secure it at the back.
Cut off any remaining excess fabric.
Bow Style #2 -
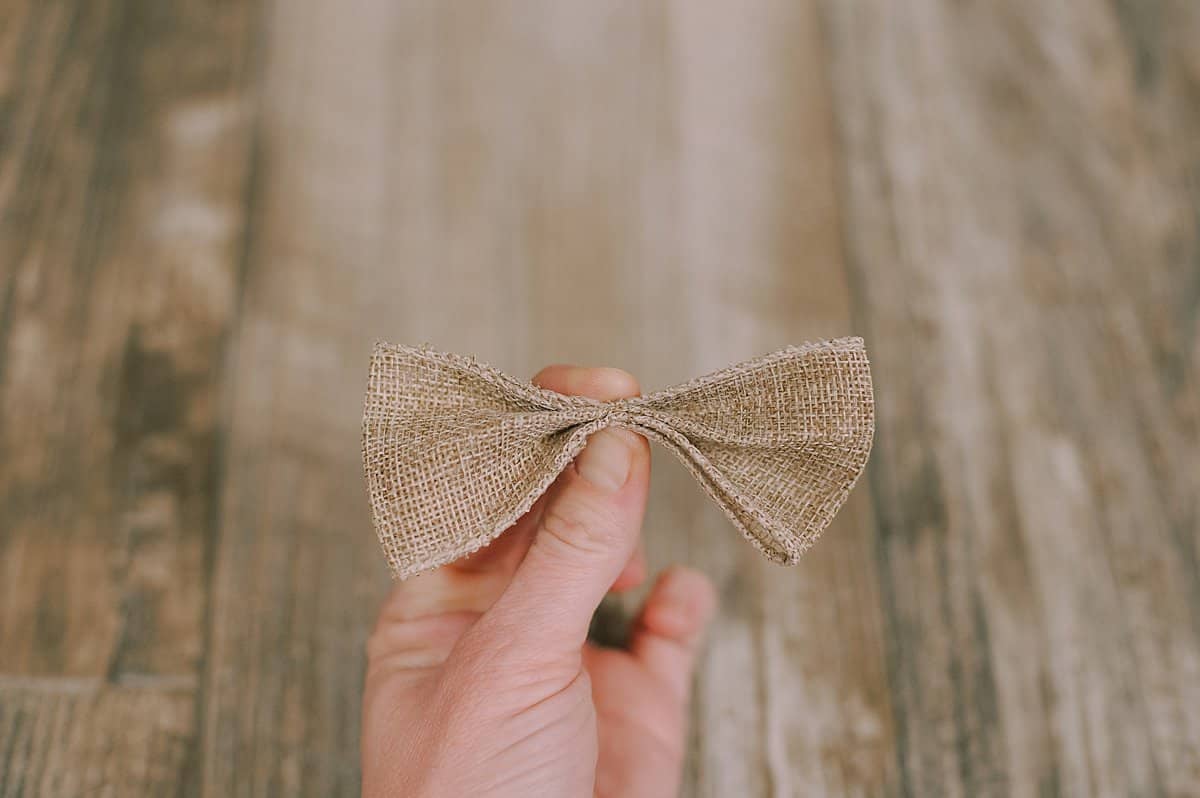
Step 10. Starting with the same folded burlap rectangle, fold it so the middle comes TOWARD you, and the top/bottom edges go AWAY from you.
Step 11. Fold the top and bottom edges TOWARD you, while maintaining the first fold.
Step 12. Wrap the band around the center of the bow, and hot glue it at the back to secure the bow.
Remove any excess ribbon.
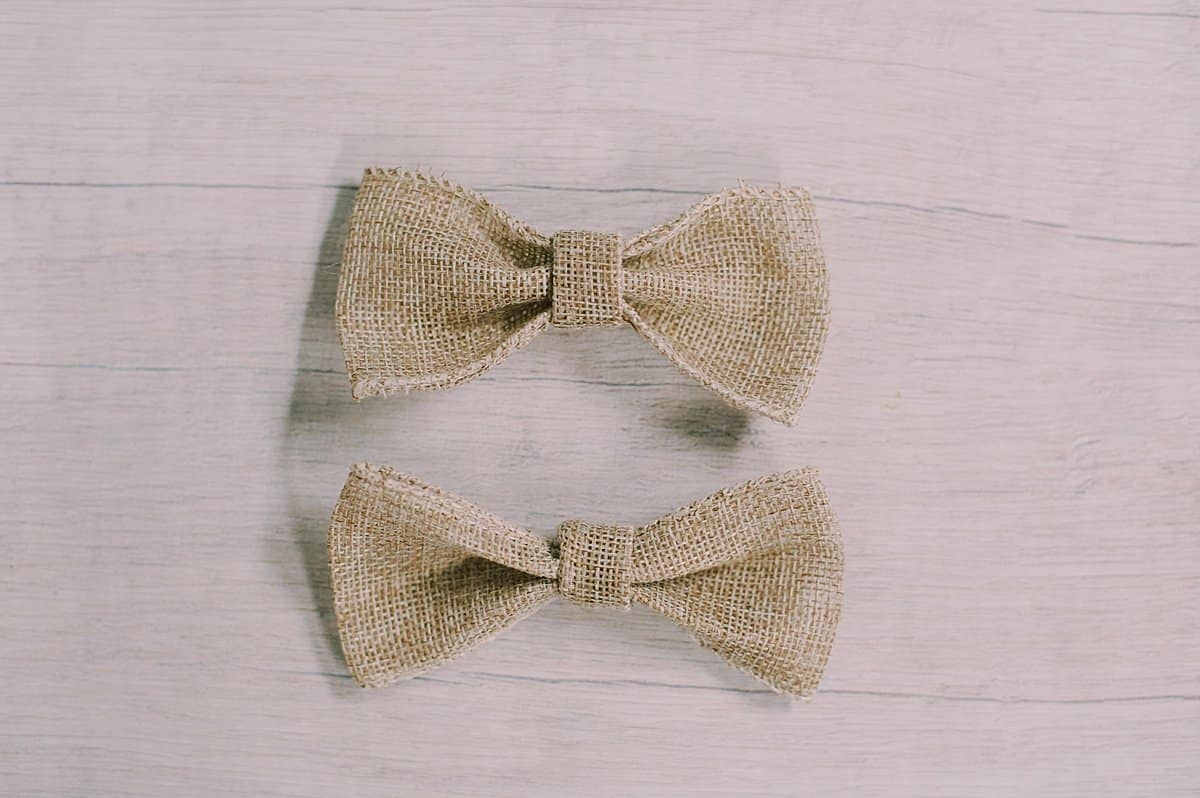
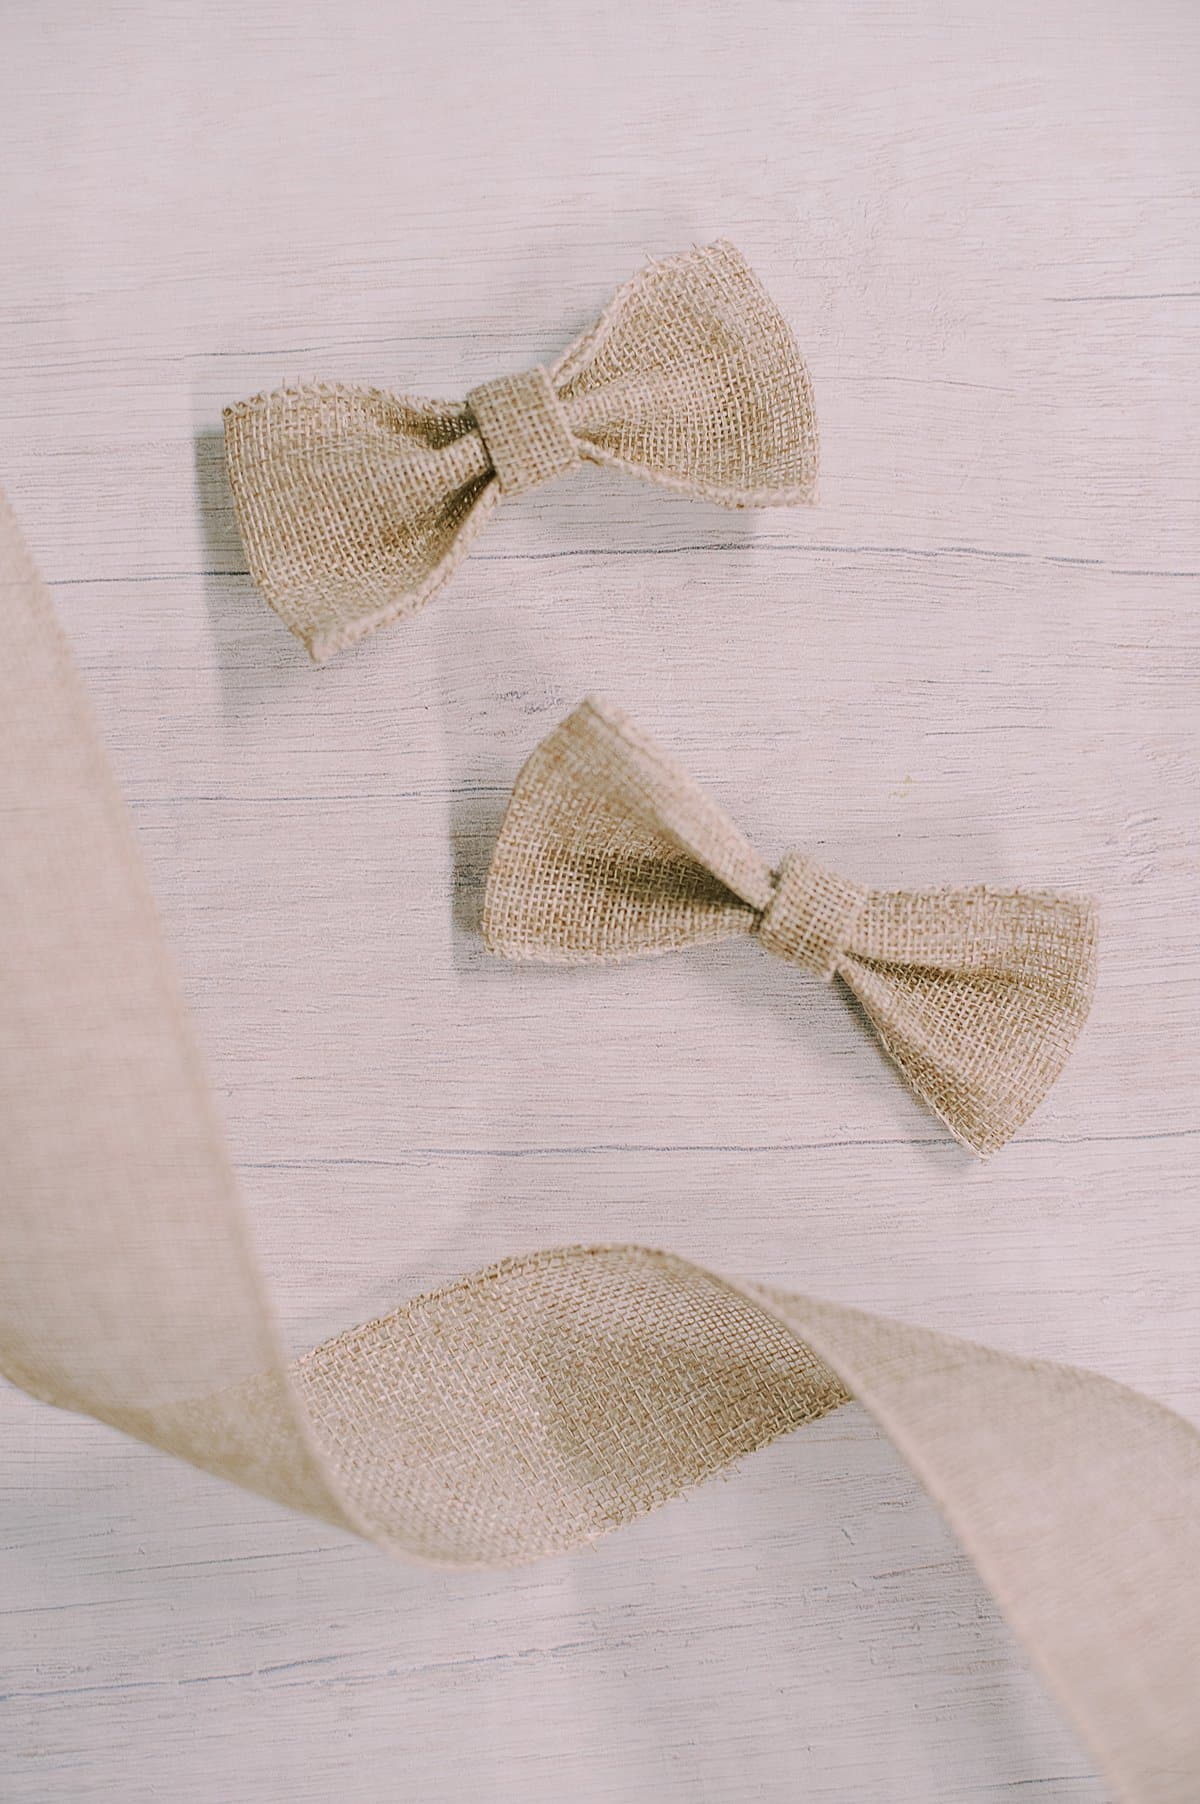
That's it! You have made two different styles of burlap ribbon bows!
The bows are similar but have subtle differences in the fold pattern.
You can use any type of ribbon to make these same bow styles; you don't have to use burlap.
Having wired ribbon does make it easier to handle and fold, but it's not a requirement. You can use simple, standard ribbon too!
Depending on the size of your ribbon, and the size of the sections you cut, you can make bows of varying sizes that can be used for different purposes.
And if you don't have ribbons, you can make bows with fabric as well.
From jewelry, hair accessories, embellishments, or even gift wrap or wreath decorations, learning how to make bows is a great skill to have!




Leave a Reply