Learn how to make a bow out of fabric with this easy step-by-step tutorial showing how to make two types of bows.
Bows can be used for so many different things - jewelry, barrettes, hair clips, headbands, bow ties, and more.
They can even be used in things like gift wrapping accents, DIY wreaths, and other embellishments like angel wings for a nativity set.
Knowing how to make a bow out of fabric is a great skill to have, and today, we're going to take a look at how to make two types of bows from fabric.
Let's get to it!

How to Make a Bow Out of Fabric | Two Types of Bows
Step 1. Gather Supplies
Supplies Needed:
- Fabric - we used outdoor canvas fabric here, but you can use any type of fabric.
- Scissors
- Hot Glue Gun and Glue
Step 2. Cut fabric into a rectangle.
You can experiment with different-sized fabric rectangles.
The fabric pictured is around 8" long and 6" tall.
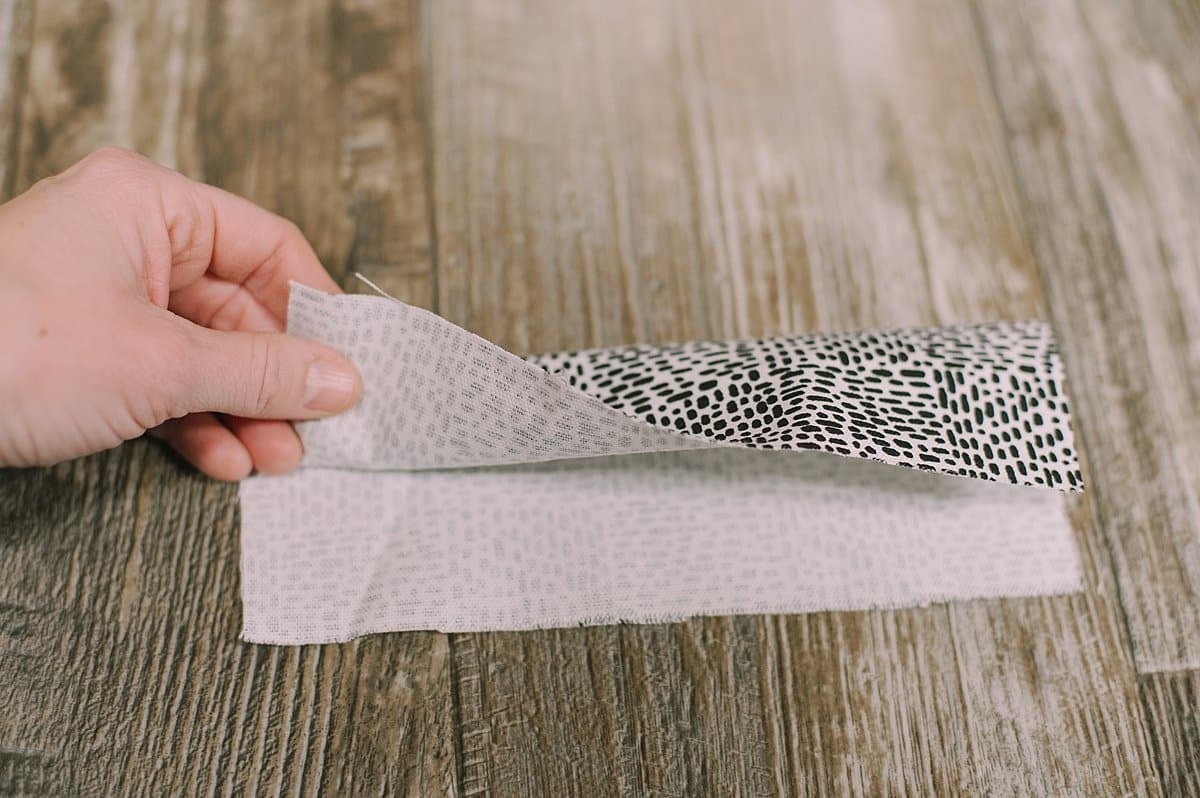
Step 3. Fold the fabric in half so the top long edge meets the bottom long edge. (The "hotdog" way.)
Press along the fold line.
Open the fabric back up.
You should be able to see a middle crease down the center of the fabric, where you just folded and pressed the fabric.
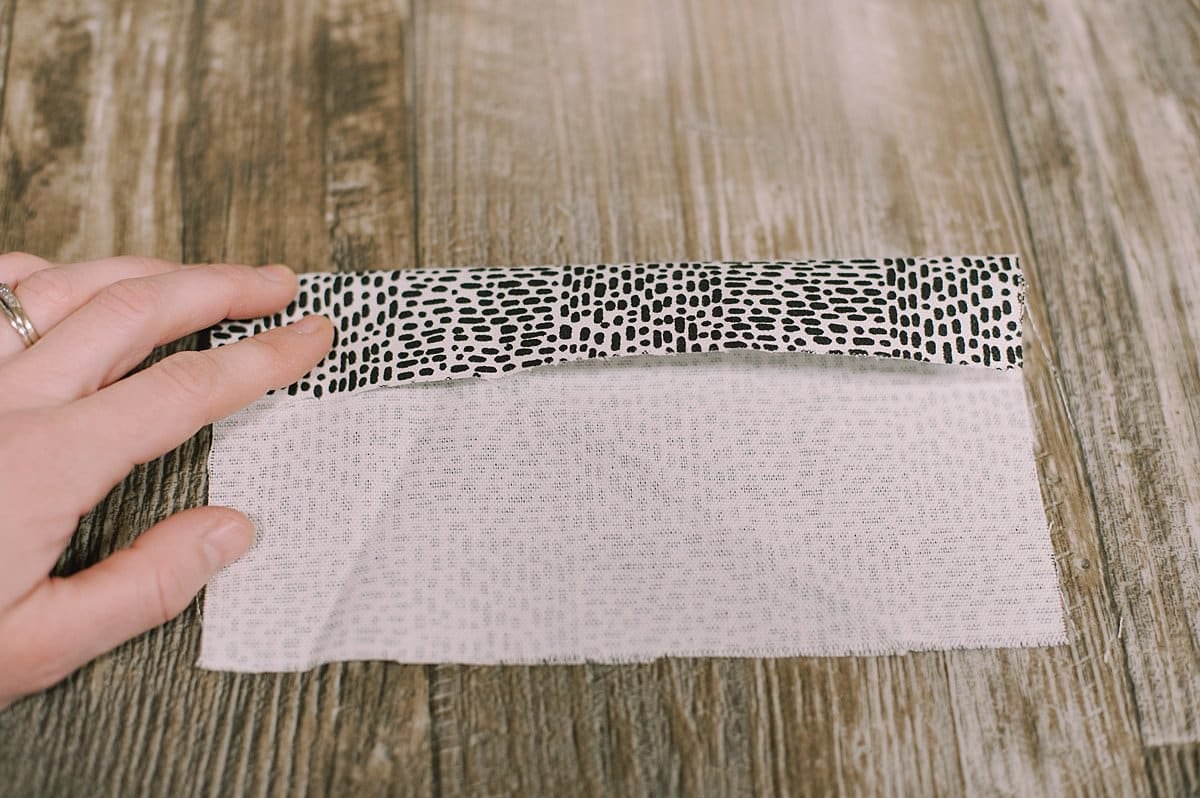
Step 4. Fold the top edge of the fabric down toward the middle crease.
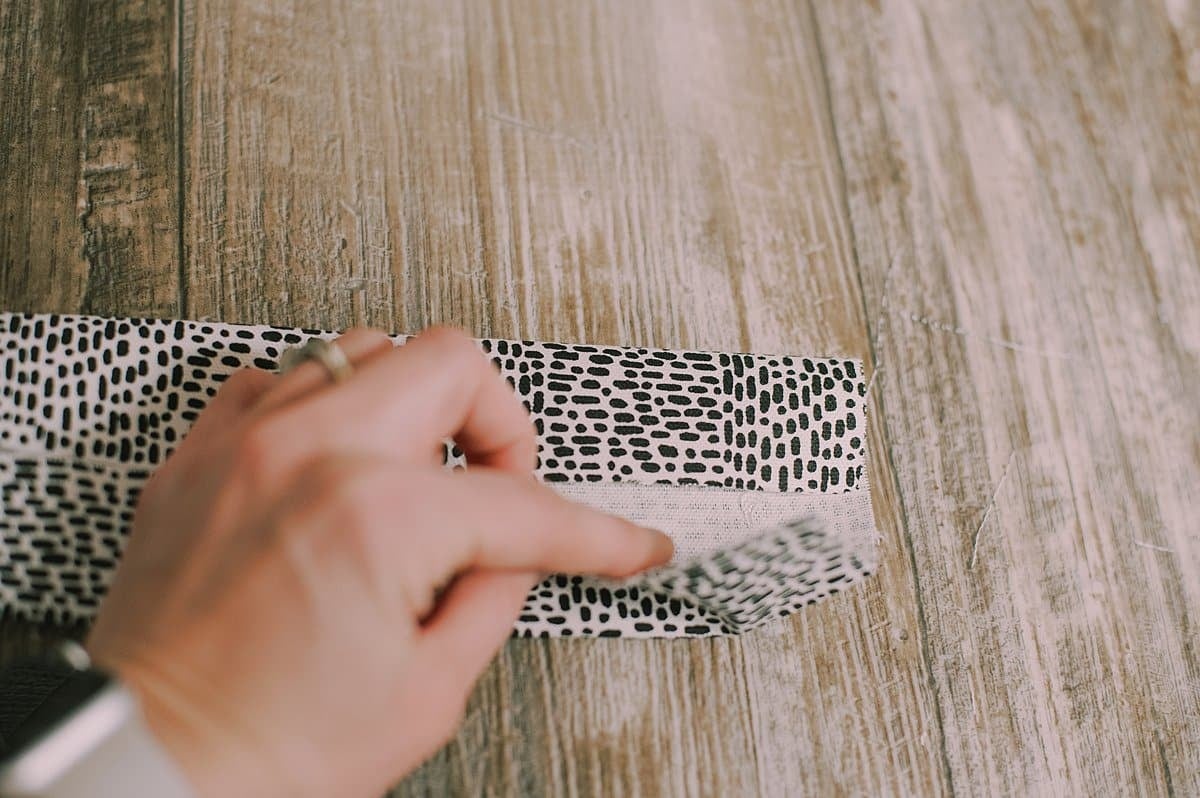
Step 5. Fold the bottom edge of the fabric up toward the middle crease.
Press the folds flat with your fingers.
(You can iron it if you want to be precise, but I rarely do.)
Step 6. Place a dab of hot glue on each end to help secure the two edges of the fabric together.
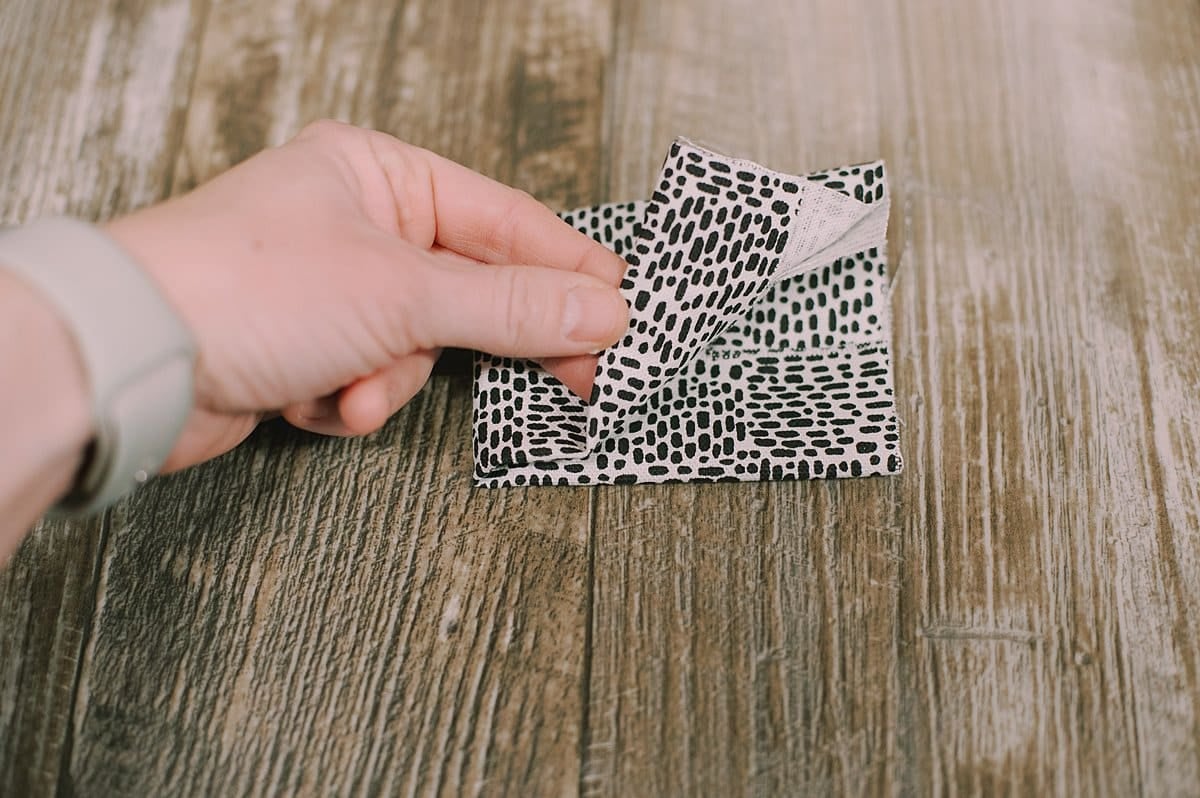
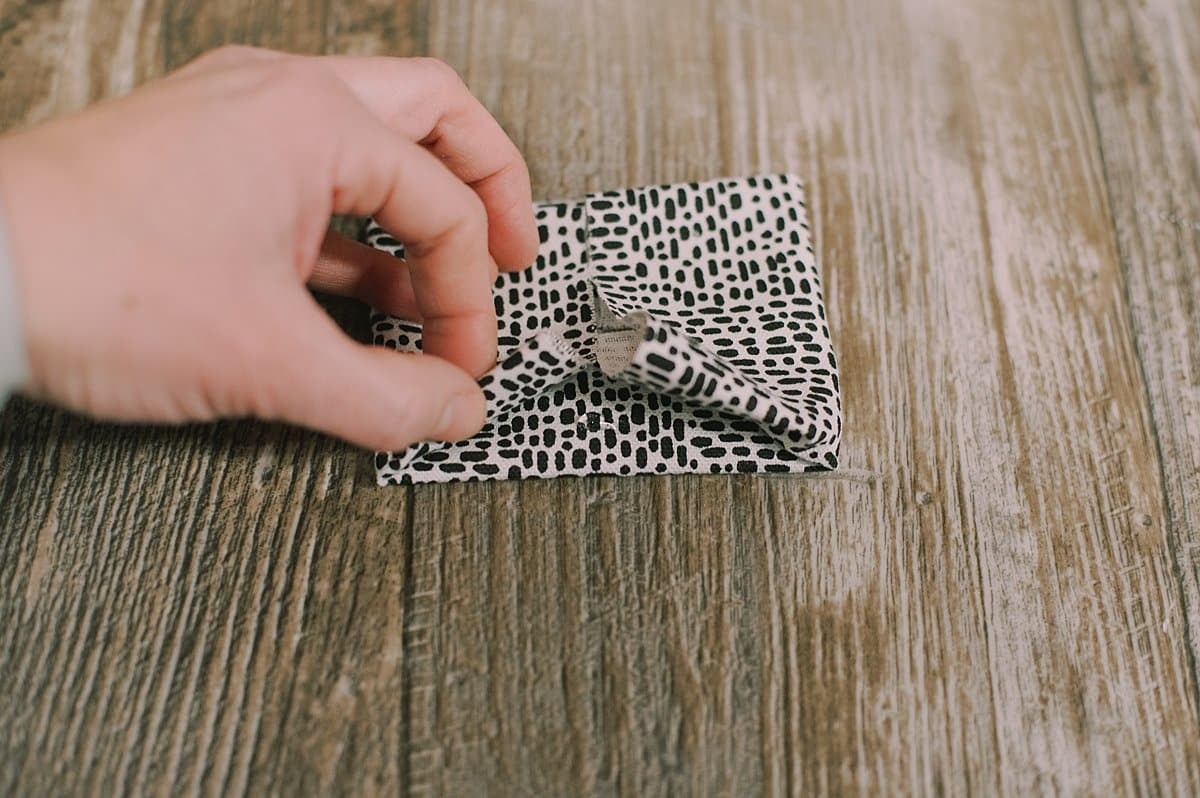
Step 7. Fold the left edge of the folded fabric to the right, and smooth the vertical center crease with your hand.
Open the fabric back up.
You should be able to see a midline crease that goes vertically through your fabric.
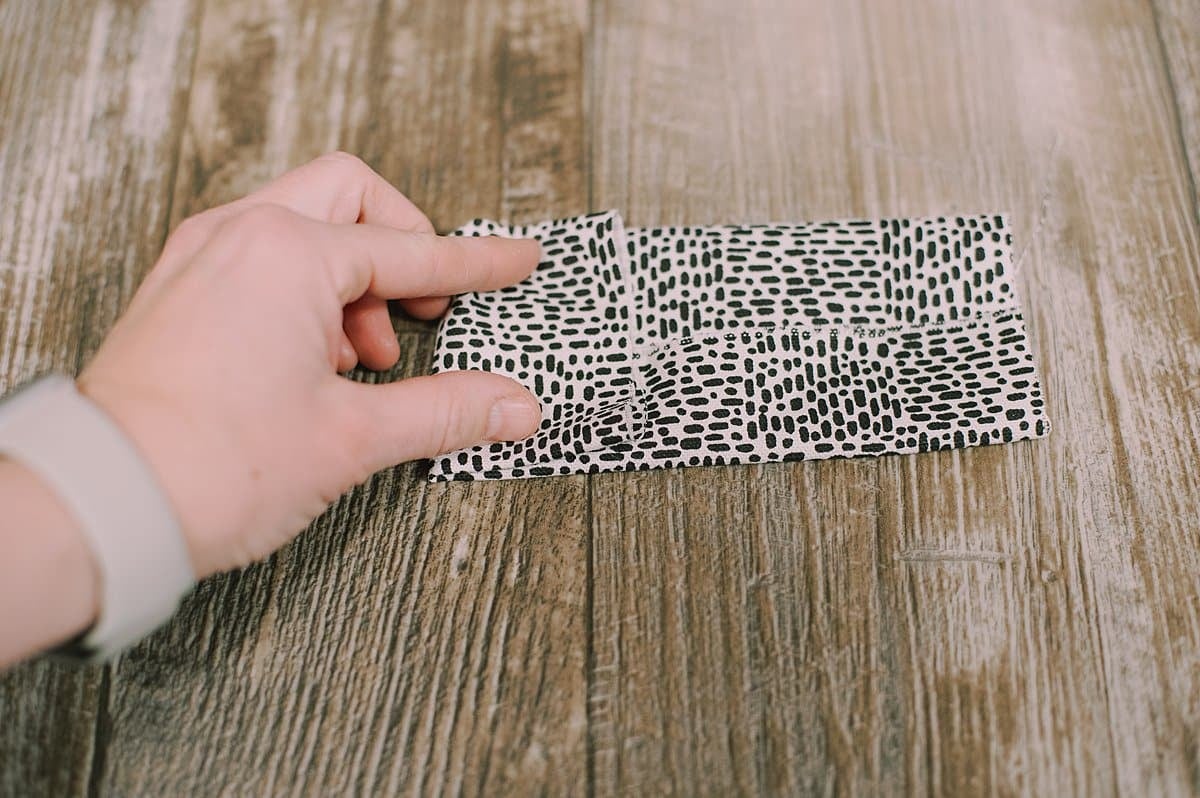
Step 8. Fold the left edge of the fabric in toward the midline crease.
Step 9. Fold the right edge of the fabric toward the center crease.
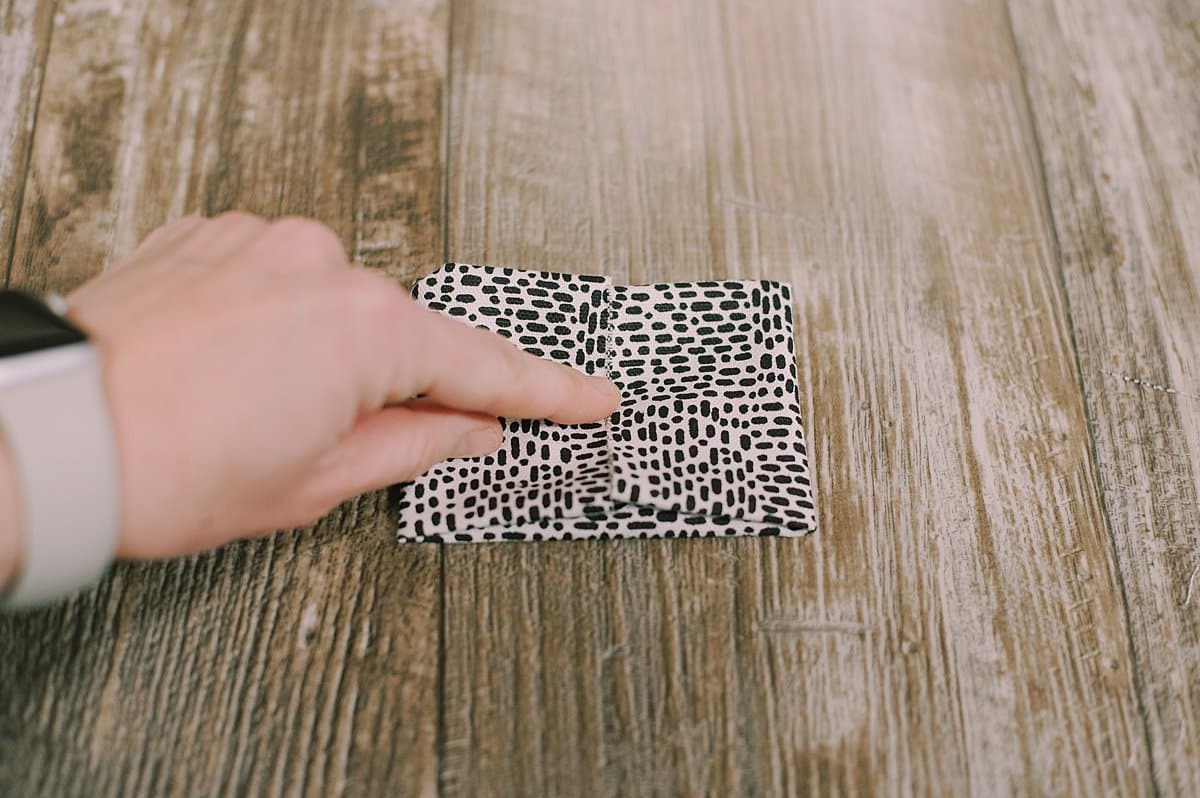
Step 10. You can put a dab of hot glue on the bottom and the top to help secure the two edges of fabric together.
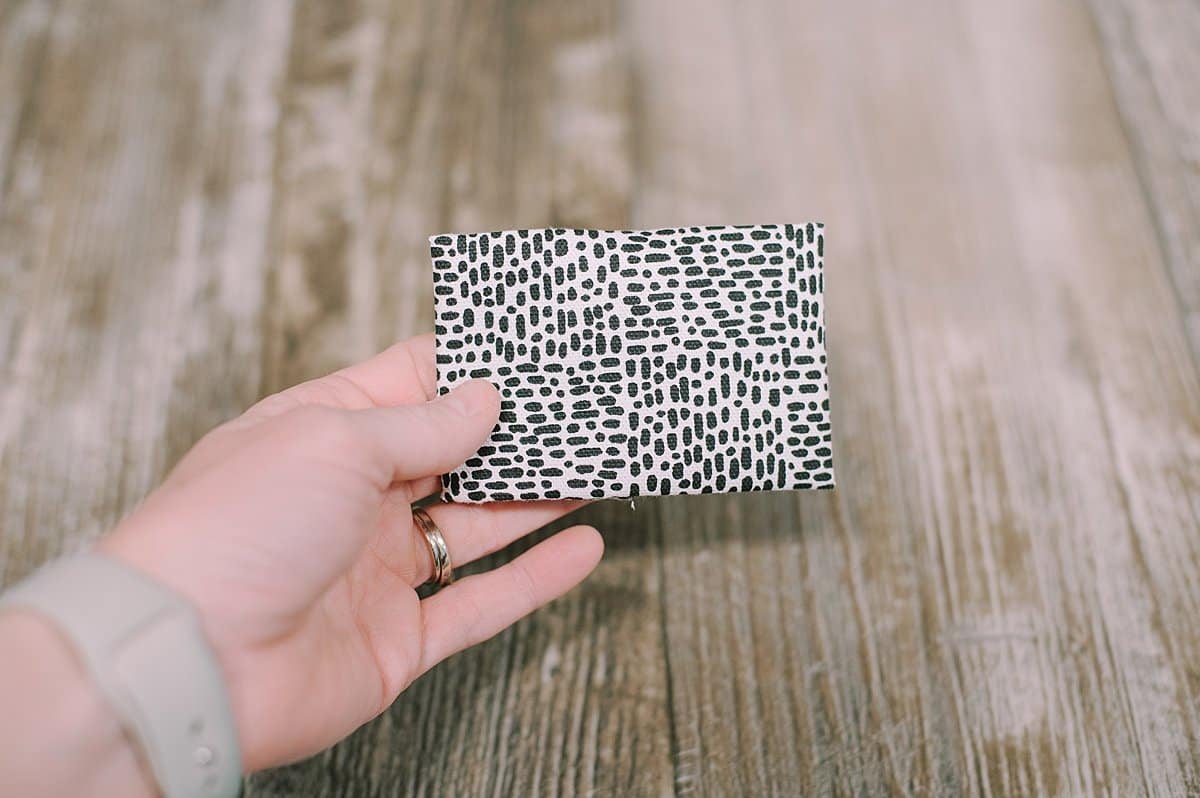
Step 11. Flip the fabric rectangle over.
This is the base for your fabric bow.
Both of the styles of bows we will make next start from this same folded fabric.
Step 12. Make the loop that will secure the bow.
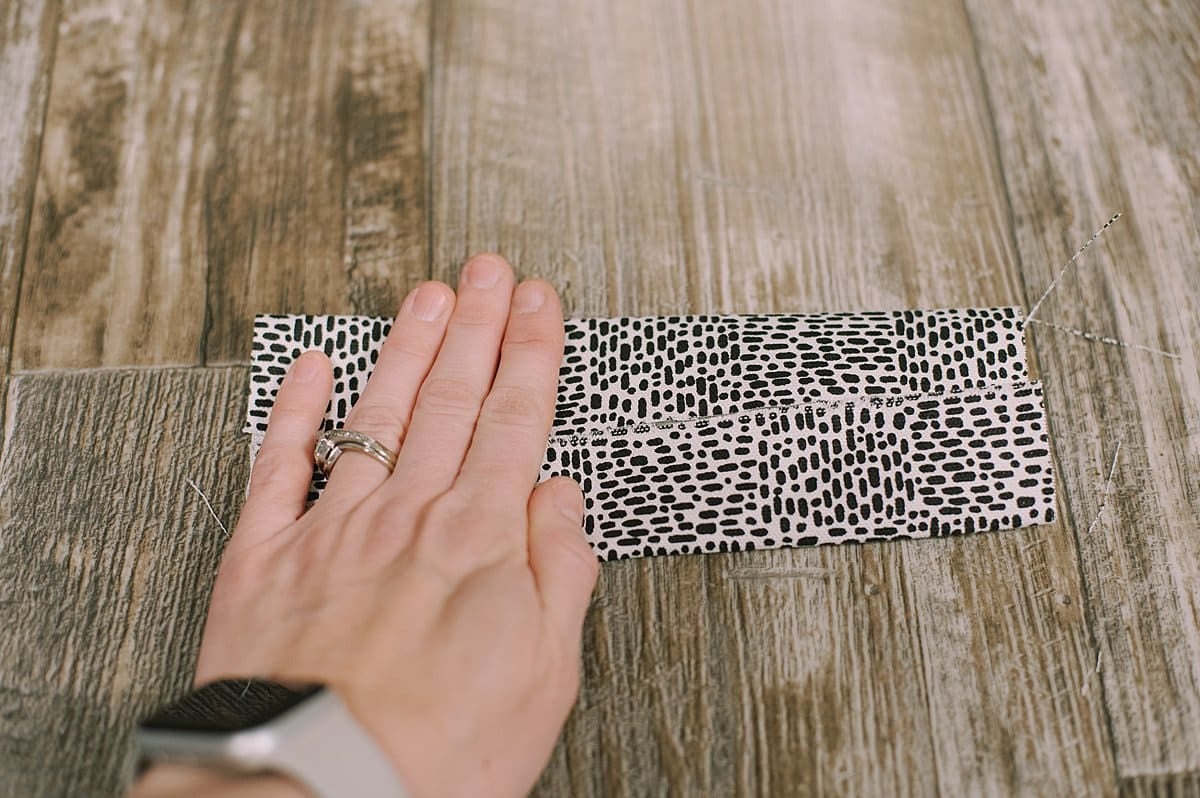
Take a small rectangle of fabric.
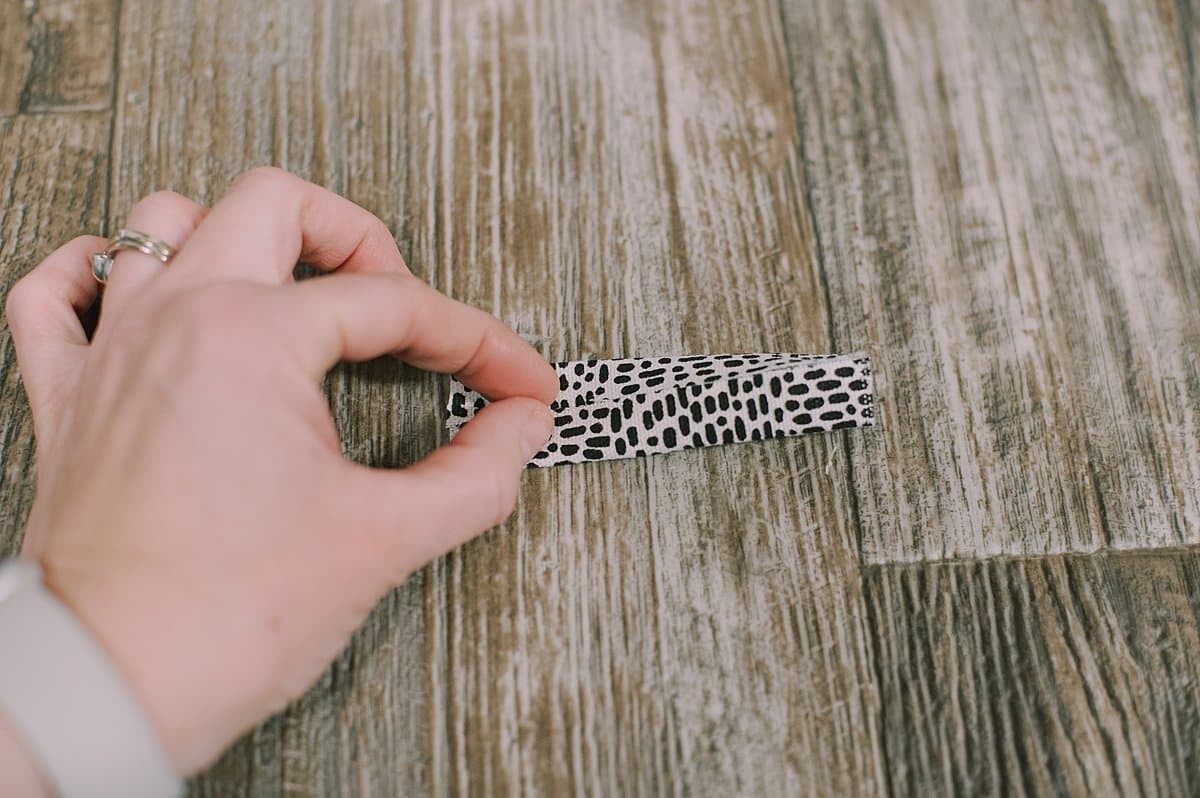
Repeat the same steps as above: folding it in half to create a middle crease, and folding the top and bottom edges up to the middle crease.
Then, fold the strip in half again.
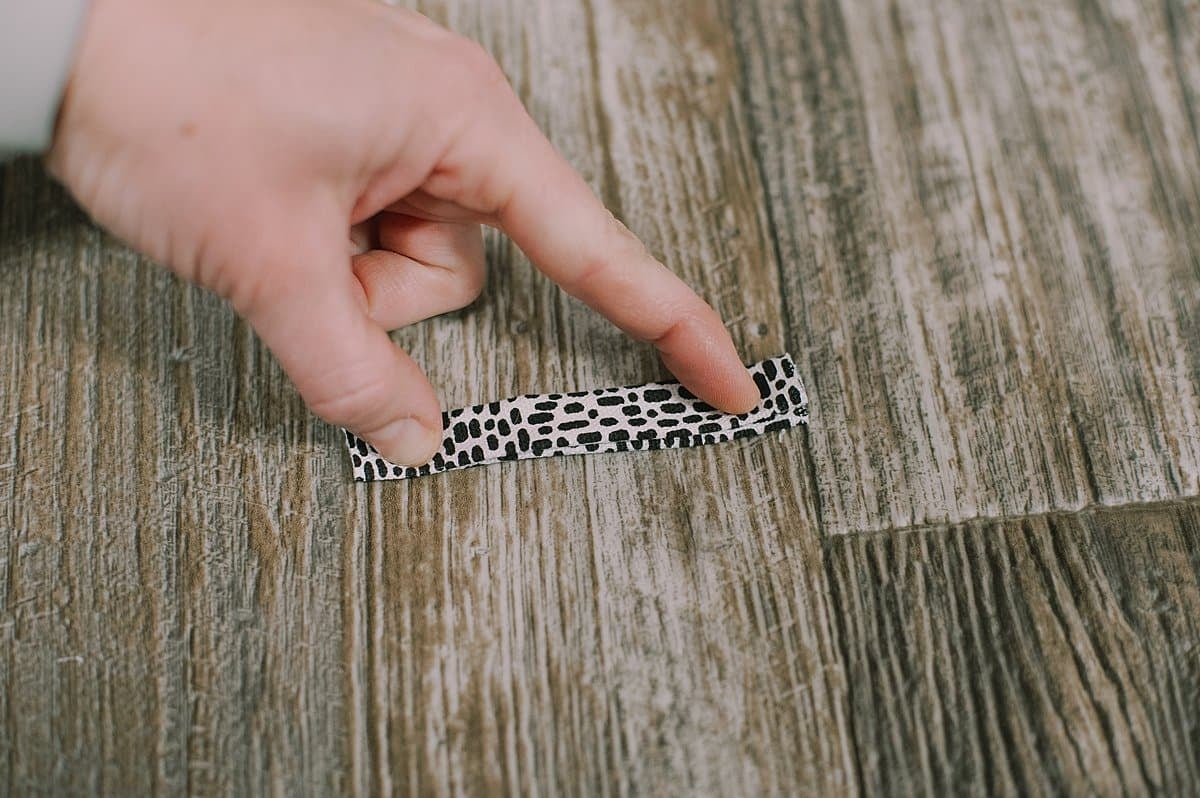
You should have a thin, clean strip that has smooth long edges.
This is the band that will wrap around the center of your finished bows.
Set this aside for now.
Bow Style #1:
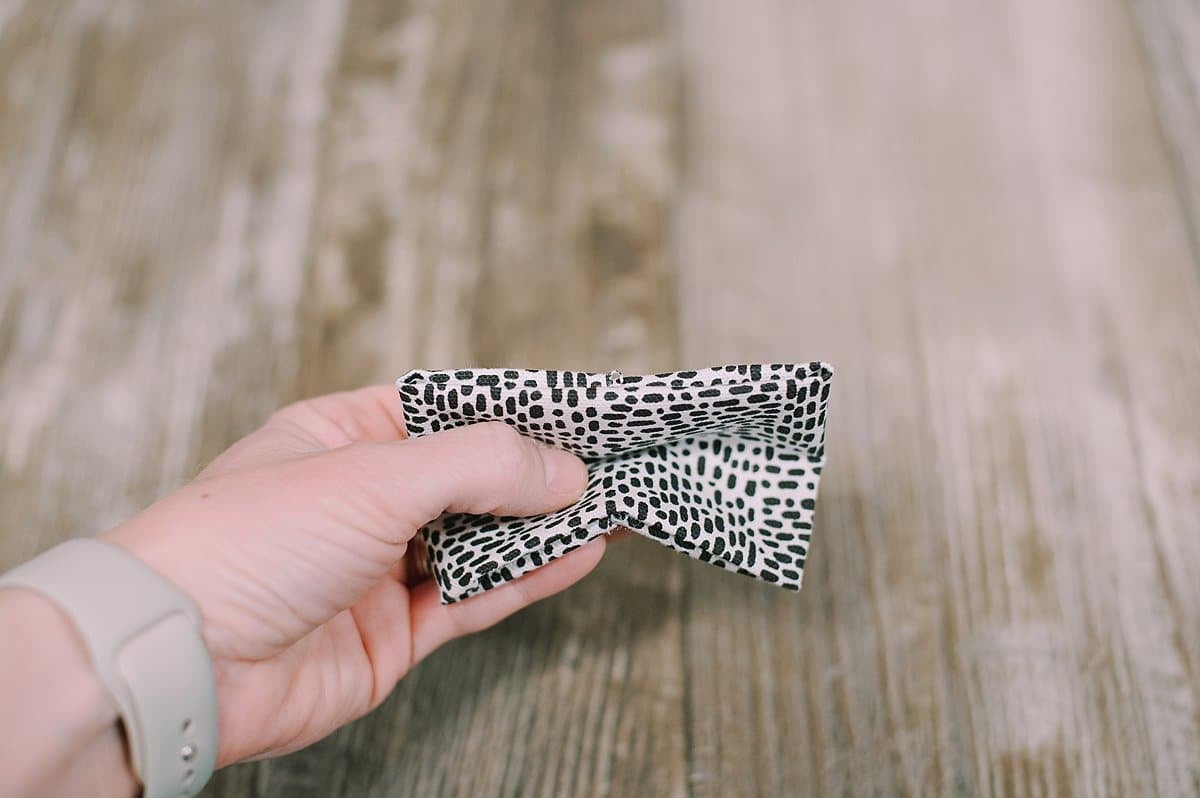
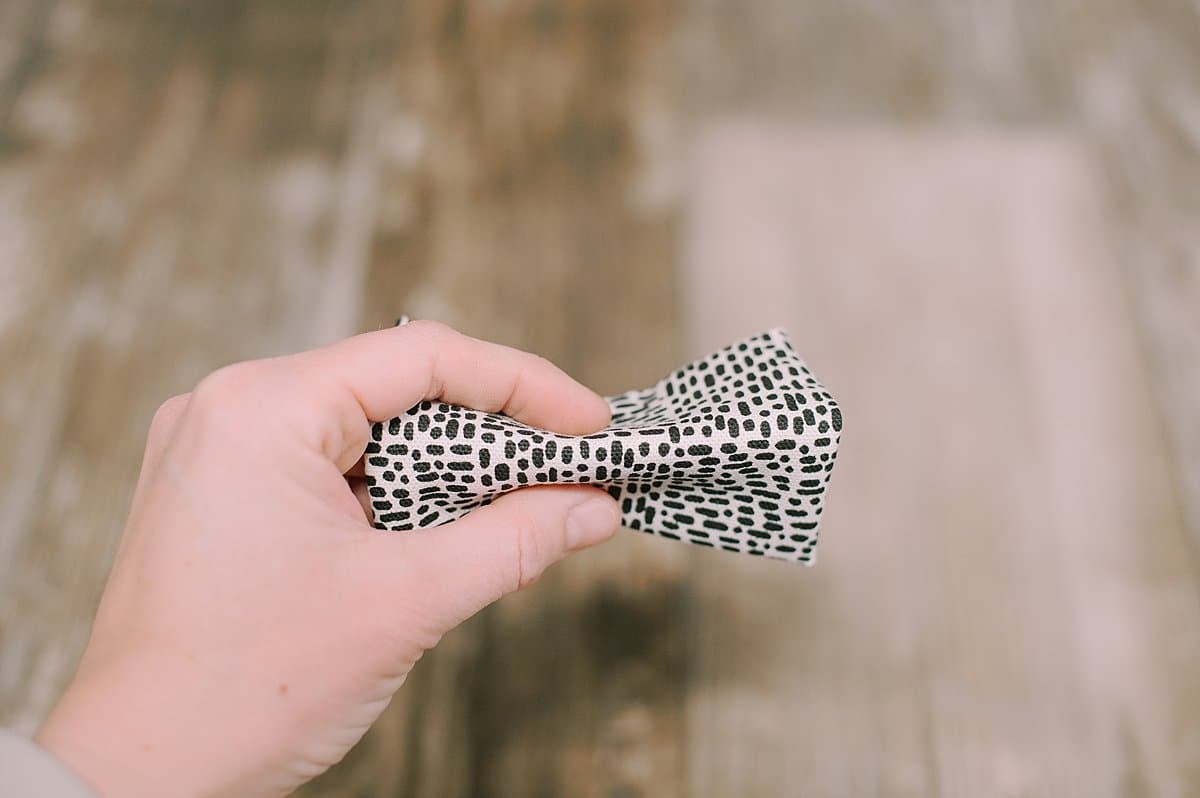
Step 13. Fold the rectangular fabric in half, pushing the middle AWAY from you, and the top/bottom edges TOWARD you.
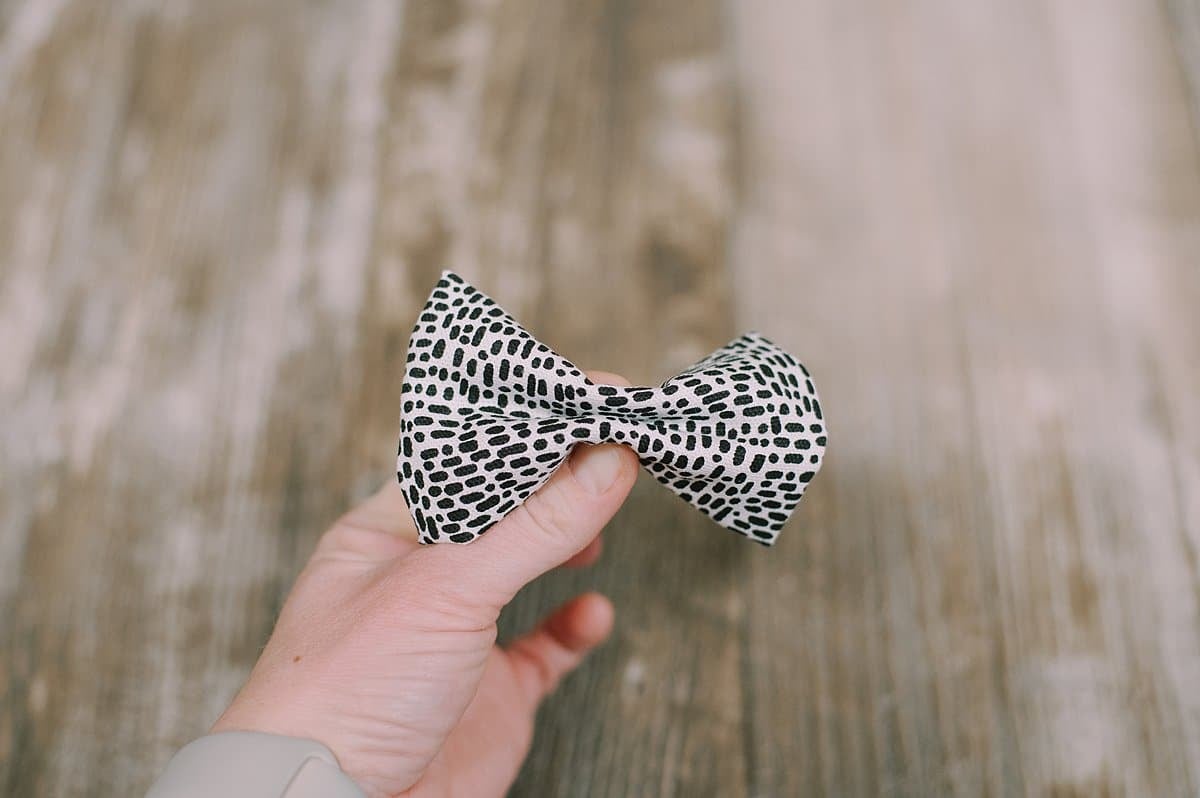
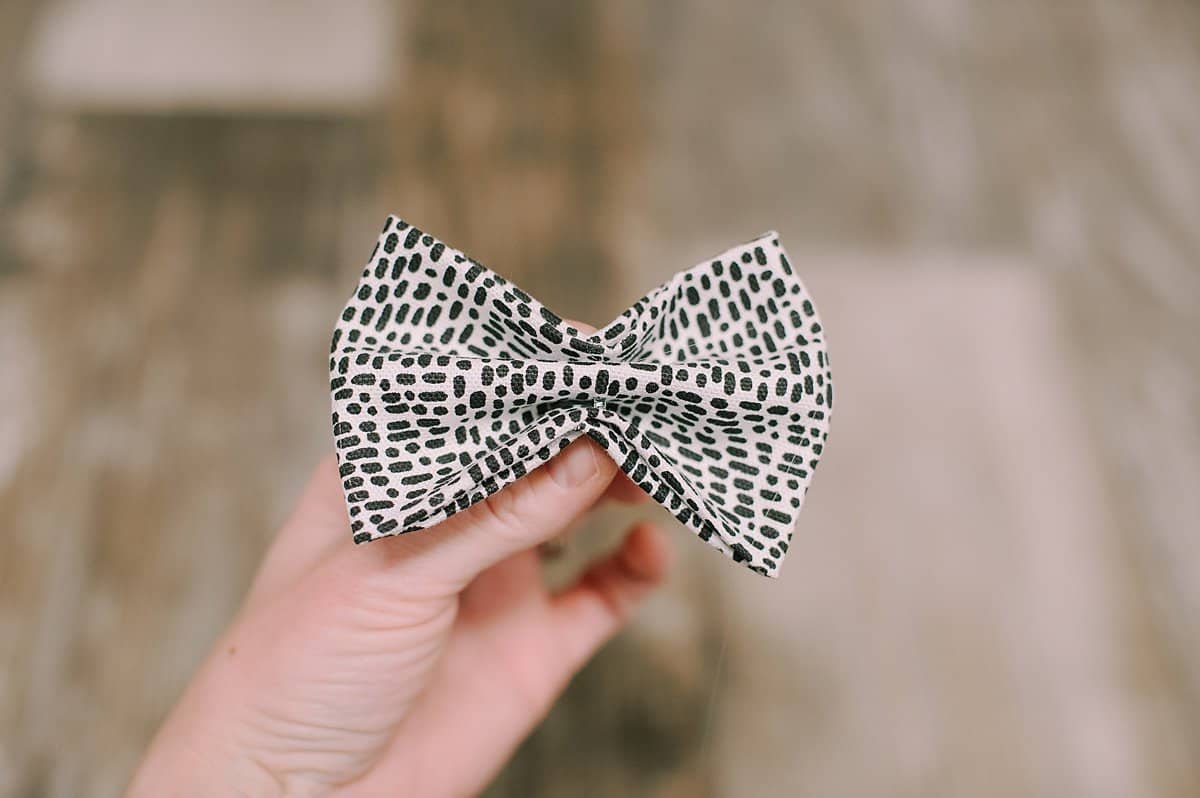
Step 14. Now, carefully fold the top and bottom edges AWAY from you, while still maintaining the center-pointing-away fold too.
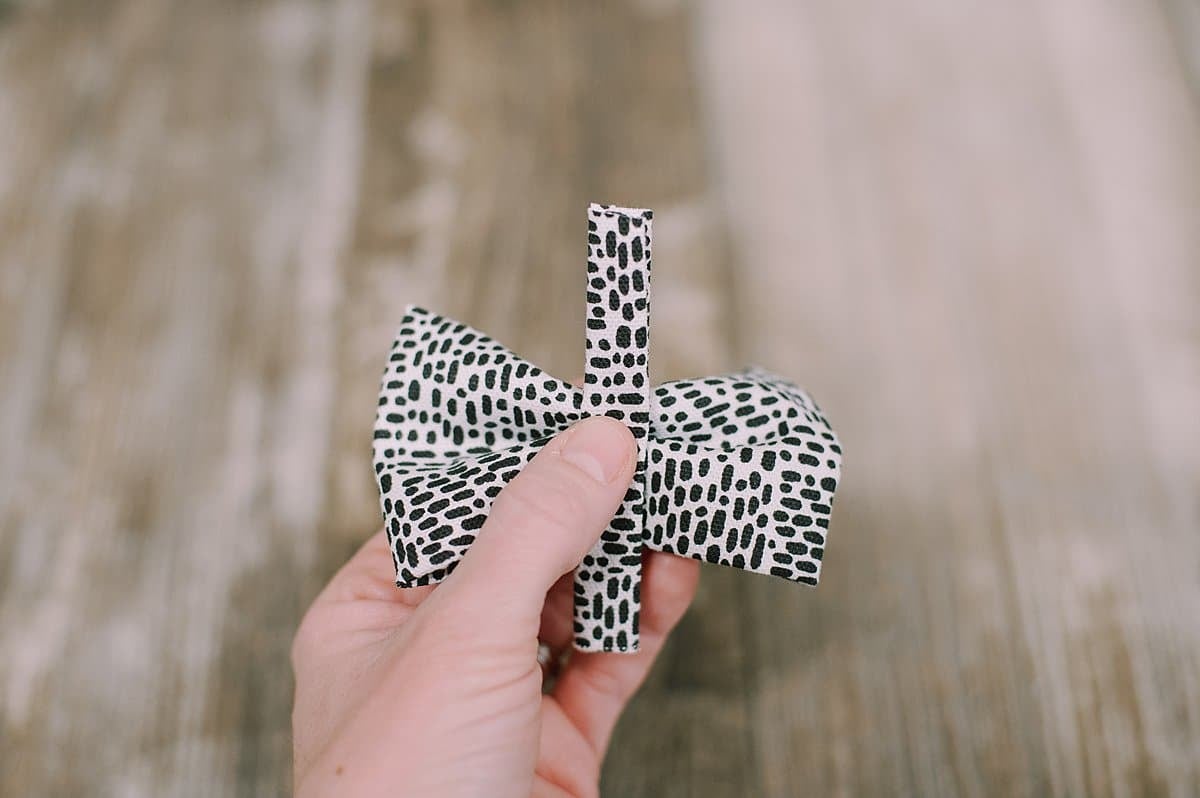
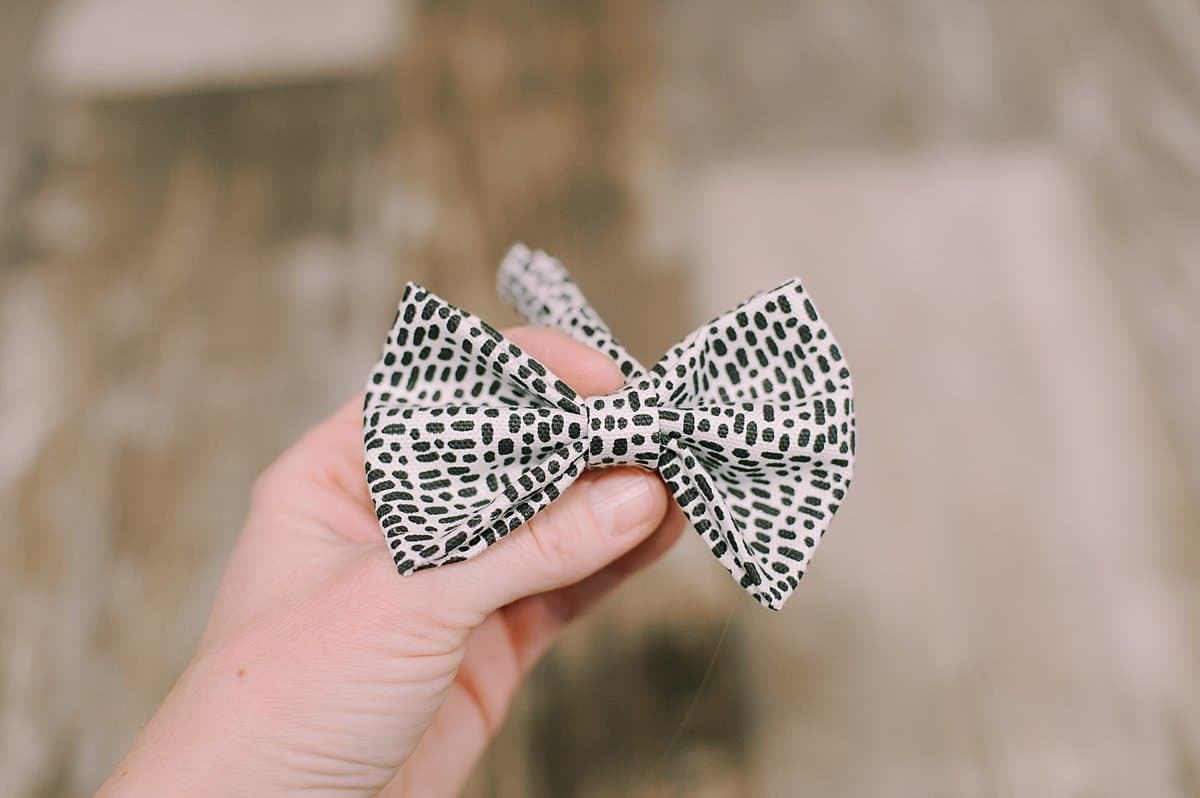
Step 15. Wrap the band around the middle of the bow, being careful to maintain the proper creases and folds of the bow.
Step 16. Hot glue the band to secure it on the back side of the bow.
Trim any excess fabric.
Bow Style #2 -
Step 17. Start with a rectangular fabric piece again.
Step 18. Fold the fabric so the middle goes TOWARD you, and the top/bottom edges go AWAY from you.
Step 19. Then, fold the top and bottom edges TOWARD you, while maintaining the first fold.
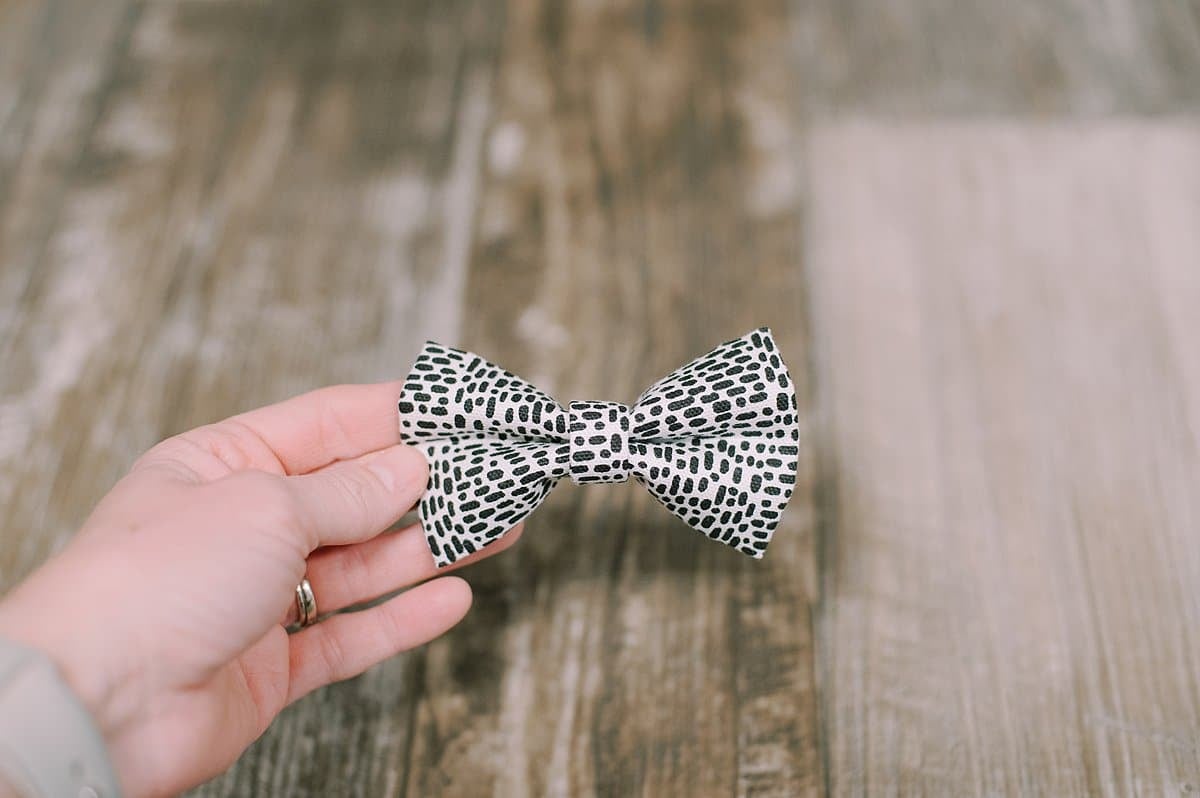
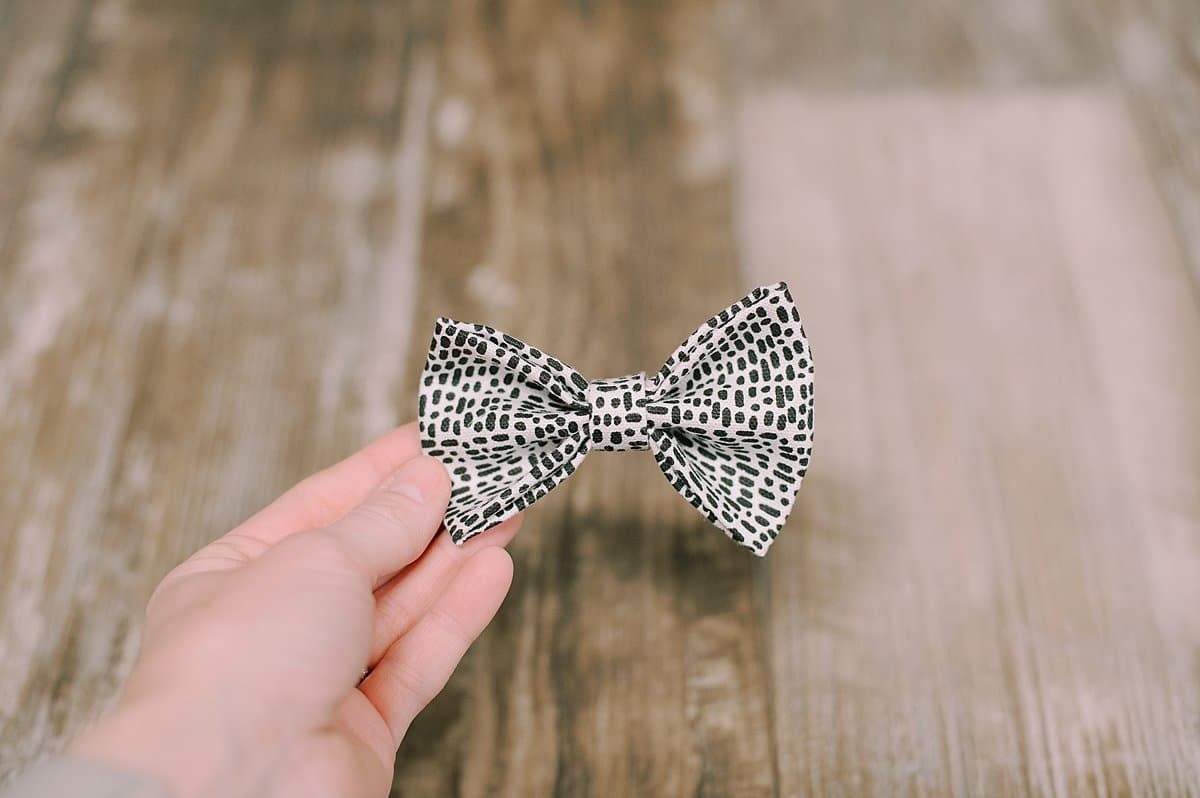
Step 20. Wrap the fabric band around the center of the bow, and glue on the back of the bow to secure.
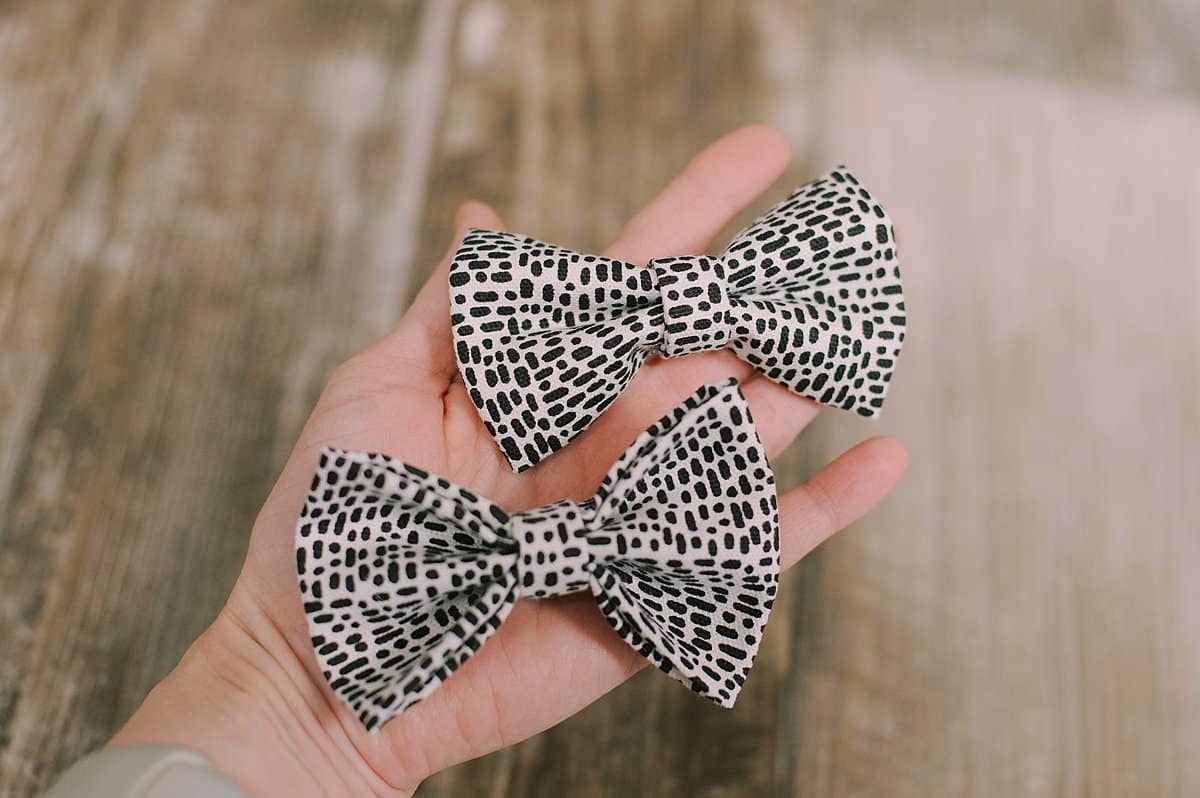
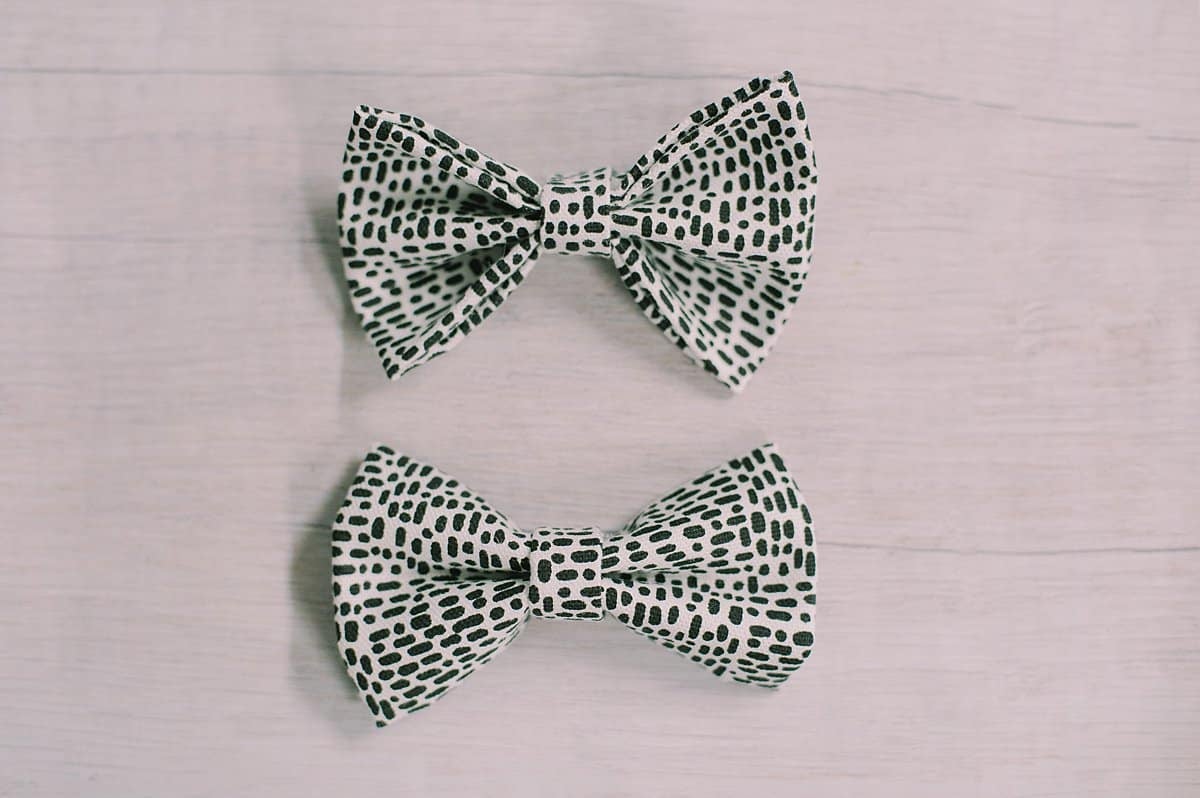
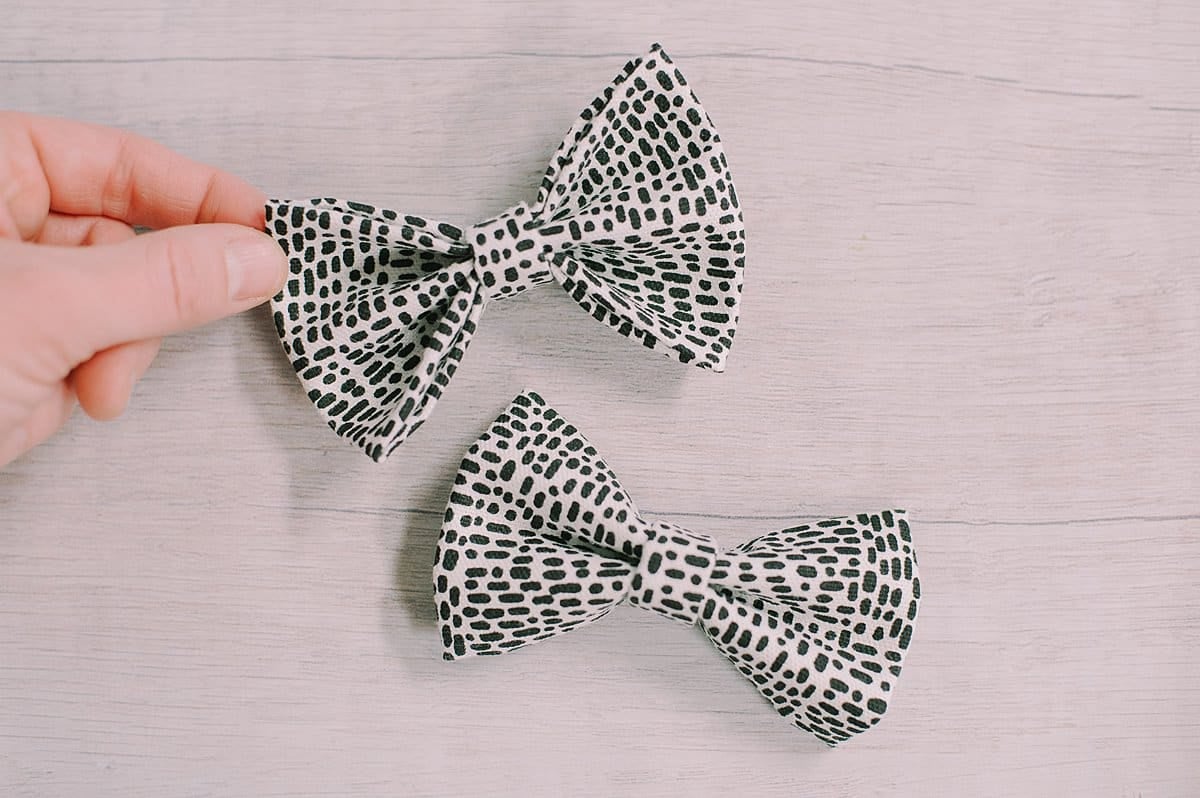
The second style of bow is complete!
The two styles are similar, especially if you use equal-sized fabric rectangles to make them.
But they each have a subtly different fold pattern which changes the look of the finished bow.
You can use smaller fabric pieces to make mini bows for barrettes or hair clips.
And larger fabric pieces can be used to make bigger bows for headbands, bow ties, or other embellishments like gift wrap and more.
Now that you know how to make a bow out of fabric, you'll want to experiment with different types of fabric (leather and suede work great too!) and make some of every color!
You might also want to try your hand at making bows out of ribbon as well.


Leave a Reply