Christmas is a time of family and making memories, and I'm a firm believe that the Christmas decor in our homes should be significant and fill us with joy.
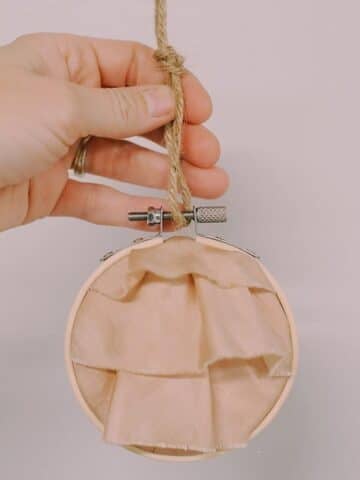
We have created sentimental ornaments in this series like a keepsake fabric embroidery hoop ornament, a Mod Podge family photo ornament, and a family tree name ornament.
We’re on Day 29 of The 30 Days of Ornaments Project, where we are making 30 handmade ornaments in 30 days.
Today, we are going to make another sentimental ornament using fabric near and dear to my heart; jammies my babies wore as infants!
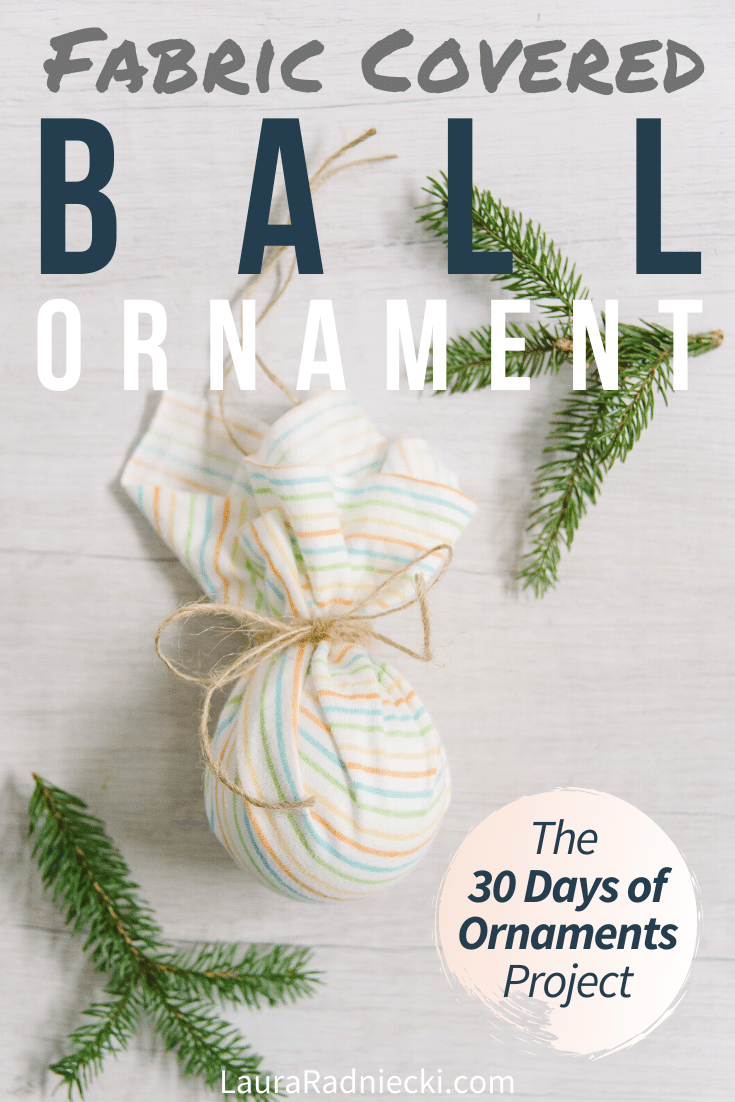
We are going to combine fabric and twine with a cheap dollar store Christmas ball to make a DIY fabric covered Christmas ball ornament!
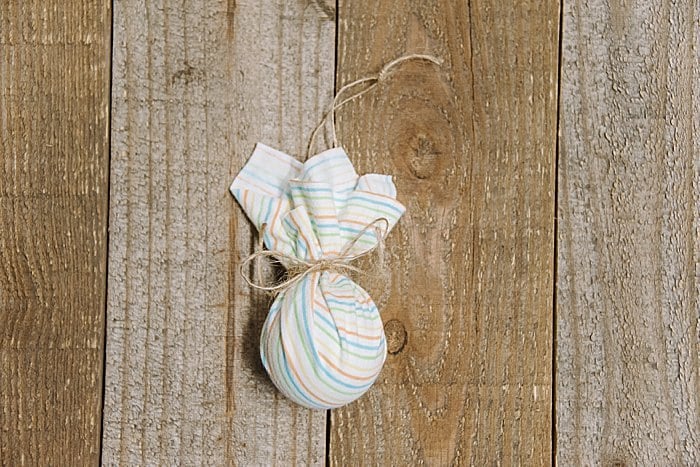
Here's how to make fabric covered Christmas ball!
Day 29: How to Make a Fabric Covered Ball Ornament
DIY Fabric Covered Christmas Balls
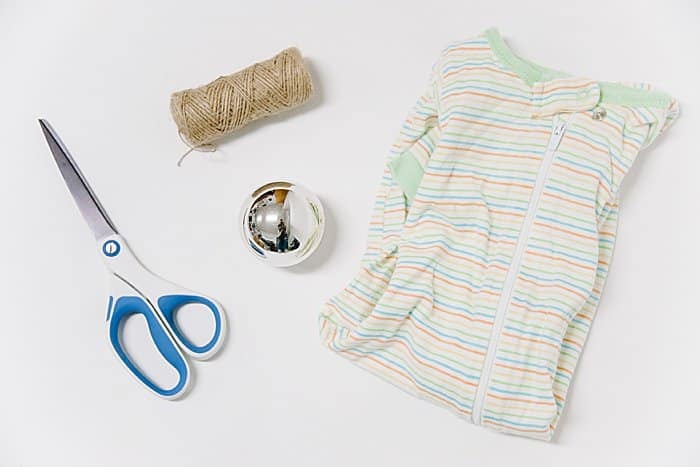
Step 1. Gather supplies.
Supplies needed:
- Fabric (anything works, but even better if it has sentimental value!)
- Christmas Ball
- Twine
- Scissors
Step 2. Cut a 12" section of twine to use as a hanging string, and a long section to wrap around and secure the fabric (try 3 feet or something similar.) Set aside.
Step 3. Cut a square section of fabric large enough to cover your Christmas ball. Something like 8" x 8" is a good place to start. (You can practice wrapping the ball up to see how much you'll really need. The size of your Christmas ball may affect how much fabric you need.)
Step 4. Lay the fabric down with the right side facing down, and place your Christmas ball in the center.
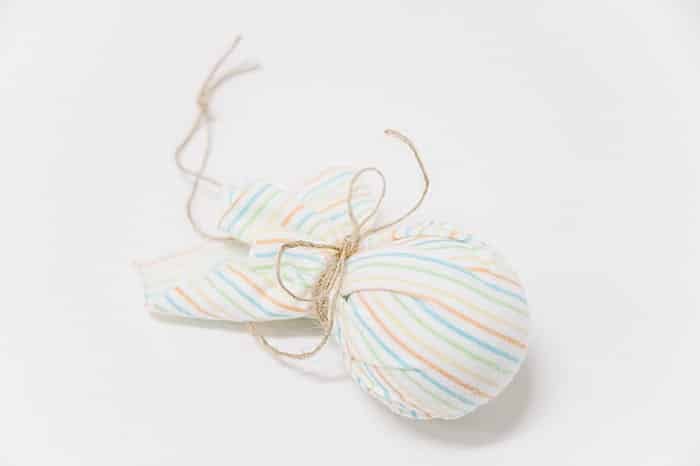
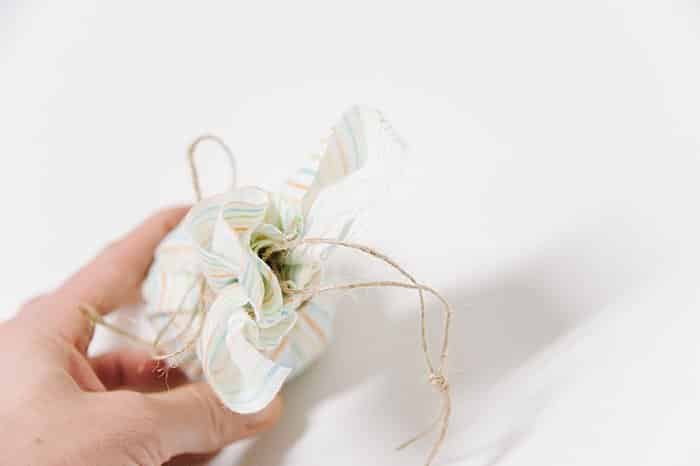
Step 5. Carefully, gather the fabric up and around the ball, gathering it together in your hand on top of the Christmas ball.
Step 6. Take the 3 foot long piece of twine, and wrap it tightly around the neck of the Christmas ball and fabric to secure the fabric. Knot it, and then tie a bow for decoration.
Step 7. Take the twine hanging string, and feed it through the top of the Christmas ball ornament. Knot and trim excess. (You will have to carefully part the fabric to access the hanging mechanism. This step can also be done in the beginning if you want to make things a little easier by attaching the hanging string before the fabric is wrapped around the ball.)
Step 8. Make sure the fabric is pulled taut around the ball. You don't want anything to be loose. Inspect and hang up your fabric covered ball ornament!
This is a super simple DIY Christmas ornament, and can be done very inexpensively.
I used a cheap Christmas ball from the dollar store, and the only other supplies needed are fabric and twine. You don't even need a glue gun for this one!
My favorite part of this ornament is that it's yet another way (like our keepsake fabric embroidery hoop ornament) to create a sentimental ornament that helps you remember a significant season of life, or even a loved one.
In this ornament of mine, I used jammies my babies wore so I'll always be flooded with memories of their infant days when I see it.
You could use a significant piece of fabric from your children's lives, or perhaps even a piece of fabric from a loved one who has passed away.
To me, there's no better Christmas ornament than one with significant sentimental value!




Leave a Reply