
• Skip to main content
  • Skip to primary sidebar
Laura Radniecki
menu icon
go to homepage
  • Fall
  • Craft Index
  • Library
  • Shop
  • Writing
    • Facebook
    • Instagram
    • Pinterest
    • YouTube
  • subscribe
    search icon
    Homepage link
    • Fall
    • Craft Index
    • Library
    • Shop
    • Writing
    • Facebook
    • Instagram
    • Pinterest
    • YouTube
  • ×
    Home » Ornaments

    Day 14: How to Make a Keepsake Fabric Embroidery Hoop Ornament | The 30 Days of Ornaments Project

    Nov 14, 2019 | Updated Sep 10, 2022 | By Laura | This post may contain affiliate links | Leave a Comment

    • Facebook
    Day 14_ How to Make a Keepsake Fabric Embroidery Hoop Ornament _ The 30 Days of Ornaments Project

    LOOKING FOR IDEAS FOR DIY EMBROIDERY ORNAMENTS? HERE'S HOW TO MAKE A KEEPSAKE FABRIC EMBROIDERY HOOP ORNAMENTS TO USE AS DECOR FOR YOUR CHRISTMAS TREE, OR EVEN FOR YOUR GALLERY WALL OR TO GIVE AS A HANDMADE GIFT.

    Christmas is a sentimental season, and the decor plays a big role in that.

    The ornaments that find their way to the branches of your Christmas tree might be family heirlooms that have been passed down for generations, or perhaps they are ornaments as reminders of family vacations that take you back and help you remember.

    Ornaments can also be a special, sentimental way to remember things like the your child's baby handprint, a photo of your wedding day, or even a memory ornament of a loved one who has passed away.

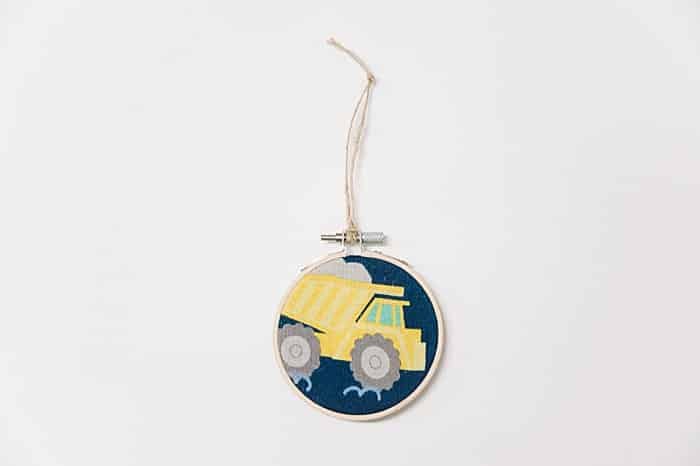
    Or in our case today, to remember my son's all time favorite jammies (and his obsession with dump trucks) from his toddler years.

    We’re on Day 14 of The 30 Days of Ornaments Project, where we are making 30 handmade ornaments in 30 days.

    Today, we're using a mini embroidery hoop to showcase a piece of fabric that is meaningful to me, and creating a DIY keepsake fabric embroidery hoop ornament!
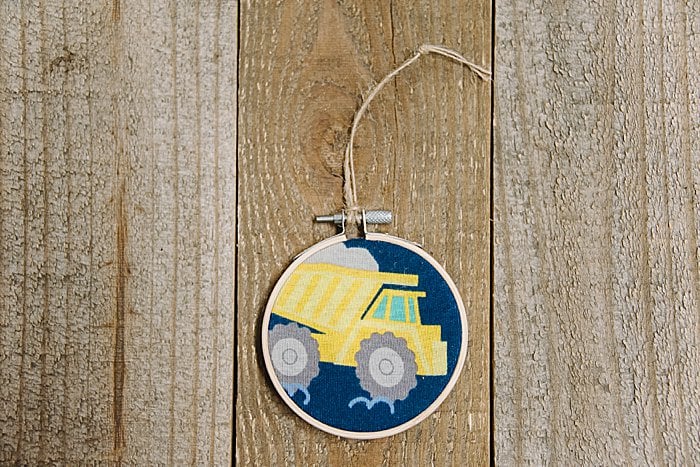
    How to make a DIY keepsake fabric embroidery hoop christmas tree ornament

    Here's how to make one!

    Day 14: How to Make a Keepsake Fabric Embroidery Hoop Ornament

    DIY Keepsake Fabric Embroidery Hoop Ornament

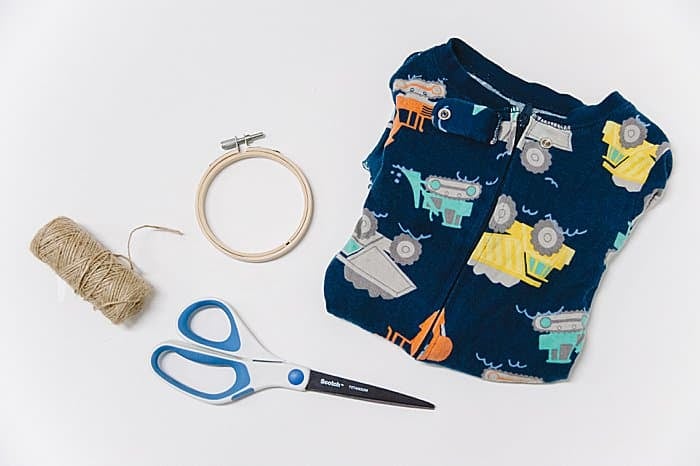
    Step 1. Gather supplies.

    Supplies needed:

    • Keepsake Fabric
    • 3 inch Embroidery Hoop
    • Twine
    • Scissors
    • Hot Glue Gun and Glue OR Embroidery Floss and Needle
    Day 14_ How to Make a Keepsake Fabric Embroidery Hoop Ornament _ The 30 Days of Ornaments Project

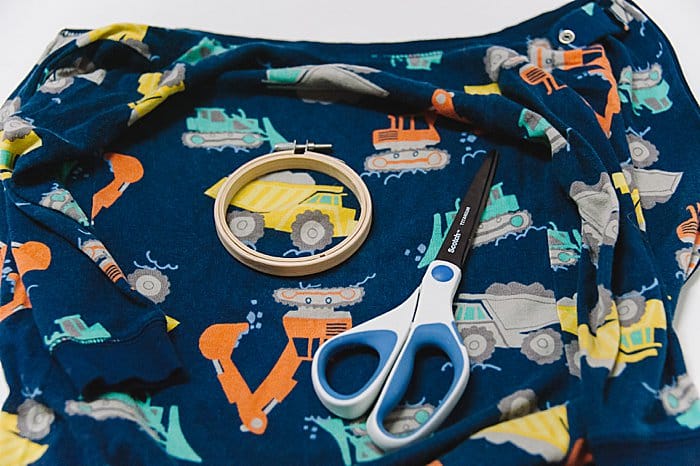
    Step 2. Cut 12" of twine for a hanging string. Set aside.
    Day 14_ How to Make a Keepsake Fabric Embroidery Hoop Ornament _ The 30 Days of Ornaments Project

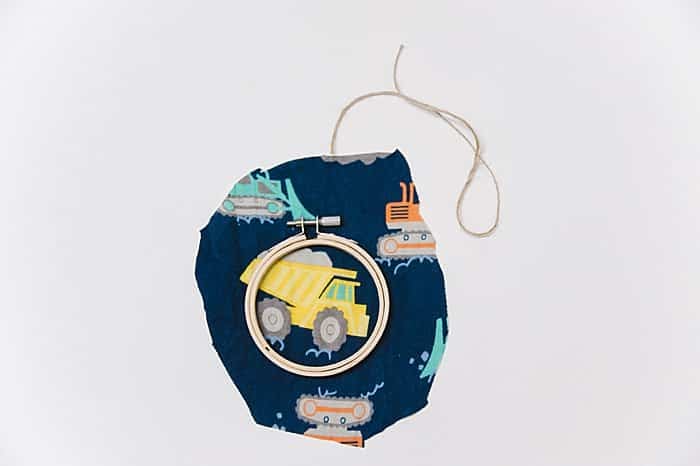
    Step 3. Determine what section of your fabric you want to put in the embroidery hoop. Cut out a circle several inches bigger than the diameter of the hoop.
    Day 14_ How to Make a Keepsake Fabric Embroidery Hoop Ornament _ The 30 Days of Ornaments Project

    Step 4. Separate the two sections of the embroidery hoop by loosening the top screw. Set the outer hoop aside.

    Step 5. Lay your selected fabric section on top of the inner hoop. Center it over the hoop to show your desired section.

    Step 6. Take the outer hoop and push it over the inner hoop. The fabric should be pulled taut as you do this.

    Step 7. Make sure the fabric is taut, and then tighten the screw on the outer embroidery hoop to secure everything in place.

    Step 8. Finish the back of the embroidery hoop off by either doing a loose straight stitch around the edge of the fabric and then pulling to cinch it together. Or, cut off all of the excess fabric except for ½ inch around the edge. Then hot glue that ½" extra to the inside of the hoop in the back.

    Step 9. Inspect and hang up the keepsake fabric embroidery hoop!
    Day 14_ How to Make a Keepsake Fabric Embroidery Hoop Ornament _ The 30 Days of Ornaments Project

    Christmas tree ornaments are a significant and powerful part of holiday decor.

    They have the power to stir up memories of our childhood, bring us back to family vacations, and they remind us of things we want to remember like the year our first child was born, or the worn out jammies he wore for the entirety of his toddler years.

    By using a small embroidery hoop and adding fabric that is meaningful to you, it's so simple to create an ornament that will become another cherished family heirloom.

    (This could be done along side of the First Birthday Time Capsule to celebrate a child's first birthday!)

    And if your family has experienced loss recently?

    I can't think of a better way to honor the memory of the loved one and help keep them a part of the holiday season than to create a remembrance ornament using a beloved piece of their clothing.

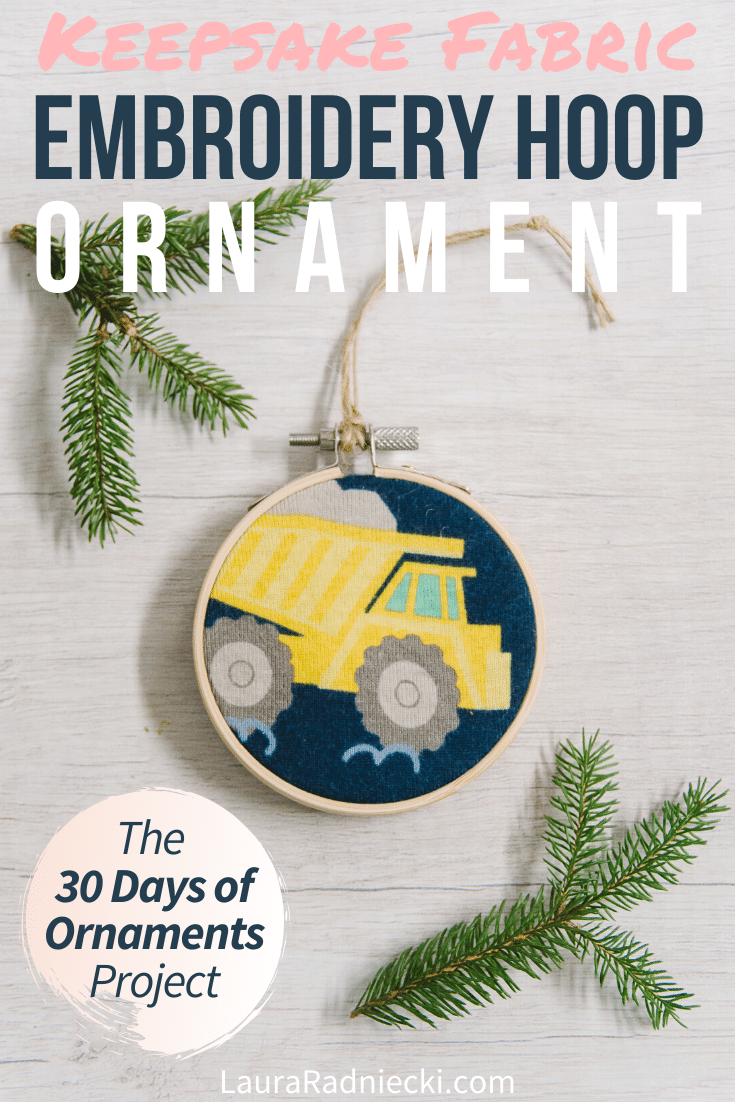
    Save the idea for later by pinning the photo below to Pinterest!
    Day 14_ How to Make a Keepsake Fabric Embroidery Hoop Ornament _ The 30 Days of Ornaments Project

    . . . . . . .

    More Easy DIY Ornaments

    • How to make a memory heart ornament.
      How to Make a Memory Heart Ornament
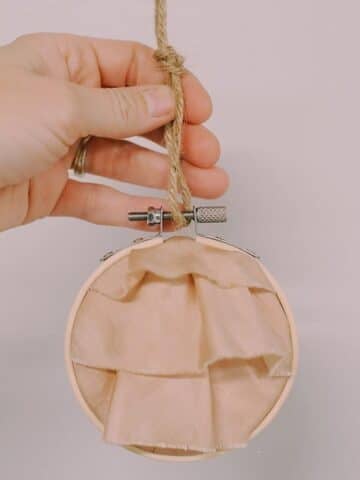
    • How to Make a Keepsake Memory Ornament with Fabric and Hoop.
      How to Make a Keepsake Memory Ornament with Fabric and Hoop
    • How to make toilet paper roll flower ornaments.
      How to Make Toilet Paper Flower Ornaments
    • How to make a salt dough heart.
      How to Make a Salt Dough Heart

    About Laura

    Laura Radniecki is a crafter, writer, and photographer from small-town Minnesota. A lifelong maker, she shares easy step-by-step craft tutorials. She's a wife to her high school sweetheart, mama to their son and daughter, dog mama to their 2 brother + sister toy poodles, and a part-time RV snowbird in Florida.

    Reader Interactions

    Leave a Reply Cancel reply

    Your email address will not be published. Required fields are marked *

    Recipe Rating


    Primary Sidebar

    Hi, I'm Laura Radniecki!

    I’m here to help you make easy crafts! Around here, you’ll find step-by-step craft tutorials that remove the guesswork, and are easy, fast, and fun. If you are a busy crafter, you are in the right place!

    (I also write when I'm inspired, and share my thoughts on my life + our world here too.)

    .

    More about me →

    Fall Crafts

    • How to make a beeswax dipped leaf garland.
      How to Make a Beeswax Leaf Garland
    • A Halloween wreath made with burlap ribbon with black and orange polka dots on it.
      How to Make a Burlap Halloween Wreath
    • How to Preserve Fall Leaves with Beeswax.
      How to Preserve Fall Leaves with Beeswax
    • Fall earrings made with felt ball pumpkins.
      How to Make Felt Ball Pumpkin Earrings
    • A look at using Matte vs Gloss Mod Podge to preserve fall leaves.
      A Look at Matte vs Gloss Mod Podge Fall Leaves
    • A wooden bowl with plaster easter eggs in it. The plastic eggs are wrapped in yarn and twine to look like DIY acorns.
      DIY Fall Acorns using Yarn-Wrapped Plastic Easter Eggs

    Popular Crafts

    • Purple and red paper cones made with construction paper, laying with a scissors on a table top.
      How to Make a Cone Out of Paper
    • Yellow DIY cornhole bag and scrabble tiles that say "game on".
      How to Make Cornhole Bags
    • Photo showing a wreath made out of jute rope hanging on a wall above a shelf with a plant on it.
      How to Make a Jute Wreath
    • How to Make a Pacifier Clip
      How to Make a Pacifier Clip
    • Learn how to make yarn tassels in this DIY tassel tutorial, showing two methods - one by hand and one using cardboard for making tassels.
      How to Make Yarn Tassels
    • Pinecones laying on a whitewashed wooden surface.
      How to Prepare Pine Cones for Crafts

    Footer

    ↑ back to top

    About

    • About Me
    • Shop
    • Privacy Policy
    • Accessibility

    Newsletter

    • Get craft tutorials, DIY project inspiration, and a first look at anything new by joining our email list. - Sign Up!

    Contact

    • Contact

    As an Amazon Associate, I earn from qualifying purchases.

    Copyright © 2026 Laura Radniecki