Fabric flowers are fun to make and can be used in craft projects from jewelry and gift embellishments all the way to statement wall art. One of my favorite projects using fabric flowers is a massive letter R I made for my living room.
Earlier in this series, we made a burlap rosette ornament, and we also created a paper petal flower ornament out of old book pages, but that flower can also easily be made with fabric instead of paper.
We’re on Day 28 of The 30 Days of Ornaments Project, where we are making 30 handmade ornaments in 30 days.
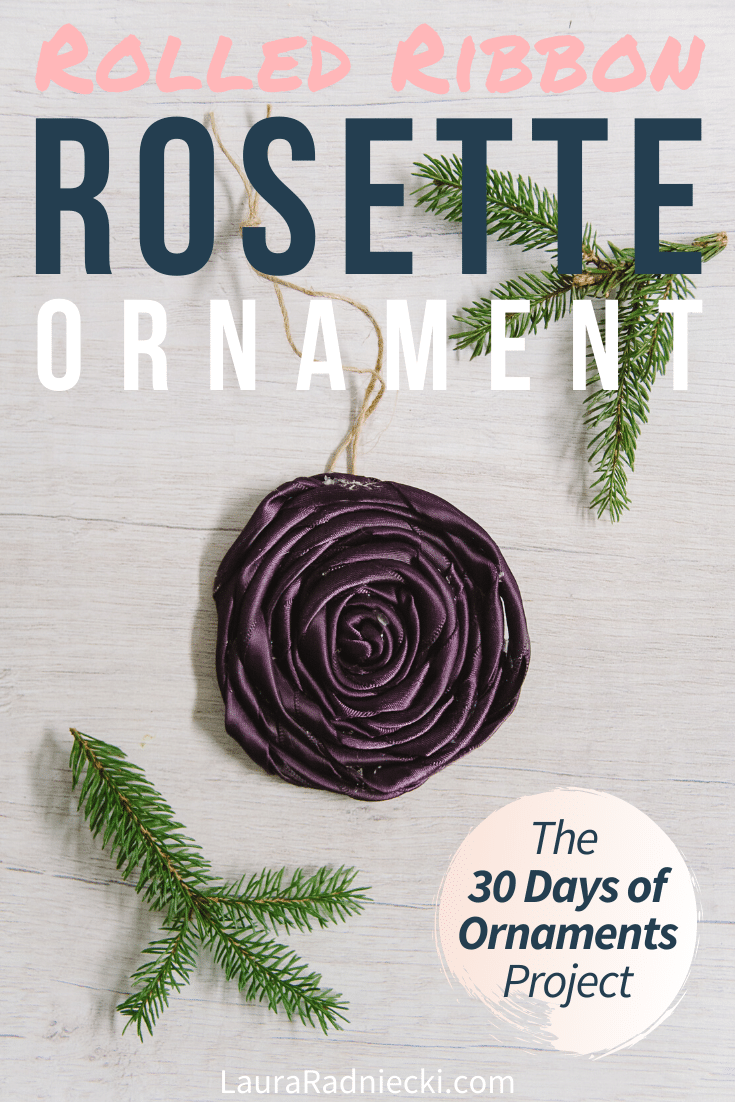
Today, we are going to make another rosette ornament, but this time, we are going to use satin ribbon and use a slightly different technique than before.
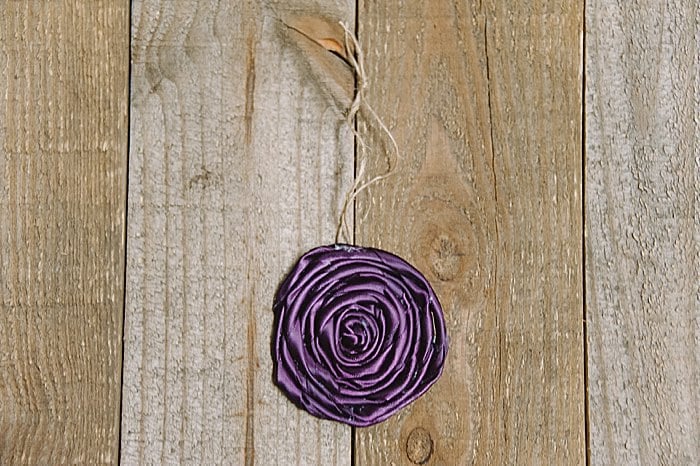
We will roll instead of twist, which results in a DIY rolled ribbon rosette ornament that is larger and flatter than our burlap version.
Here's how to make rolled ribbon rosette ornament!
(THE 30 DAYS OF ORNAMENTS COLLECTION IS COMING SOON!)
Day 28: How to Make a Rolled Ribbon Rosette Ornament
DIY Rolled Ribbon Rose Ornament Tutorial
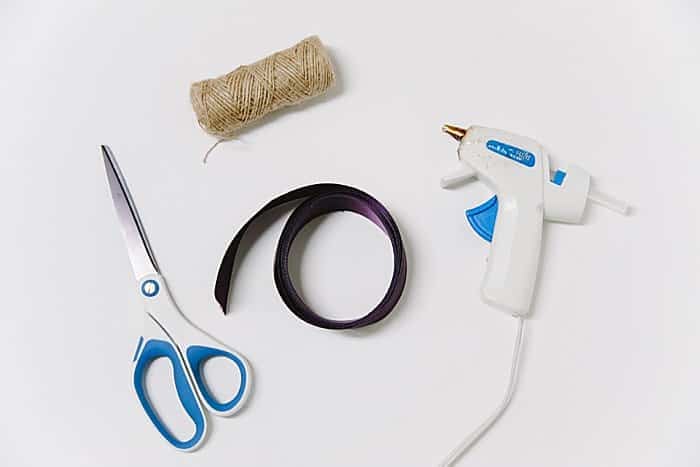
Step 1. Gather supplies.
Supplies needed:
- Ribbon (I used 1.5" satin ribbon)
- Twine
- Scissors
- Hot Glue Gun and Glue
Step 2. Cut a 12" section of twine to use as a hanging string, and set aside.
Step 3. Tie a knot in one end of the satin ribbon. This will be the center of your ribbon rose.
Step 4. Roll/twist the first inch of the ribbon several times and then hot glue it around the knotted center.
Step 5. Continue to roll the ribbon and then hot glue around the center, working an inch or less at a time.
Step 6. Continue until you have reached your desired rosette size. Hot glue the remaining small section of ribbon to the underside of the rosette to help stabilize it.
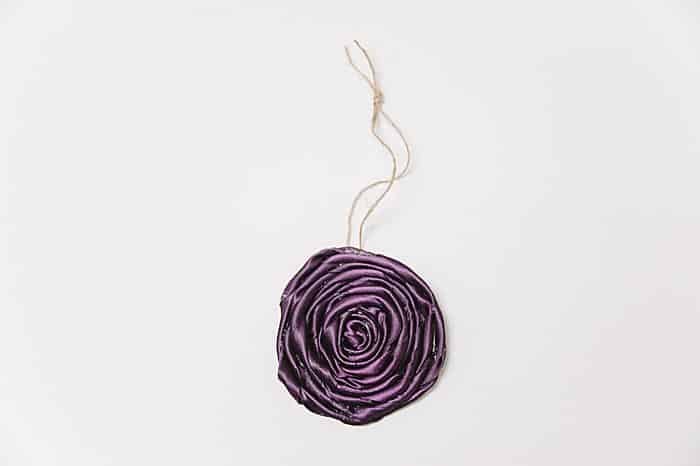
Step 7. Fold twine in half, knot the two ends together and trim off any excess. Glue to the back of the ribbon rosette.
Step 8. Inspect the rolled ribbon rosette ornament and hang it up!
Rosettes are a beautiful type of fabric flower that can look very different, depending on the technique used as well as the type of ribbon.
We used a single-twist-and-glue technique and a burlap ribbon for our burlap rosette ornament.
For this rolled ribbon rosette ornament, we used a technique involving rolling the ribbon several times to create a tight twist before gluing the section to the growing rosette.
Two great techniques, two different looking ornaments!
Save the idea for later by pinning the photo below to Pinterest!
. . . . . . .


Leave a Reply