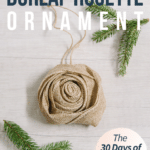
LEARN HOW TO MAKE A DIY BURLAP ROSETTE ORNAMENT USING JUST WIRE-RIMMED BURLAP RIBBON AND A HOT GLUE GUN! JOANNA GAINES WOULD APPROVE OF THIS CHRISTMAS ORNAMENT FOR SURE!
Farmhouse decor is popular everywhere, from home decor and holiday decorations to gifts and even gift wrap embellishments.
Rustic chic is in!
That probably explains my love of twine and burlap fabric, and my desire to incorporate them into as many craft projects as I can.
I just can't help myself!
We're on Day 3 of The 30 Days of Ornaments Project, where we will make 30 handmade ornaments over the next 30 days.
Today's ornament is an easy (yet striking) burlap rosette ornament that is totally something Joanna Gaines would approve of!
Let's go and make it!
Day 3: How to Make a Burlap Rosette Ornament
DIY Burlap Rosette Ornament Tutorial
Step 1. Gather supplies.
Supplies needed:
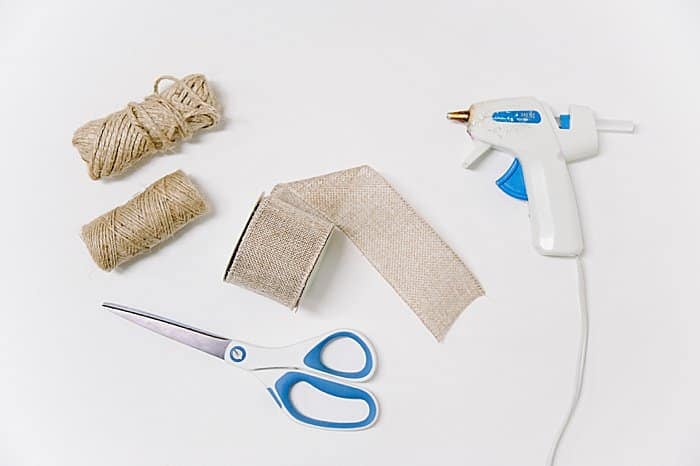
Step 2. Cut hanging string from twine - 12+ inches.
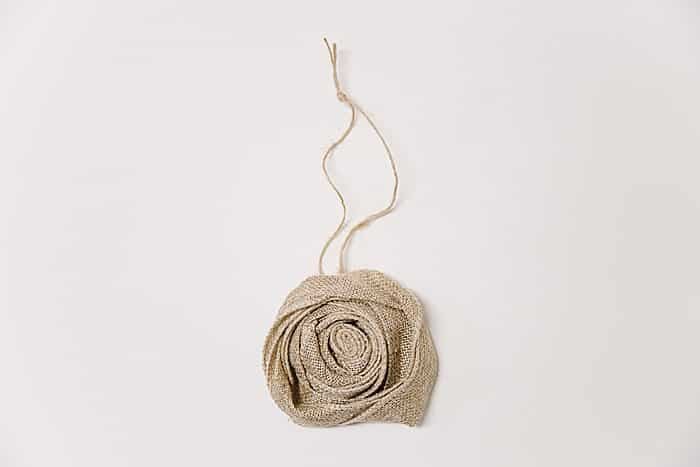
Step 3. Begin rosette by folding ribbon in half and rolling it, to create the center of the rosette, hot gluing along the way.
Step 4. Make the rosette by twisting ribbon once, and gluing to hold. Twist and glue. Twist and glue.
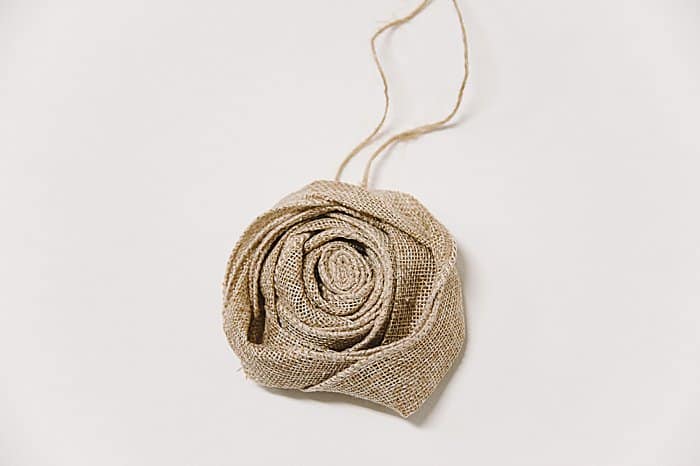
Step 5. Glue twine hanging string loop onto back of finished rosette.
Step 6. Hang on your Christmas tree!
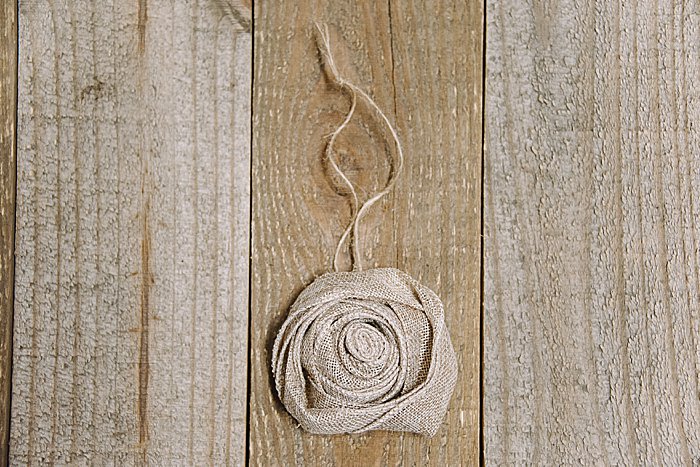
I'm convinced this easy burlap rosette ornament (made only with burlap ribbon, twine, and hot glue) looks like it came straight out of Magnolia.
I think Joanna would approve!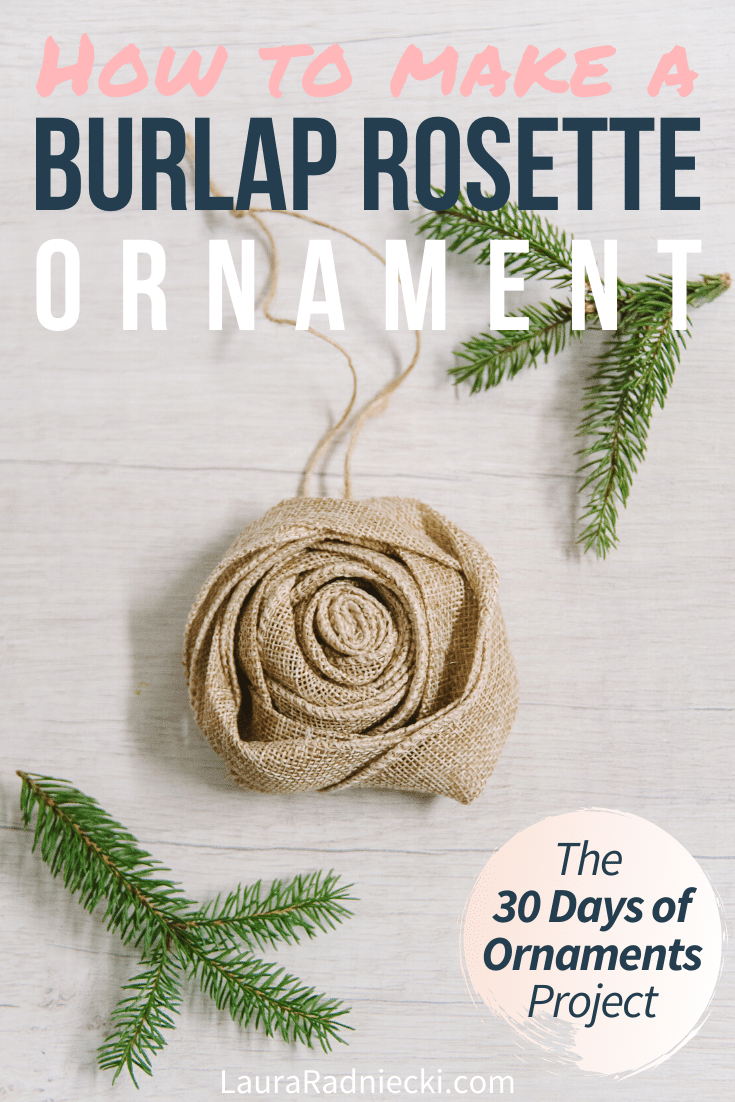
. . . . . .


Leave a Reply