
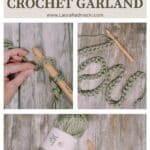
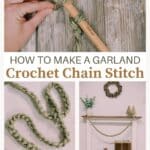
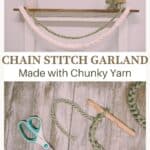








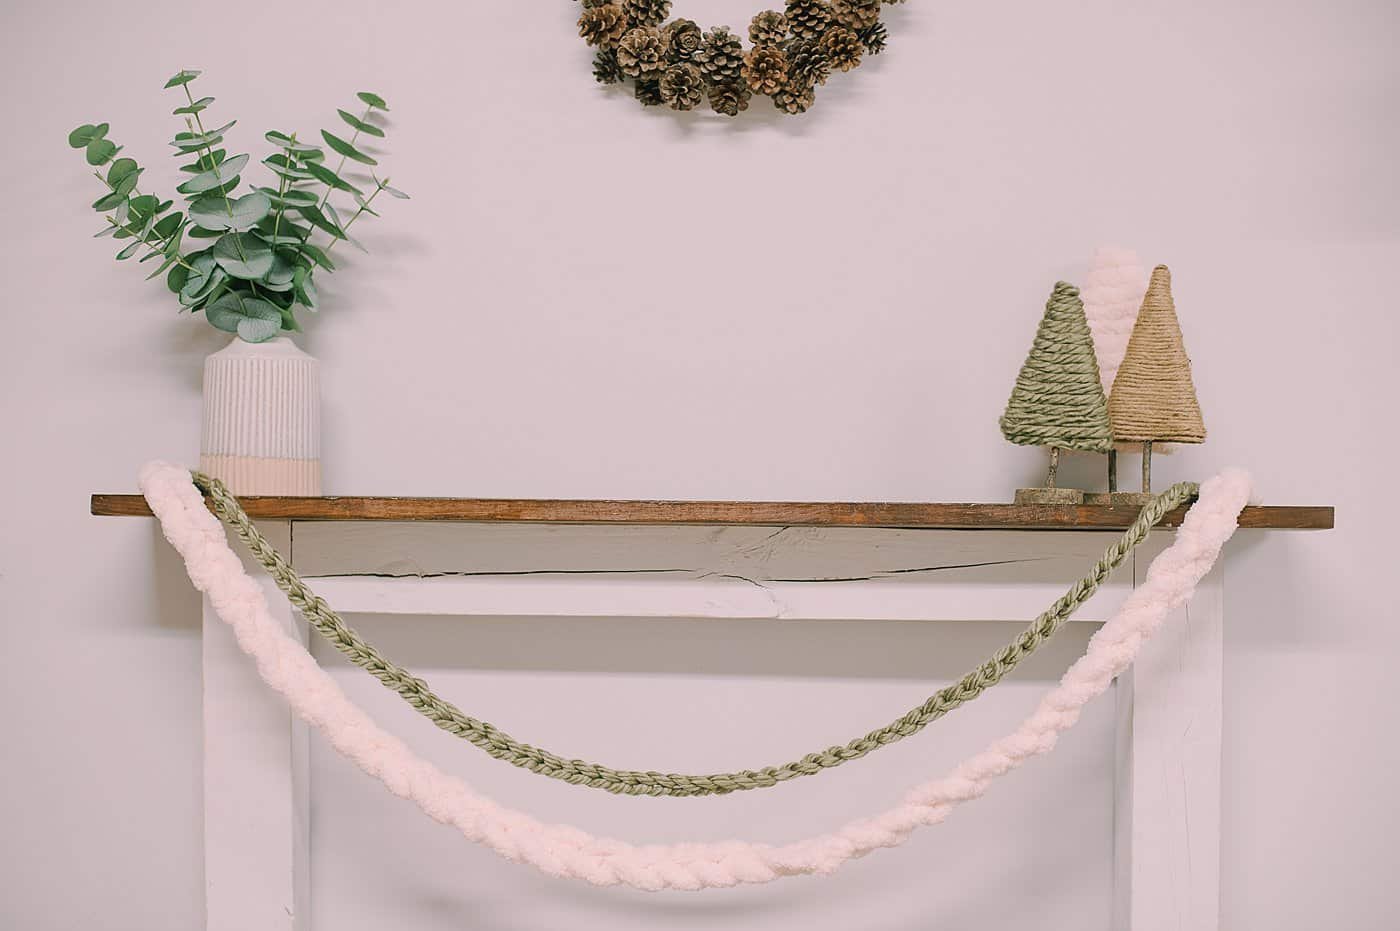
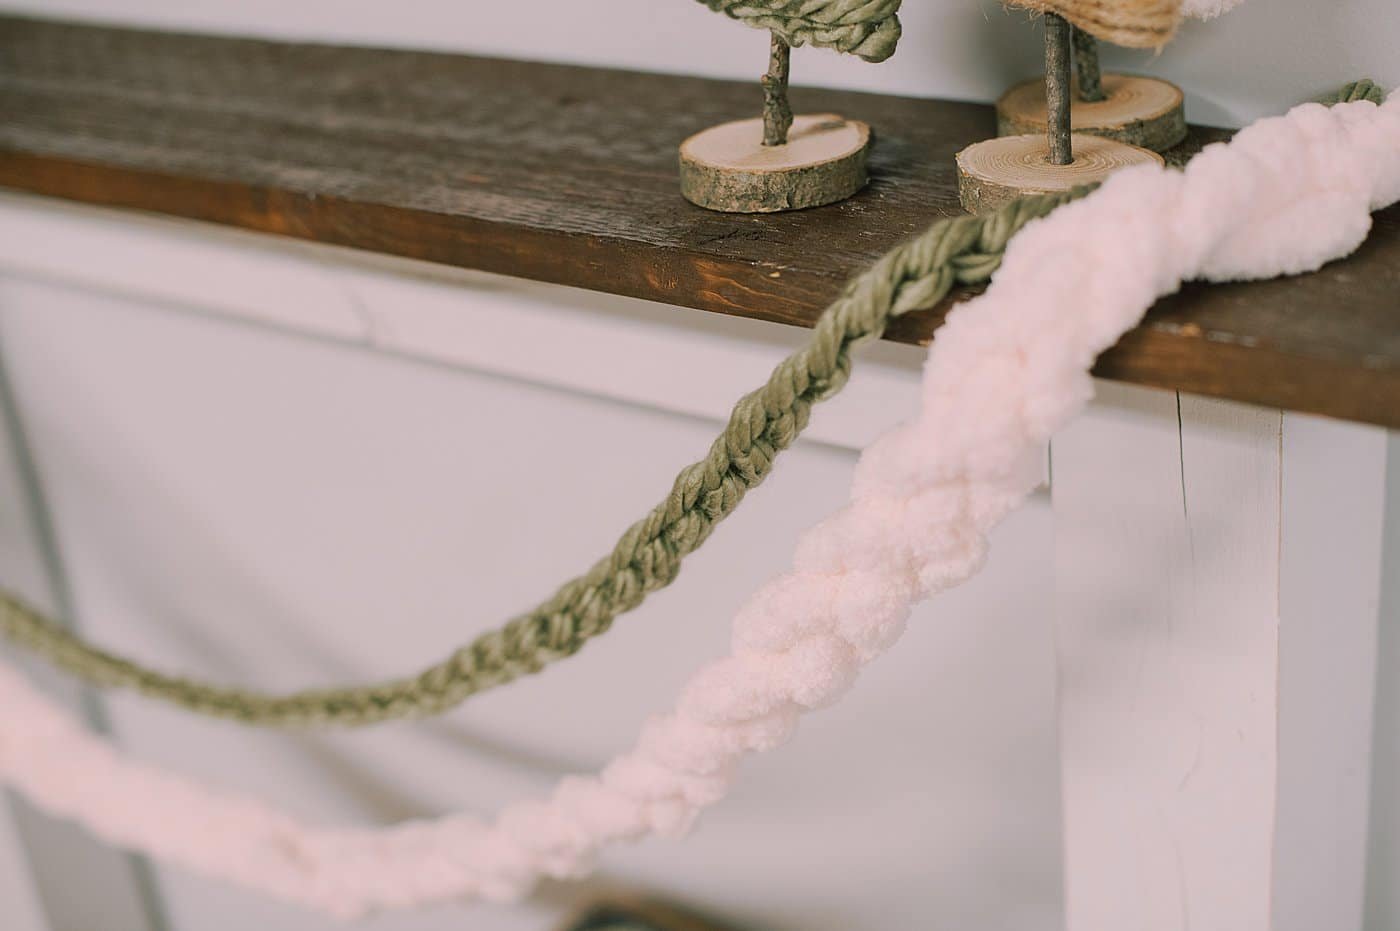
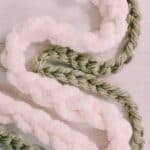
Learn how to make a DIY Chain Stitch Garland with chunky yarn using our simple how-to guide. The garland is perfect for adding a cozy touch to your mantel or home decor!
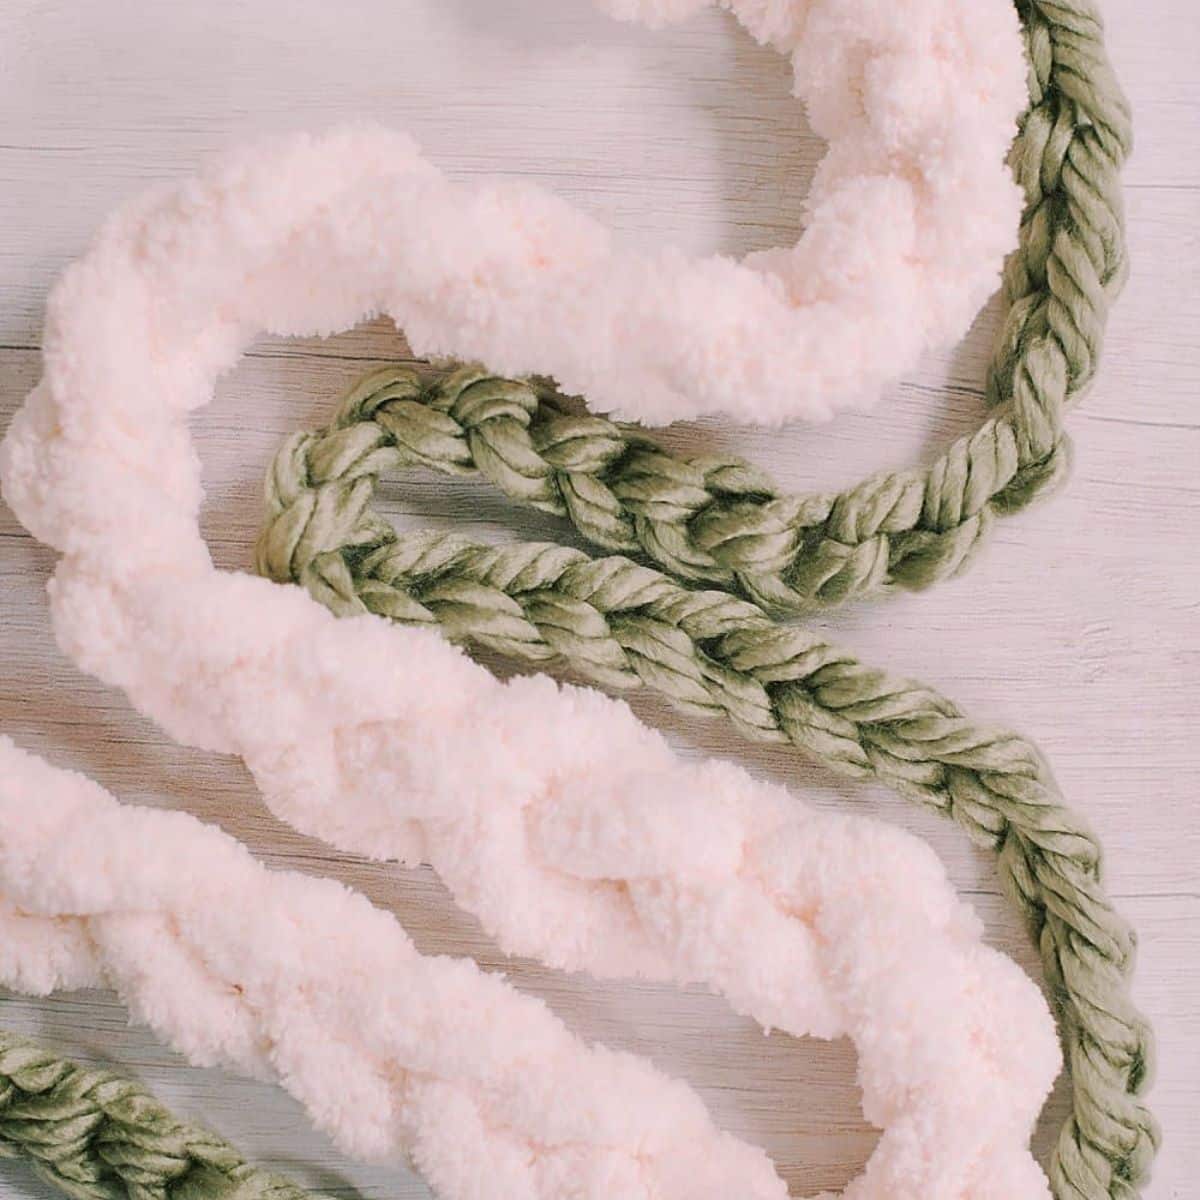
We love any yarn craft, and crochet is no exception.
Crochet can get incredibly ornate and complicated if you want it to - the sweaters, blankets, and stuffed animals people create are mindblowing!
Today, we are going to use the most simple crochet stitch there is - the chain stitch - and use only that one stitch to make a beautiful yarn garland for the mantel!
Let's make one!
Jump to:
Why You'll Love This Craft
- Yarn crafts are some of the best projects because they require minimal supplies and are often easy to learn the basics.
- This garland uses the most simple of all crochet stitches - the chain stitch.
- You can make this chain stitch garland with any type of yarn; any material, any thickness, any color. The thicker the yarn, the faster you can whip the garland together.
Craft Supplies Needed

- Chunky Yarn - We used this chunky yarn that is about as thick as the tip of my pinky finger.
- Large Crochet Hook - Check the wrapper on your bundle of yarn to determine the best hook size for that type of yarn.
- Scissors - To cut the yarn when you are done.
DIY Chain Stitch Garland with Chunky Yarn
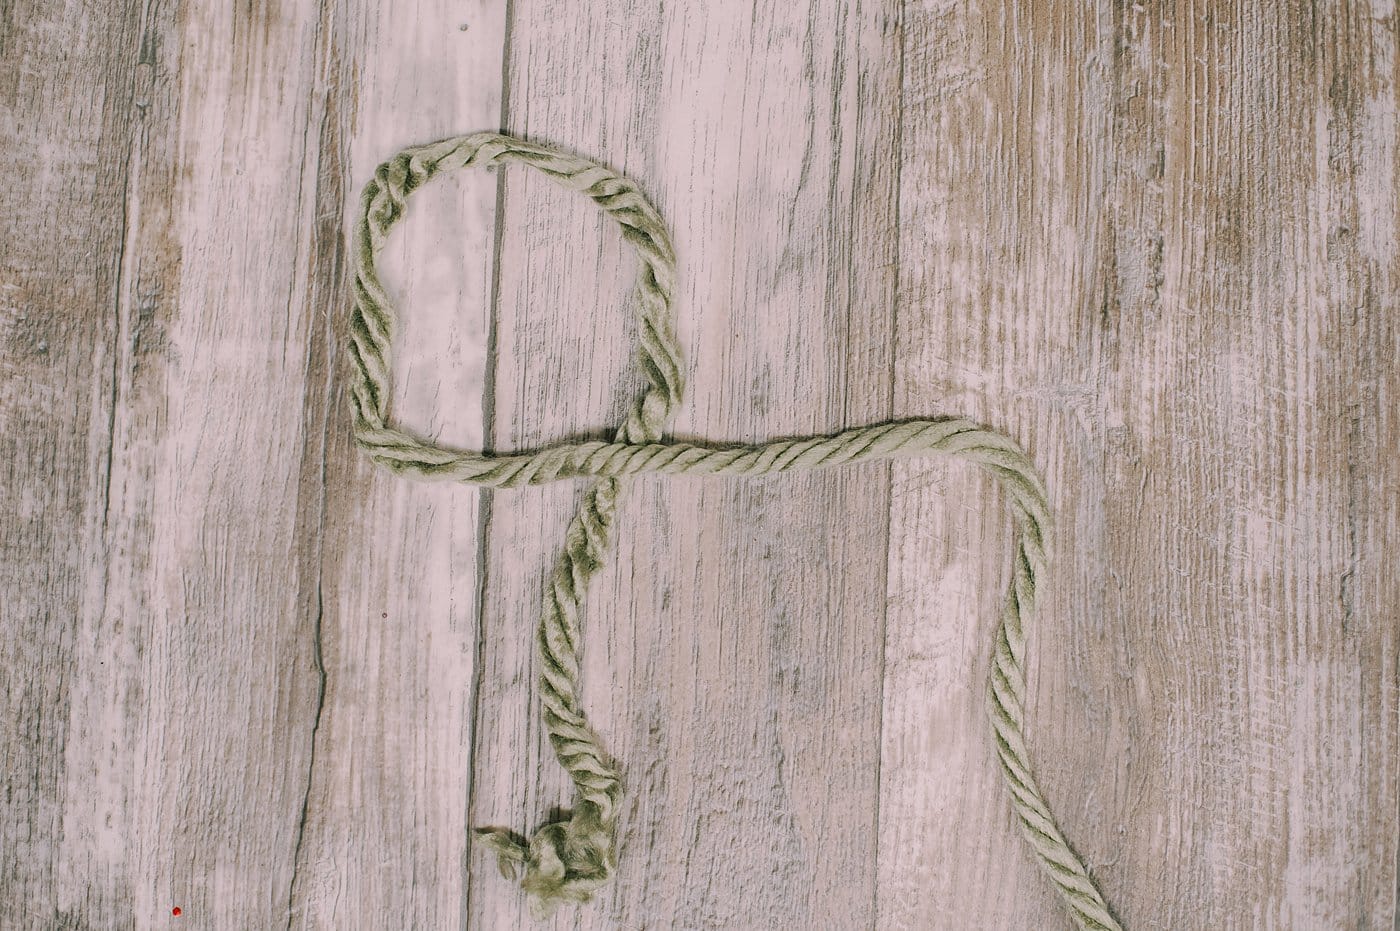
Step 1. To begin, make a slip knot with the yarn.
You can use our basic tutorial on how to make a slip knot which is more simplified, or you can do what we did in the photos below.
Start by making a "4" with the yarn, as pictured.
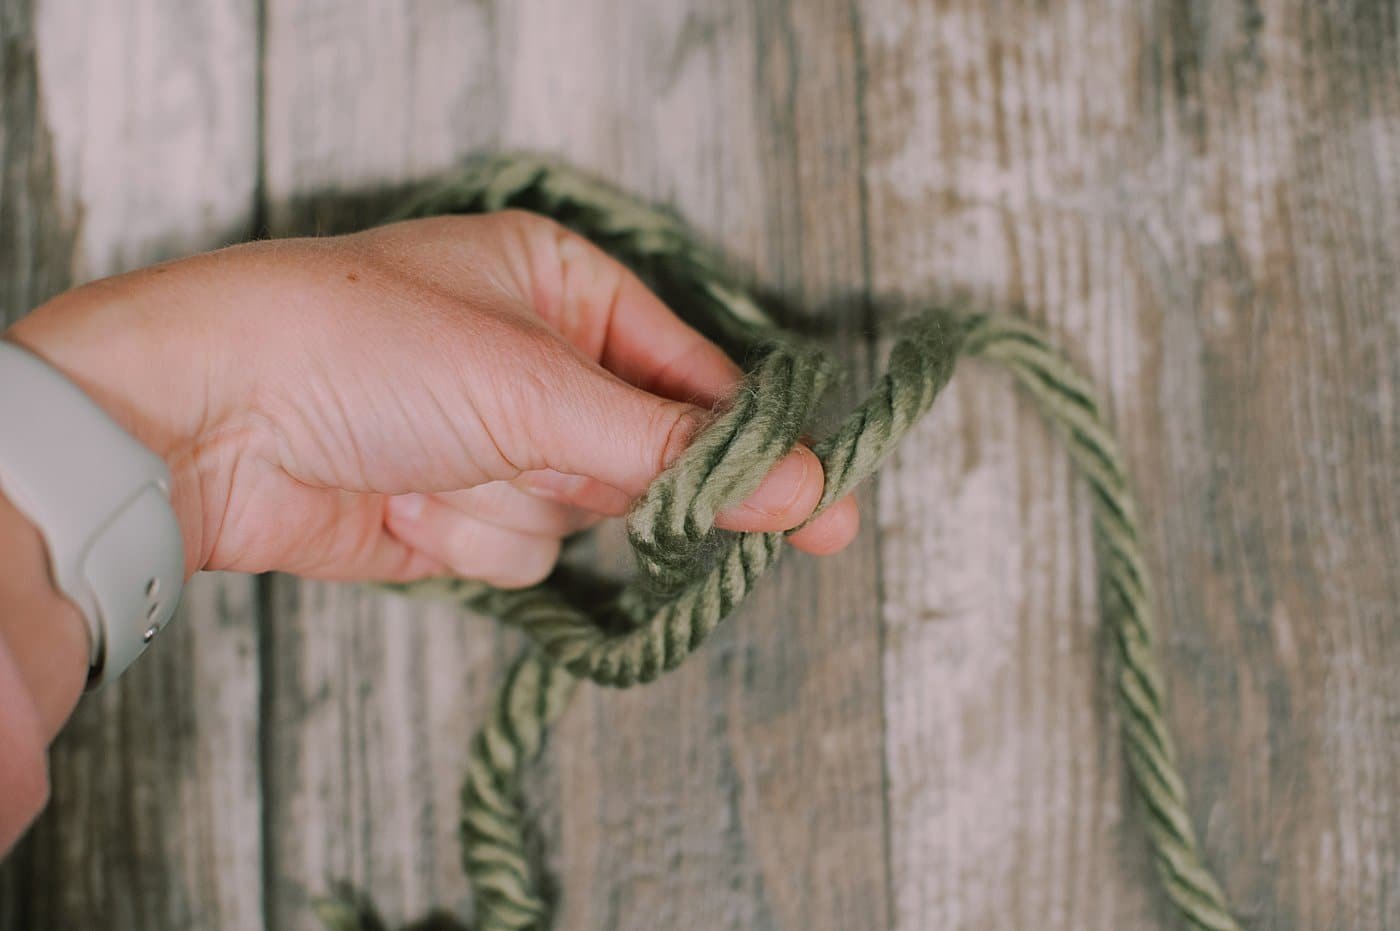
Step 2. Reach your fingers in through the top part of the "4".

Step 3. Grab the long end of yarn, and pull the long section up.
This will make a loop.
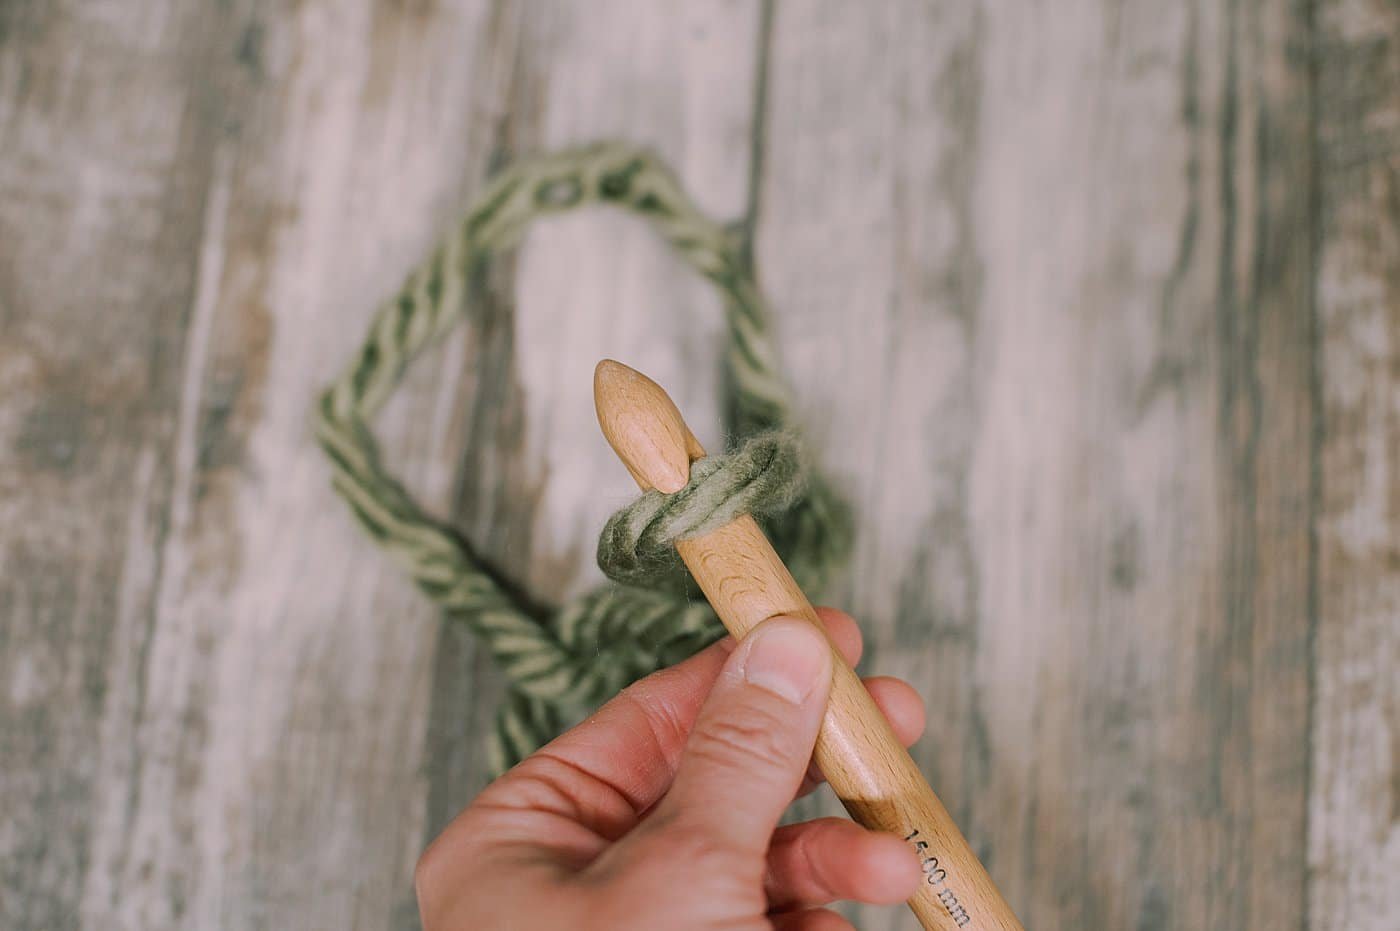
Step 4. Slide the crochet hook into the loop you are holding in step 3.
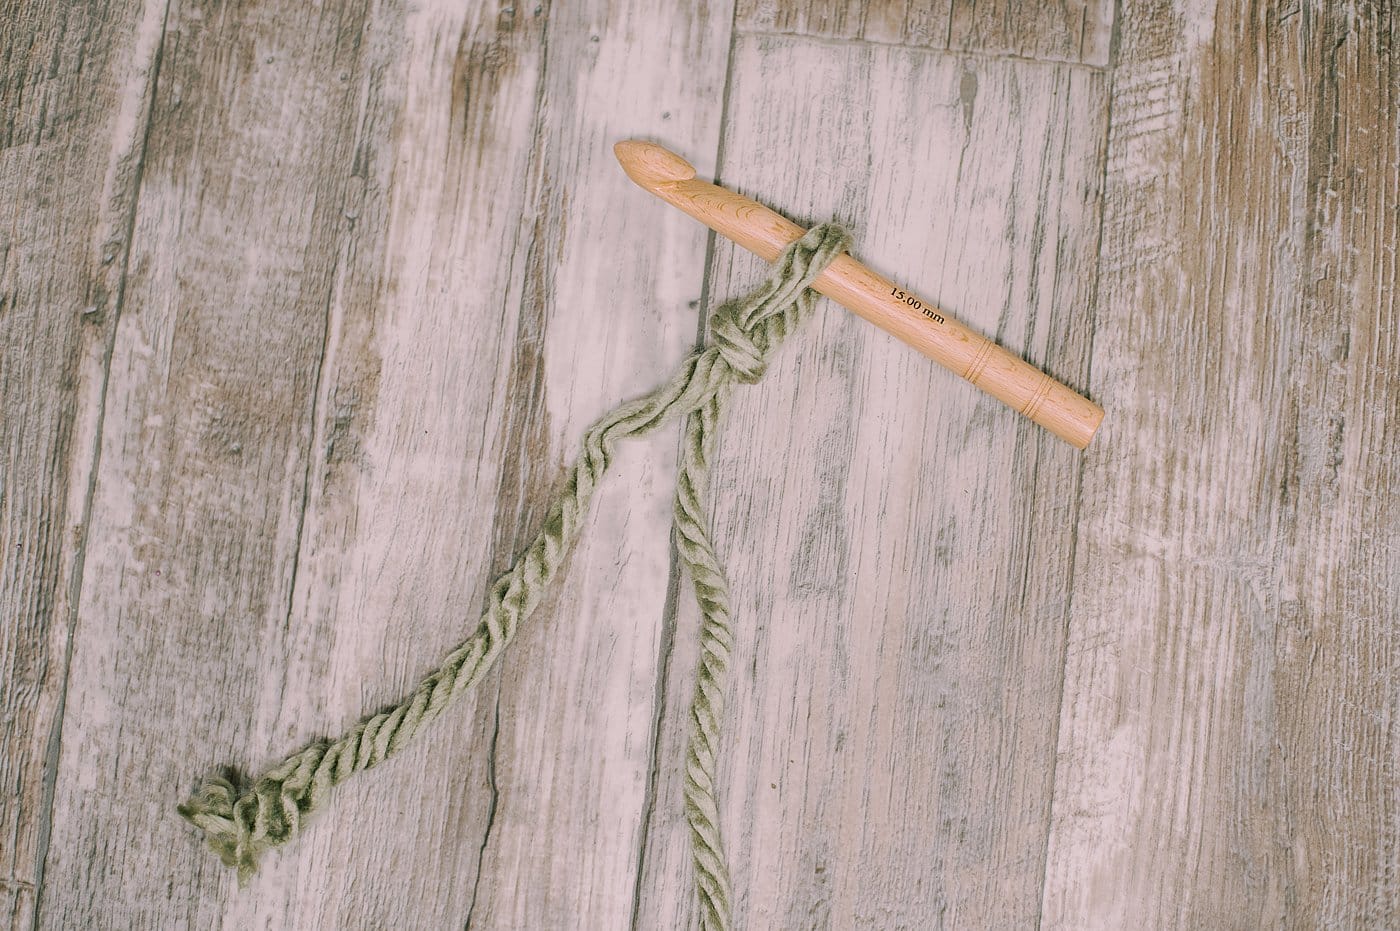
Step 5. Carefully pull the two yarn ends to tighten up the slip knot.
(If that didn't work for you, go look at this slip knot tutorial and try it step by step. Then come back here and continue on.)

Step 6. To do a chain stitch, start by wrapping the yarn around the back of the hook.
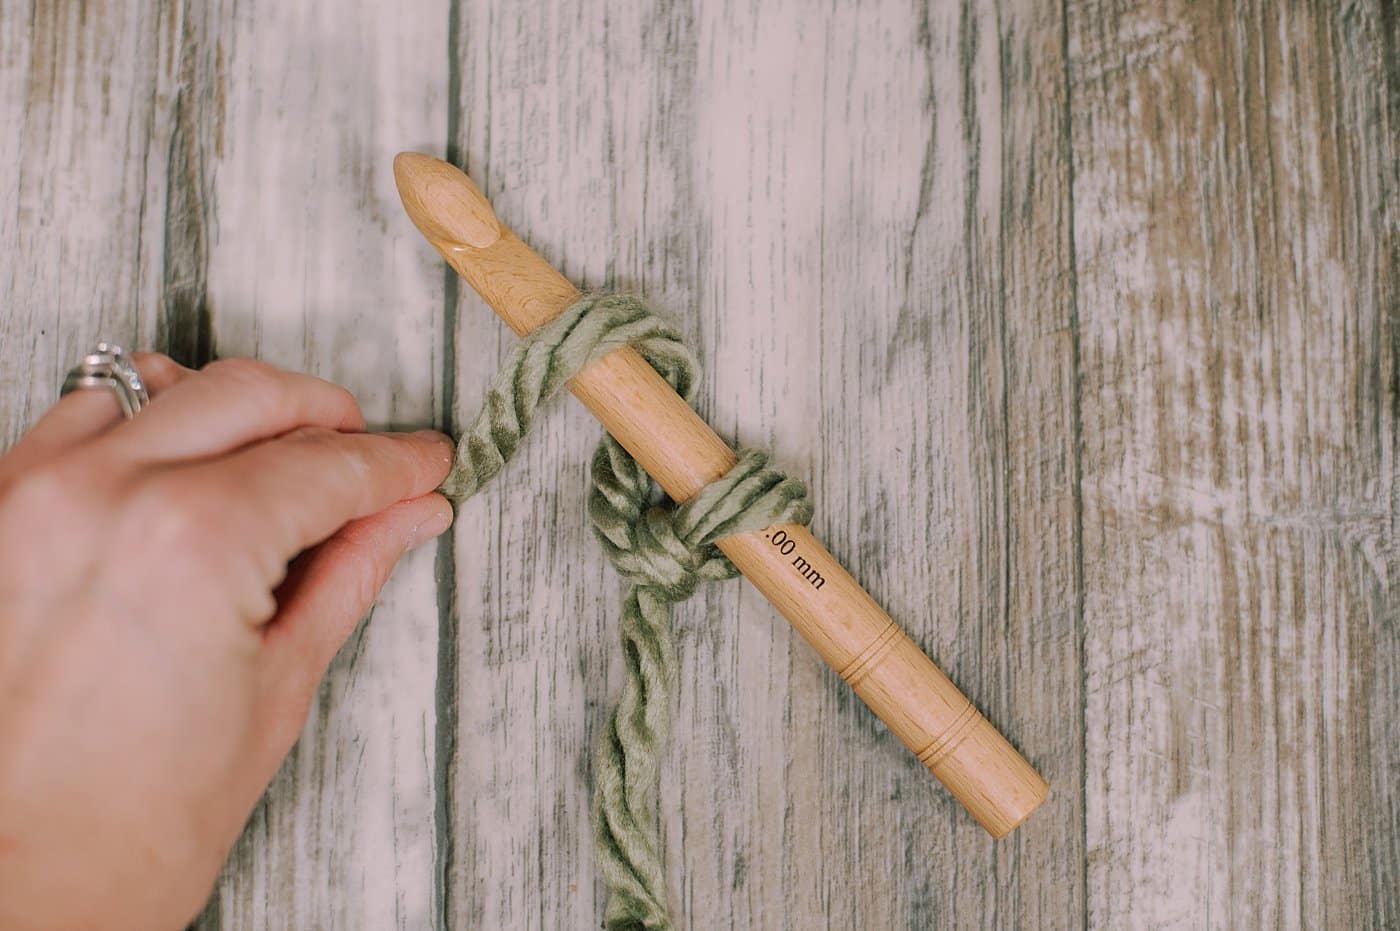
Step 7. Then wrap the yarn around the front of the hook.
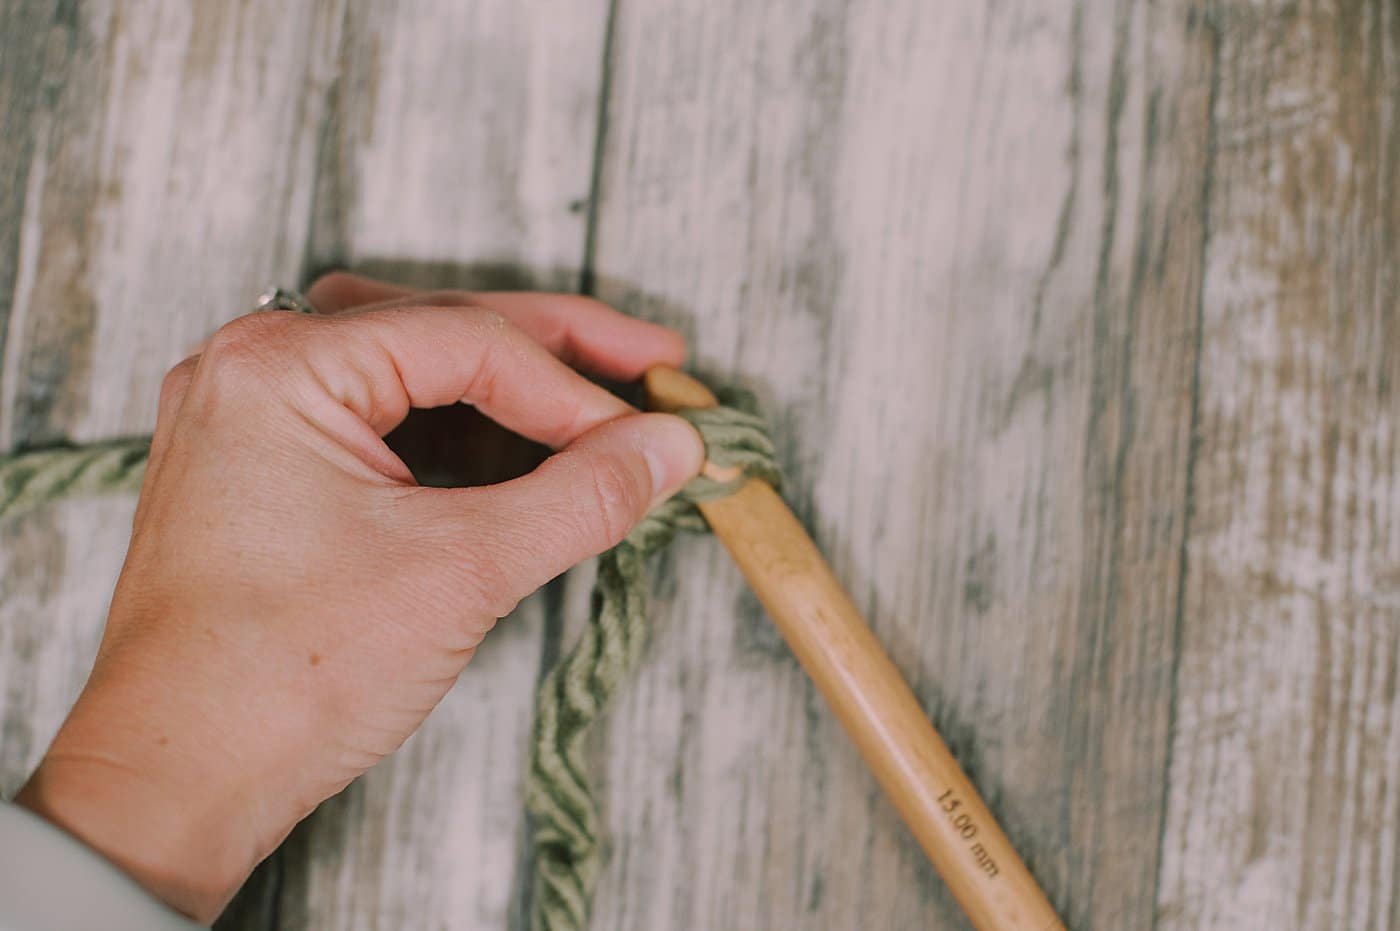
Step 8. Carefully pull the lower loop (the slip knot loop in this case) up over the loop above it, and off of the hook.
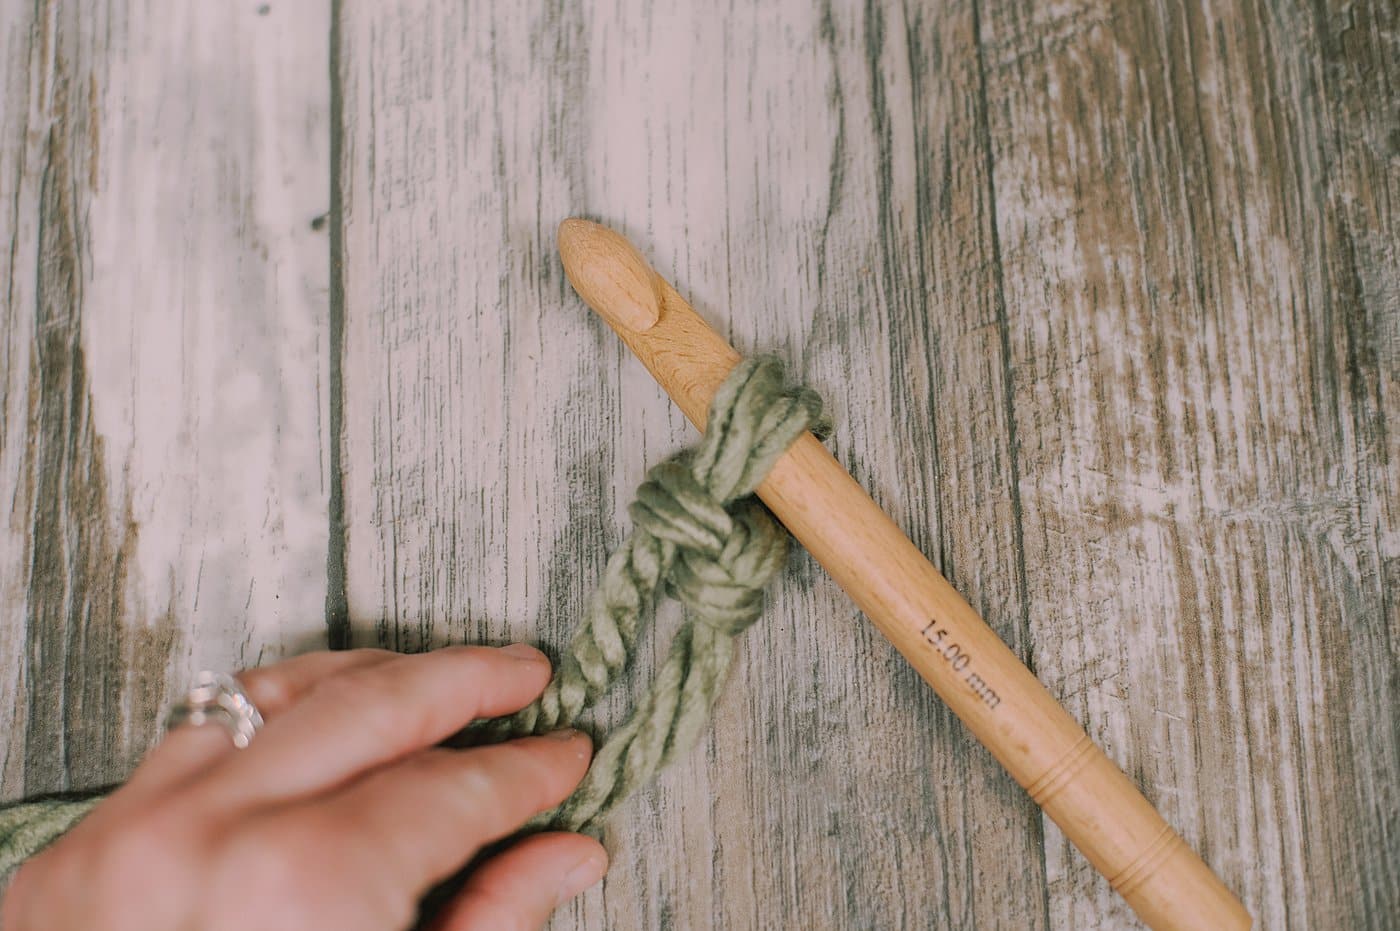
Step 9. You will have only one loop on the hook once you complete this step.
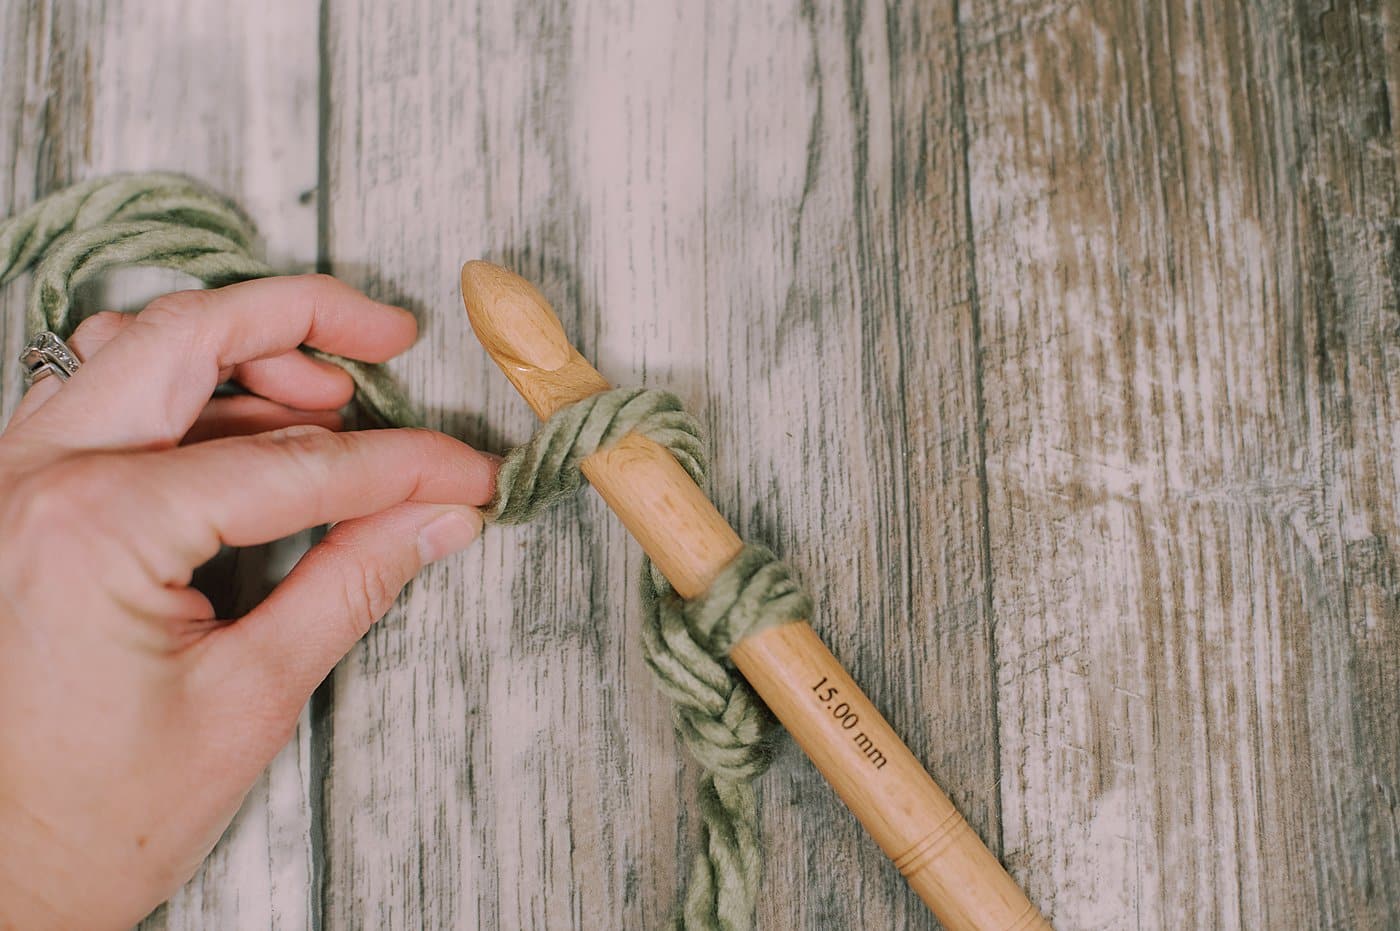
Step 10. Repeat steps 3 and 4 - wrap the yarn around the back and then around the front of the crochet hook.
You'll once again see two "loops" on the hook. (One is an actual loop toward the bottom of the hook, and the top loop is created when you wrap the yarn around the front of the hook.)
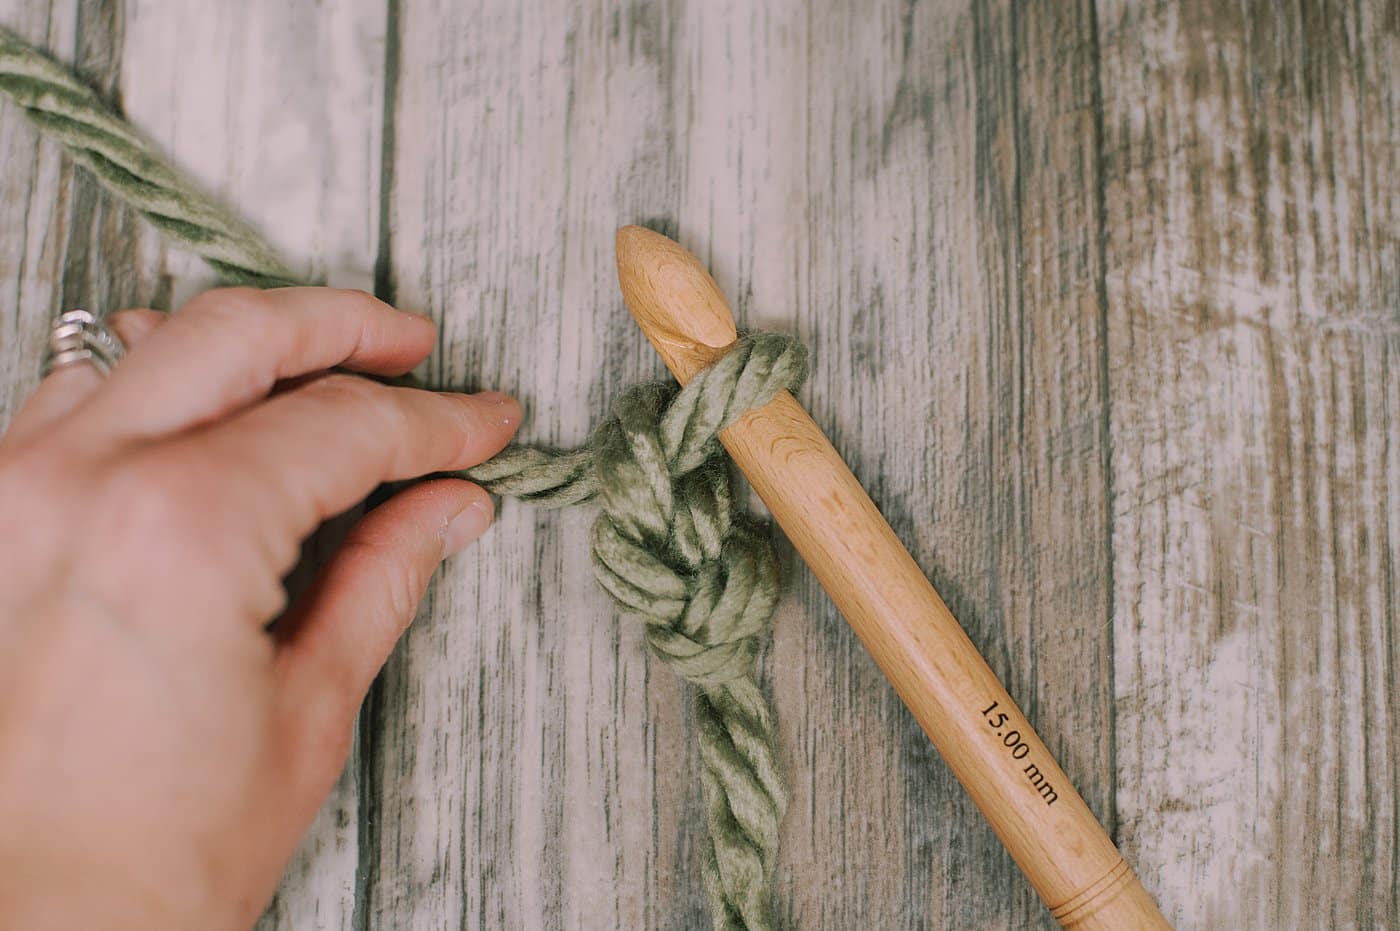
Step 11. You'll lift the bottom loop up and over the top loop, and off the top of the crochet hook, leaving only one loop on the hook.
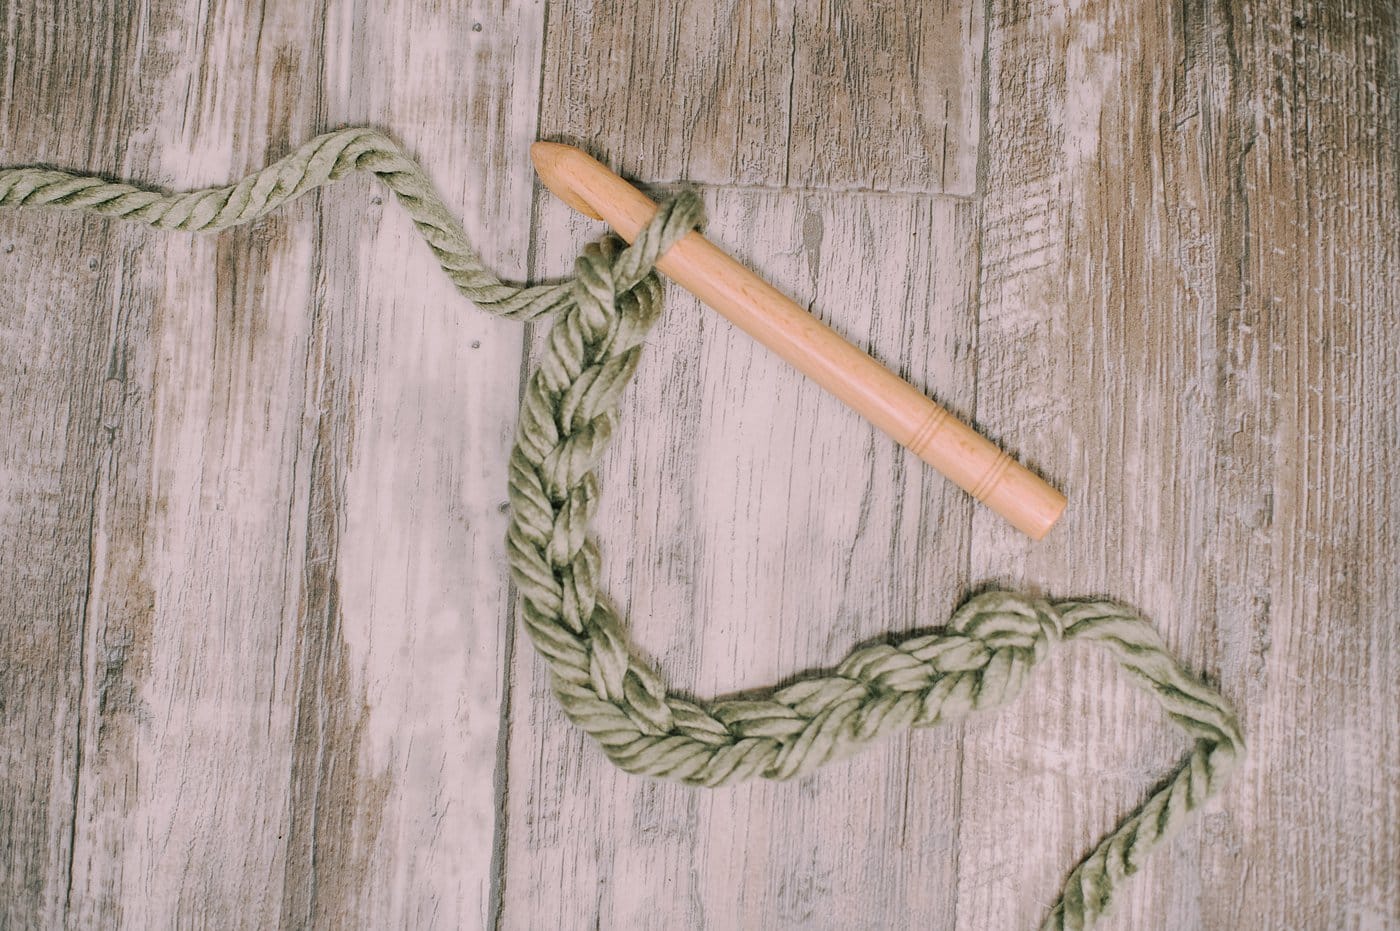
Step 12. Repeat this chain stitch process of wrapping the yarn around the back and front of the hook, and lifting the lower loop up over the upper loop and off of the hook, until you see your garland start to form.
Each chain stitch makes the garland a little big longer.
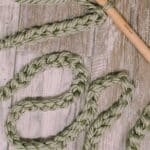
You can pull gently on the yarn tail end of your garland and you'll see the stitches become defined and beautiful.
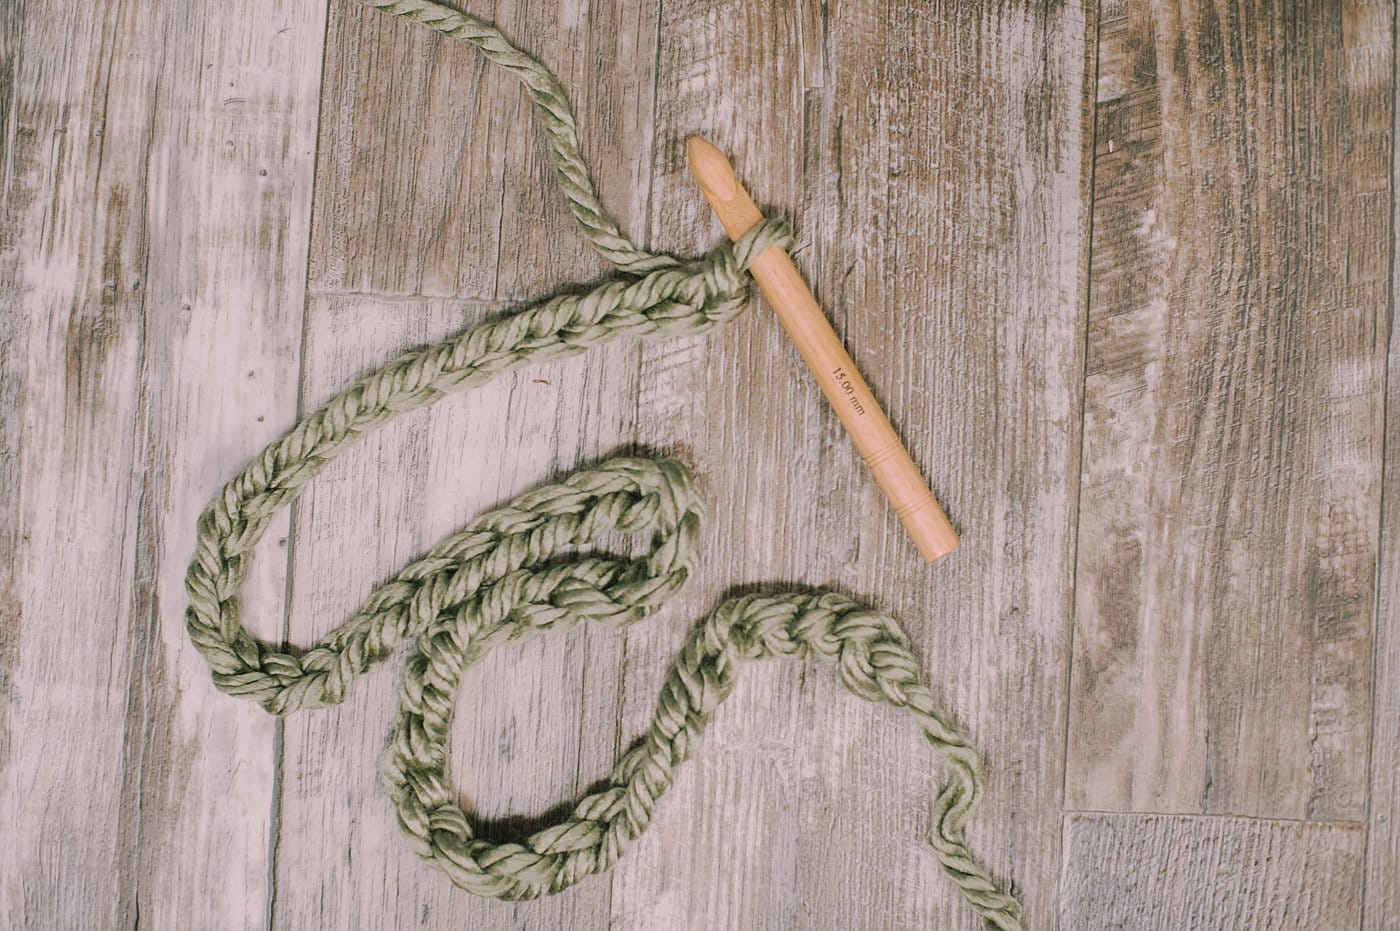
Step 13. Continue adding to your chain stitch garland until it's as long as you want it to be.
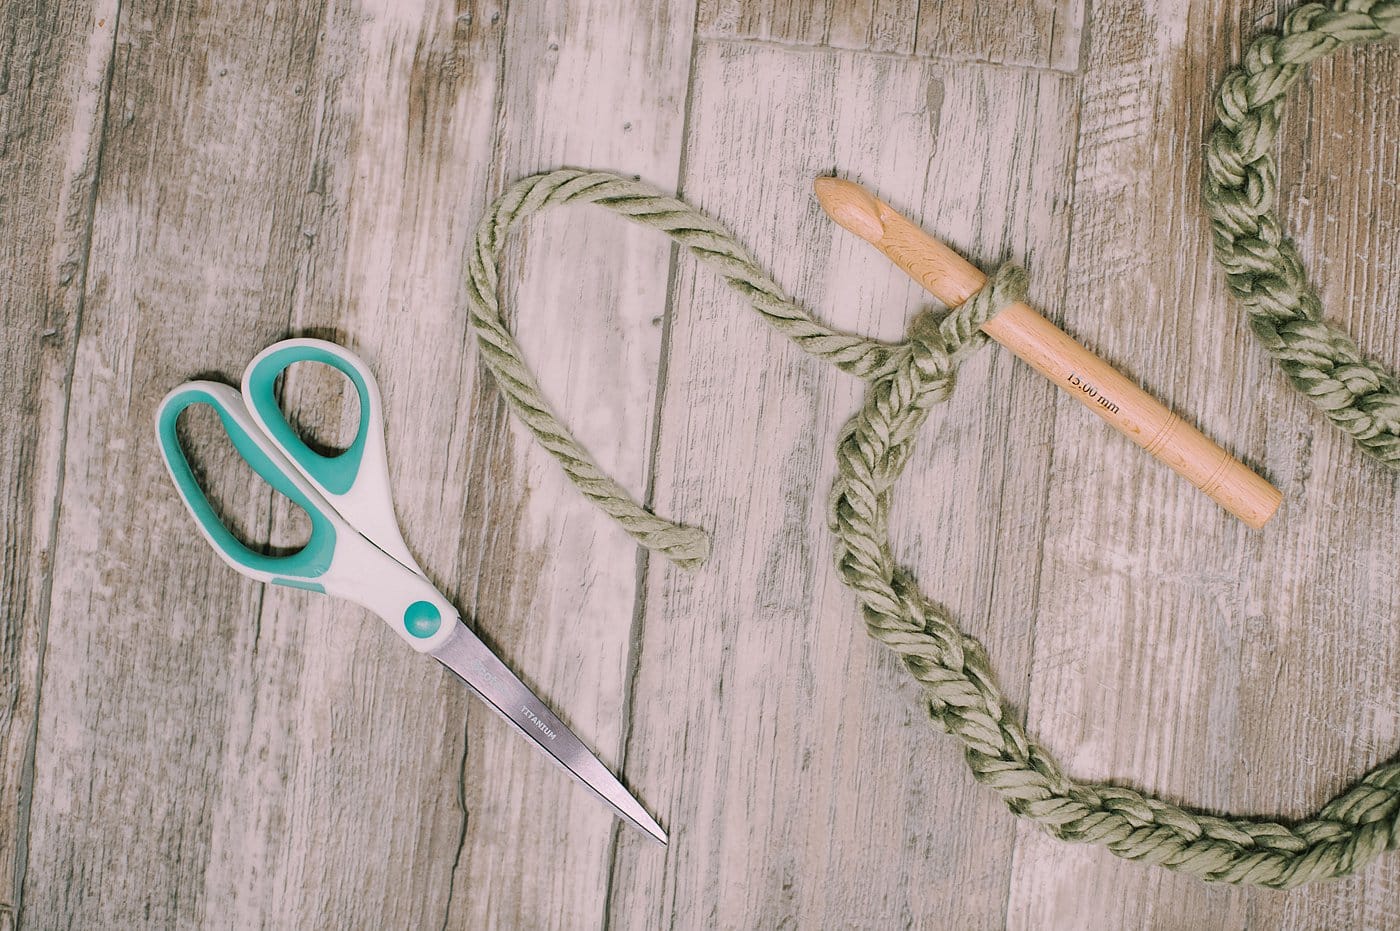
Step 14. Once your garland is as long as you want it to be, it's time to end it properly so it doesn't unravel.
Cut the yarn, leaving a 12" tail.
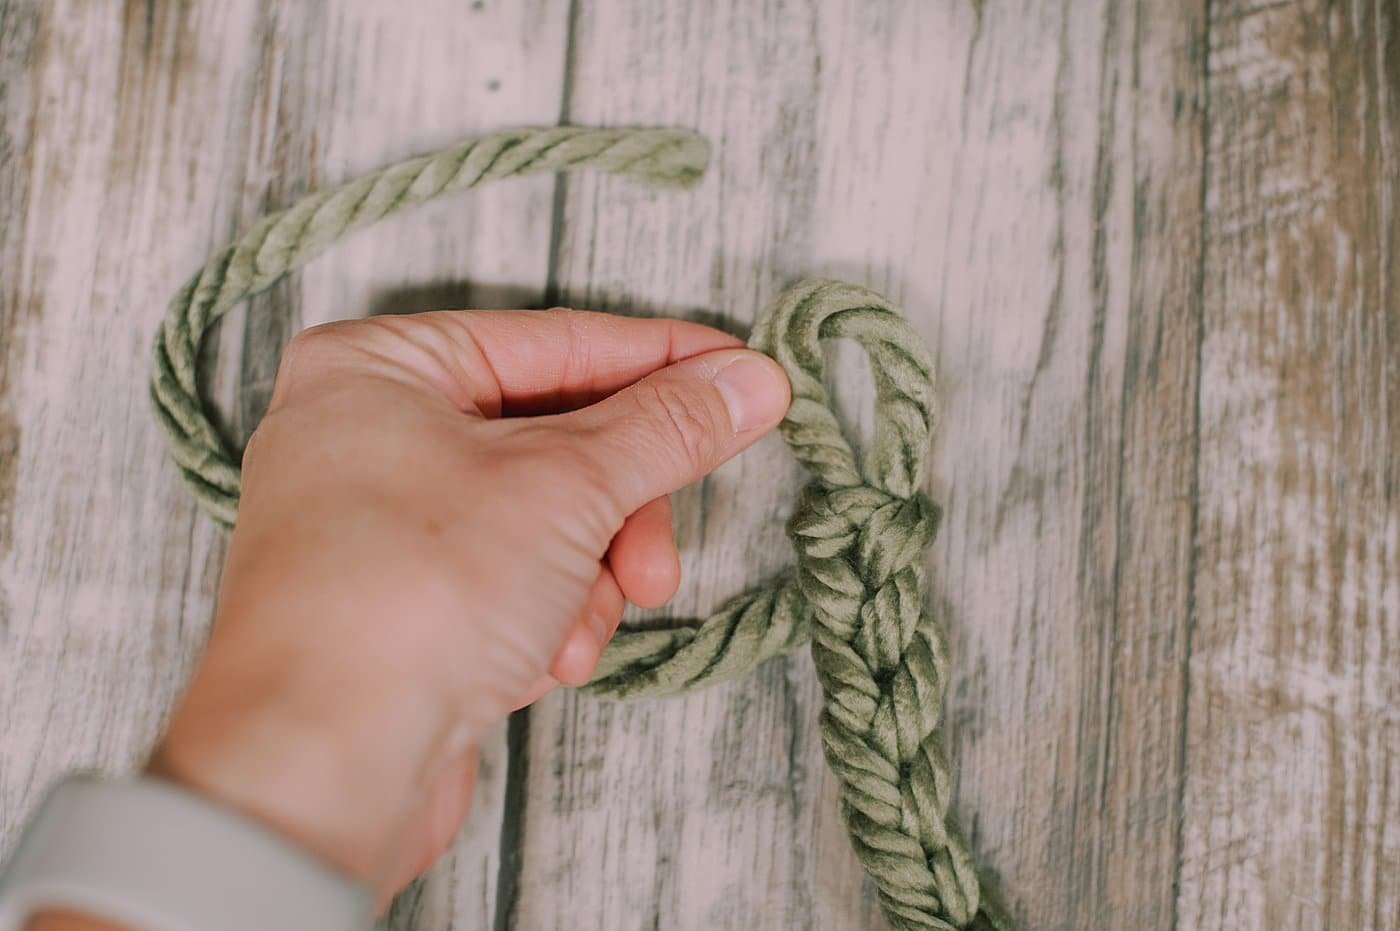
Step 15. Slide the loop off of the crochet hook carefully.
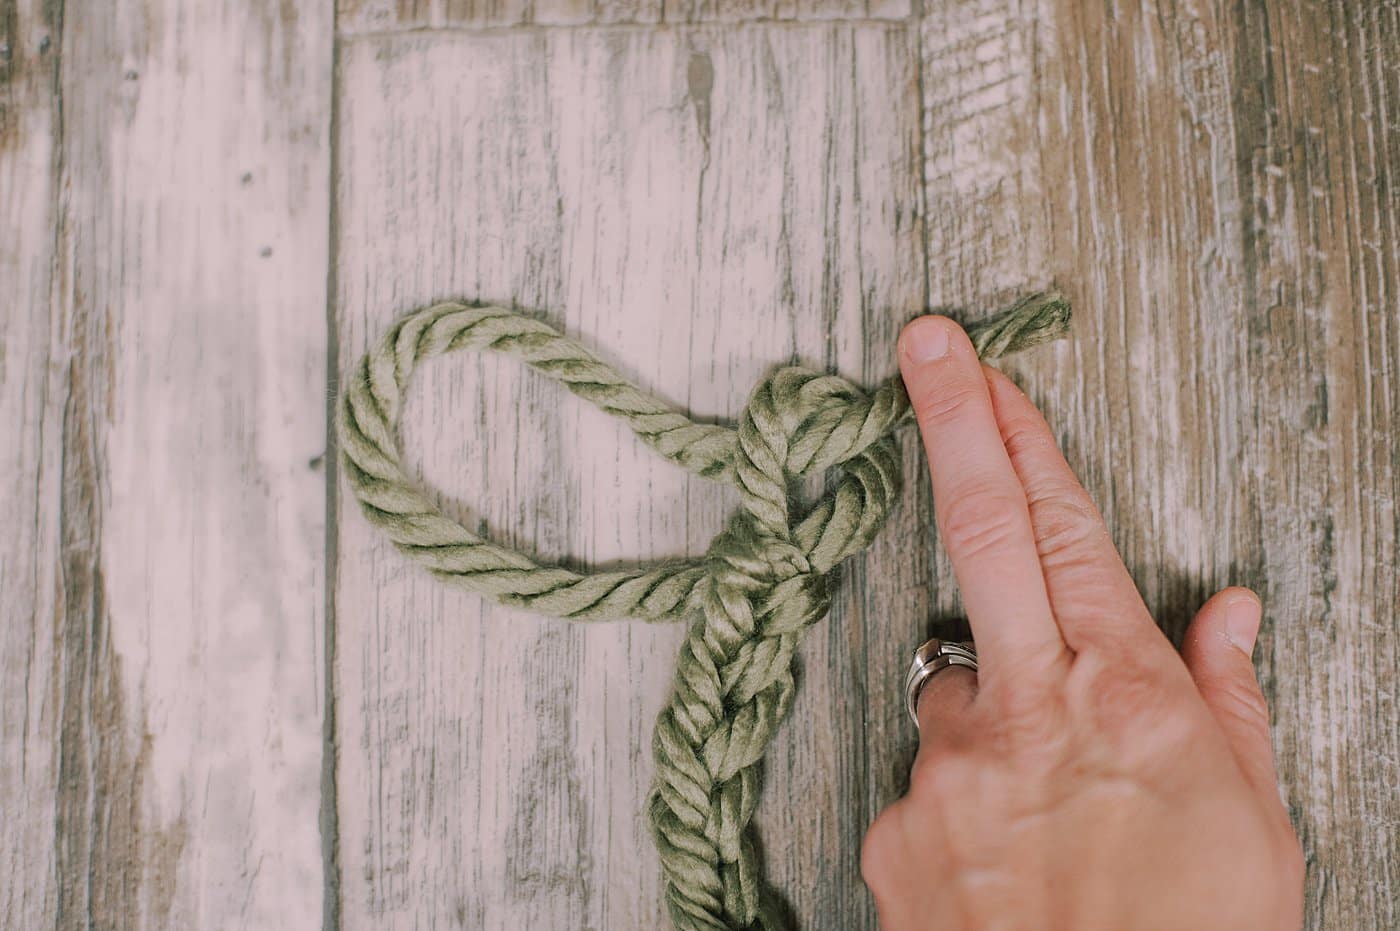
Step 16. Thread the end of the yarn tail you just cut through the loop you removed from the crochet hook, and gently pull tight.
That's it! You have casted off your chain stitch crochet garland and it is complete!
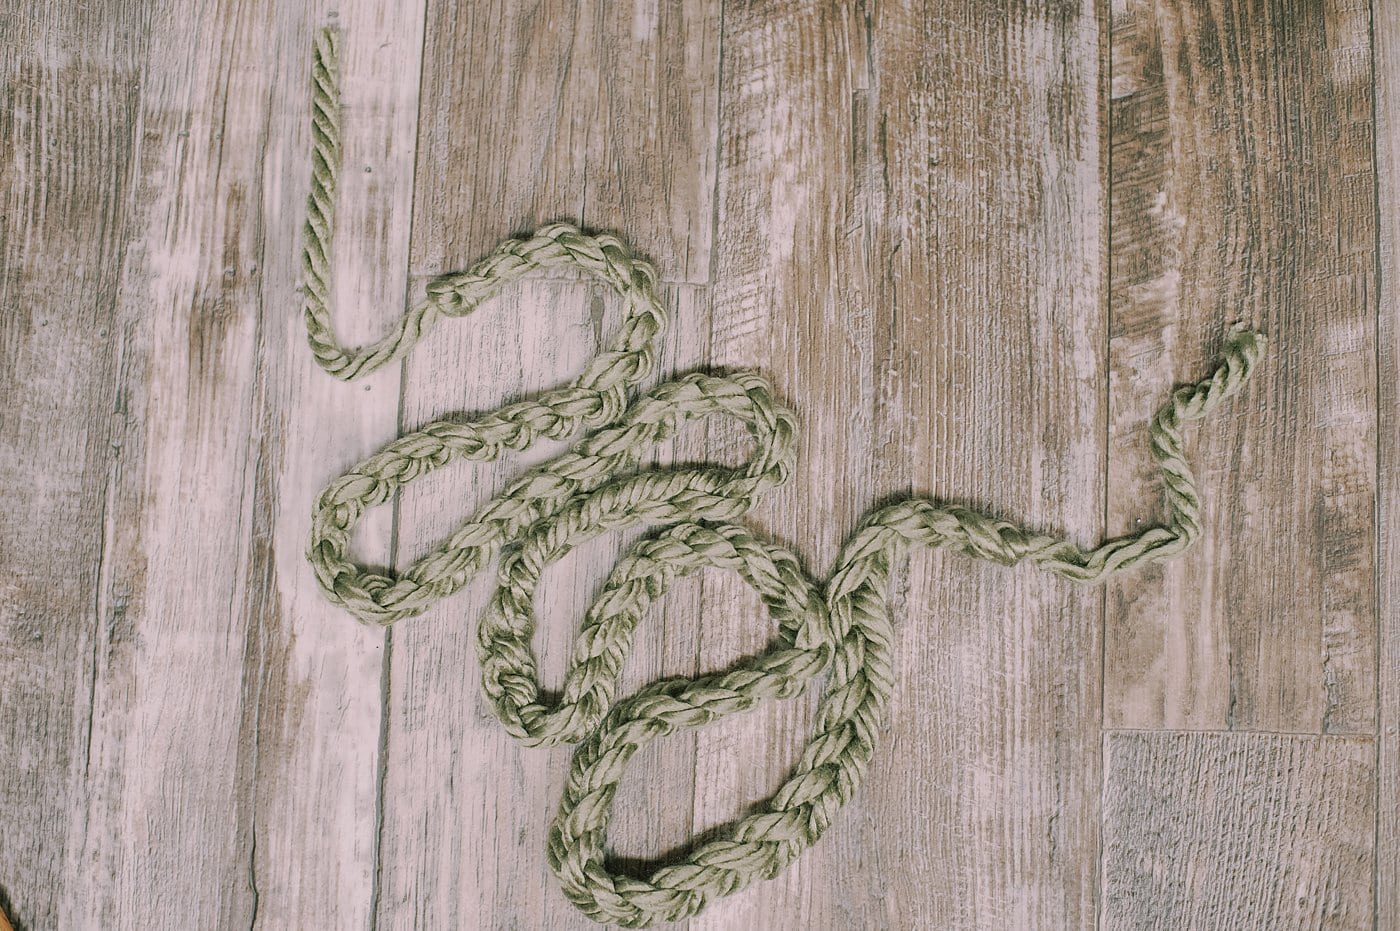
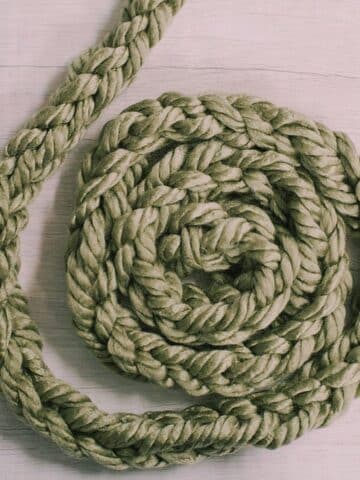
You can also use super chunky yarn and a jumbo crochet needle to make an oversized chain stitch garland for your mantel.
The process is exactly the same as we did above with the green yarn.
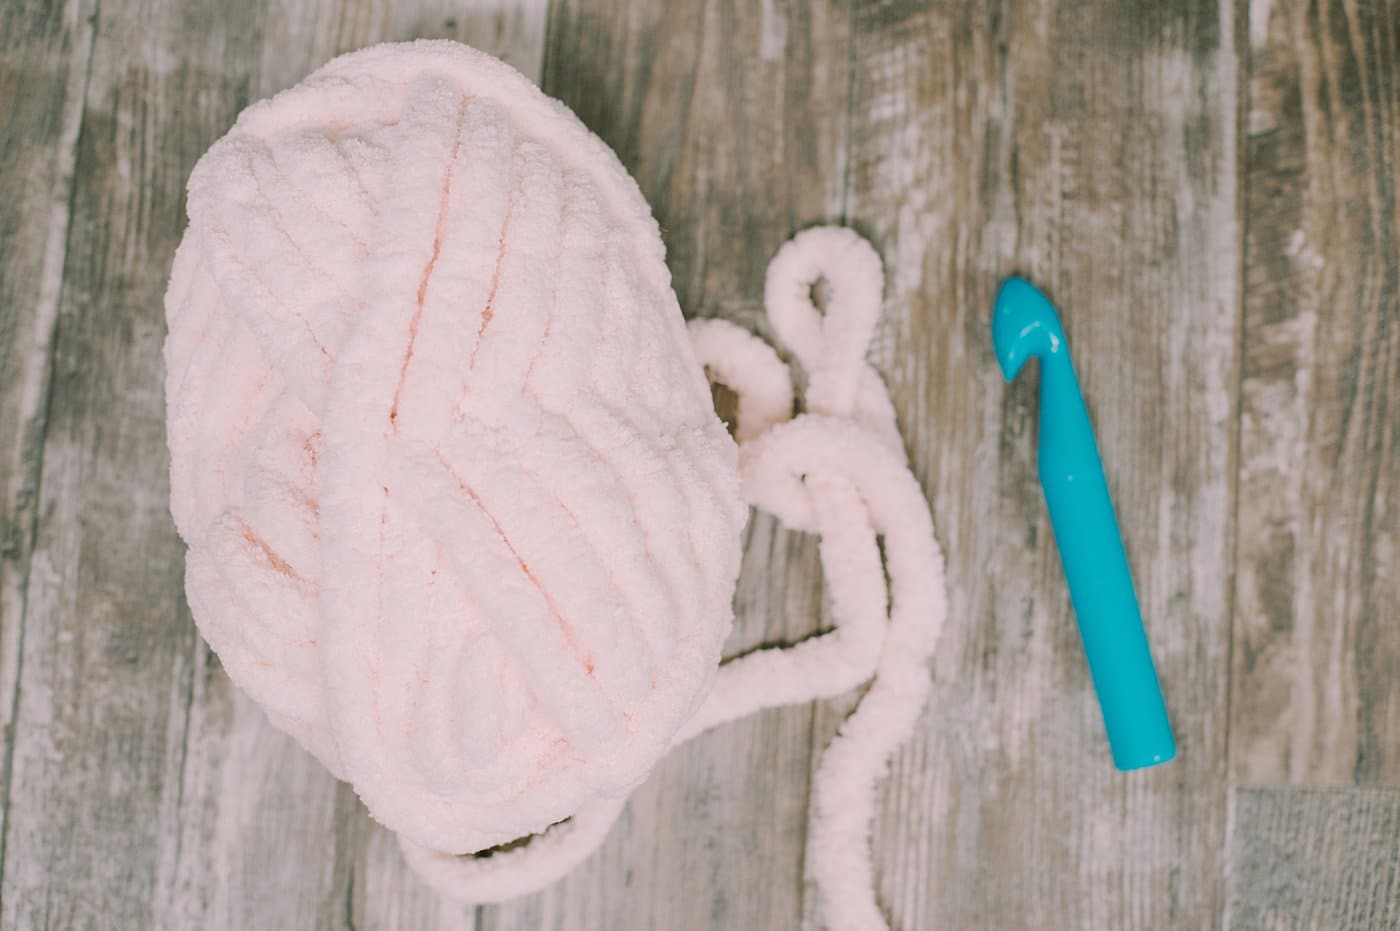
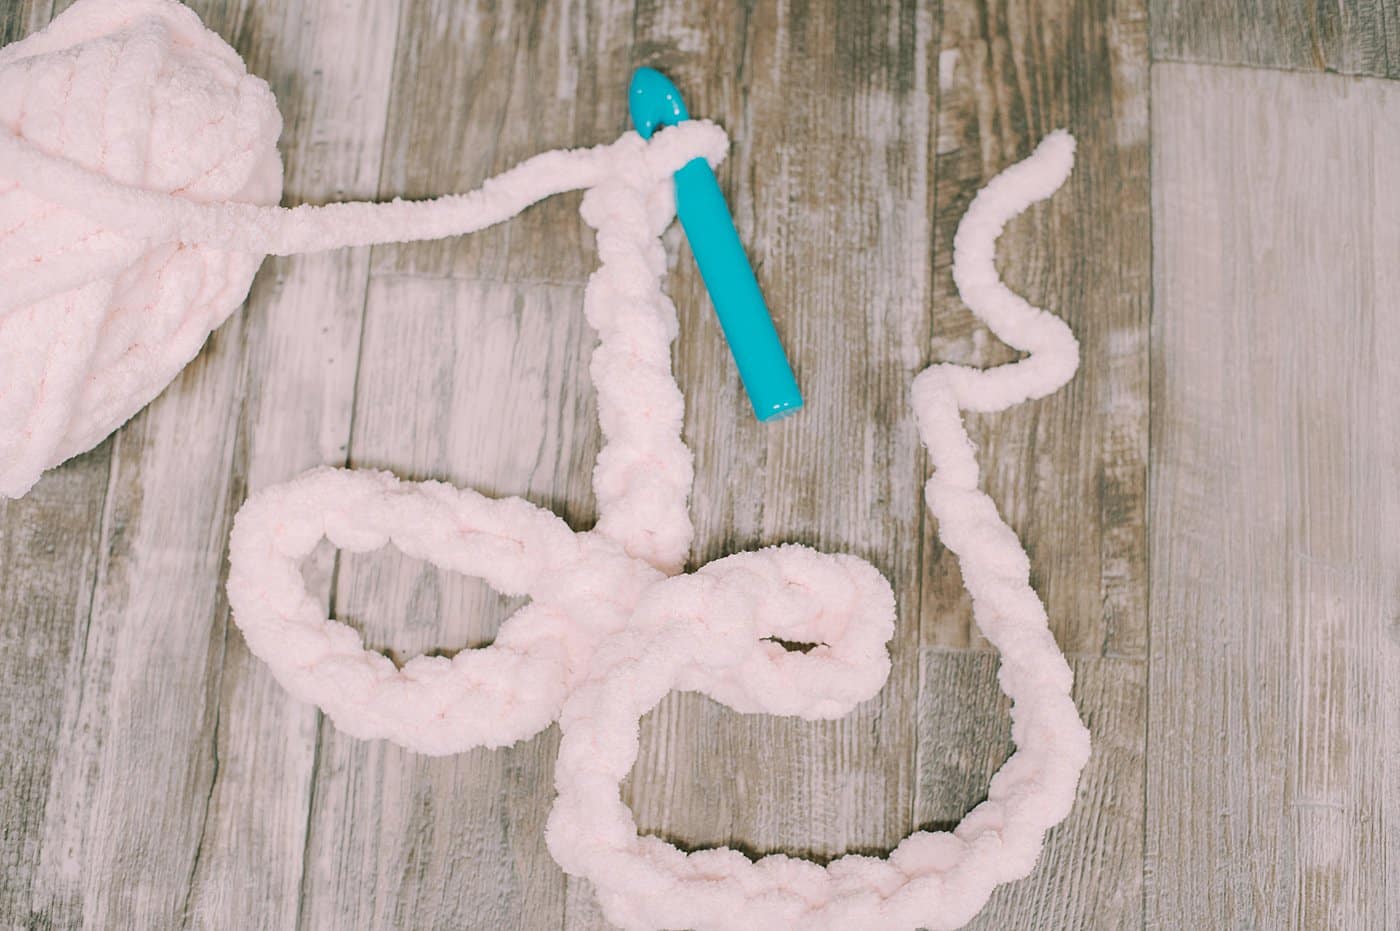
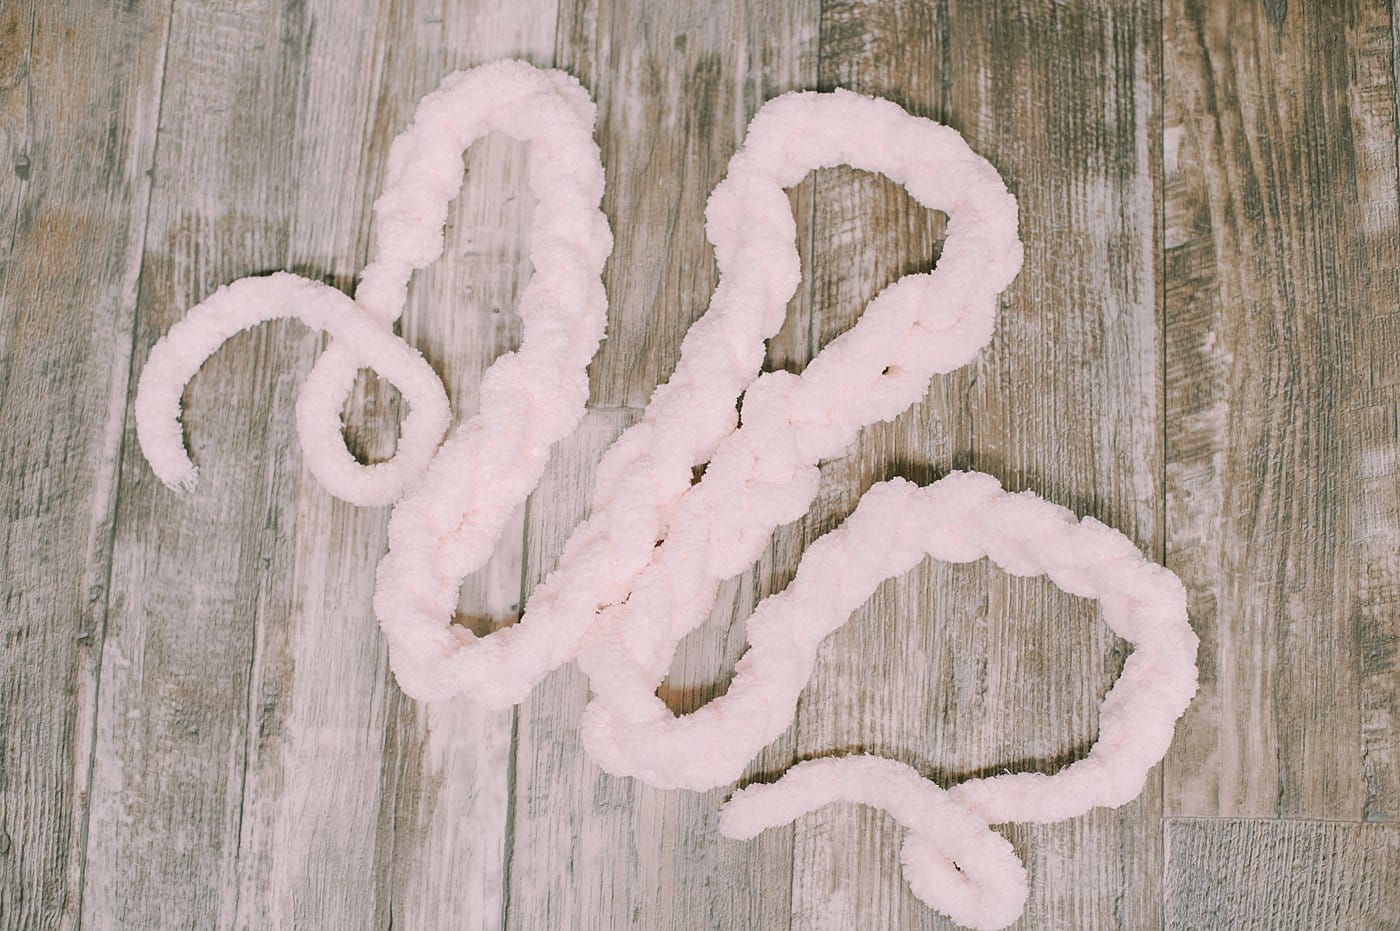
The thicker the yarn, the thicker your crochet garland will be.
Common Questions
Yarn is one of the easiest craft supplies to buy because it's widely available everywhere. You can find it at big box stores like Walmart, at any craft store, at yarn specialty shops, or of course, online.
Yes, the same chain stitch process can be used for yarn of any and all thicknesses. You can use super thin yarn and a tiny crochet hook to make a delicate garland, medium weight yarn to make a pliable, finger-thickness garland that is great for Christmas trees, or thicker yarn for a chunkier garland. Just make sure to match the crochet hook size to the thickness of your yarn. The yarn packaging should have a recommended hook size.
First of all, give crocheting a chain stitch a try. It is literally the most simple and basic of all crochet stitches, and you'll be amazed at how easy it is, especially with thick yarn. Your garland comes together so quick and easy once you get the hang of it. But if you want an alternative way to make a similar garland, you can try making our finger knit garlands using chunky yarn which looks similar.
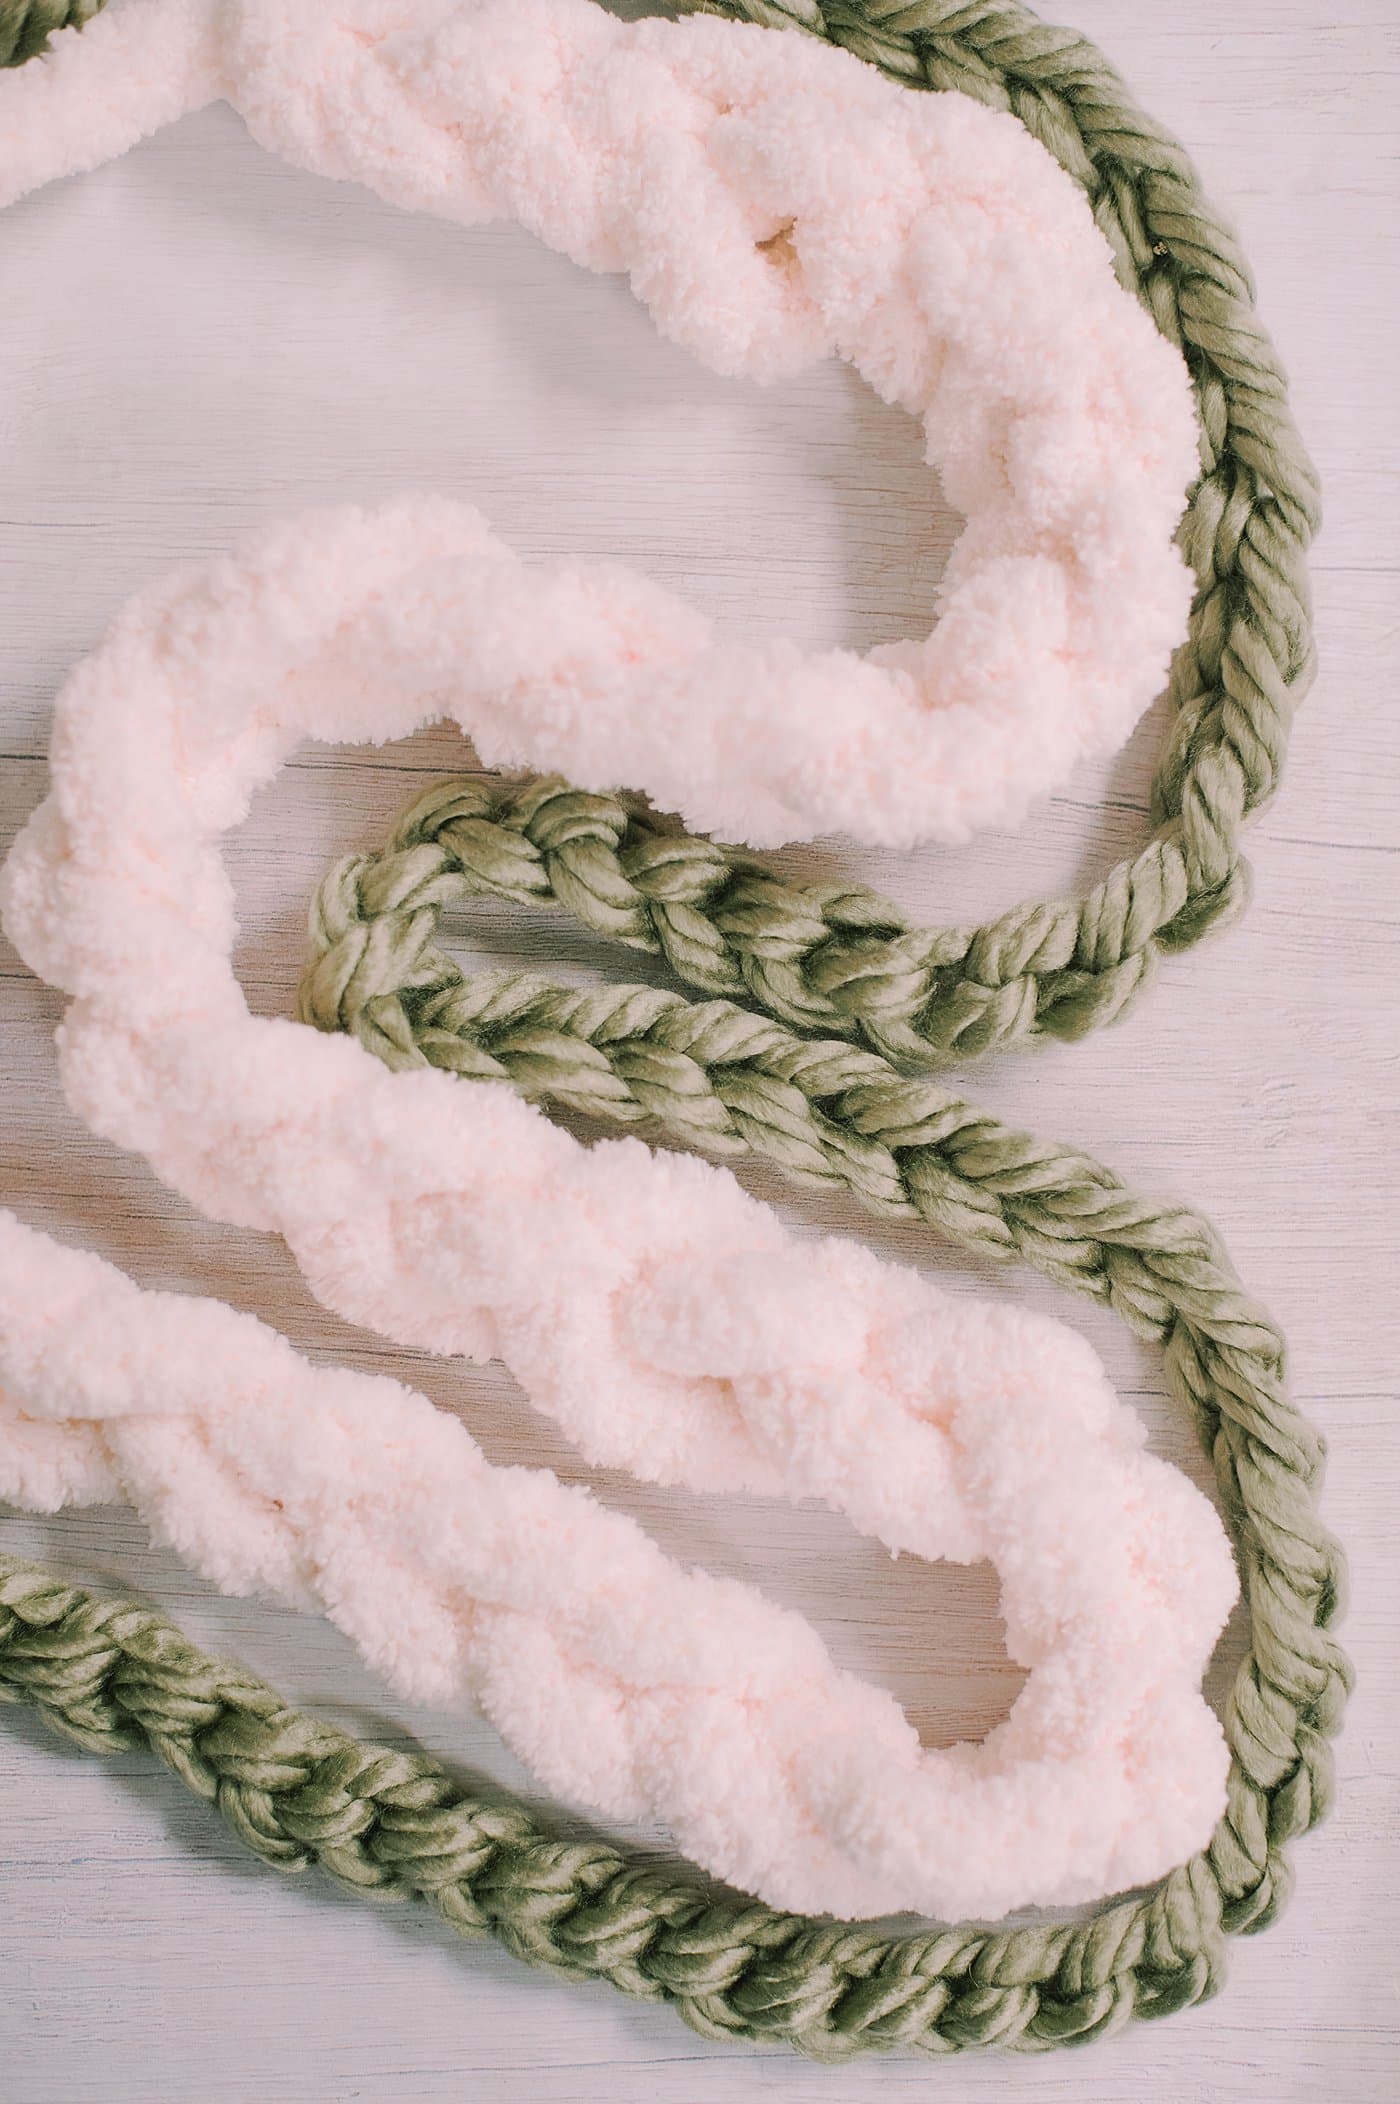
I love making any kind of garland!
These chain stitch garlands made by crocheting a simple chain stitch using chunky yarn are some of my new favorites though.
They are super fast to make, and they require the most basic of crochet stitch skills. They're perfect for a beginner, and I think they would be fairly easy for a child to catch on to too.
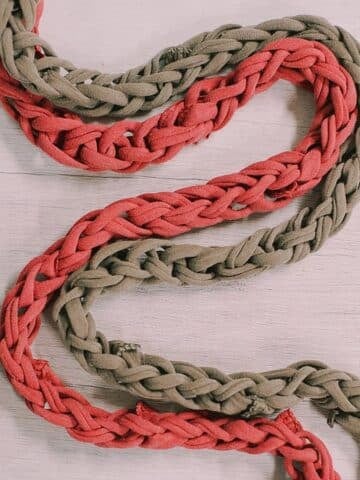
If you don't have a crochet hook, you can make a similar garland with finger-knitting! You can also use t-shirt yarn to make an eco-friendly garland out of old t-shirts.
More Yarn Crafts You'll Love
---
⭐️🧶 Did you enjoy this craft and want to see more like it? ✂️ Join our FREE email community and get inspiring craft ideas sent right to your inbox! 🧵 ⭐️
---
How to Make a DIY Chain Stitch Garland with Chunky Yarn
Materials
- Chunky Yarn
- Large Crochet Hook
- Scissors
Instructions
- To begin, make a slip knot with the yarn.You can use our basic tutorial on how to make a slip knot which is more simplified, or you can do what we did in the photos below.Start by making a "4" with the yarn, as pictured.
- Reach your fingers in through the top part of the "4".
- Grab the long end of yarn, and pull the long section up.This will make a loop.
- Slide the crochet hook into the loop you are holding in step 3.
- Carefully pull the two yarn ends to tighten up the slip knot.(If that didn't work for you, go look at this slip knot tutorial and try it step by step. Then come back here and continue on.)
- To do a chain stitch, start by wrapping the yarn around the back of the hook.
- Then wrap the yarn around the front of the hook.
- Carefully pull the lower loop (the slip knot loop in this case) up over the loop above it, and off of the hook.
- You will have only one loop on the hook once you complete this step.
- Repeat steps 3 and 4 - wrap the yarn around the back and then around the front of the crochet hook.You'll once again see two "loops" on the hook. (One is an actual loop toward the bottom of the hook, and the top loop is created when you wrap the yarn around the front of the hook.)
- You'll lift the bottom loop up and over the top loop, and off the top of the crochet hook, leaving only one loop on the hook.
- Repeat this chain stitch process of wrapping the yarn around the back and front of the hook, and lifting the lower loop up over the upper loop and off of the hook, until you see your garland start to form.Each chain stitch makes the garland a little big longer.You can pull gently on the yarn tail end of your garland and you'll see the stitches become defined and beautiful.
- Continue adding to your chain stitch garland until it's as long as you want it to be.
- Once your garland is as long as you want it to be, it's time to end it properly so it doesn't unravel.Cut the yarn, leaving a 12" tail.
- Slide the loop off of the crochet hook carefully.
- Thread the end of the yarn tail you just cut through the loop you removed from the crochet hook, and gently pull tight.
Notes
- You can find yarn at any big box store, craft store, yarn specialty shop, or online.
- Make sure to match the crochet hook to the size indicated on the yarn packaging. Using the optimally sized hook for the yarn is crucial to making the chain stitch process fast and fun.
- If you don't know how to crochet, you can make a similar yarn garland by finger-knitting.

Leave a Reply