Learn how to make a slip knot for knitting or crochet with yarn in this step-by-step tutorial with photos. You'll also see how to make a DIY sliding knot bracelet too; the perfect craft for kids.
Every knitting or crochet pattern begins with similar words… “make a slip knot.”
So, how do you make a slip knot?
There are many different methods; a quick google search will tell you that. And people like different techniques.
For me, this tutorial shows the most straightforward, clear way to make a simple slip knot.
I broke it down into step-by-step photos to show you exactly what your hands should be doing and your yarn should be doing, as you learn how to make a slip knot.
Here it goes!

How to Make a Slip Knot for Knitting or Crochet
Step 1. Gather Supplies
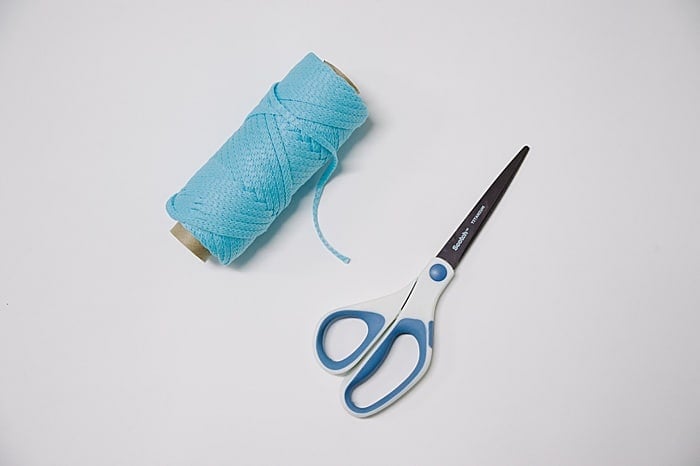
Supplies Needed
- Yarn
- Scissors
- Knitting Needle, Crochet Hook, your finger etc.
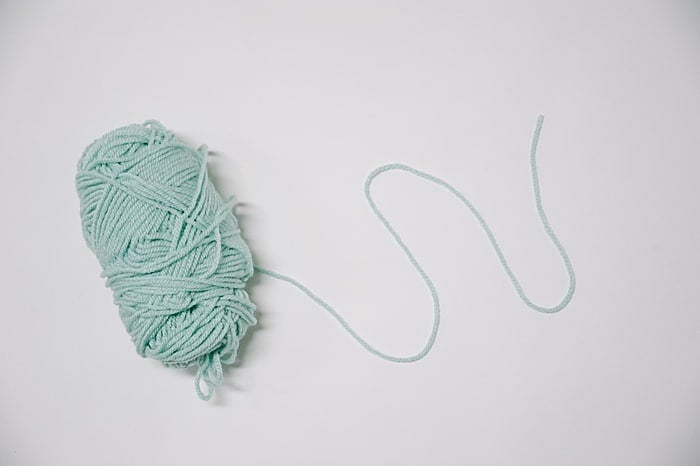
Step 2. Get your yarn ready.
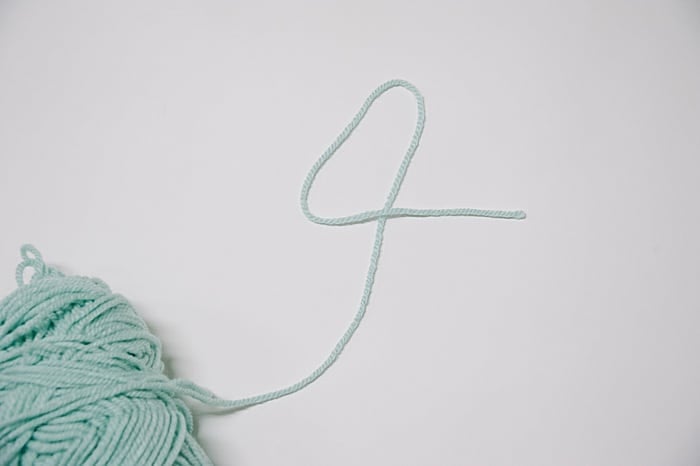
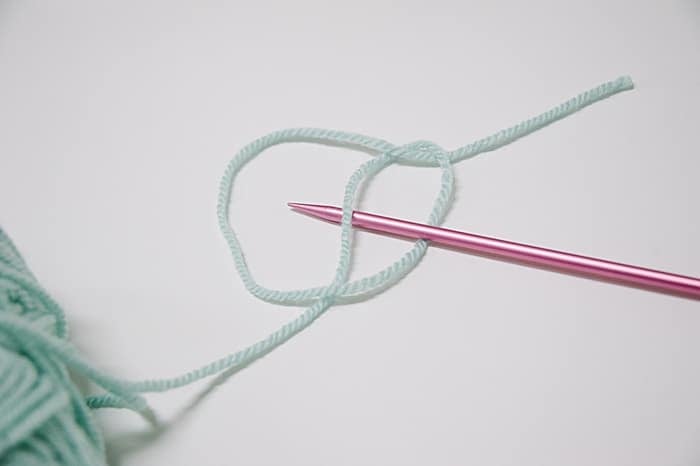
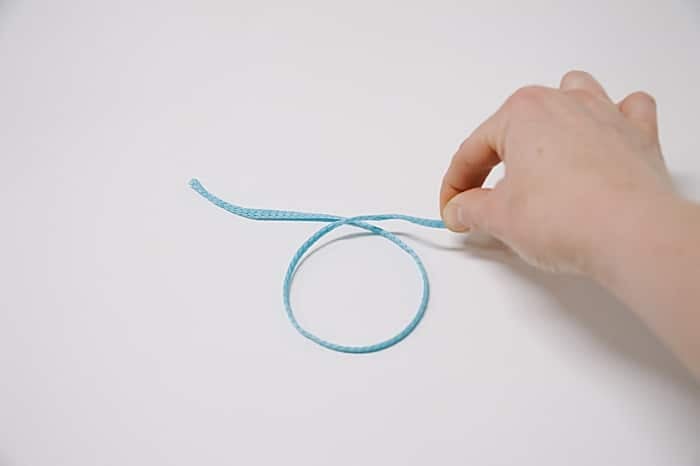
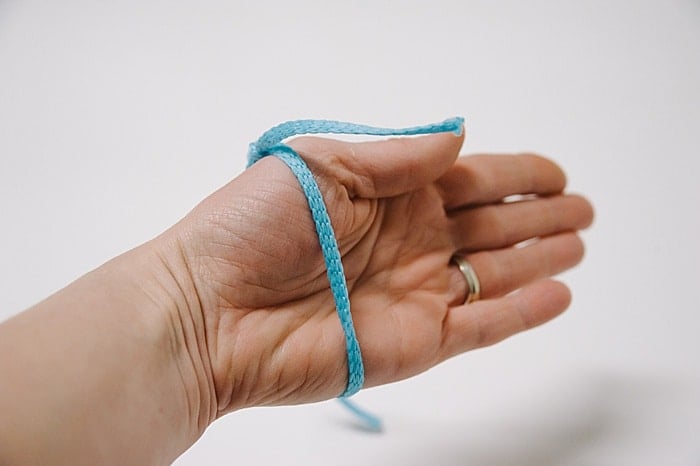
Step 3. Take the tail end that is NOT connected to the yarn ball, and make the shape of a “4”.
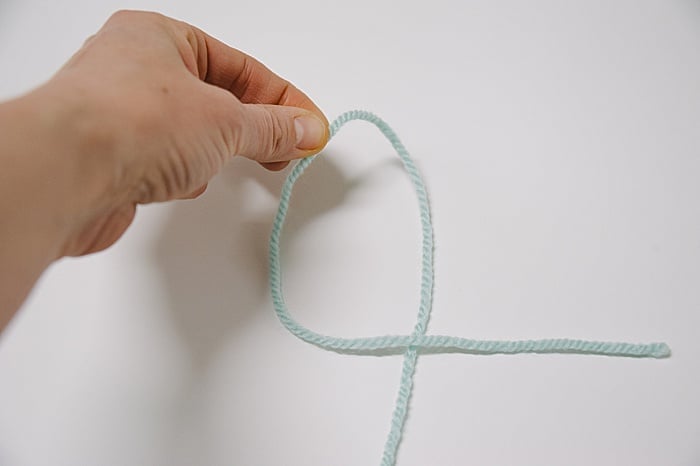
Step 4. Pinch the top of the “4” with your fingers.
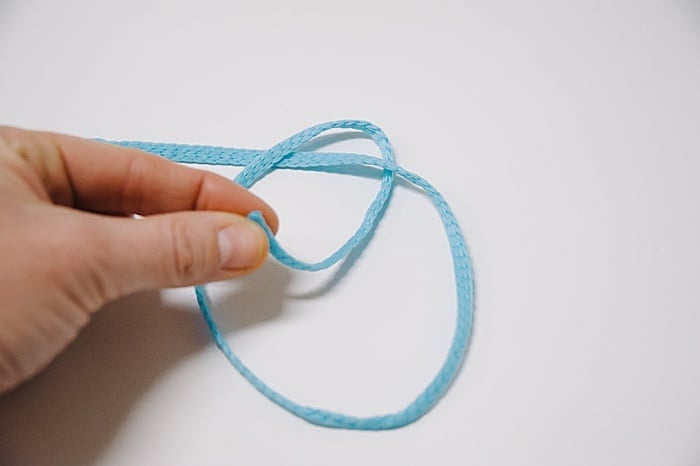
Step 5. Bring your fingers down, and touch the section of yarn that is heading toward the yarn ball.
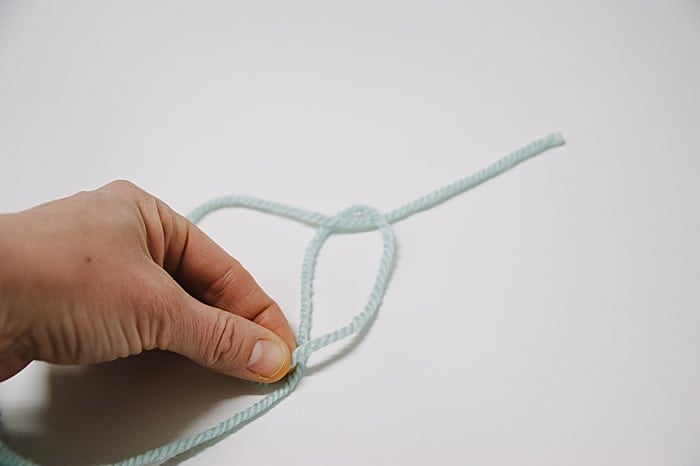
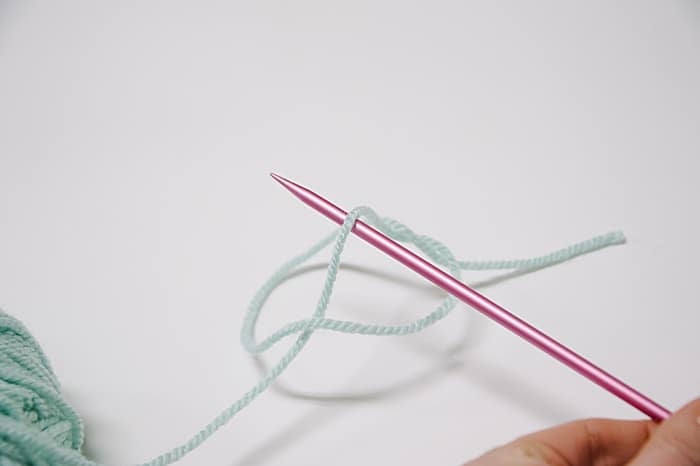
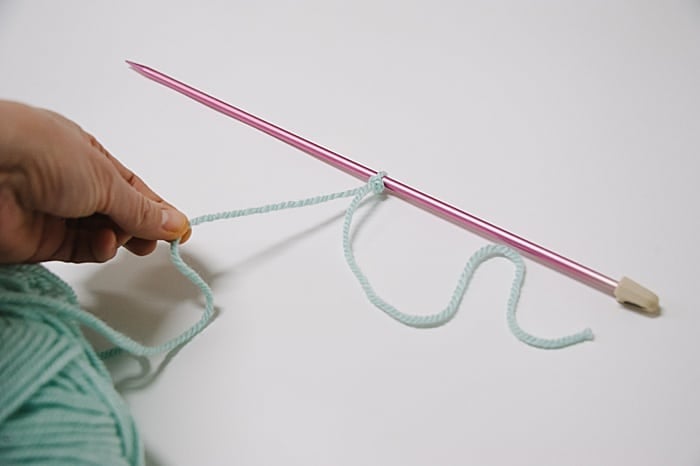
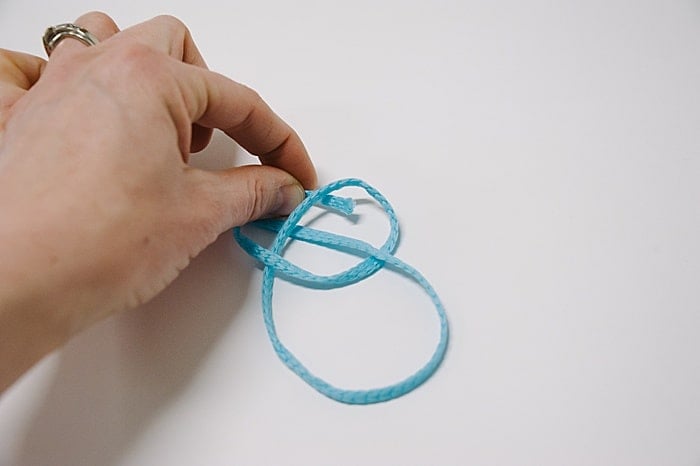
Step 6. Next, using a knitting needle, crochet hook, your finger etc, slide it underneath the section of yarn that is in the middle of the upside down “4”.
Lift it up.
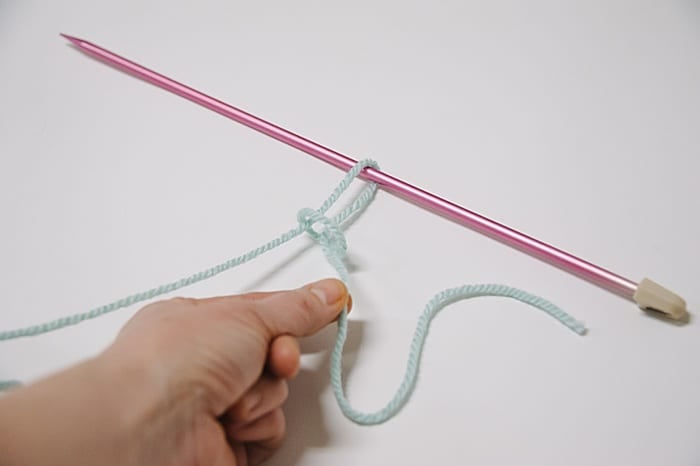
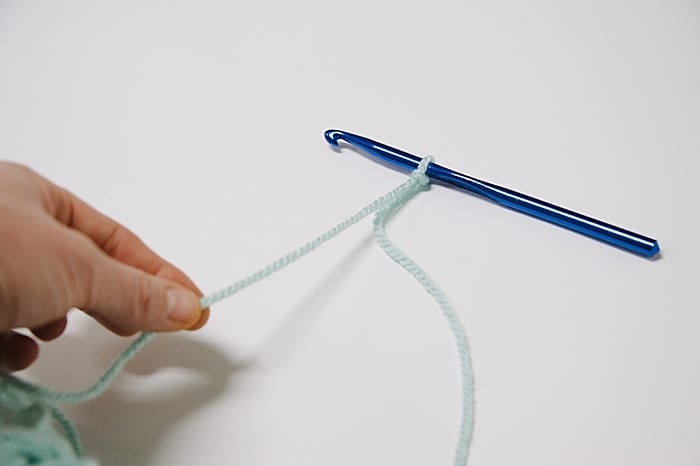
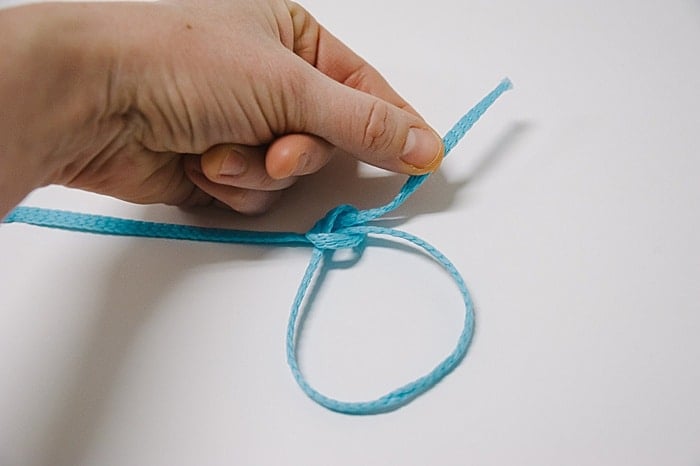
Step 7. Carefully pull the short tail of the yarn, and the slip knot you are creating will begin to tighten.
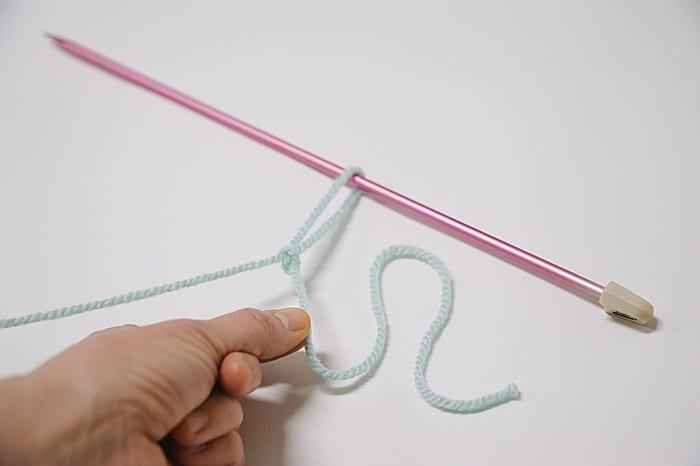
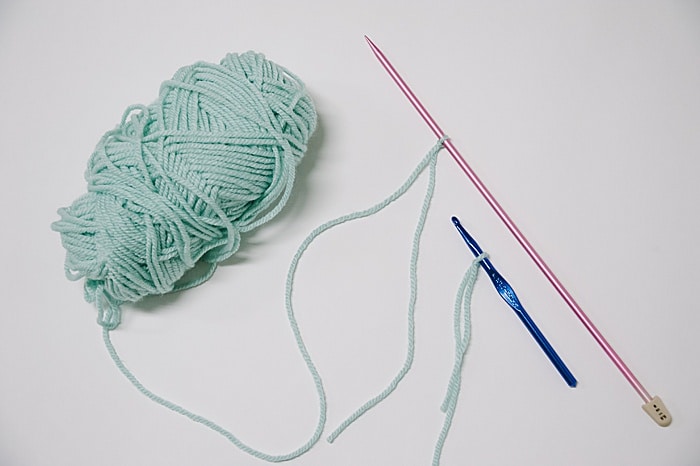
Step 8. Now, carefully pull the long tail of the yarn that is connected to the yarn ball, and the slip knot will move toward your knitting needle, crochet hook, or finger.
Your slip knot is done!
This is how you make a slip knot for knitting, crochet, or any other craft project that calls for one.
Practice the motions a few times, and you’ll be a pro in no time!
This is the beginning step toward making a chain stitch yarn garland. You could make one using medium-weight yarn like we are using here, or chunky yarn like the garland tutorial shows.
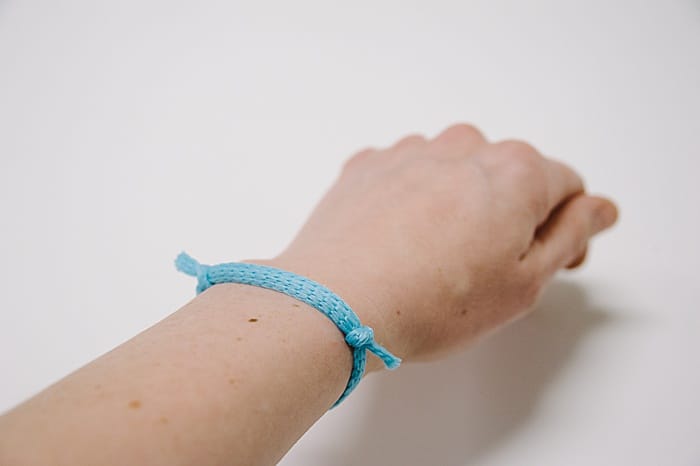
How to Make a Sliding Knot Bracelet
Step 1. Gather Supplies
Supplies Needed
- Cording or String
- Scissors
- Optional: beads, charms, or other embellishments
Step 2. Cut a length of cording; you can trim it at the end, so err on the side of excess.
Try 18” as you practice your technique, and you can go less next time.
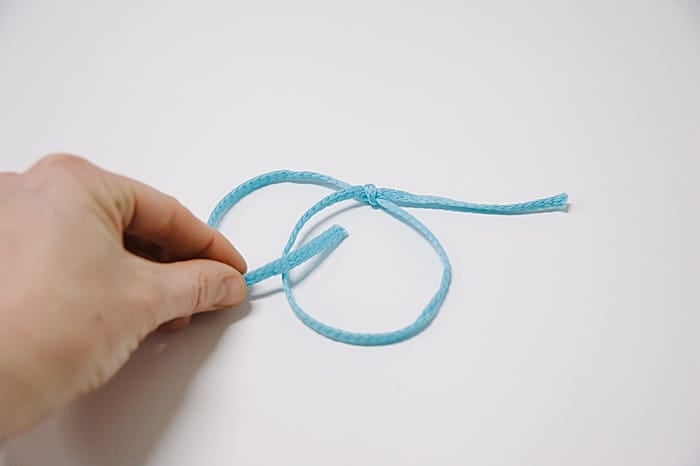
Step 3. Grab the right tail of the string, make a clockwise circle with it, until it overlaps.
Step 4. Hold the right tail, and bring it UNDER the circle.
Step 5. Bring it back UP, and then THROUGH the circle you just made.
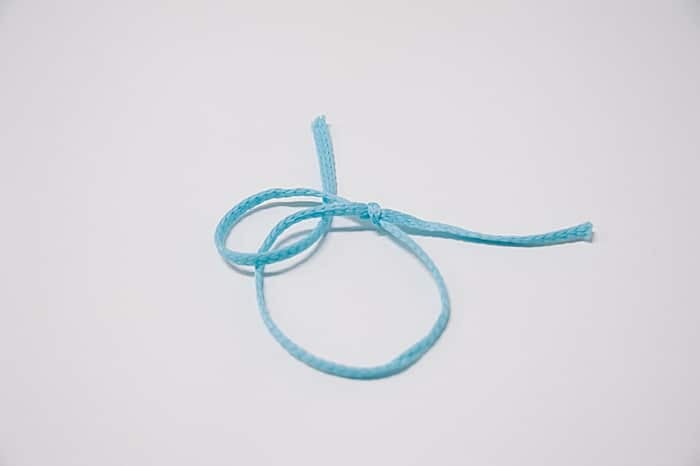
Step 6. Pull it to tighten. You’ve made your first sliding knot.
Step 7. Open up your bracelet to a size that easily fits over your hand. This will be the biggest the bracelet can be.
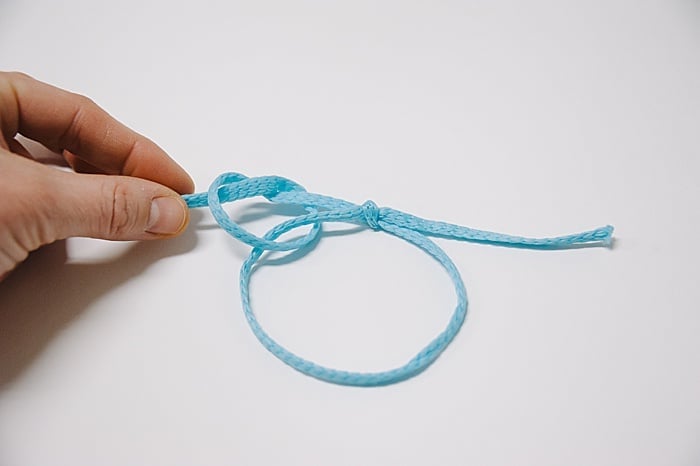
Step 8. Take the left tail, and bring it to the FRONT of the circle.
Step 9. Go UP, BEHIND the circle you just made.
Step 10. Then thread the left tail THROUGH the hole you just made.
Step 11. Pull the knot tight, sliding to so it’s as close to the first knot as possible.
Step 12. Slide the knots apart to make sure they move correctly. If they do, you can trim the excess.
It’s ready to wear!
You can make slip knot bracelets using cording, and you can even add beads or charms to make them extra fun.
This is an easy craft project for kids, and after some practice, they’ll be able to make one in just a few minutes.
That’s a win!
- - - - -
P.S. Very Important Note: It's possible you found this tutorial with a different use in mind; not a slip knot for knitting or crochet. If you are depressed, alone, in pain, or looking for a way out, and have come here searching for information on how to make a slip knot so you can hurt yourself, please get help. You can now dial 988 to get immediate help too. You matter; to this world and to me. I'm praying for you.






Leave a Reply