


Learn how to make a pinecone wreath using hot glue, pine cones, burlap ribbon, and a wreath form. It's beautiful, rustic wall decor!

Pinecones can be used in so many ways, from pinecone ornaments to gorgeous pinecone garlands.
They are easy to find outside in many parts of the world, and if you live in a climate where pinecones don't come naturally, you can buy them online either through a company or someone selling them on a site like eBay.
Today, we are going to use pine cones to make a beautiful DIY pinecone wreath!
Jump to:
Why You'll Love This Craft
- Pinecones are such fun craft supplies - you can pick them up from the ground (and make sure to clean and disinfect the pinecones so they're ready for craft projects!) or you can buy them anywhere from dollar stores and craft stores to online retailers and even individuals who sell them on sites like ebay!
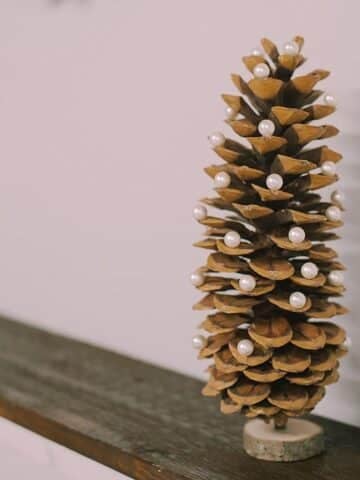
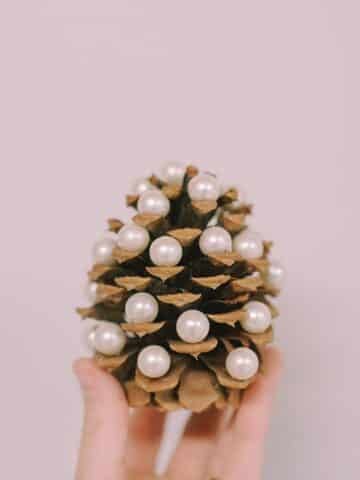
- You can make classic, rustic crafts with pinecones like a pinecone garland or this pinecone wreath, or you can dress them up and make fancy projects like pearl pinecone Christmas trees!
- This rustic, natural pinecone wreath works great for Fall, the Holiday season, and for the Winter season too! If your decor is rustic like in a log cabin, you could even keep it up all year long!
Craft Supplies Needed

- Wreath Form - I used a grapevine wreath form, but a straw wreath form would work fine too.
- Burlap Ribbon - This wraps the wreath to give it a smooth base to glue the pinecones onto.
- Pinecones - You can buy them on Amazon, or collect your own and clean them with this method.
- Scissors, Hot Glue Gun and Glue - Craft room staples!
- Wire Cutter - If your burlap wreath is wired, use a wire cutter to cut the wire part of the ribbon so you don't wreck your scissors.
How to Make a Pinecone Wreath

Step 1: Wrap the wreath form in burlap ribbon to give it a smooth, even surface to glue the pinecones on.

Step 2. Hot glue the ribbon to the wreath, and wrap it around with a slight overlap.

Step 3. Keep wrapping the burlap around the wreath until it's all covered.
The purpose of the burlap is to give the pinecones a smooth surface to be glued to.
If you try to hot glue pinecones to the grapevine wreath itself, it can be hard to secure the pinecones well and make them look good.

Step 4: Hot glue pinecones to the burlap-wrapped wreath, in varying positions.

Step 5. Hold the pinecones in place as the glue cools and hardens, before moving on to the next pinecone.
If you let go too soon, the pinecones will slide around or fall off the wreath.

Step 6. Continue hot gluing pinecones around the wreath form until it is all covered.

Step 7. This is what the wreath looked like once the front of the wreath was covered.
You can see that it's still a little sparse in some spots, so I decided to add more pinecones to those areas.

Step 8. Here is the finished pinecone wreath with more pinecones added.
Some of the pinecones on the inner and outer edges are hot-glued in a staggered way, with various sizes intermixed together.
This gives it a full look.

Common Questions
As you can see in this tutorial, I used pinecones that are small and round. These worked fantastic for this project; they stuck to the wreath well with hot glue and looked beautiful on the finished wreath.
Pinecones come in lots of different shapes and sizes, and you can try to make a wreath out of any of them. It might be a little trickier to use oblong pinecones, but you can still do it - just use a lot of glue to make sure they stick, and fill in gaps as needed so the wreath looks nice and full when it's finished.
You can find pinecones that are clean and ready for crafts in many places, including dollar stores, big box stores, craft stores, and online at places like Amazon. I have also seen people selling pinecones on Etsy and eBay!
We love pinecones too - so much so that we have an entire section on the website devoted to pinecone crafts!
Some of my favorite pinecone crafts are this pinecone garland and these super cute pinecone people ornaments!

This pinecone wreath looks great as a part of your fall decor, and it looks even better as part of your winter decor!
It serves as a beautiful compliment to Christmas or holiday decorations and is so neutral that it can be intermixed with any type of color scheme.
More Pine Cone Crafts You'll Love
---
⭐️🧶 Did you enjoy this craft and want to see more like it? ✂️ Join our FREE email community and get inspiring craft ideas sent right to your inbox! 🧵 ⭐️
---

How to Make a Pinecone Wreath
Materials
- Wreath Form
- Burlap Ribbon
- Pinecones
- Scissors, Hot Glue Gun and Glue
- Wire Cutter
Instructions
- Wrap the wreath form in burlap ribbon to give it a smooth, even surface to glue the pinecones on.
- Hot glue the ribbon to the wreath, and wrap it around with a slight overlap.
- Keep wrapping the burlap around the wreath until it's all covered.The purpose of the burlap is to give the pinecones a smooth surface to be glued to.If you try to hot glue pinecones to the grapevine wreath itself, it can be hard to secure the pinecones well and make them look good.
- Hot glue pinecones to the burlap-wrapped wreath, in varying positions.
- Hold the pinecones in place as the glue cools and hardens, before moving on to the next pinecone.If you let go too soon, the pinecones will slide around or fall off the wreath.
- Continue hot gluing pinecones around the wreath form until it is all covered.
- This is what the wreath looked like once the front of the wreath was covered.You can see that it's still a little sparse in some spots, so I decided to add more pinecones to those areas.
- Here is the finished pinecone wreath with more pinecones added.Some of the pinecones on the inner and outer edges are hot-glued in a staggered way, with various sizes intermixed together.This gives it a full look.
Notes
- Wrapping the wreath form in burlap ribbon gives it a flat, smooth surface to glue the pinecones to. (This might not be necessary if you use a straw wreath instead of a grapevine wreath.)
- As you add pinecones to your wreath, step back and view it from a distance. That will help you see any bare spots, and where to add more pinecones.
- You can hot glue a loop of twine to the back to give you an easy hanging loop, or just hook the wreath form onto a nail or command hook to hang it up.

Leave a Reply