


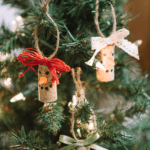
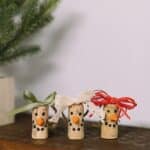
Learn how to make a cork snowman ornament for Christmas this year, using wine corks, modeling clay for a nose, ribbon, and paint!

Crafts that use recycled materials are a great way to combine a love for DIY with trying to do something good for the environment.
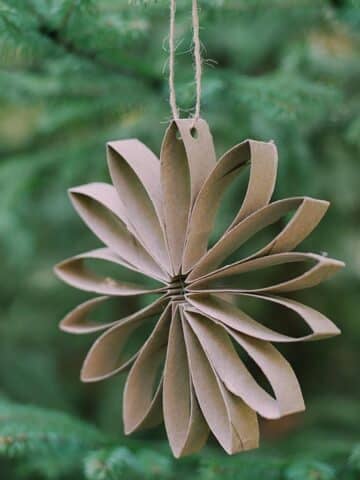
Recycled toilet paper tubes can be used to make lots of fun crafts like these toilet paper flower ornaments, and wine corks are another item that can be made into awesome crafts.
We have made cork angel ornaments, cork planter magnets, and pompom cork trees.
Today, we are going to use wine corks to make super cute DIY cork snowman ornaments! We gave these as teacher gifts last year, and they were a huge hit.
Jump to:
Why You'll Love This Craft
- Crafts that use recycled materials are a win-win because they're always fun, and they're good for the environment too! These ornaments use wine corks that would otherwise be thrown away.
- Kids love making these snowman ornaments and can be involved in nearly every step of the way.
- These cute little snowmen make lovely handmade teacher gifts for Christmas. We made them for the teachers at my children's school on year and they were a big hit!
Craft Supplies Needed
- Wine Corks - You can find them at thift stores or garage sales, or from online retailers or other online sellers.
- Modeling Clay - Air Dry or Oven Bake
- Orange Paint - This is only needed if the clay used is not orange.
- Black Paint - To paint on eyes and a smile.
- Paint Brush with flat, circular base—This will serve as a "stencil" to dab on circular eyes and mouth pieces.
- Hot Glue Gun and Glue - A craft room staple!
- Ribbon, Raffia - To tie into bows for the top of the cork snowmen.
- Twine - Or other hanging string. You can also use string, yarn, baker's twine or ribbon.
- Metal Screw Hooks - Available on Amazon (the ones I ordered are slightly larger than these, but aren't available anymore.)
How to Make a Cork Snowman Ornament
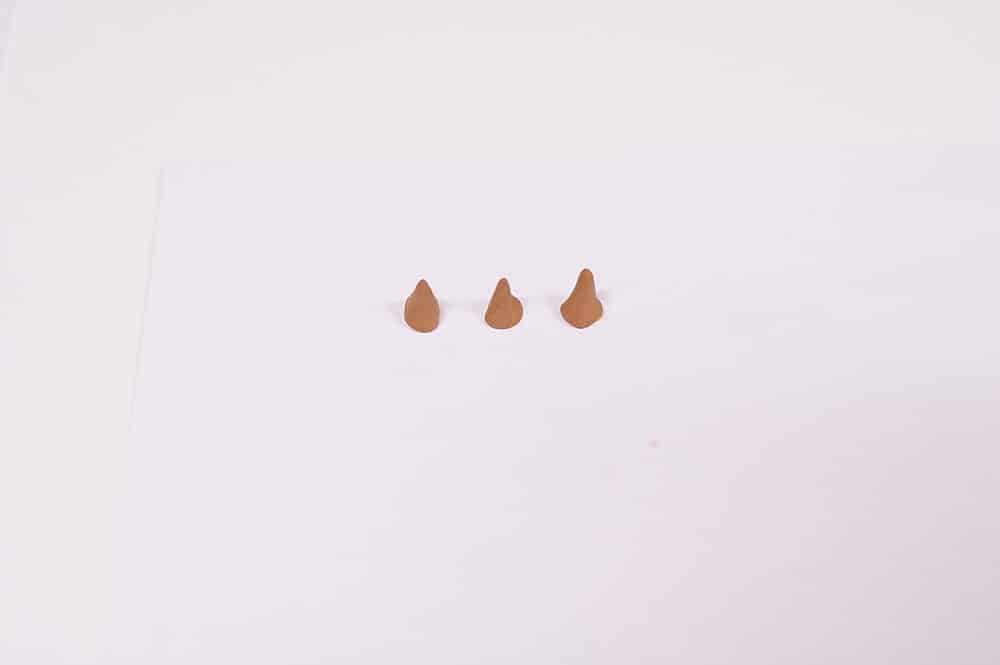
Step 1. Roll modeling clay into small cone-shaped noses.
These will be the "carrots" for the snowman's nose.
Let the clay air dry or bake it in the oven, depending on the type of clay you used.
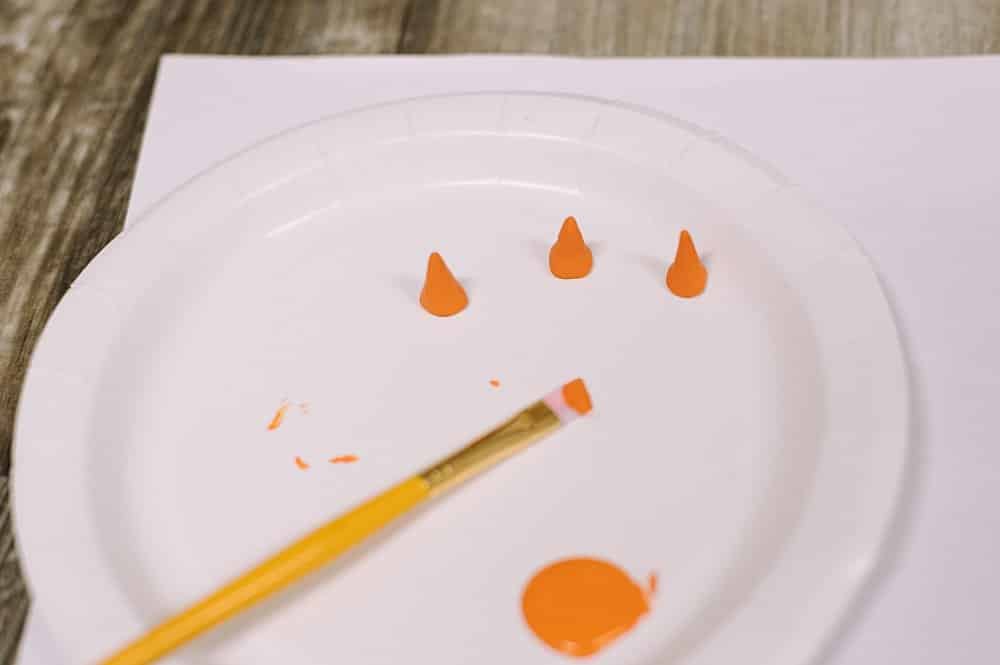
Step 2. Paint the "carrot noses" orange.
I used brown air-dry modeling clay and then painted the hardened noses orange.
If your clay is already orange, you don't need to paint them.
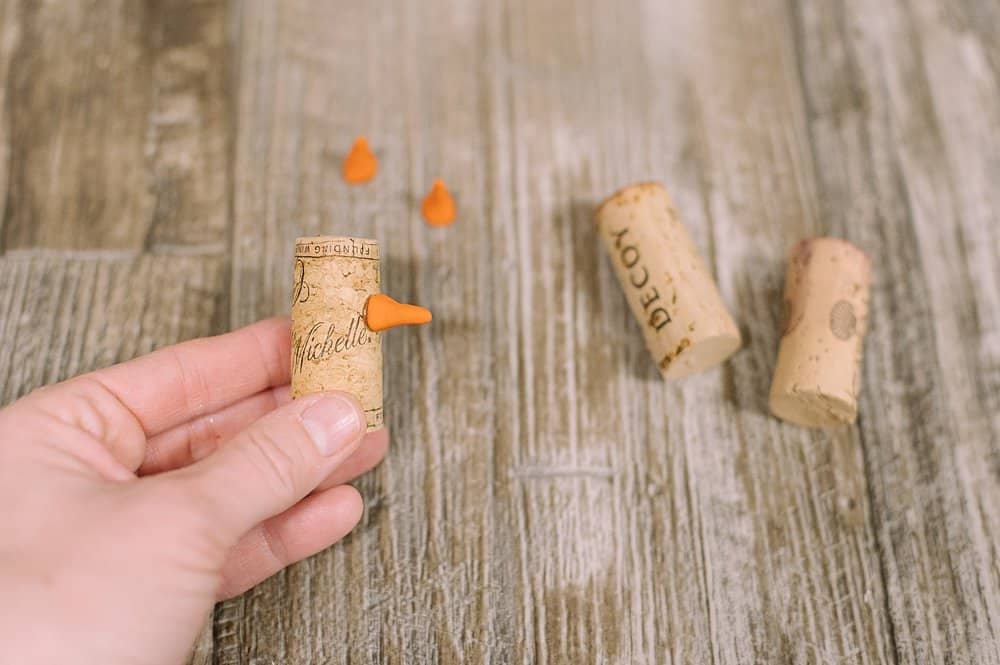
Step 3. Hot glue a carrot nose onto a wine cork, slightly above the middle of the cork.
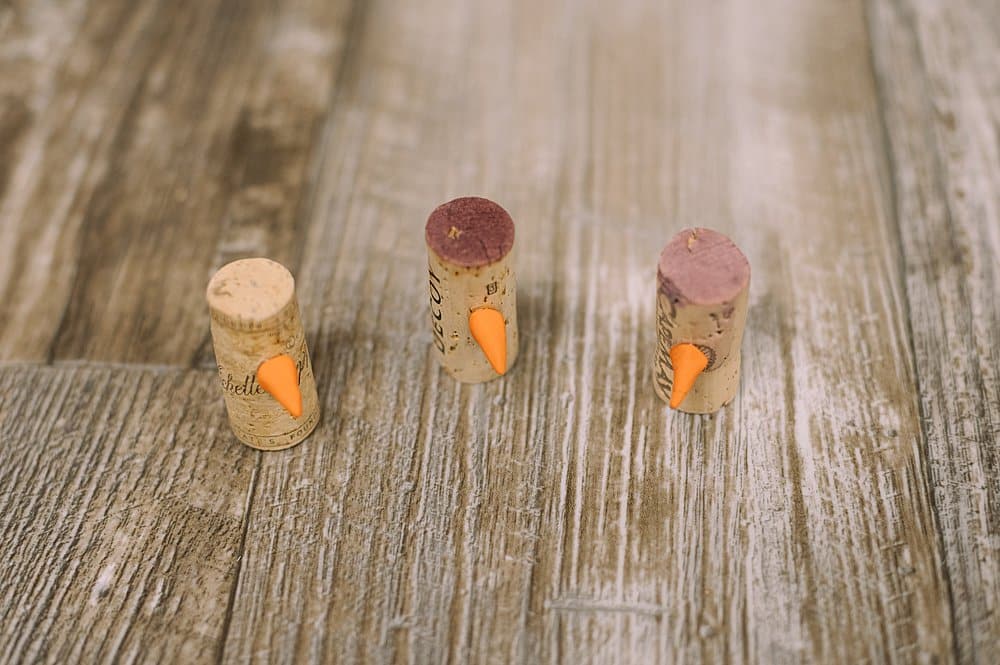
Step 4. Repeat for all of your corks.
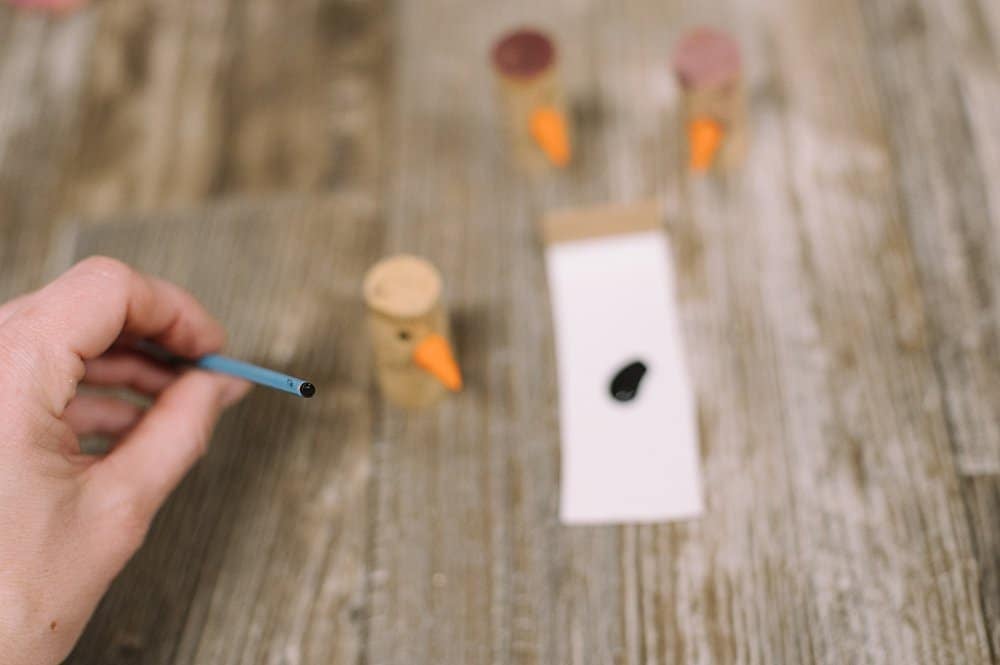
Step 5: Use the base of a paintbrush to paint black eyes and a smile onto the cork snowman.
Dab the end of the brush (not the bristles) into the black paint.
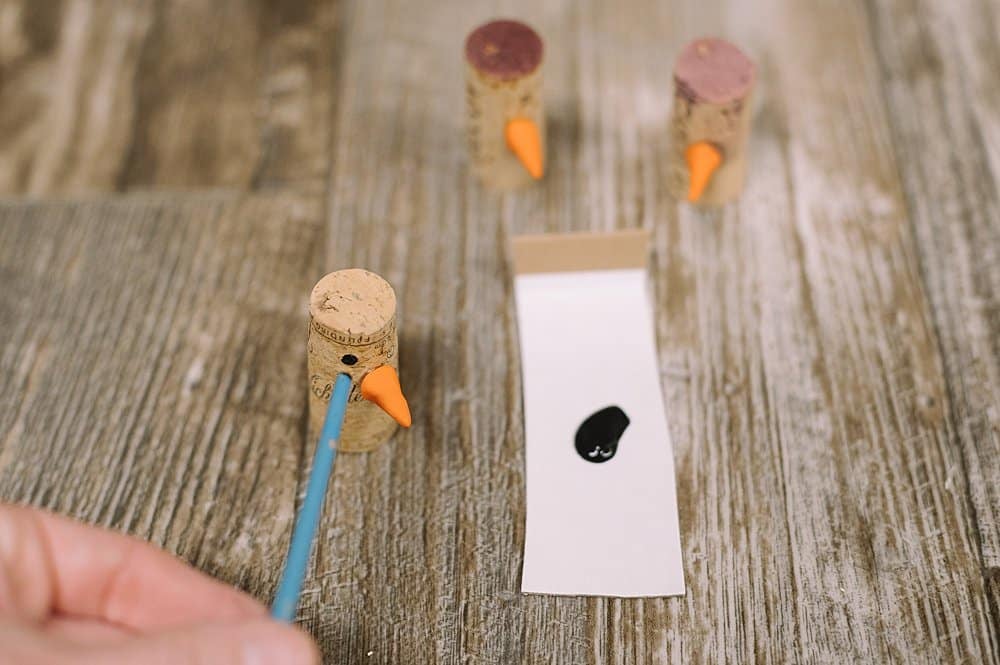
Step 6. Paint two eyes above the orange nose.
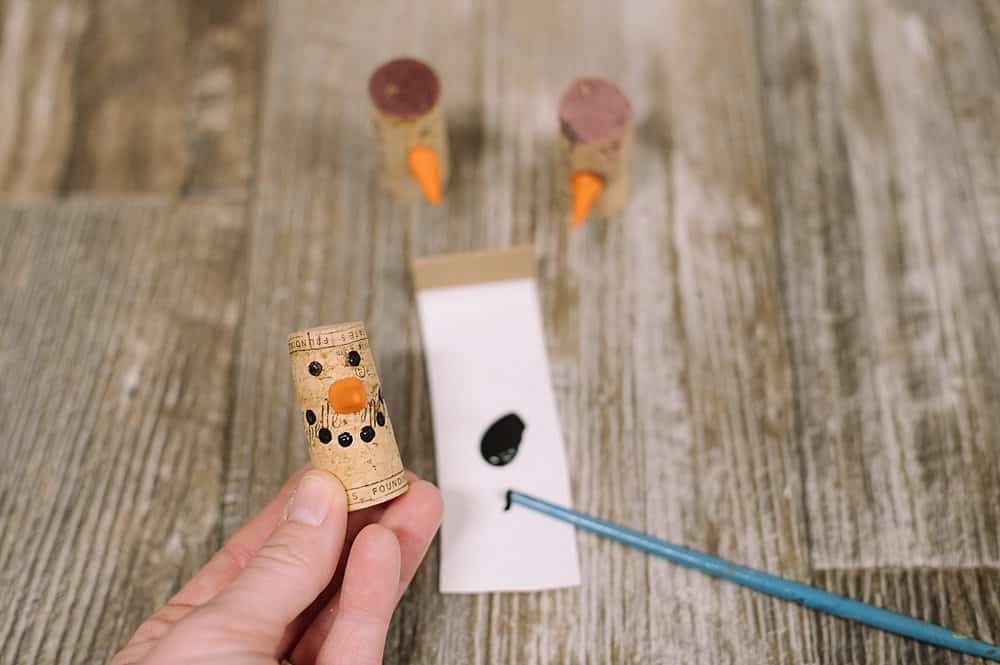
Step 7. Dab a smile (of black dots) below the clay nose.
Six dots (aka coal pieces) make the perfect smile.
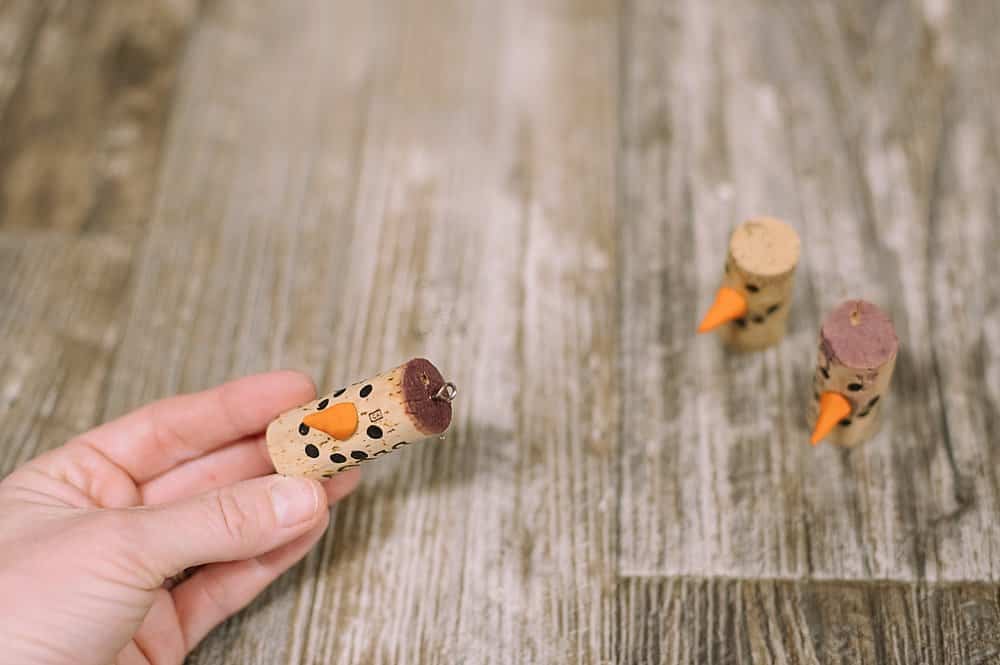
Step 8: Screw one small metal eye loop into the top of the cork.
PRO TIP: Position the metal eye so it points to the front and back of the snowman (not the left and right sides.) This will make it hang properly on your Christmas tree.
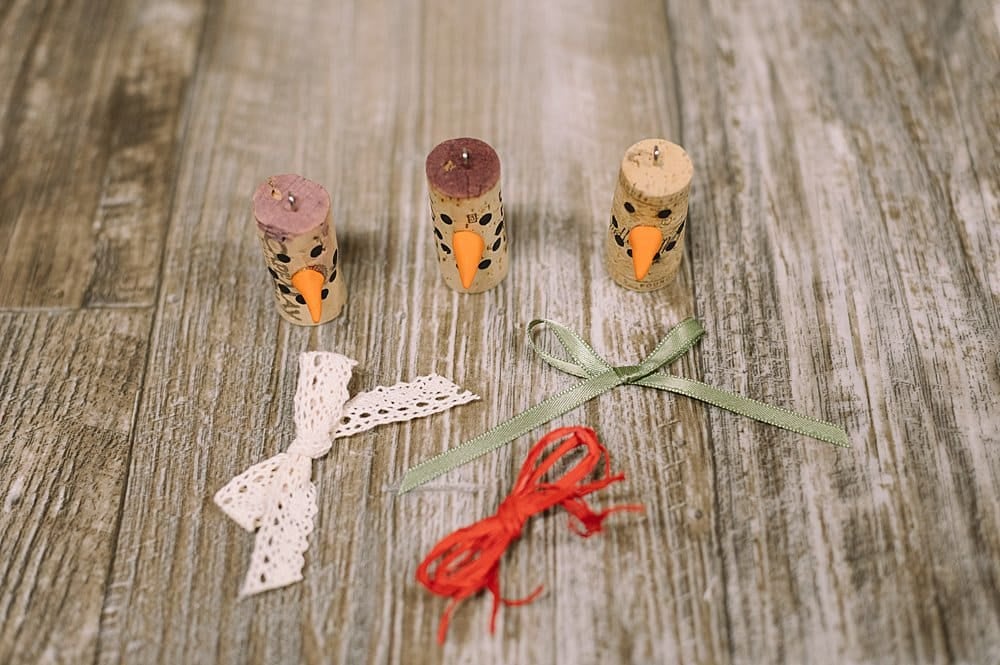
Step 9: Use ribbon or raffia and make small bows.
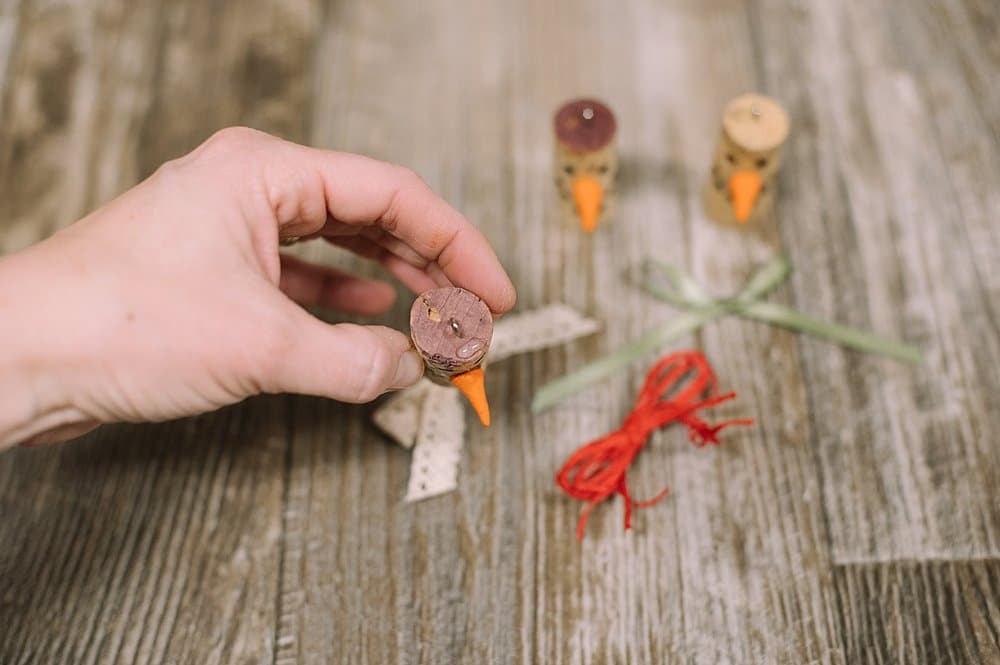
Step 10. Put a dab of hot glue in front of the metal eye loop at the top of the cork snowman's head.
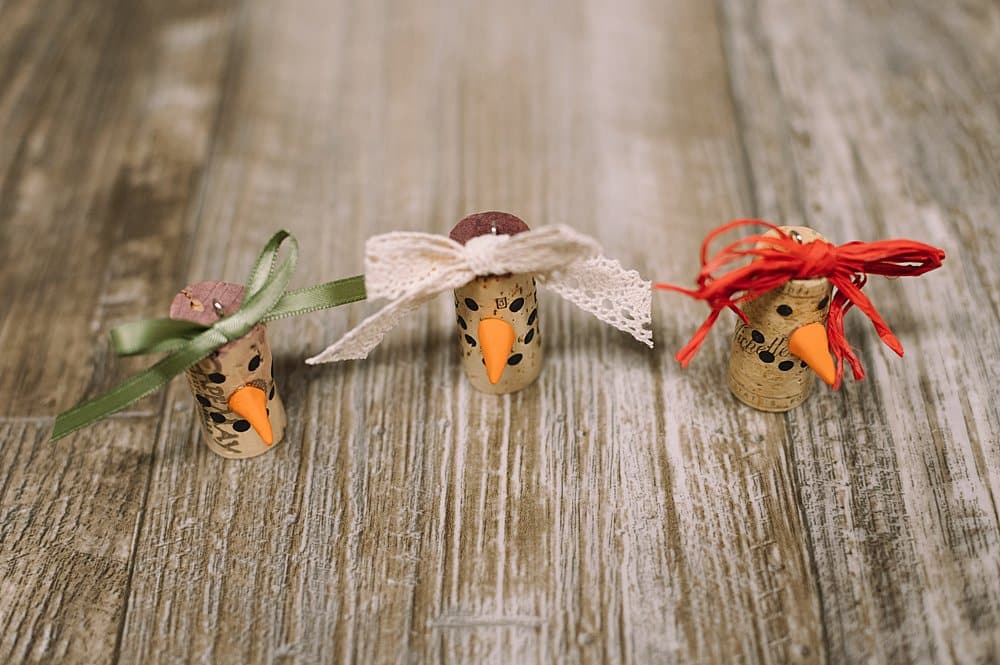
Step 11. Glue a bow on top of each snowman.
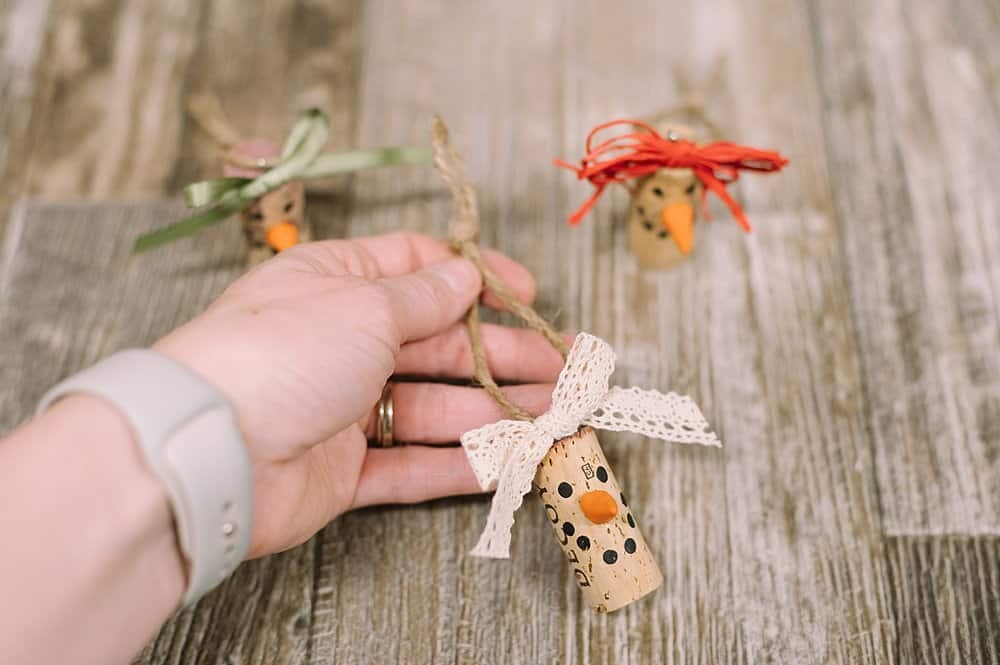
Step 12: Add a section of twine through the metal eye, and knot it at the top.
This is the hanging string to hang it up on the tree!
Common Questions
If you don't drink wine, first ask your friends and family if anyone has any wine corks they want to share. Lots of people save them because they're cute but they don't have any purpose for them and are happy to pass them on. Otherwise, keep an eye open at thrift stores and garage sales. I have found many bags of wine corks at places like that. Lastly, you can buy them online or from sellers on eBay or Etsy too.
You can use air-dry modeling clay or the type of clay that requires baking in the oven to harden. Either works just great! If you're in a pinch, you could use salt dough or even make a nose with play-doh and let it dry out.
If you don't have metal eye loop screws, you can make a hanging loop out of twine and simply hot glue it to the top of the cork, similar to what we did when we made the tiny acorn mushroom ornaments. That works fine too!
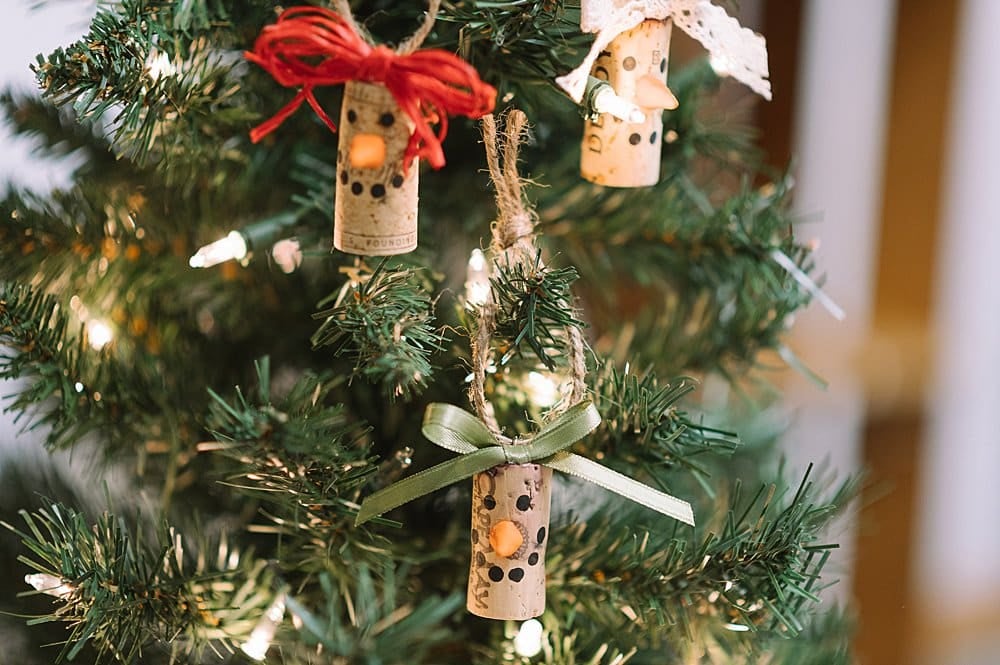
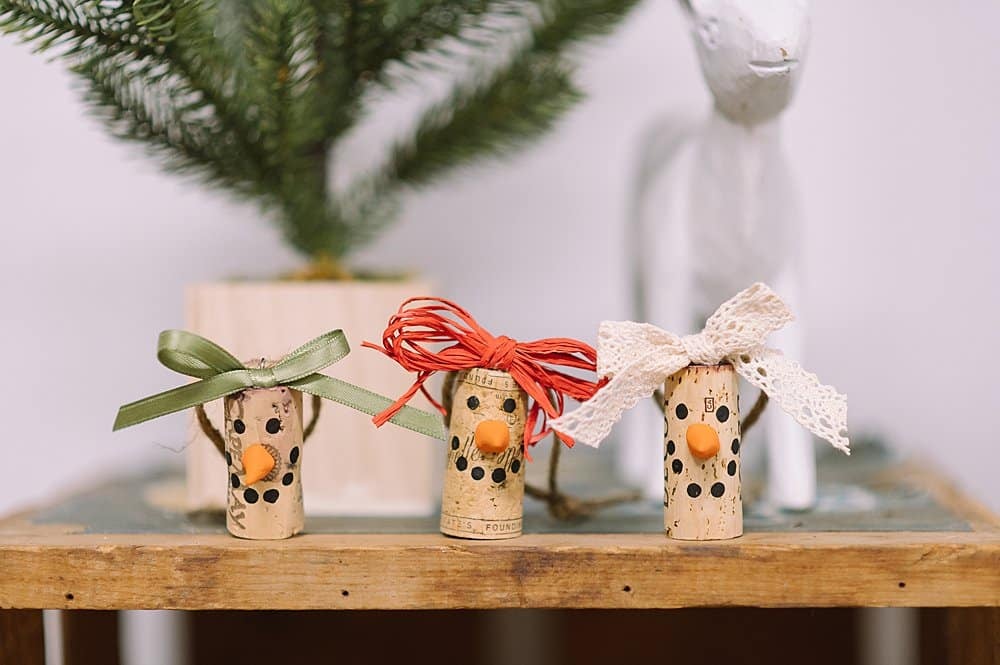
You can customize these cork snowmen by picking fun ribbons to use on top. For our teacher gifts, we used buffalo plaid ribbon and it turned out so cute!
These are so easy; they make awesome Christmas crafts for kids.
And they don't take many supplies, so it's easy to make a dozen or two for all of the special people on your list!
More Christmas Crafts You'll Love
---
⭐️🧶 Did you enjoy this craft and want to see more like it? ✂️ Join our FREE email community and get inspiring craft ideas sent right to your inbox! 🧵 ⭐️
---
How to Make a Cork Snowman Ornament
Materials
- Wine Corks
- Modeling Clay
- Orange Paint
- Black Paint
- Paint Brush with Flat, Circular Base
- Hot Glue Gun and Glue
- Ribbon or Raffia
- Twine
- Metal Eye Loop Screws
Instructions
- Roll modeling clay into small cone-shaped noses.These will be the "carrots" for the snowman's nose.Let the clay air dry or bake it in the oven, depending on the type of clay you used.
- Paint the "carrot noses" orange.I used brown air-dry modeling clay and then painted the hardened noses orange.If your clay is already orange, you don't need to paint them.
- Hot glue a carrot nose onto a wine cork, slightly above the middle of the cork.
- Repeat for all of your corks.
- Use the base of a paintbrush to paint black eyes and a smile onto the cork snowman.Dab the end of the brush (not the bristles) into the black paint.
- Paint two eyes above the orange nose.
- Dab a smile (of black dots) below the clay nose.Six dots (aka coal pieces) make the perfect smile.
- Screw one small metal eye loop into the top of the cork.PRO TIP: Position the metal eye so it points to the front and back of the snowman (not the left and right sides.) This will make it hang properly on your Christmas tree.
- Use ribbon or raffia and make small bows.
- Put a dab of hot glue in front of the metal eye loop at the top of the cork snowman's head.
- Glue a bow on top of each snowman.
- Add a section of twine through the metal eye, and knot it at the top. This is the hanging string to hang it up on the tree!
Notes
- Air-dry modeling clay and the Oven Bake type of modeling clay both work well for making the "carrot noses" for these snowmen ornaments. You can use either type.
- If you use orange clay, you don't have to paint the noses once they are hardened. That saves time and a step!
- If you don't have metal eye loop screws, you can hot glue a loop of twine to the top of the cork as a hanging string.

Leave a Reply